


Turn Clothespins Into Christmas Tree Ornaments

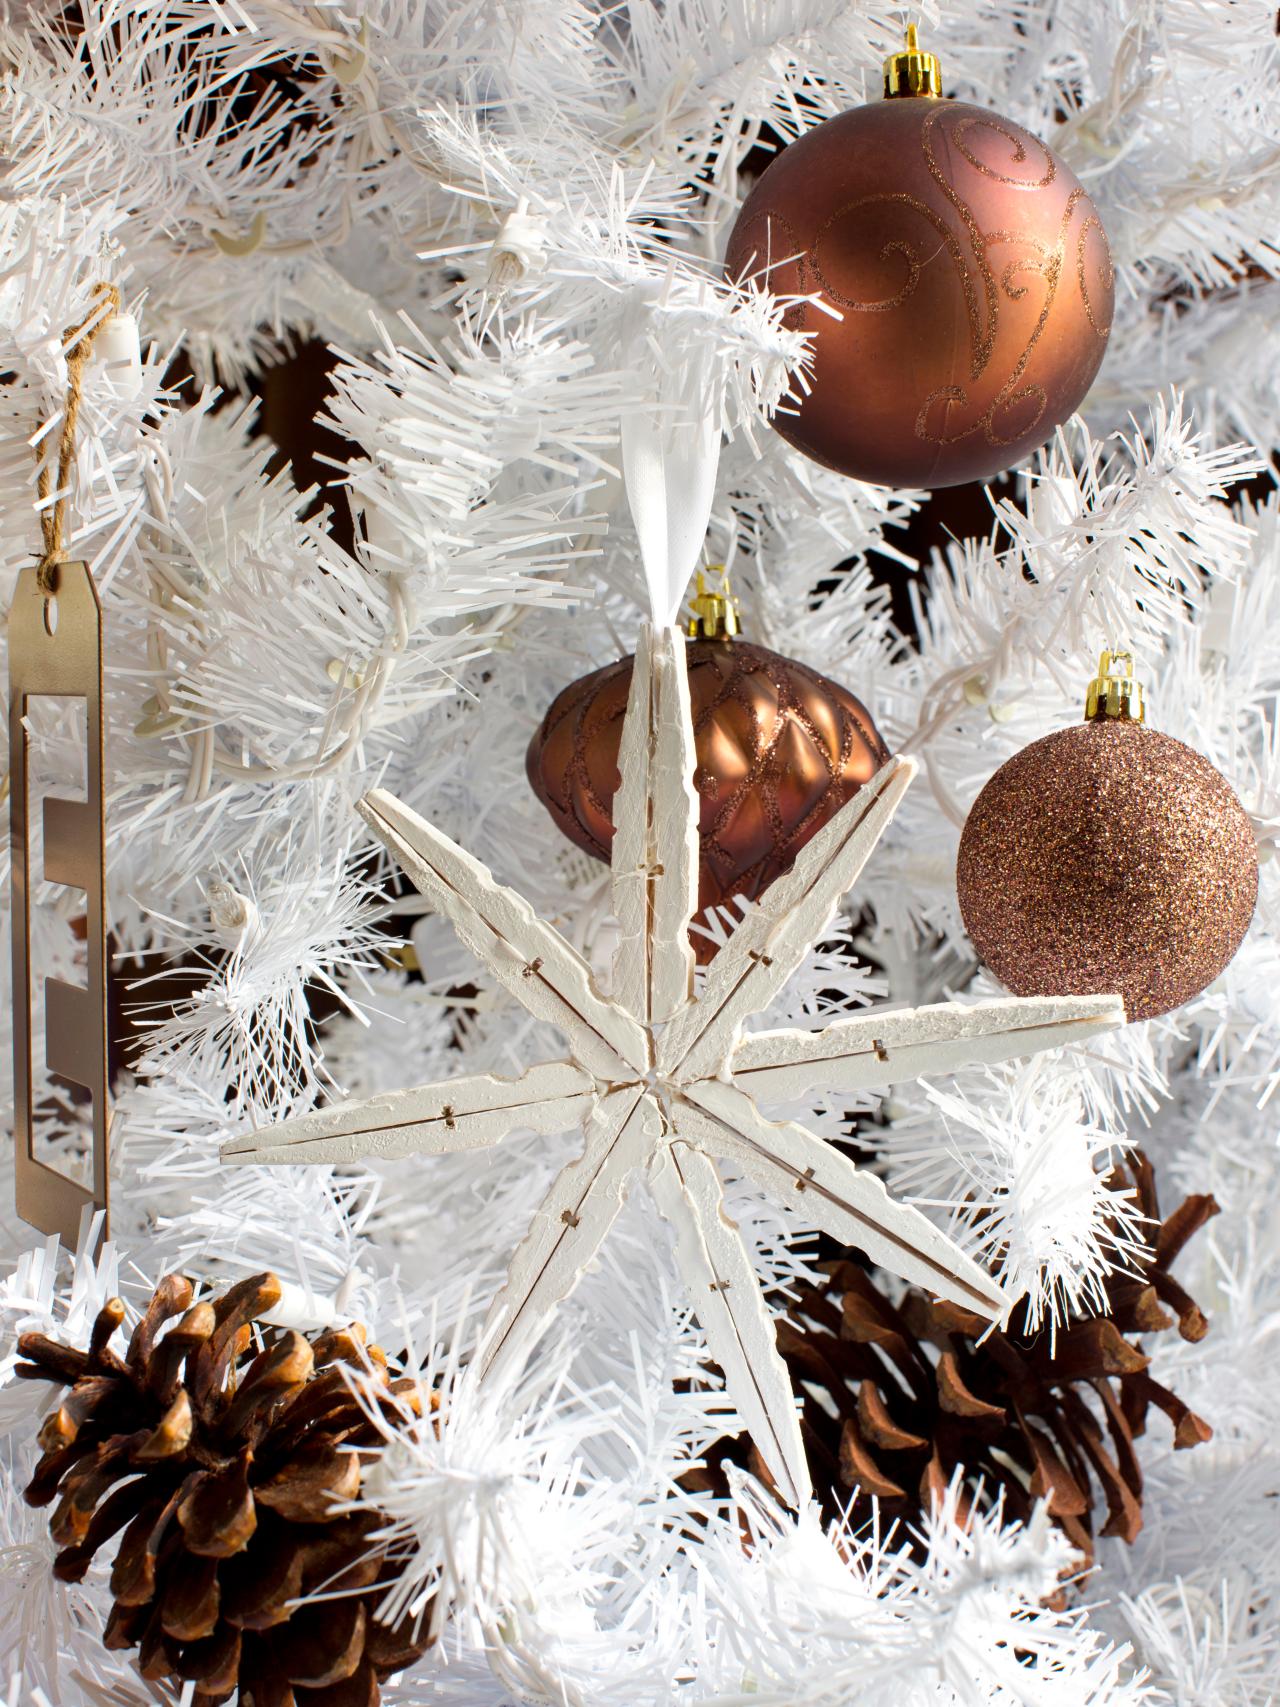
Beautiful Snowflake Ornament
This snowflake ornament is made of clothes pins and is a beautiful accessory to any tree.

Materials Needed:
- 8 wooden clothespins per snowflake
- ribbon
- hot glue gun and glue sticks
- white spray paint or white craft paint and a paintbrush
- craft paper or drop cloth
- scissors
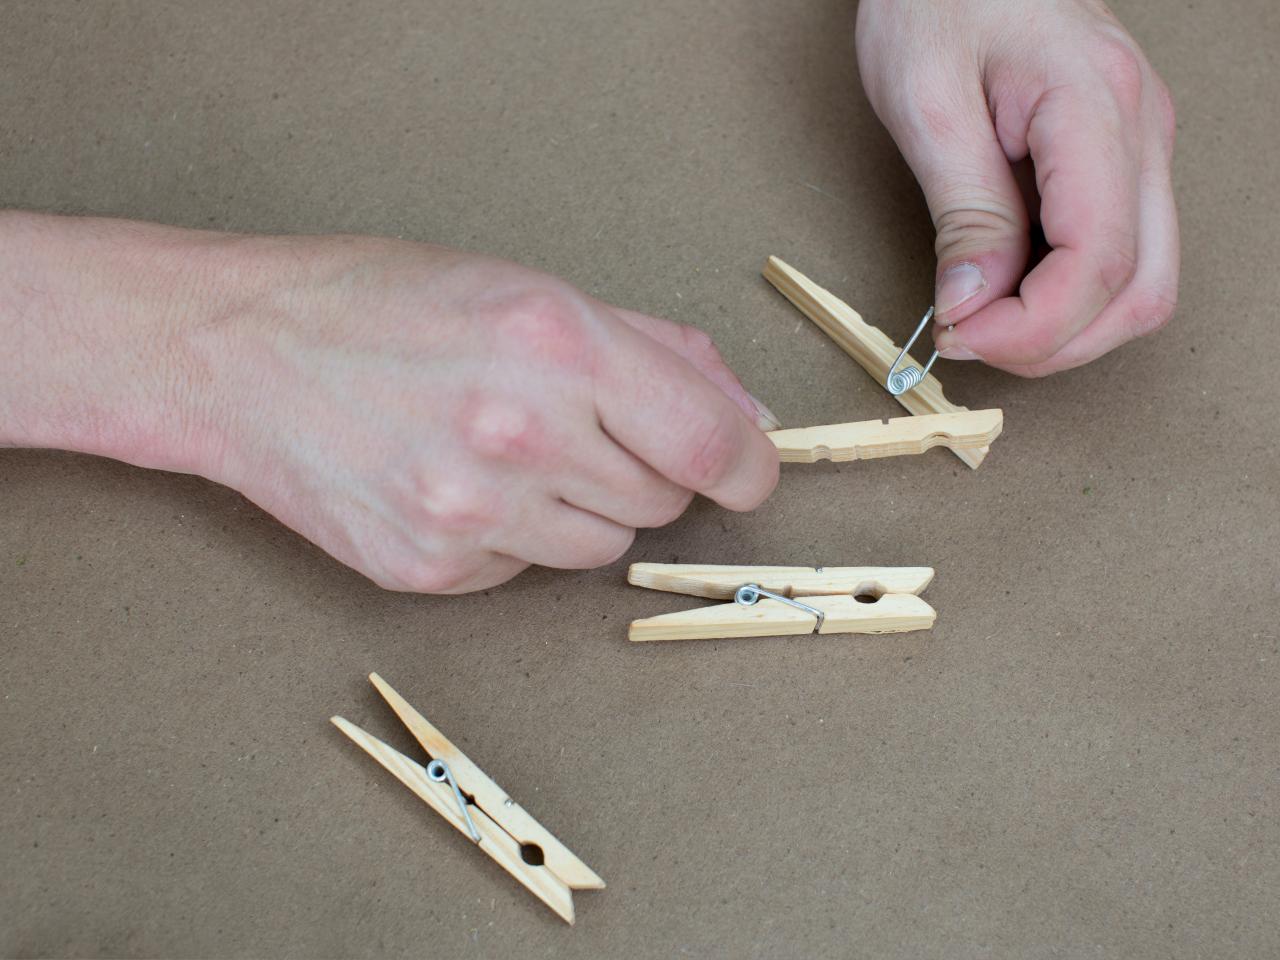
Separate Clothespins
Twist the top clothespin sideways and wiggle it loose from the fulcrum spring (Image 1). Once top clothespin is removed, slide metal fulcrum spring off bottom clothespin (Image 2).
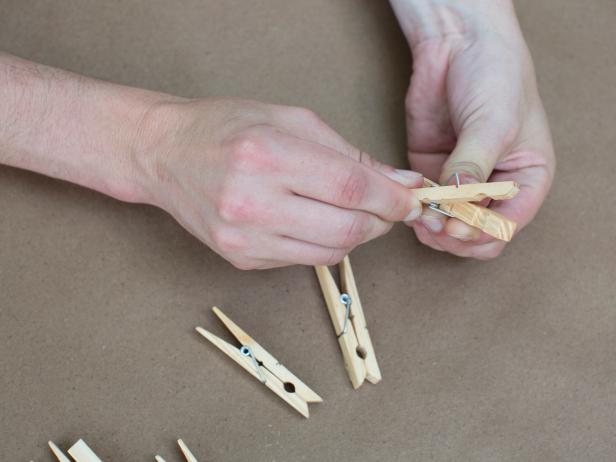

Separating the Clothespins
Twist the top clothespin sideways and wiggle it loose from the fulcrum spring.
Taking Metal Spring Off a Clothespin
Once top clothespin is removed, slide metal fulcrum spring off bottom clothespin
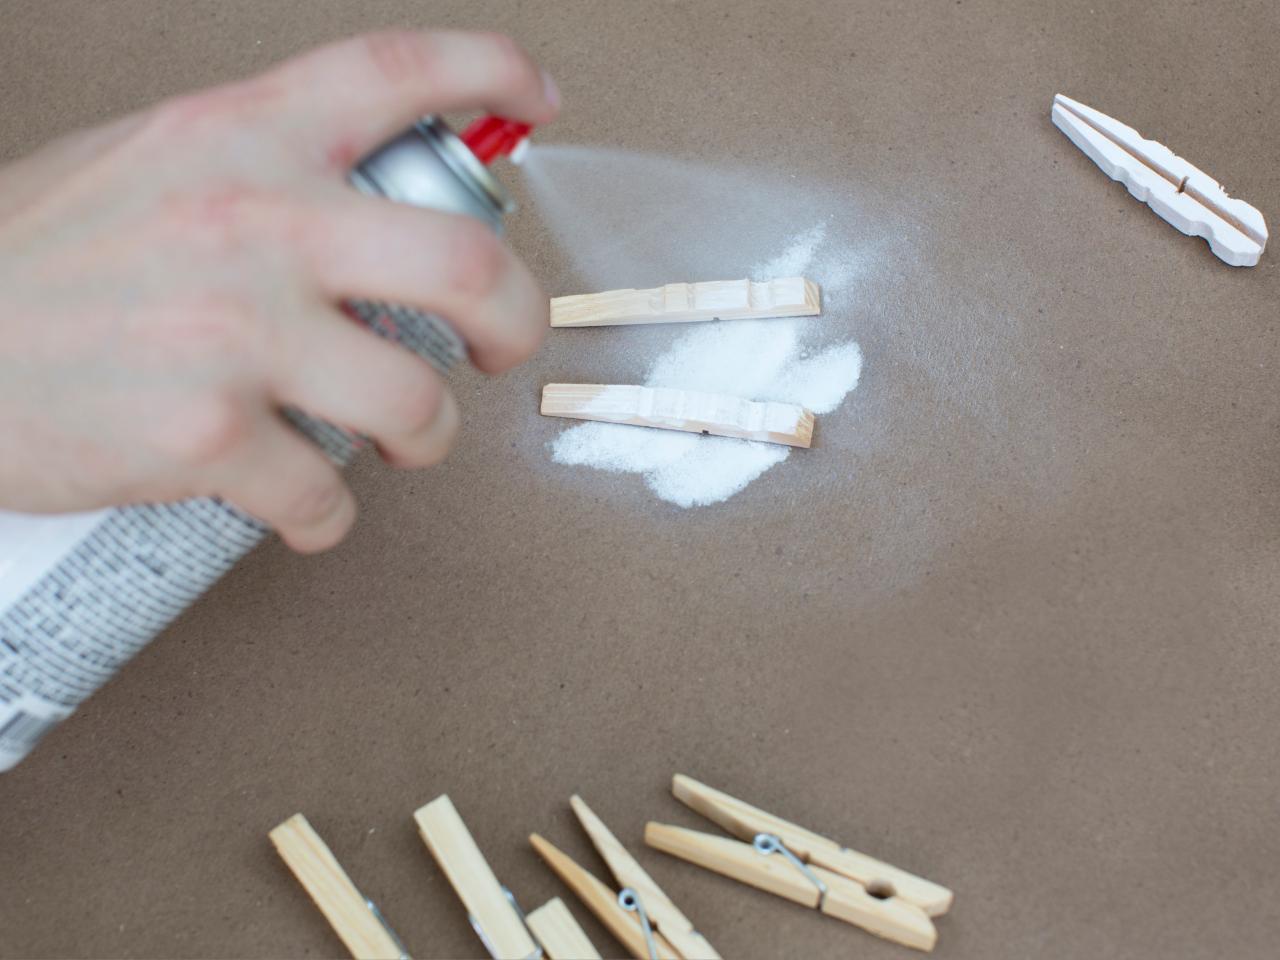
Paint
Working in a well-ventilated room, cover a tabletop with craft paper or a drop cloth. With spray paint can held approximately six inches away from clothespins, give each half a smooth coat of spray paint in a steady, controlled manner. For small kids, white craft paint applied with a paint brush is a great alternative.

Painting Clothespins
Working in a well-ventilated room, cover a tabletop with craft paper or a drop cloth. With spray paint can held approximately six inches away from clothespins, give each half a smooth coat of spray paint in a steady, controlled manner. For small kids, white craft paint applied with a paint brush is a great alternative.
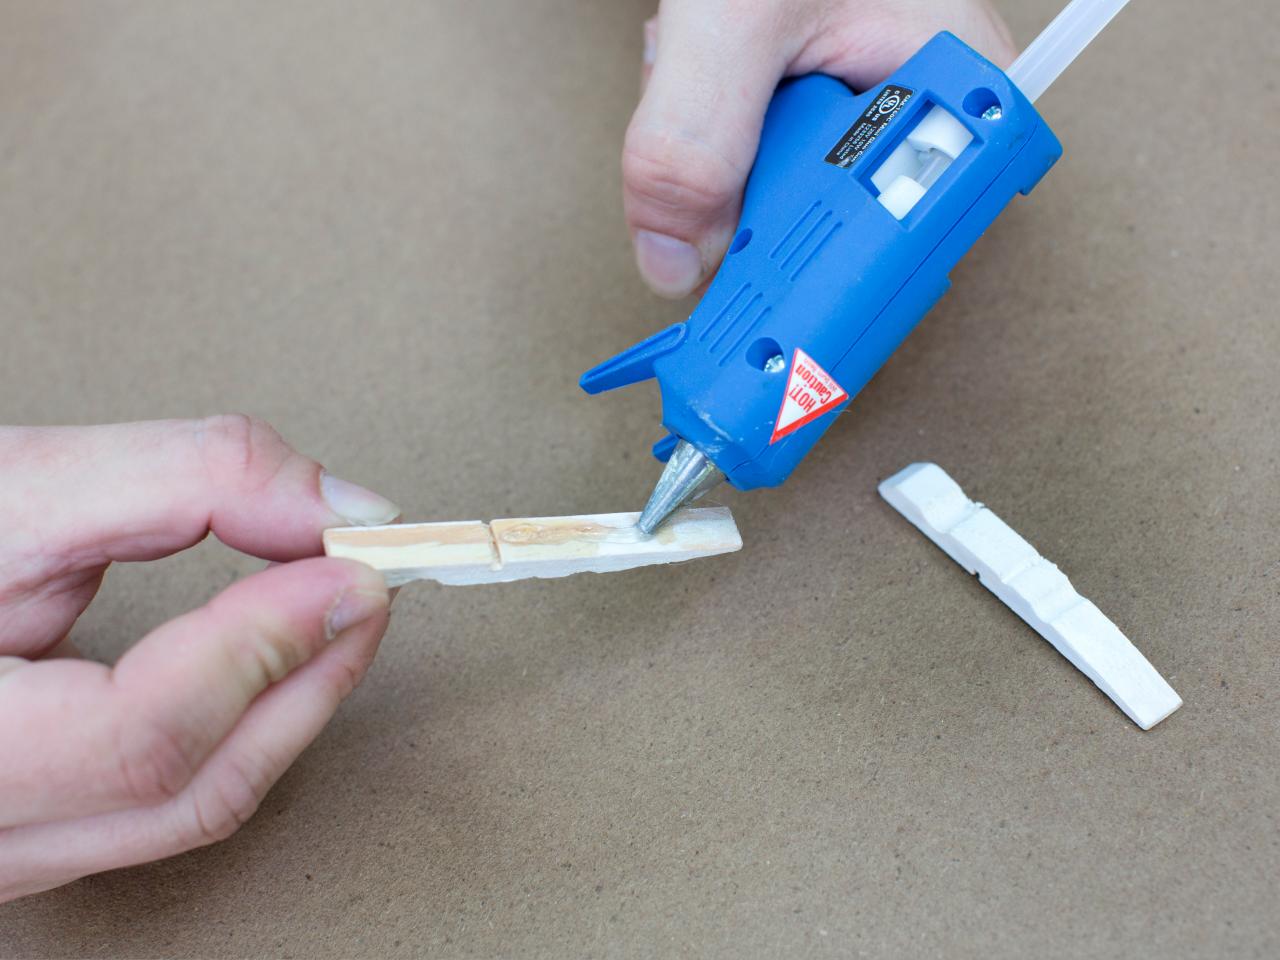
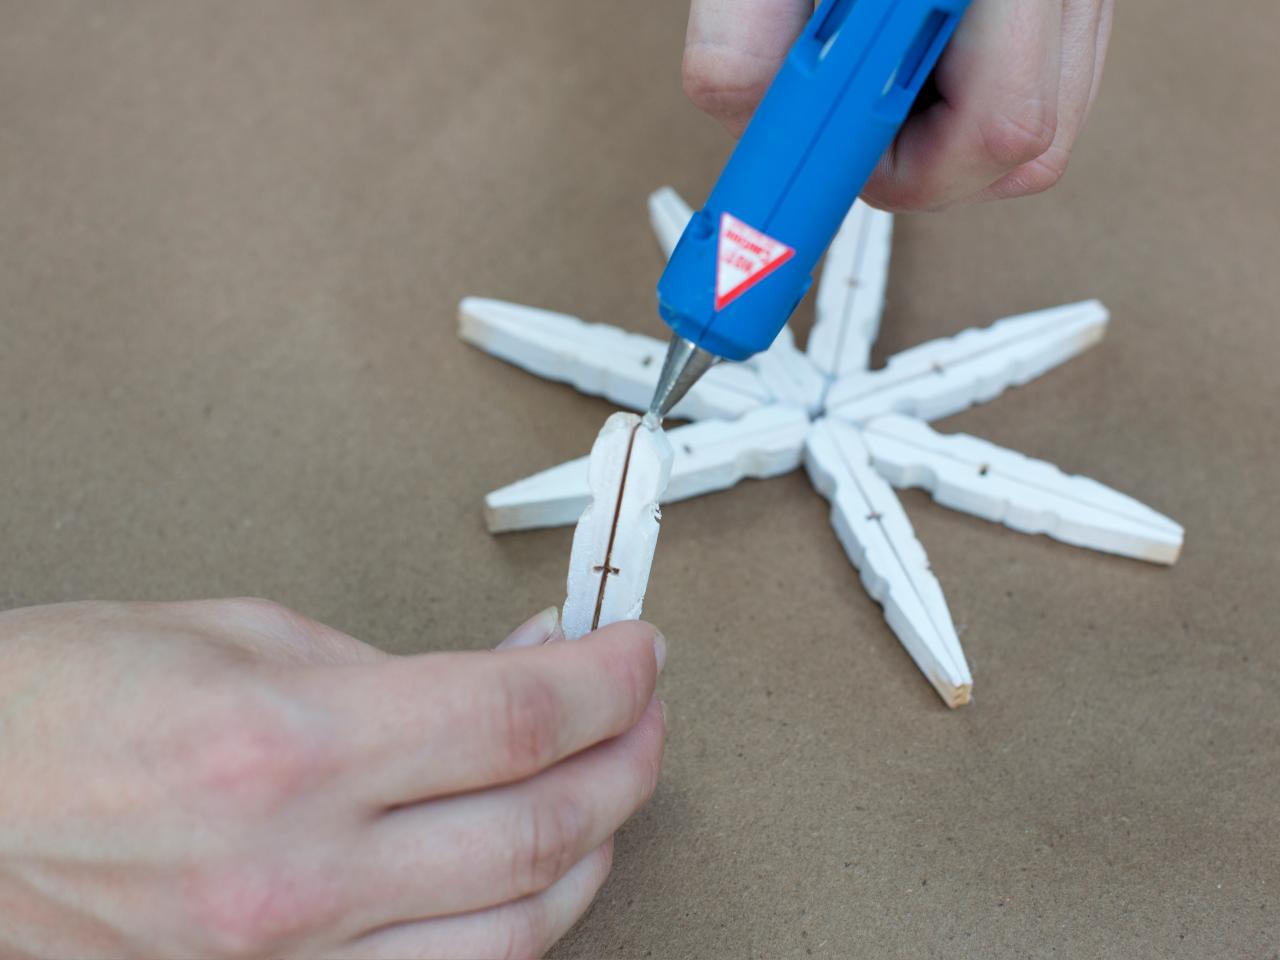
Glue Clothespins' Backs Together
Add hot glue to the clothespins' unpainted backs (Image 1). While glue is still hot, press top and bottom clothespin pieces together to create one spoke of the snowflake (Image 2). Repeat these steps for six of the remaining spokes, leaving one pair of clothespin halves unglued.

Press Clothespins Together
While glue is still hot, press top and bottom clothespin pieces together to create one spoke of the snowflake. Repeat these steps for six of the remaining spokes, leaving one pair of clothespin halves unglued.
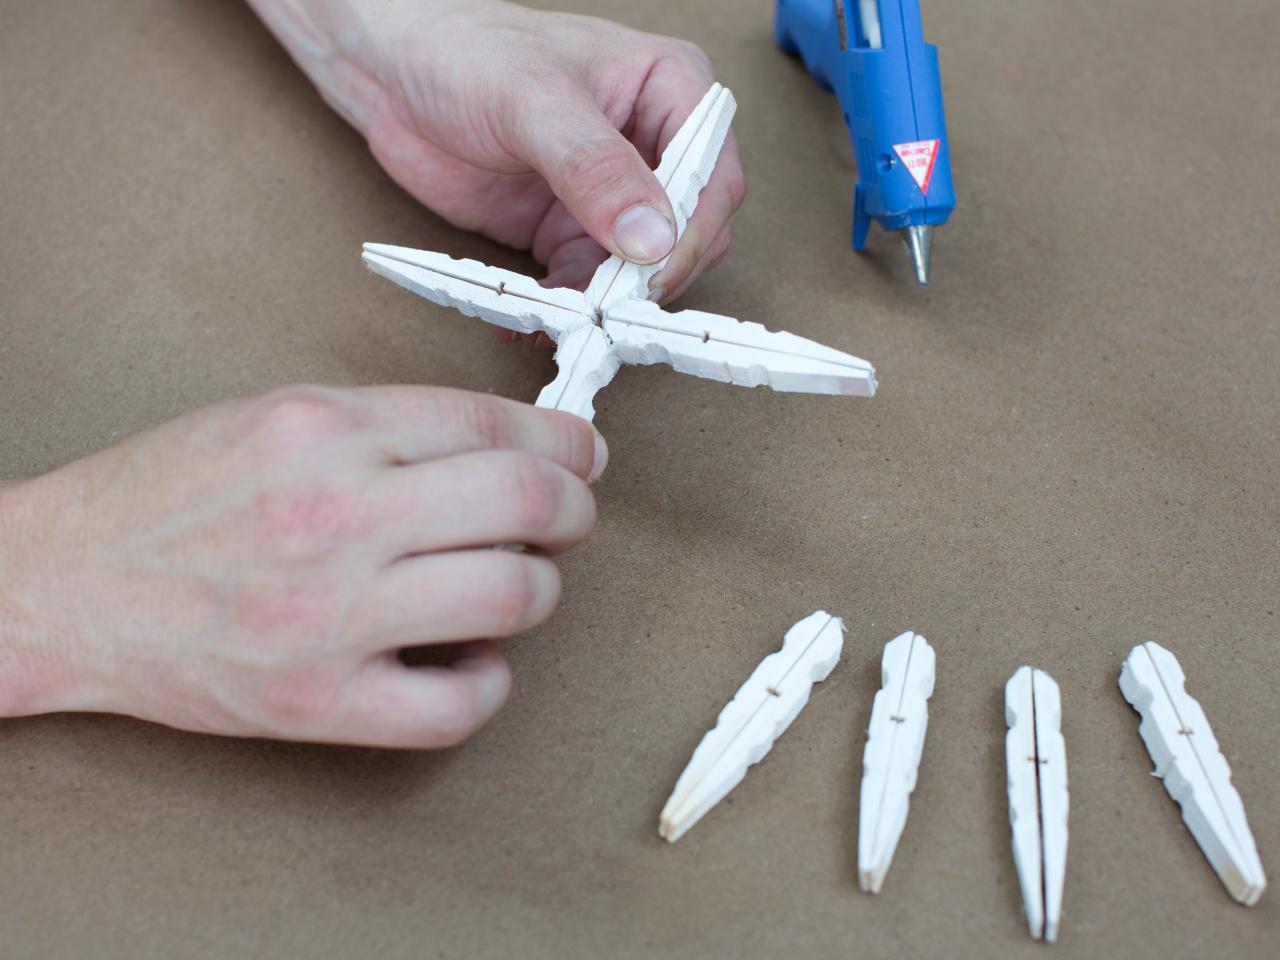
Connect First Layer of Spokes
It's best to connect spokes four at a time since the glue will dry faster with less weight to adhere to. Using a hot glue gun, add a bead of glue along each angled tip. Once four spokes are connected, lay them flat on craft paper or drop cloth to dry thoroughly.

Connecting First Layer of Spokes
It's best to connect spokes four at a time since the glue will dry faster with less weight to adhere to. Using a hot glue gun, add a bead of glue along each angled tip. Once four spokes are connected, lay them flat on craft paper or drop cloth to dry thoroughly.
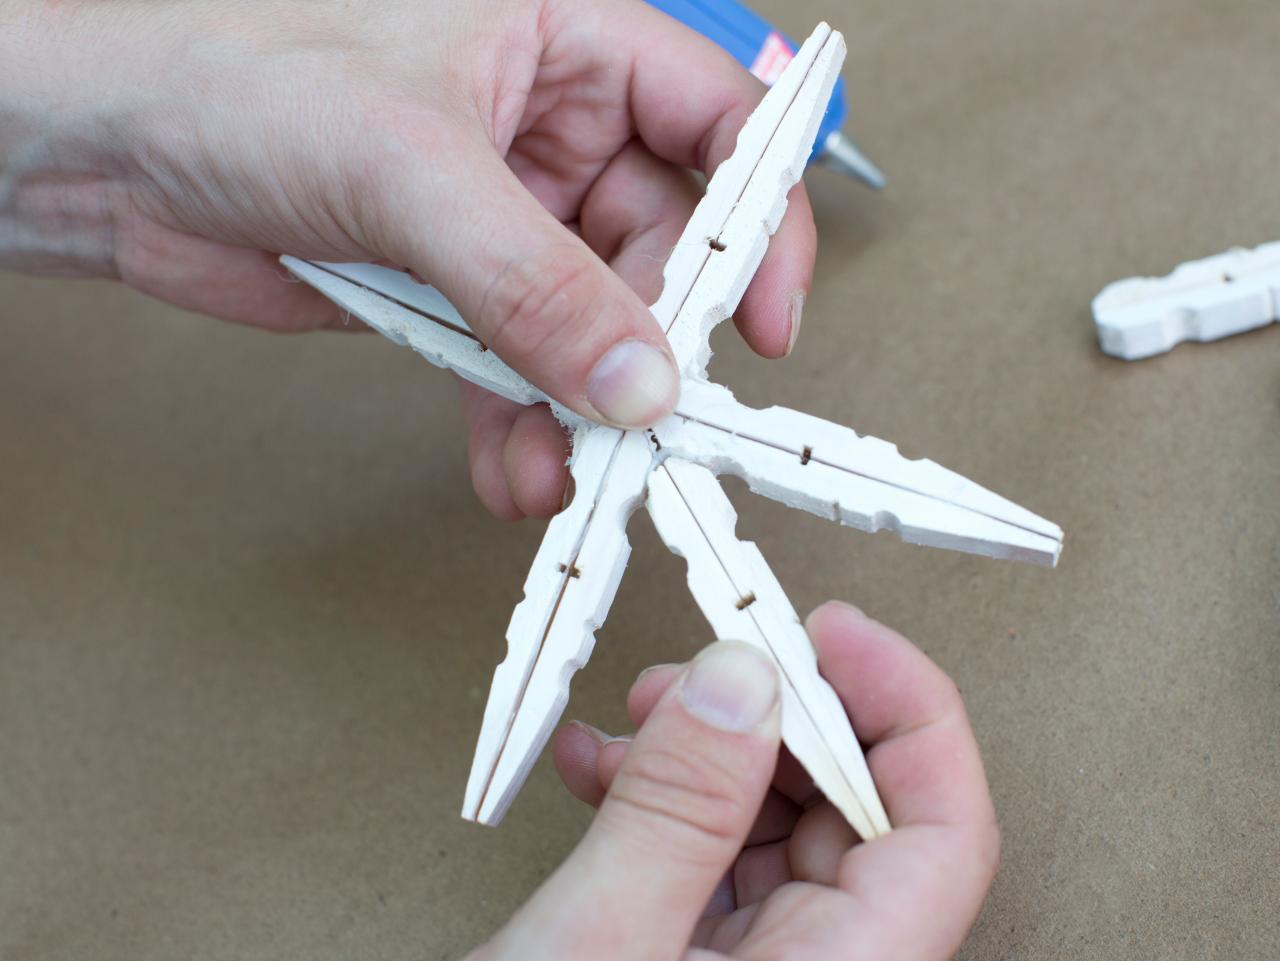
Connect Second Layer of Spokes
Connect three of the four remaining spokes by adding a bead of glue to the angled tips, then placing it between each existing, pre-glued spoke. Note: The final spoke will be outfitted as the ornament's hanger and requires extra steps.

Gluing Second Layer of Spokes on Clothespin Ornament
Connect three of the four remaining spokes by adding a bead of glue to the angled tips, then placing it between each existing, pre-glued spoke. Note: The final spoke will be outfitted as the ornament's hanger and requires extra steps.
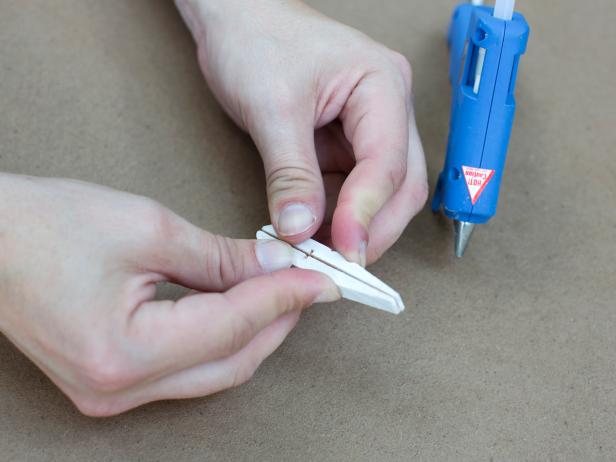
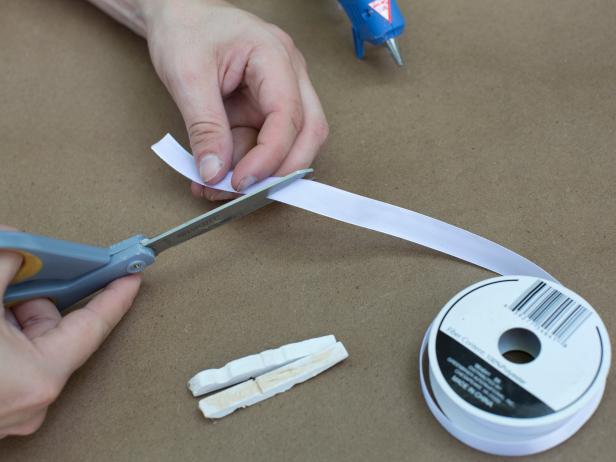
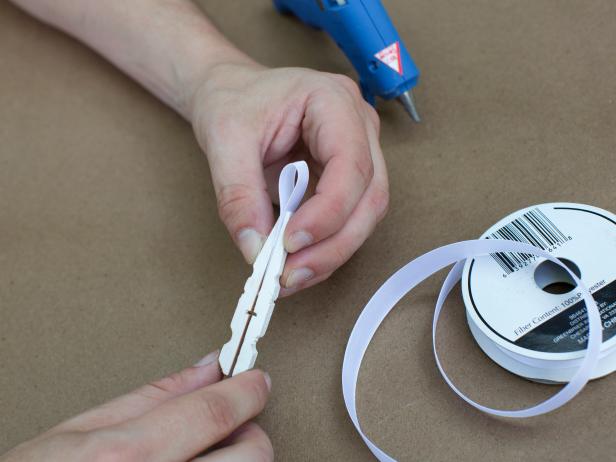
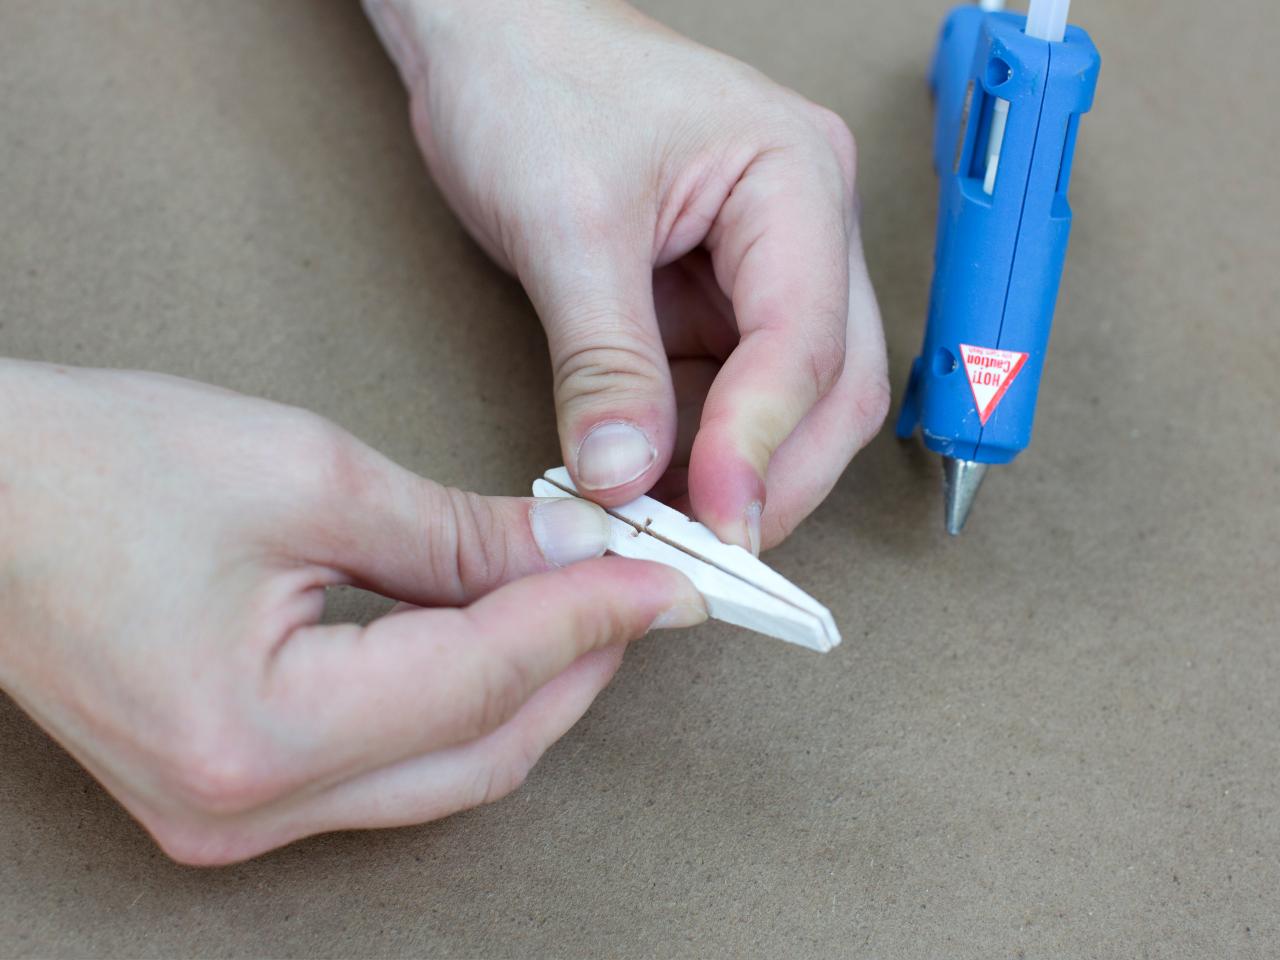
Create Ribbon Hanger
Cut a two- to three-inch section of ribbon from the spool (Image 1). Add a bead of hot glue along the unpainted back of each of the two remaining clothespin pieces (Image 2). Before joining them together, insert ribbon loop to create a hanger and press both pieces together for approximately 90 seconds until the glue has cooled (Image 3).
Gluing Clothespins Together for Christmas Tree Ornaments
Add a bead of hot glue along the unpainted back of each of the two remaining clothespin pieces.
Inserting Ribbon Loop
Before joining them together, insert ribbon loop to create a hanger and press both pieces together for approximately 90 seconds until the glue has cooled.
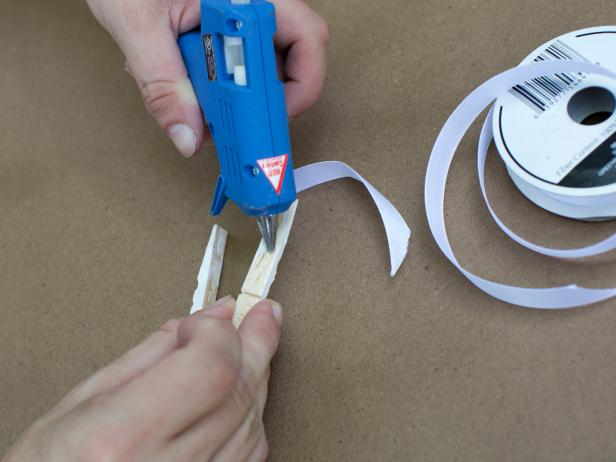
Add Hanging Spoke
Finally, add a bead of hot glue to the angled tip of the hanging spoke (Image 1). Place it in position and hold in place for approximately 90 seconds until glue has cooled (Image 2).


Gluing Hanging Spoke
Place it in position and hold in place for approximately 90 seconds until glue has cooled.


