


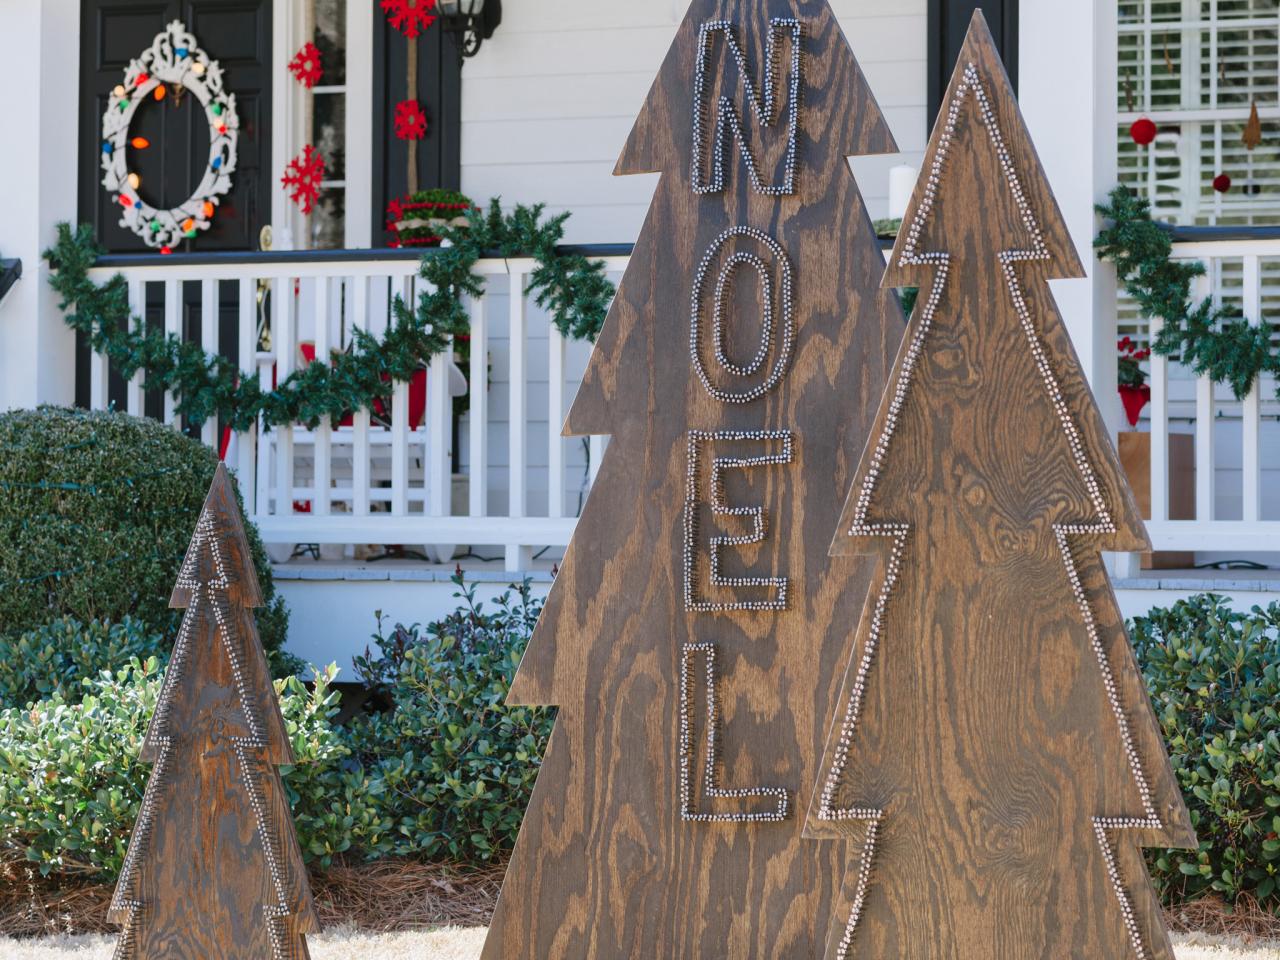
How to Make Rustic Nail-Head Christmas Trees


Materials Needed:
- three 3/4" sheets of plywood
- large piece of cardboard
- box cutter
- jigsaw
- palm sander
- medium-grit palm sander pads
- dark walnut stain
- disposable rags or staining pads
- box of penny nails
- hammer
- pencil
- two 2x4s
- landscaping spotlights
- straight edge
- measuring tape
- shovel
- drill
- 1" wood screws
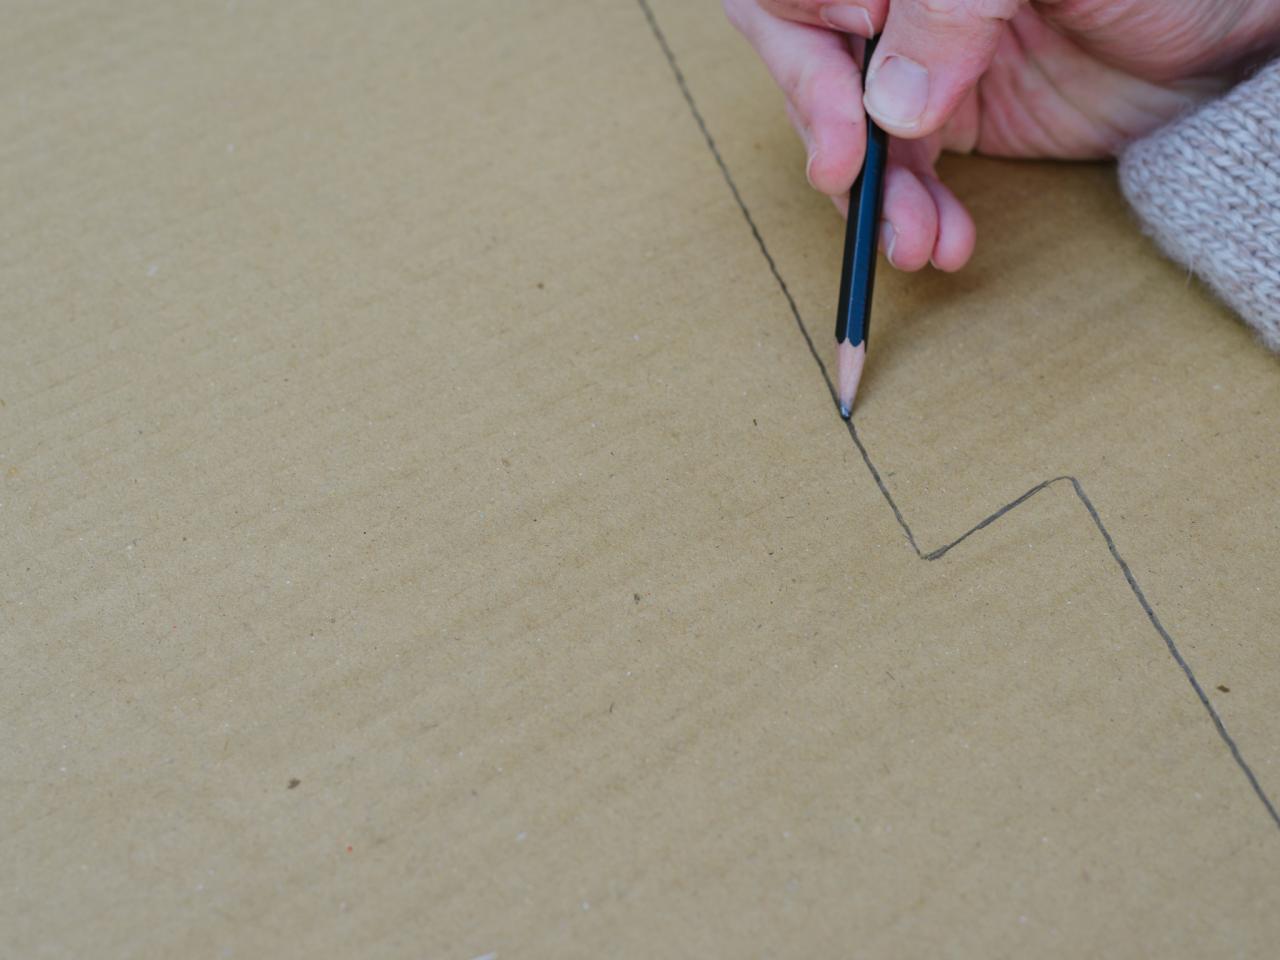
Trace Christmas Tree
Lay cardboard out on a flat, level surface. Trace one half of a Christmas tree silhouette, length-wise, onto cardboard using the edge of the cardboard as the center point.

Brian Patrick Flynn
Cut Christmas Tree Template
On a flat, level surface, cut half Christmas tree template from cardboard using box cutter.

Find and Mark Center Point of Plywood
Use measuring tape to determine center point of plywood sheet. Mark center point with pencil and straight edge. (This will create a perfectly straight line up the center of the plywood.) This line will be your guide for placing, then flipping and reversing, the half Christmas tree template.

Brian Patrick Flynn
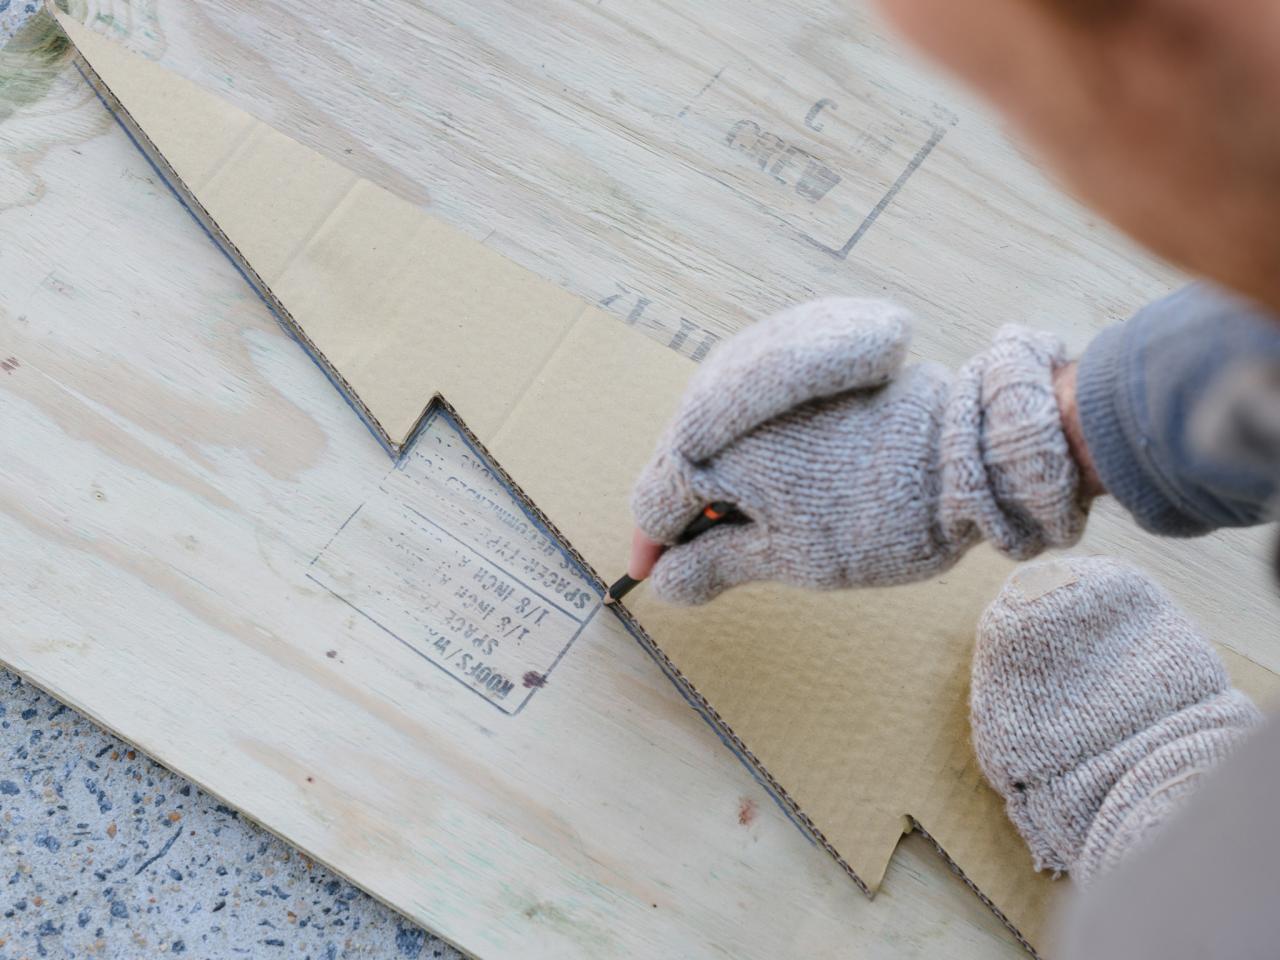
Trace Template to Plywood
Line half Christmas tree template up with straight center line of plywood. Trace using pencil. Flip half Christmas tree template over to its mirror image shape, trace with pencil, then remove template from plywood.

Brian Patrick Flynn
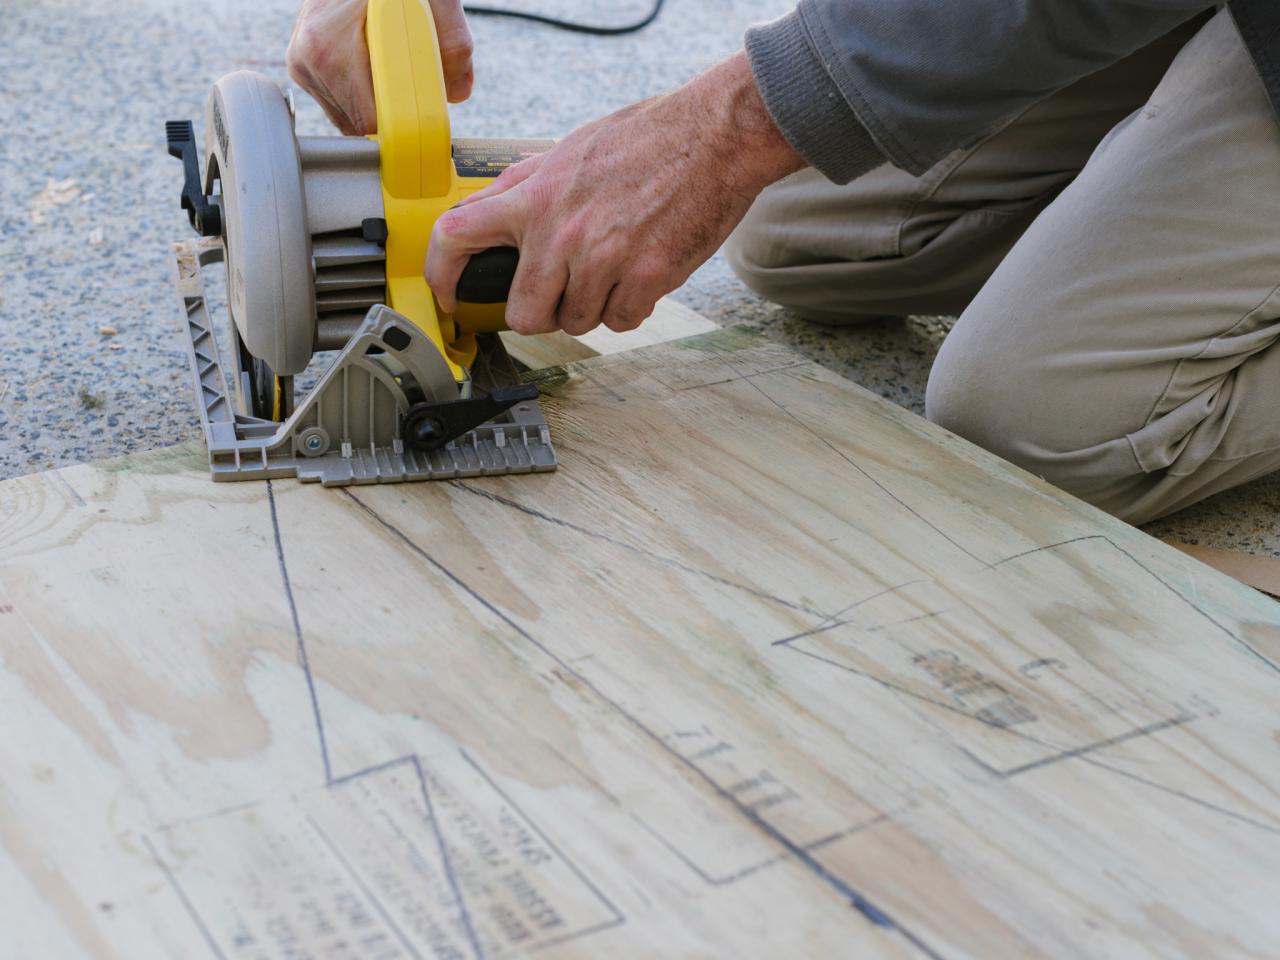
Cut With Jigsaw
With plywood laid out securely on a flat, level surface, use jigsaw to cut out Christmas tree silhouette.

Brian Patrick Flynn
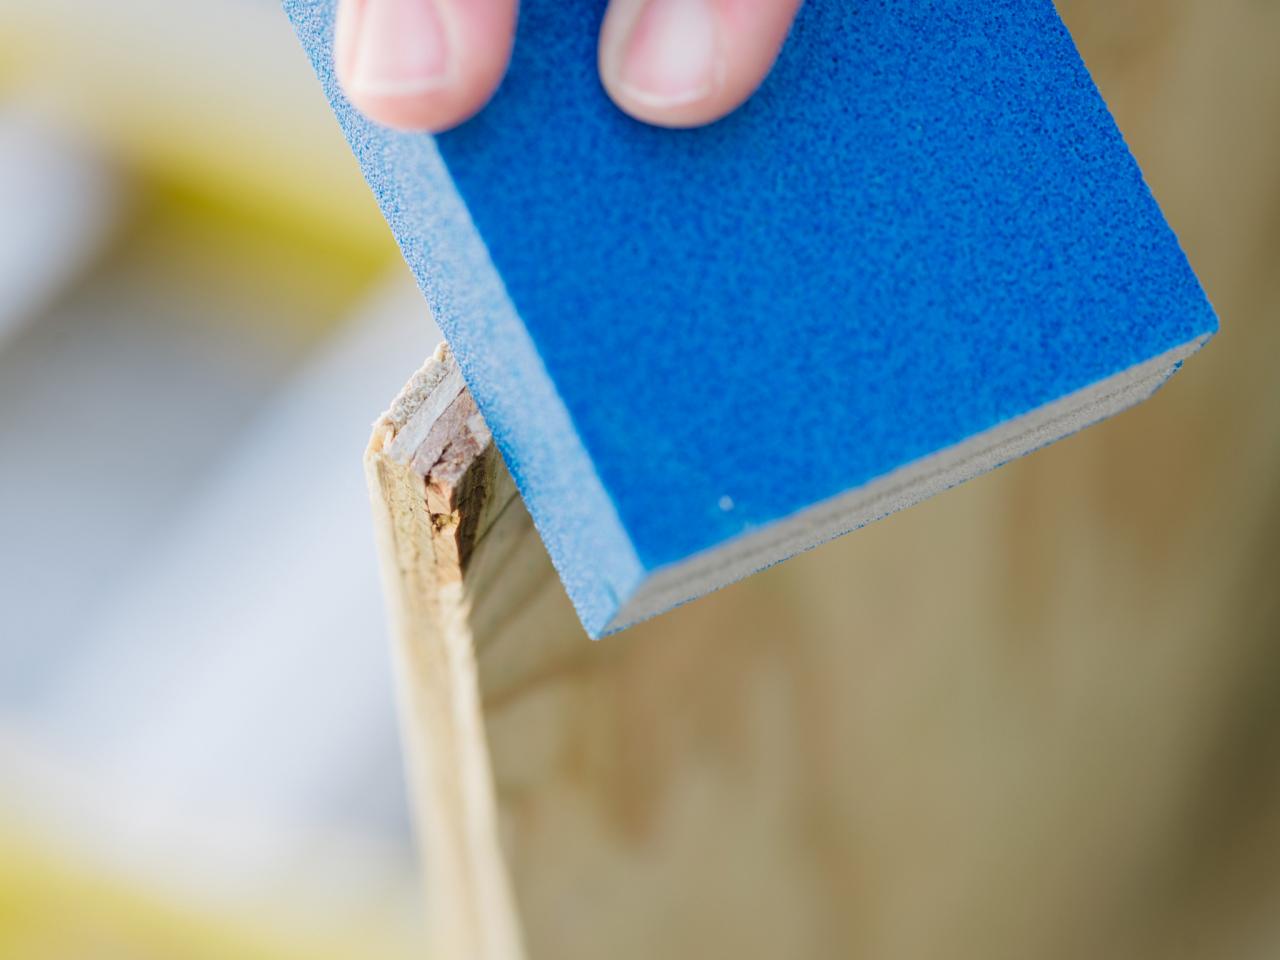
Sand Edges
Use palm sander and medium-grit palm sander pads to smooth edges of plywood.

Brian Patrick Flynn
Add Paint or Stain
In a well-ventilated area, apply stain to plywood using disposable rags or staining pads. Due to sun-fading, it's wise to use 2 to 3 coats of stain, allowing approximately 2 hours dry time between each coat. Note: For a more graphic, high-contrast wood-grain effect, use a dark stain such as dark walnut or ebony. For a colorful, painted look, apply 2 coats of exterior paint with paintbrush or roller handle, allowing approximately 2 hours of dry time between each coat.

Brian Patrick Flynn
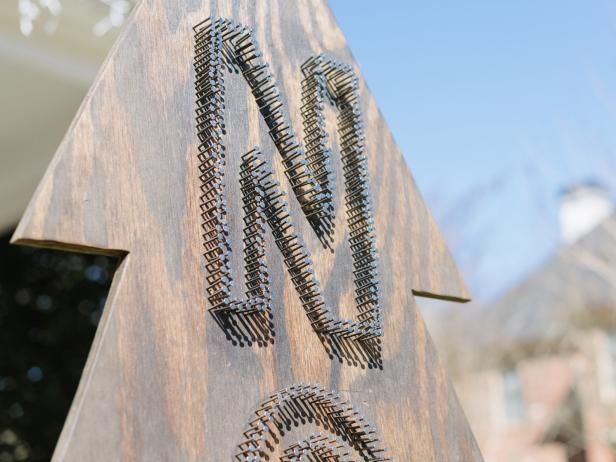
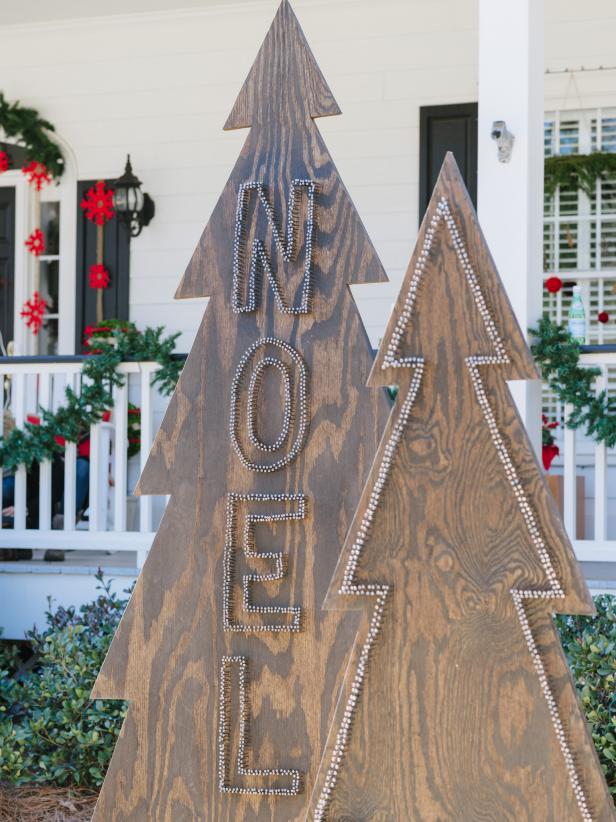
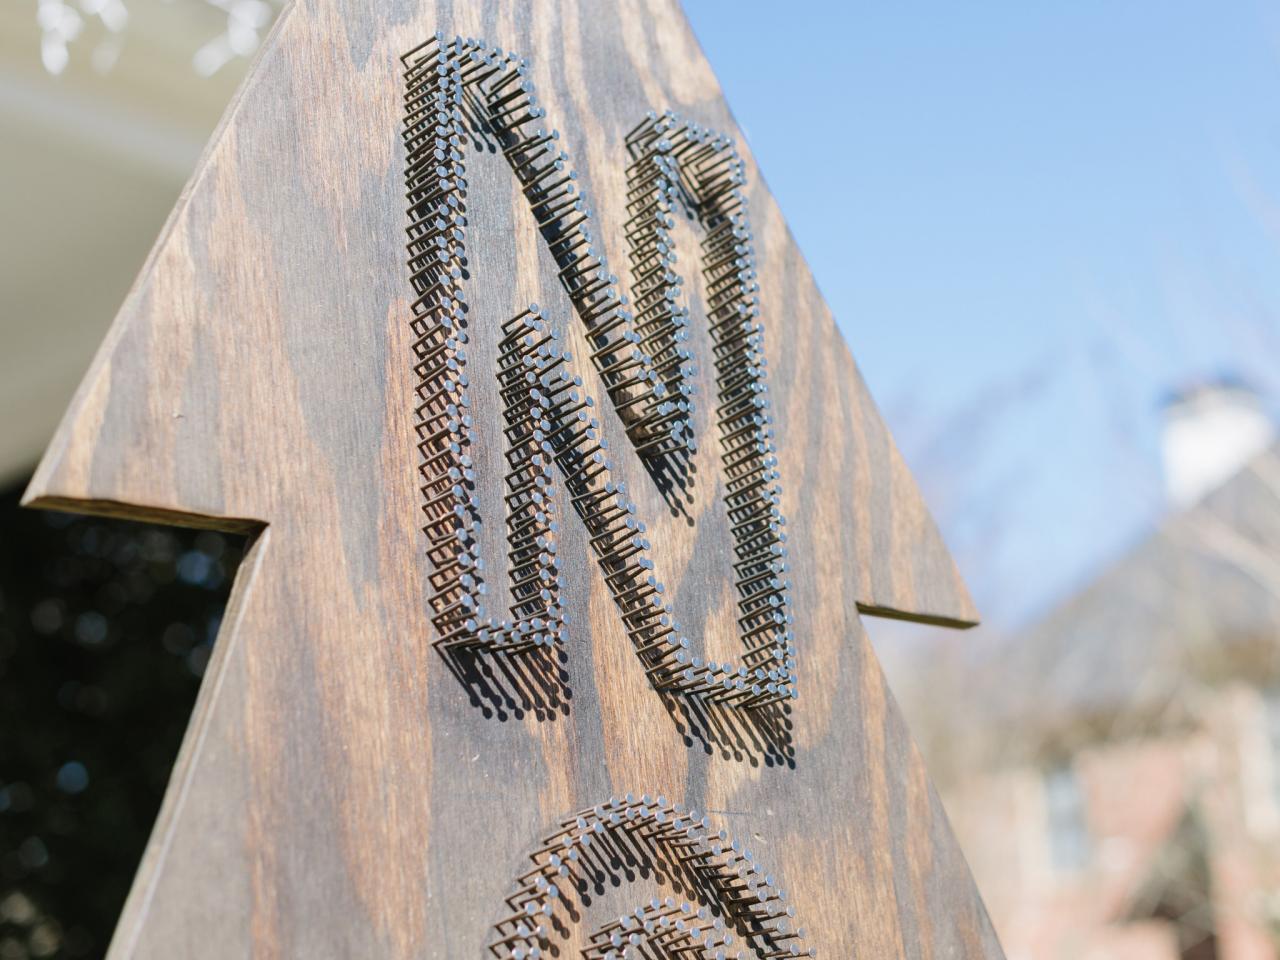
Add Penny Nails to Perimeter
Add penny rounds along perimeter of tree silhouette by applying penny nails, one at a time, with hammer. Tip: To cut down on the amount of time and the amount of penny nails needed, leave 1/4-inch space between each nail head. For the most graphic effect from a far distance, consider adding two or three rows around the perimeter.

Brian Patrick Flynn
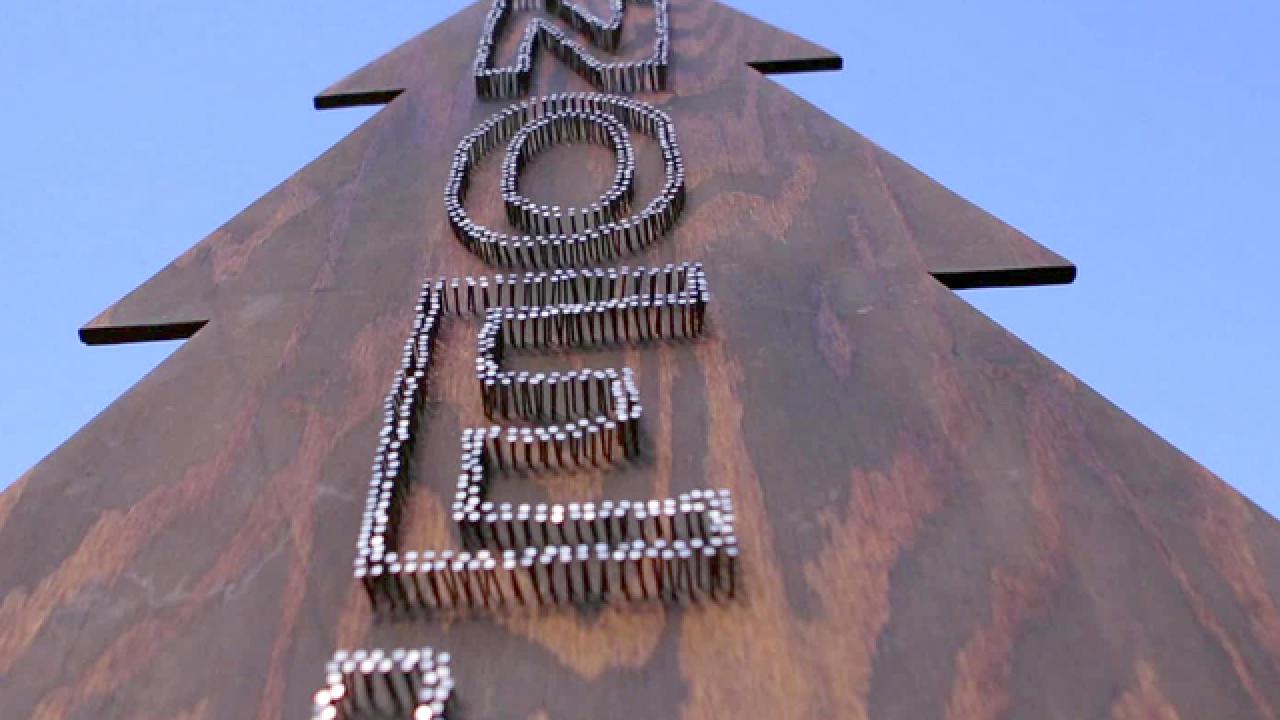
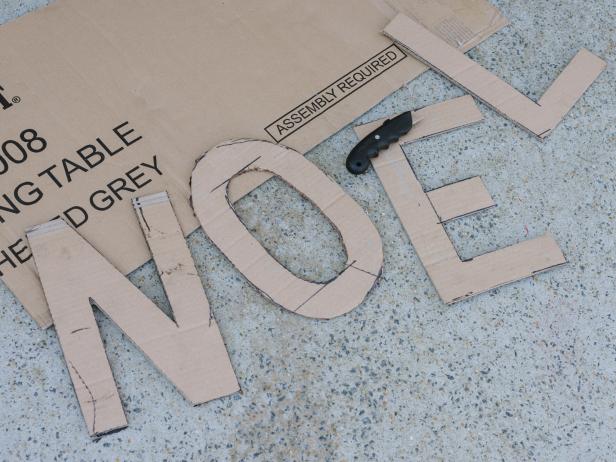
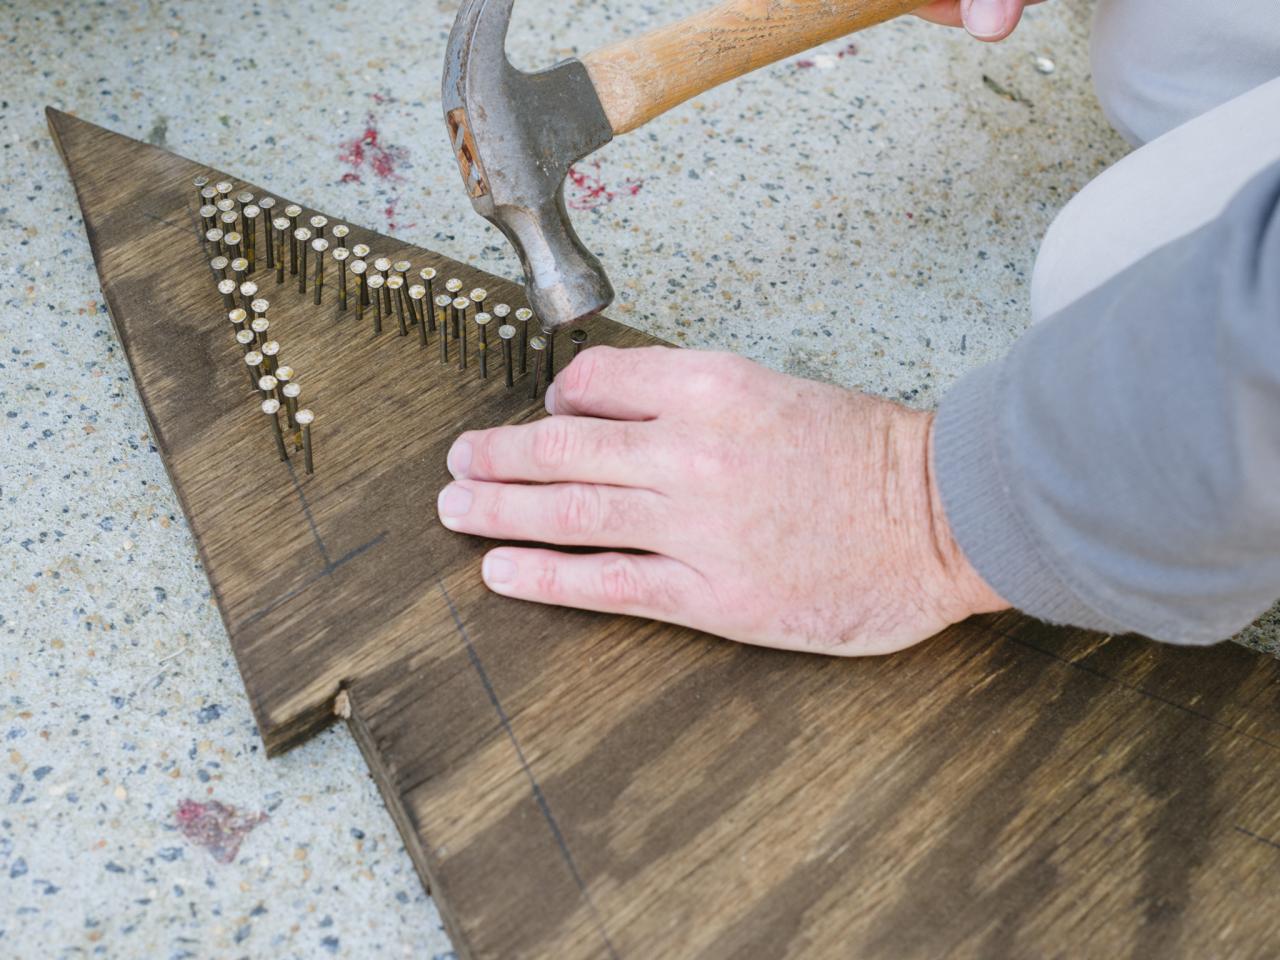
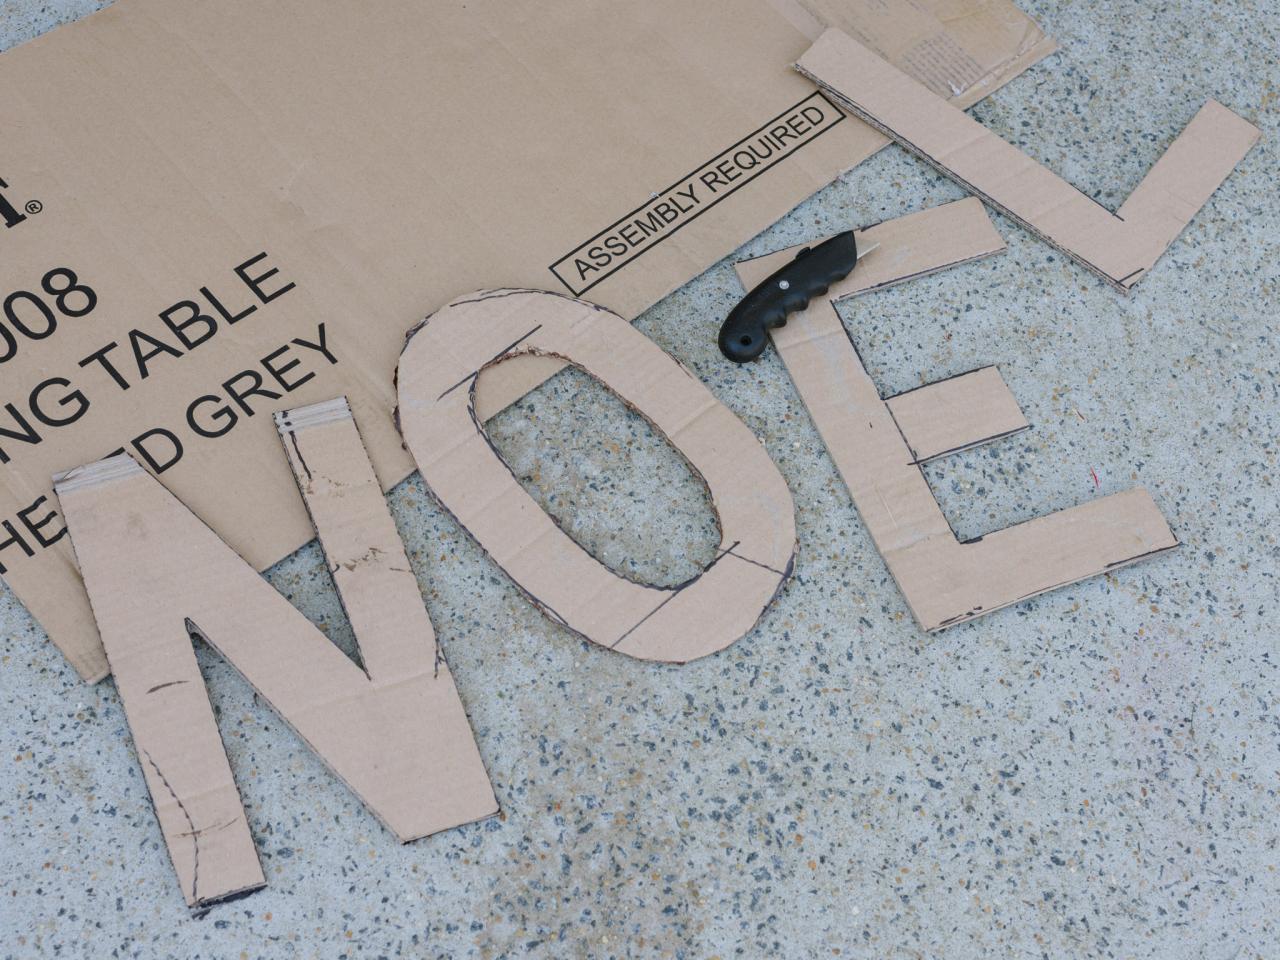
Add Words With Nail Heads
For an extra layer of decoration, consider adding words to your tree silhouette by tracing letters or numbers directly to cardboard, cutting with a box cutter, then tracing directly to plywood. Add penny nails to traced outline with hammer.
Brian Patrick Flynn
Brian Patrick Flynn
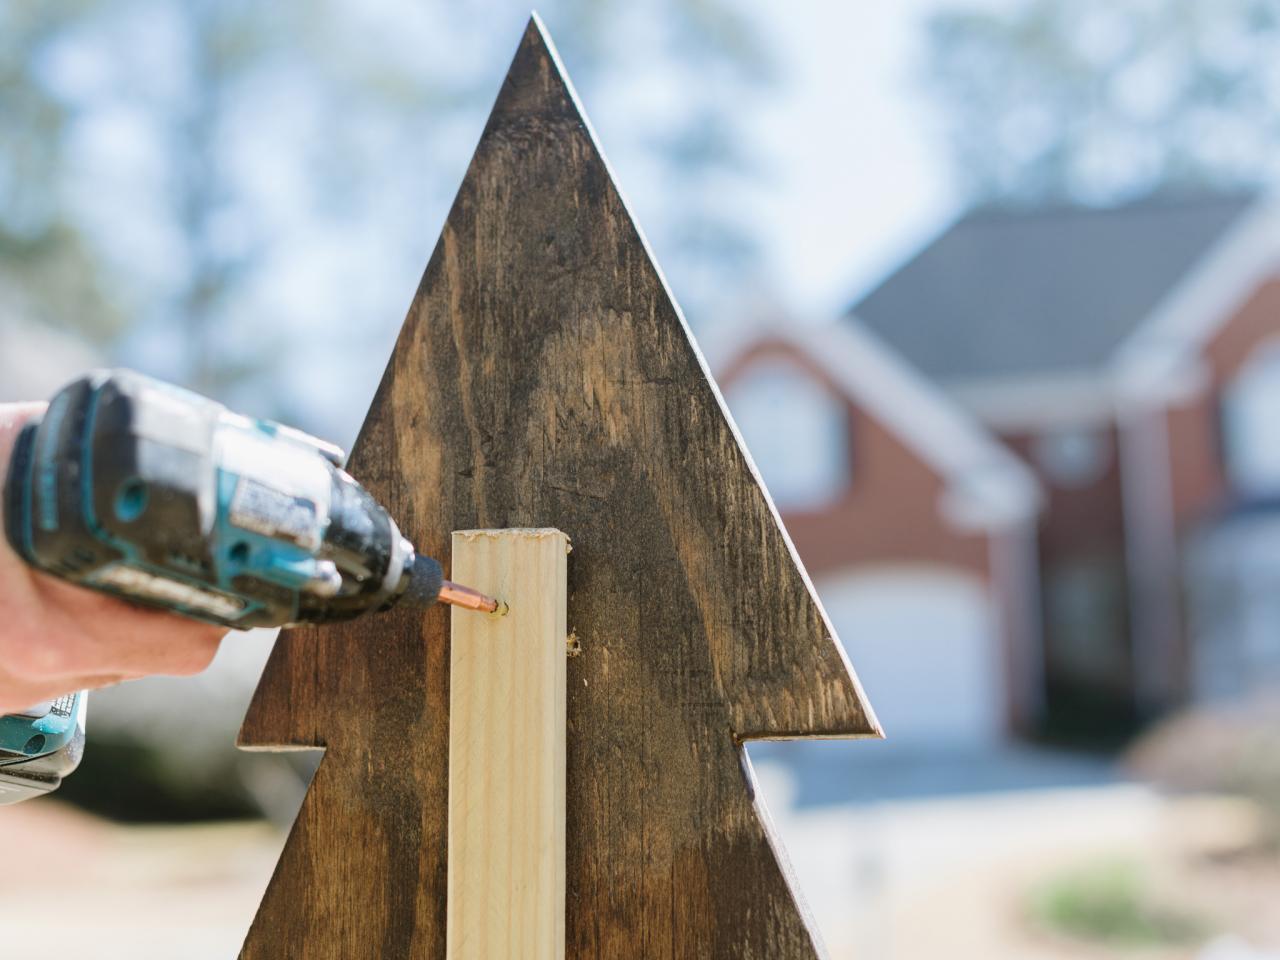
Secure in Yard
Force 2X4 into area of yard with soft soil. Hard surfaces such as clay may require a starter hole to be created with a shovel. Once stakes are secure, attach plywood tree silhouette to 2X4 with drill and 1-inch wood screws.

Brian Patrick Flynn
Illuminate With Spotlights
In order to be able to see the tree silhouettes at night, add landscaping spotlights to the ground in front of the silhouettes, angled halfway up to the top.

Brian Patrick Flynn
Brian Patrick Flynn


