


How to Make a Beautiful, Paint-Poured Accent Tray
Transform basic decor into unique home accents with this mesmerizing paint-swirling technique.
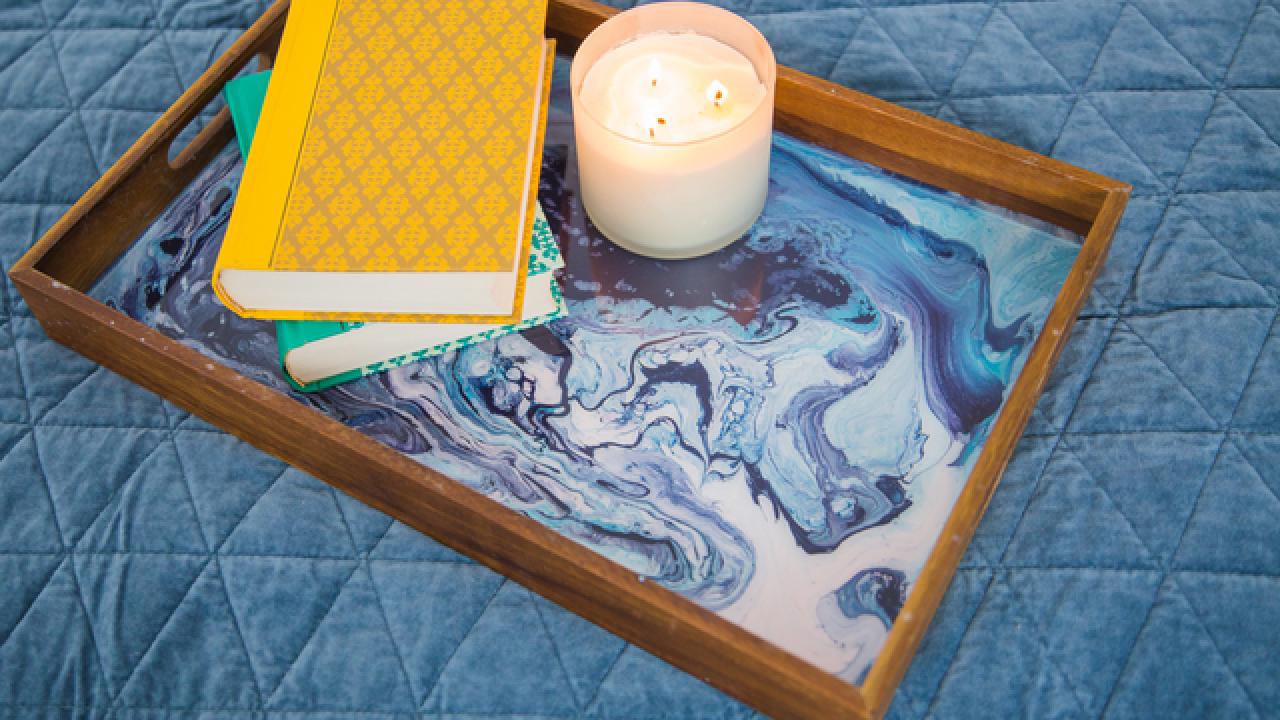

Paint pouring — the mesmerizing technique of swirling paint together to create a 'marbled' effect — is the hot new craft world craze, and it's easy to see why. Not only is paint-pouring totally mesmerizing, it's insanely easy to do and produces incredible, beautiful results. We upgraded a basic wood tray by swirling together complementary teal, dark blue and light pink acrylic paints, but you could apply this technique to almost any flat surface, including tabletops and canvases. The possibilities are endless!

Jennie Andrews
What You'll Need
- wood tray
- white school glue
- water
- acrylic paint in 3 complementary colors
- food-grade epoxy
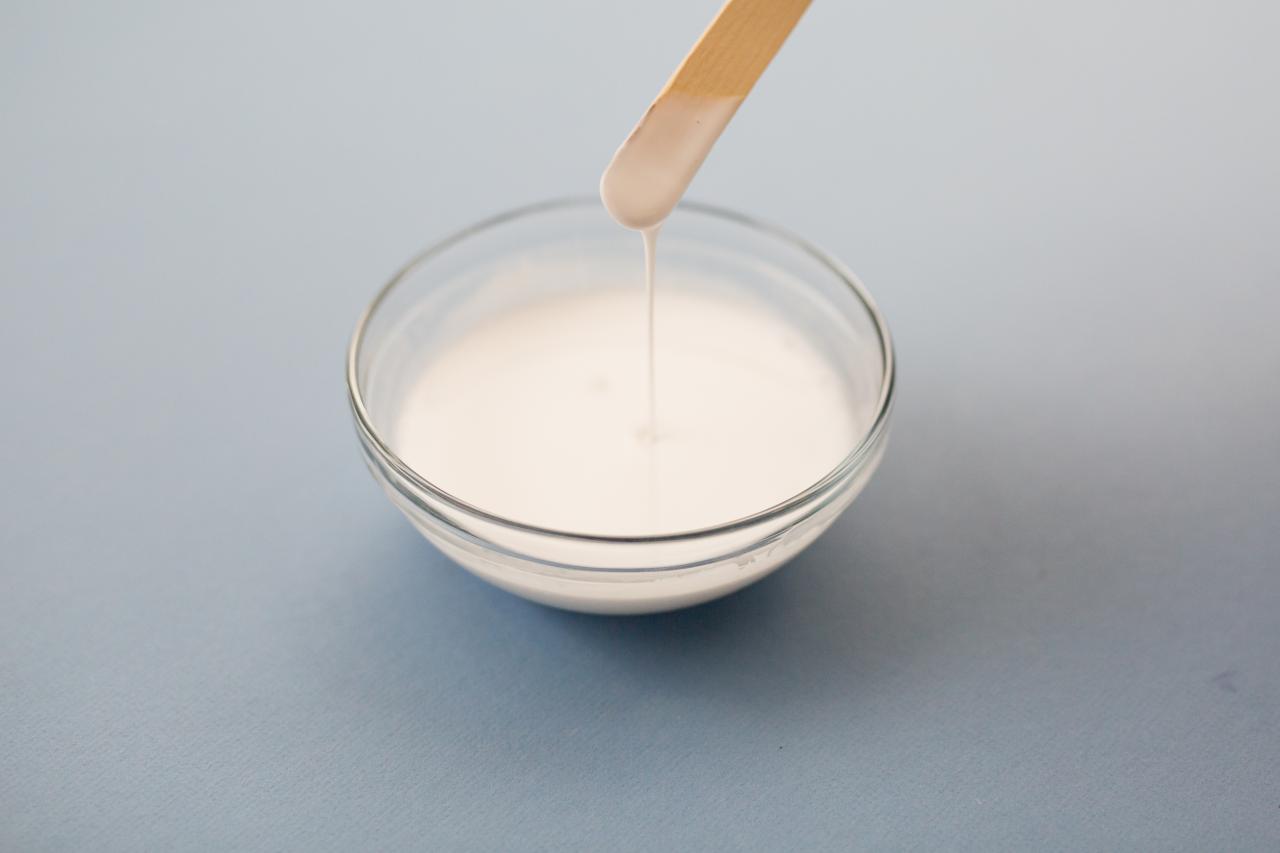
Combine Glue & Water

Cassidy Garcia Photography

Cassidy Garcia Photography
Combine one part white school glue with one part water in a bowl. Mix well, then distribute the mixture evenly into three paper cups.
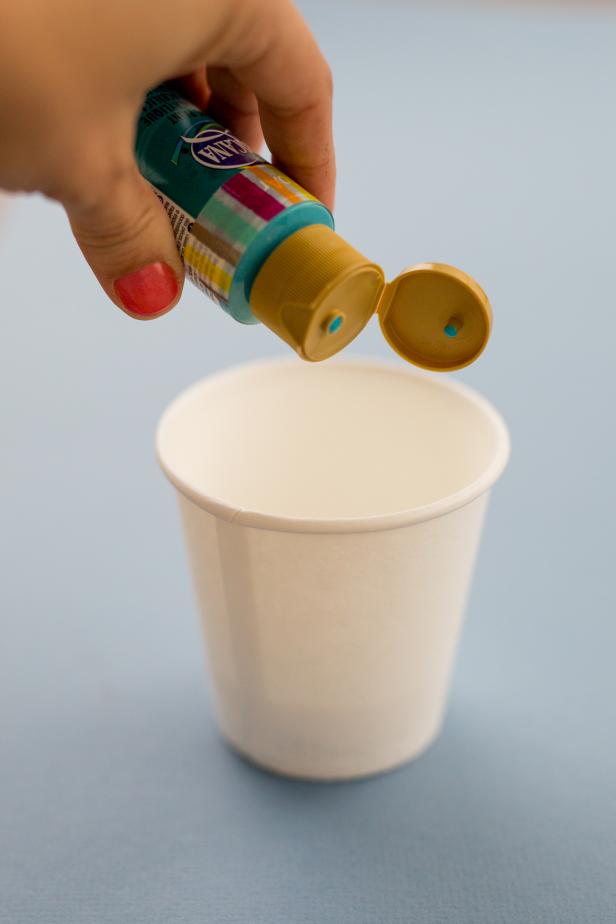
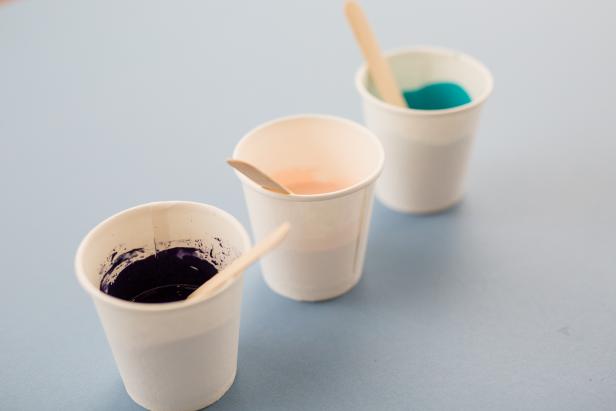
Add Paint
Cassidy Garcia Photography
Cassidy Garcia Photography
Using one paint color per cup, mix equal parts acrylic paint and glue mixture. Stir each color well.
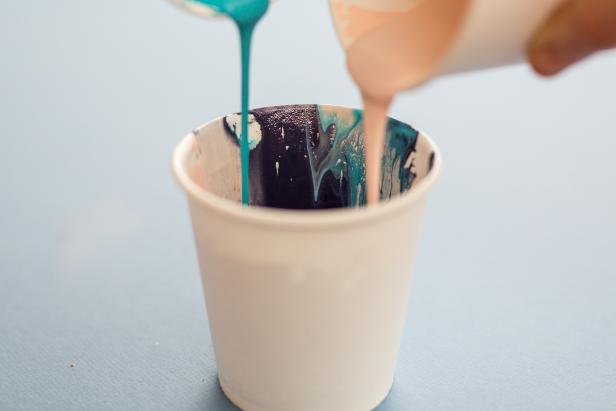
Combine Colors
Cassidy Garcia Photography
Carefully pour all three colors into one cup, one at a time. Note: Do not stir the colors together. This will help achieve the marbled effect when added to the tray.
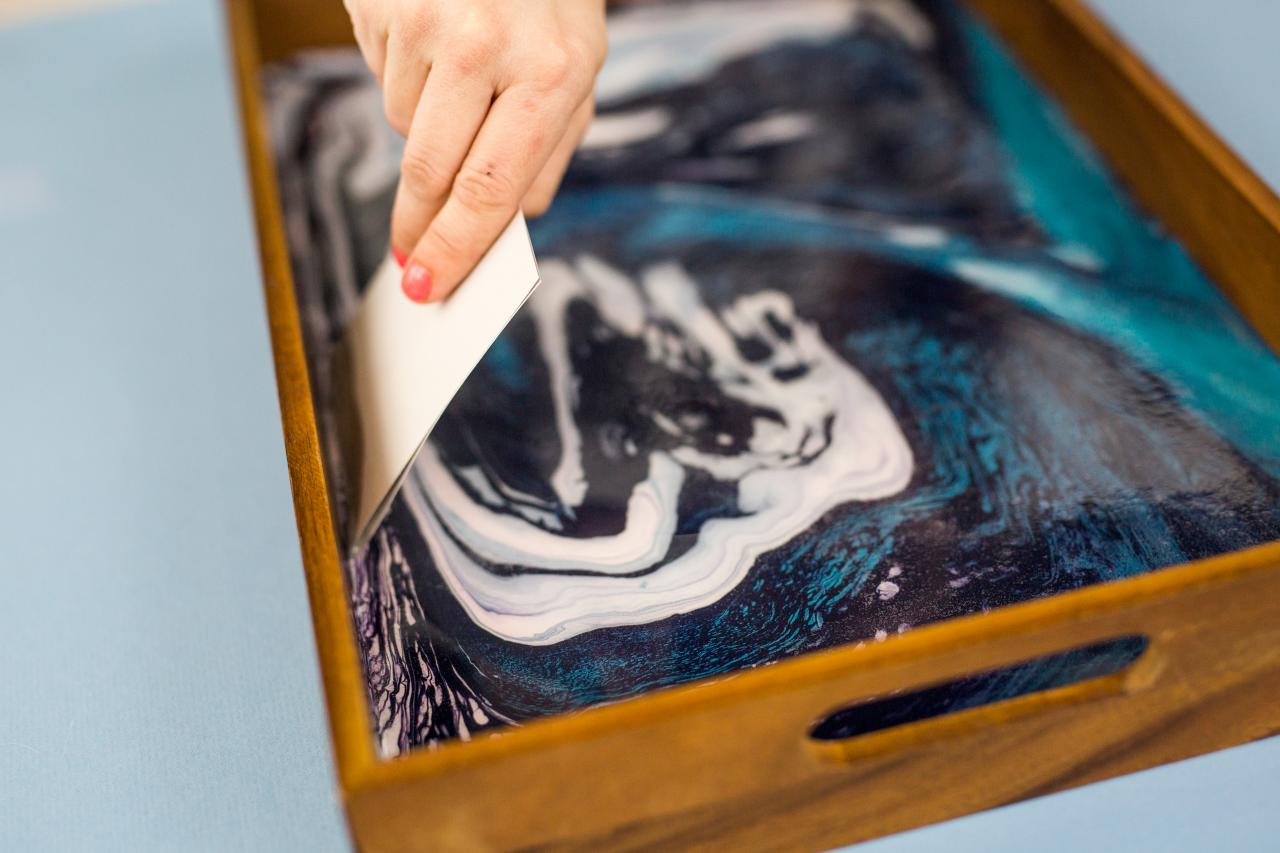
Pour Paint in Tray

Cassidy Garcia Photography
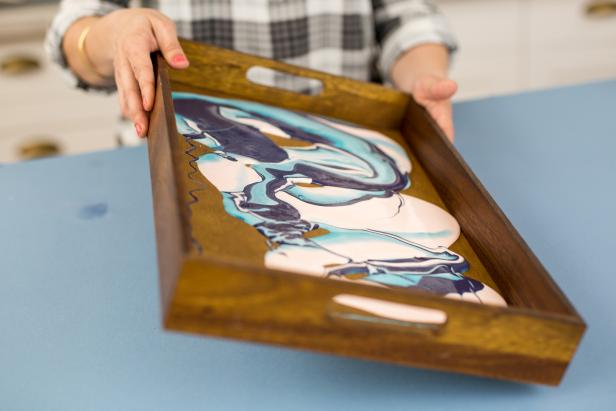
Cassidy Garcia Photography
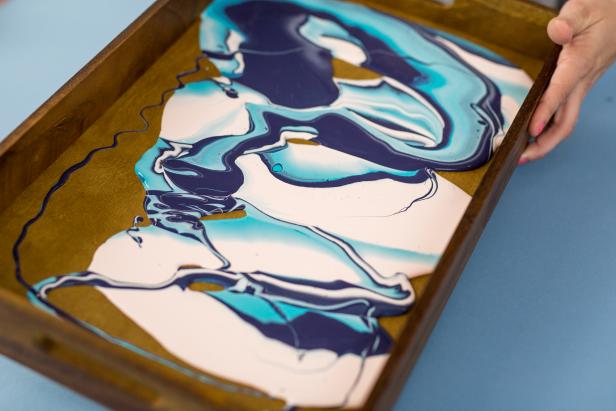
Cassidy Garcia Photography
Slowly pour paint mixture onto the wooden tray, gradually covering the entire inside surface of the tray with paint by tilting and moving the mixture around. Once you've achieved your desired look, cover and let dry for five days.
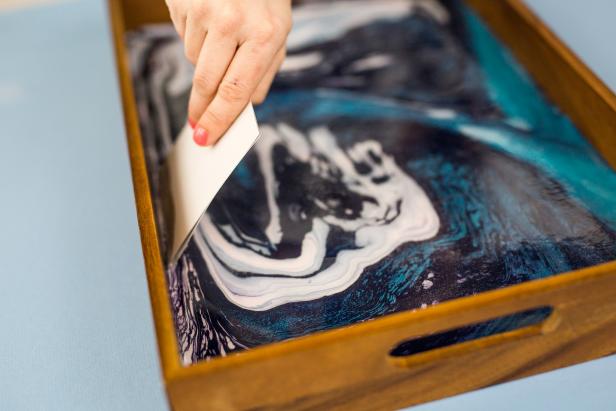
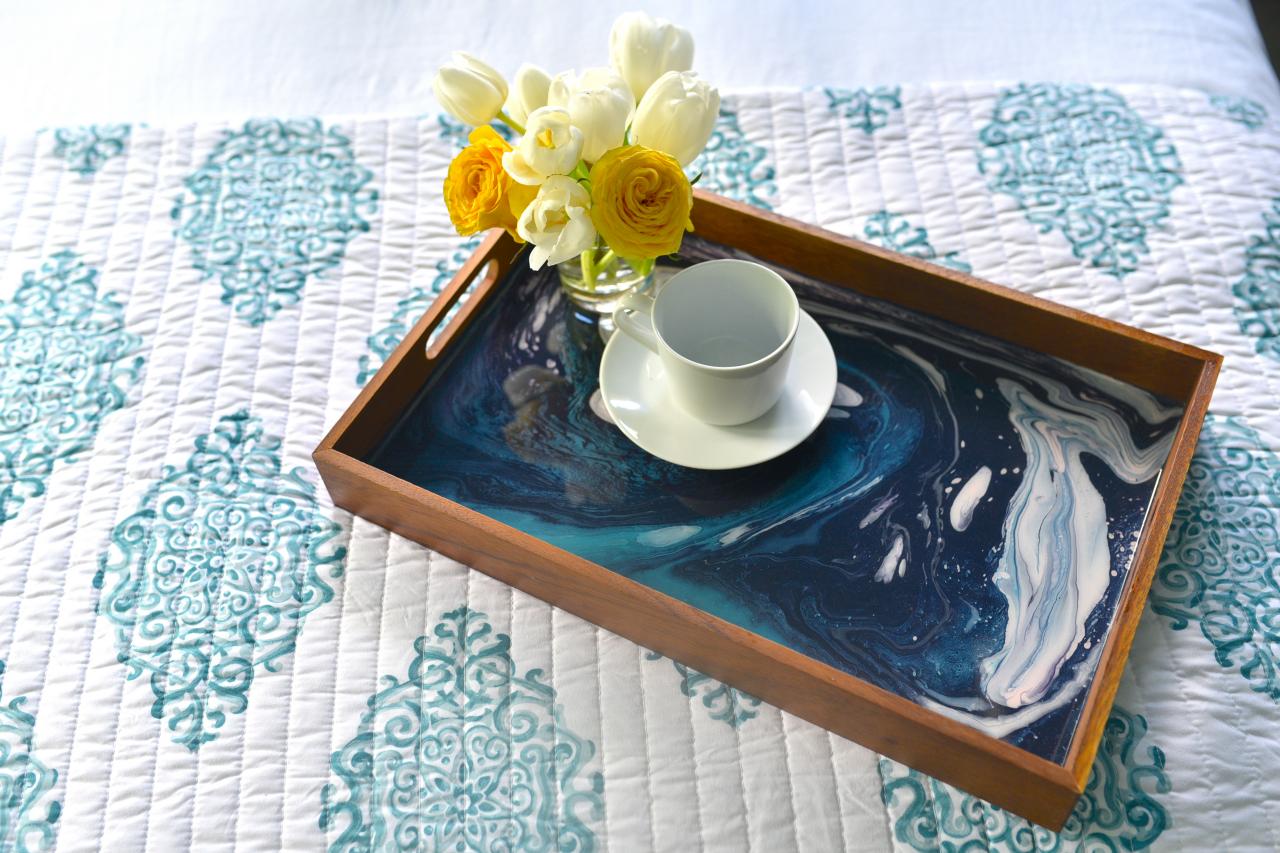
Seal With Epoxy

Cassidy Garcia Photography
Cassidy Garcia Photography

Jennie Andrews
Starting in the middle of the tray, pour food-grade epoxy over the dried paint. Evenly spread by tilting the tray to either side, then gently smooth the epoxy into corners with a plastic or thick cardboard spreader. Remove any air bubbles by blowing with a straw. Cover your sealed tray with wax paper and let dry for two days. The tray is now ready to be used at your next party or styled for the perfect coffee table decor.


