


How to Make an Adorable Pom-Pom Pillow
You can whip together these mod embellished pom-pom pillows in about thirty minutes with no sewing skills required.

Tools + Materials

- about two yards of fabric
- soft tape measure
- marker or pencil
- fabric scissors
- pack of straight sewing pins
- ironing pad
- 5/8 inch fabric bonding tape
- damp white cloth
- iron
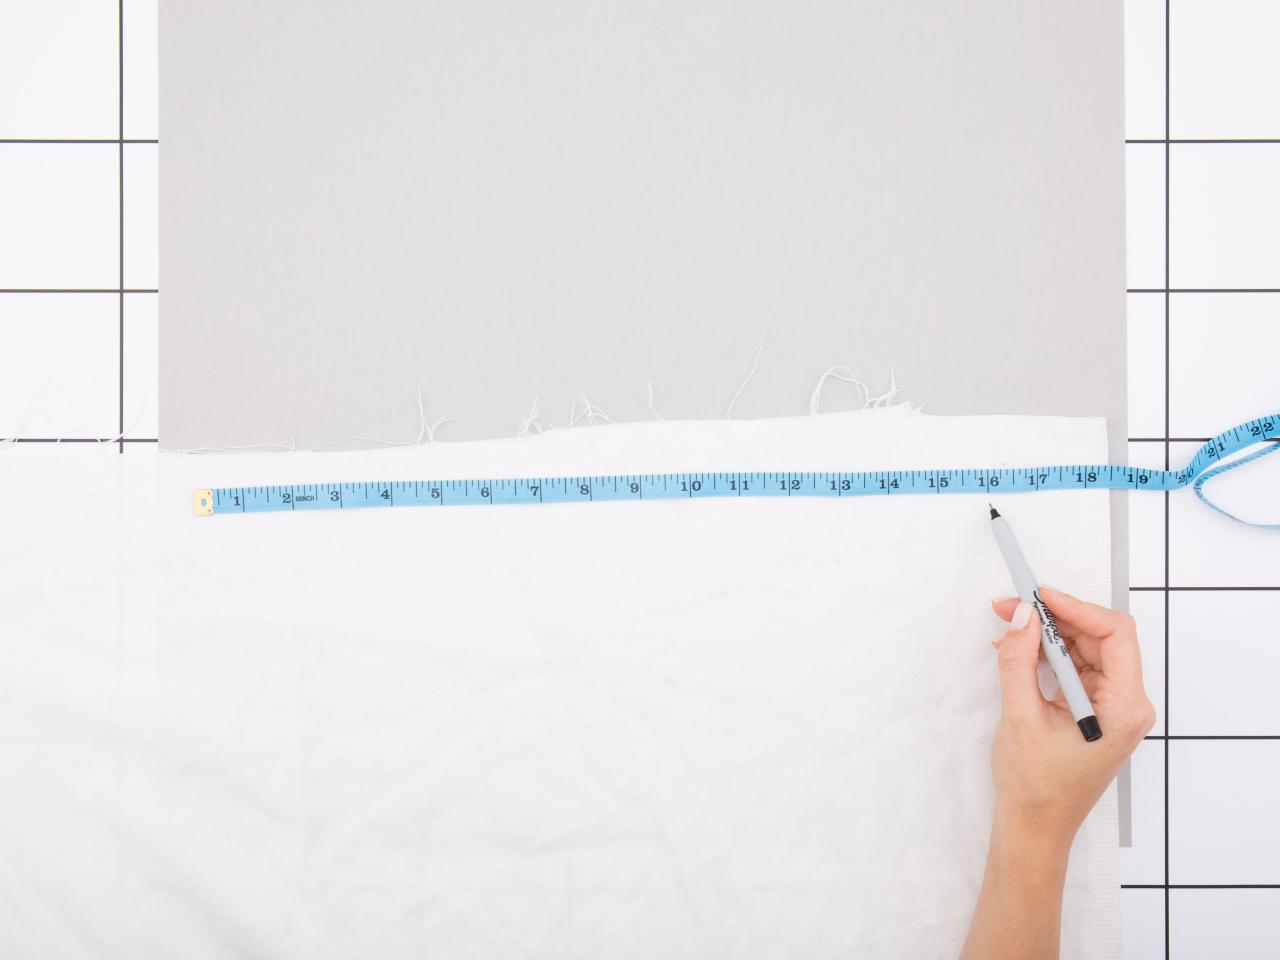
Step 1: Cut Fabric


Lay out fabric onto a table. Then use the tape measure to mark two 12” x 17” rectangles. These will become the front and back of your pillow. Cut around the rectangles about a half inch away from the rectangle outline you marked. This gives you extra room for the addition of pins and adhesives later.
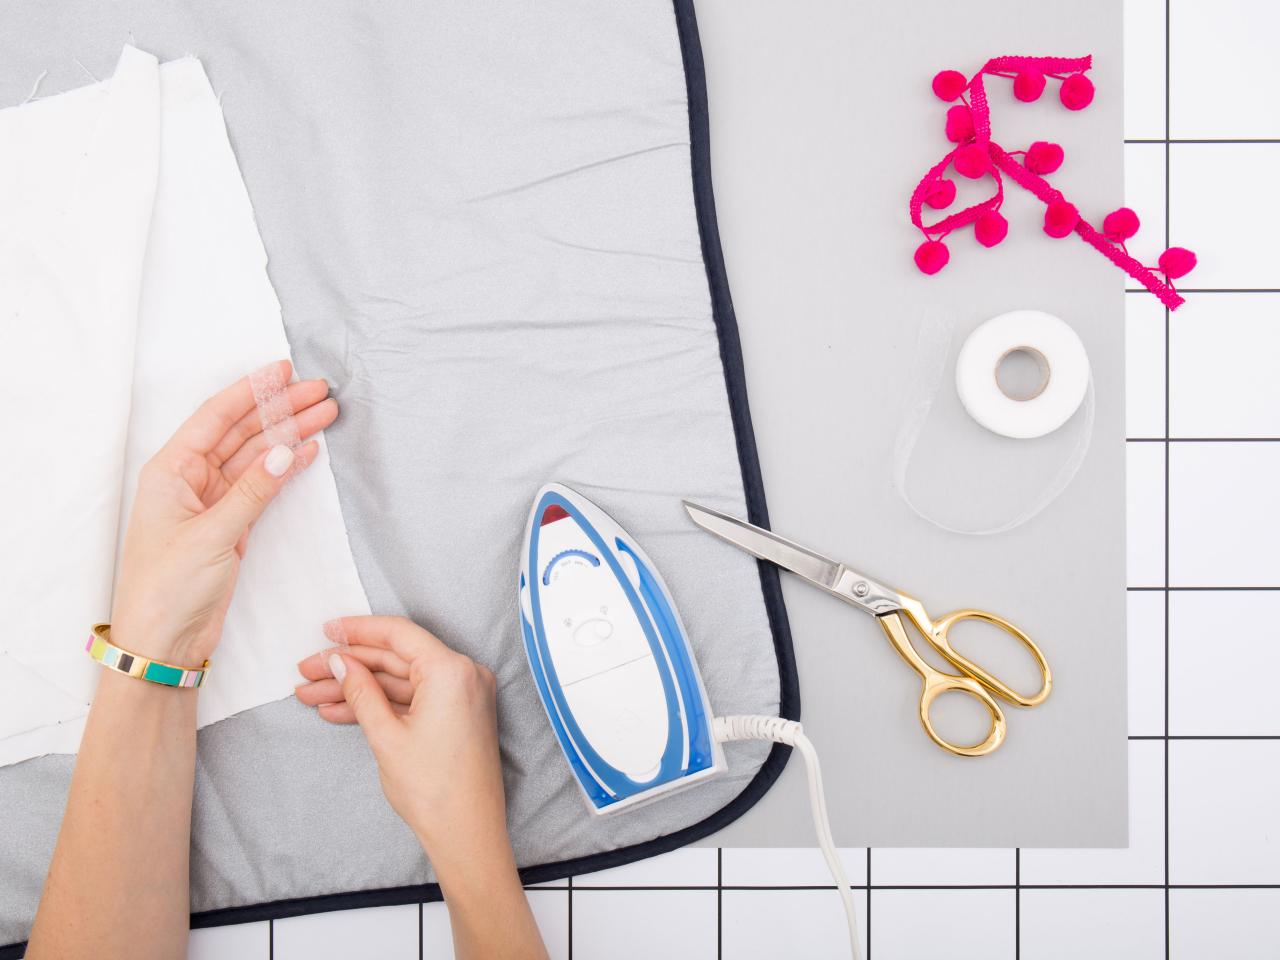
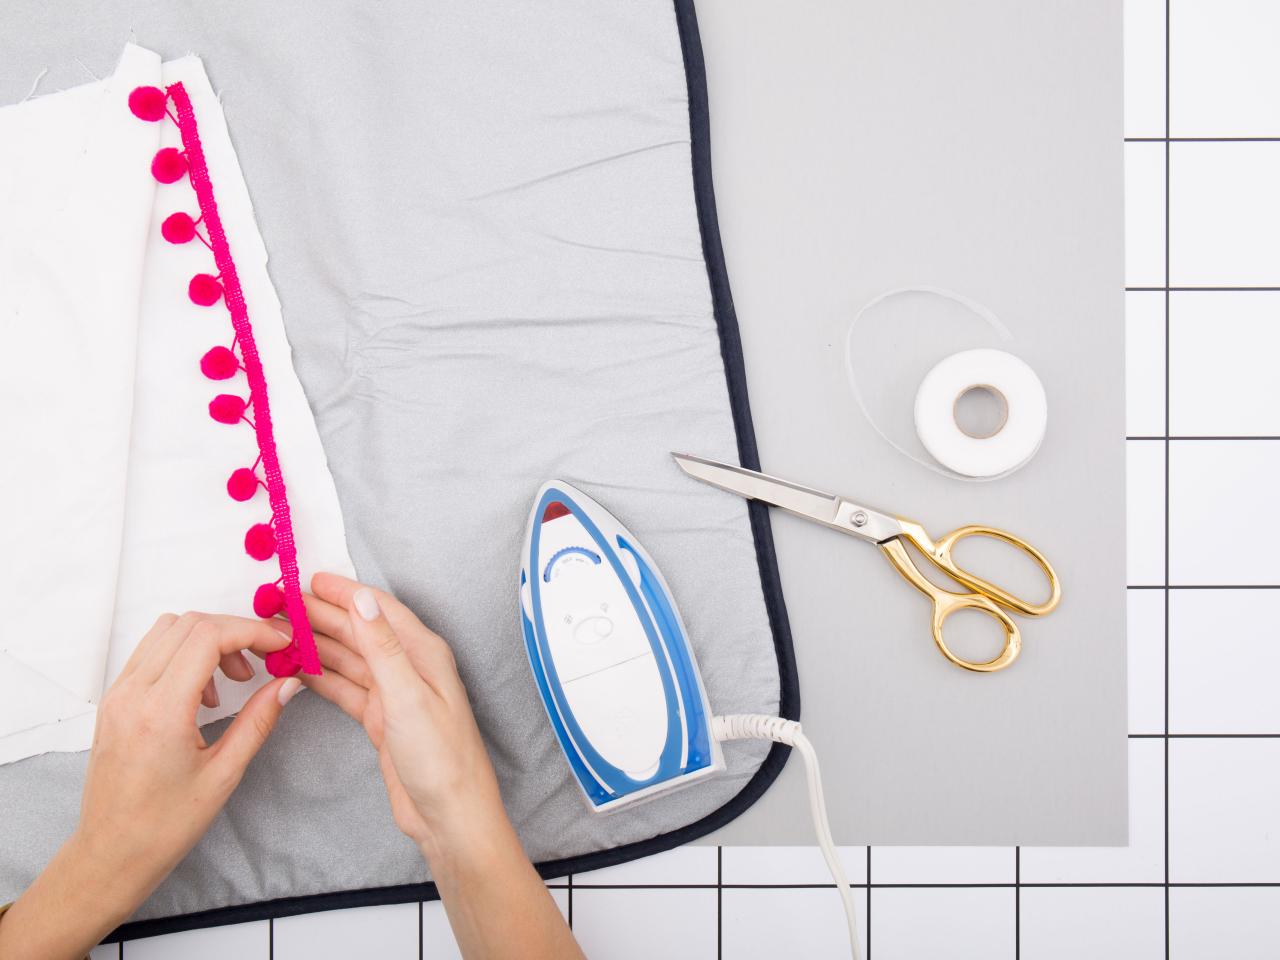
Step 2: Pom + Adhesive


Place an ironing mat on a table and prep your iron. Place the back of your pillow onto the ironing mat. Cut strips of pom fringe to fit three sides of the pillow. Cut strips of fabric adhezive tape to fit three sides of the pillow. Place one strip of pom fringe into the pillow with the pom poms facing inward onto the fabric. Then, place a strip of adhesive on top of the pom fringe. Repeat for two more sides, leaving one side (preferably one of the shorter sides) blank.
Step 3: Pin + Iron


Pin the three sides together using straight sewing pins. Place the remaining fabric rectangle on top of what you’ve built. Prep a hot iron and damp white cloth. Then, place the damp cloth over a section of the pillow edge (make sure the adhesive and pom fringe is beneath) leaving the pins in place. Put the iron on top of the damp cloth and hold it in place for a few seconds (instead of moving it back and forth like you do when ironing clothes) to activate the adhesive. Keep moving the iron along the edge with the damp cloth sandwiched in between until the front fabric adheres to the back fabric.
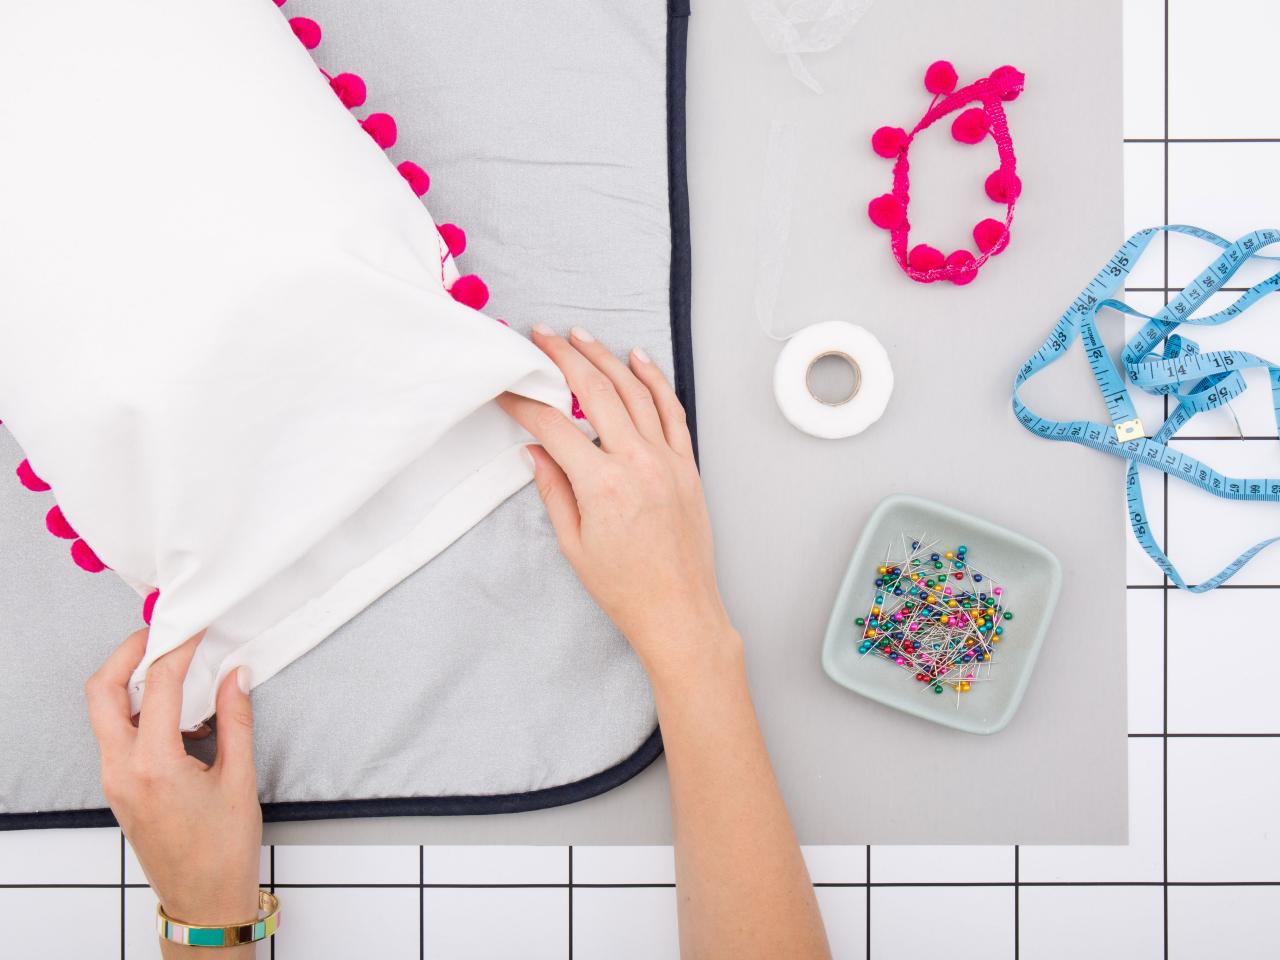
Step 4: Final Side


Stuff the pillow insert into the pillow cover. Fold the edges of the blank side inward toward the pillow insert to create inward-facing flaps. Place adhesive and pom fringe on the inside of the bottom flap. This time you want the actual pom poms to face outside of the pillow cover (since the pillow has already been flipped right side out).
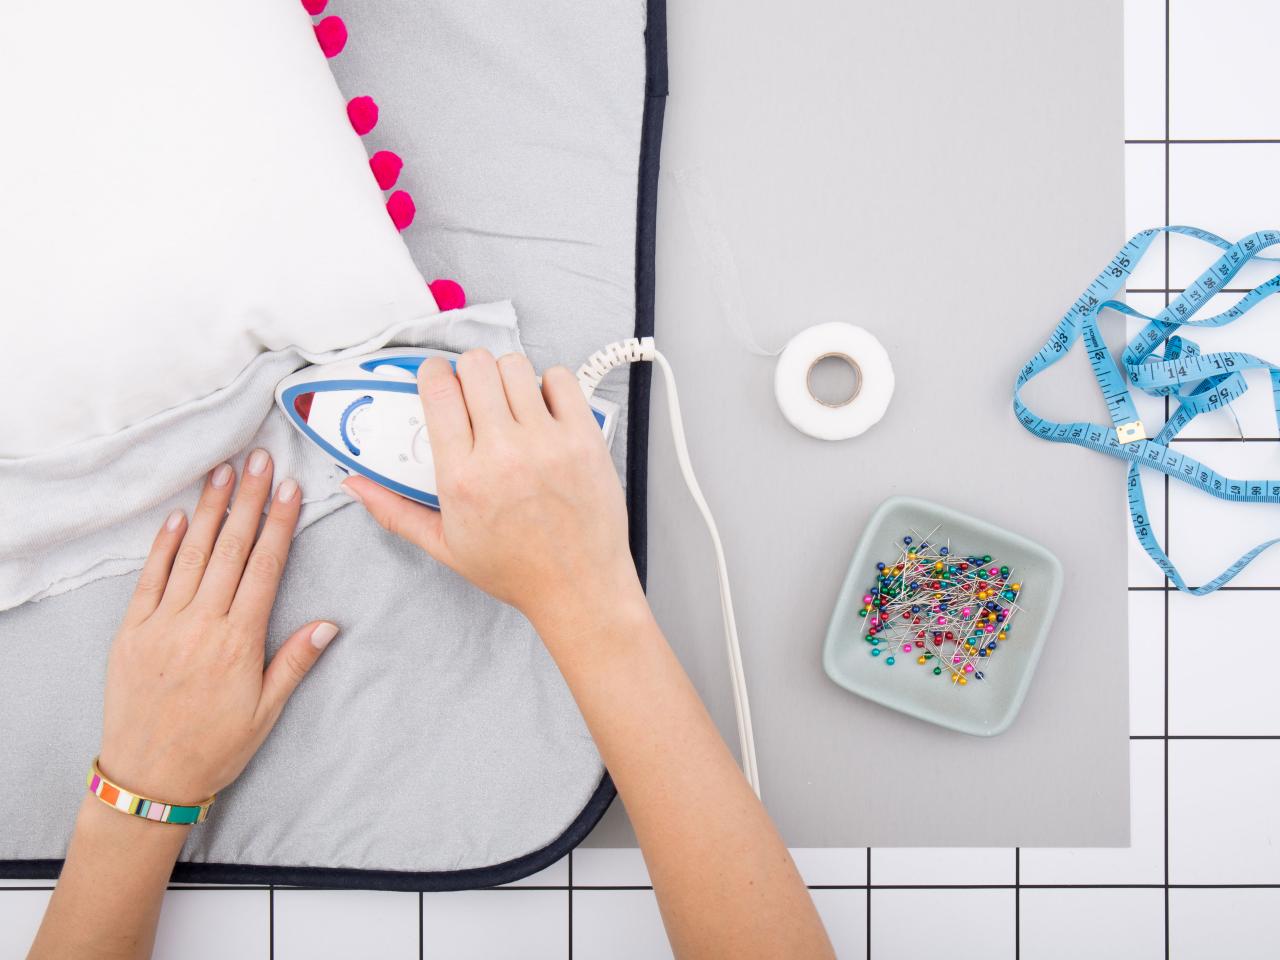
Step 5: Pin + Iron


Now pin the front cover to the back cover. Be sure to pin through the adhesive and pom fringe to keep everything in place. Repeat the ironing process using the damp cloth.
Step 6: Paint

Add matte medium to acrylic paint according to package instructions. We recommend going for a bold, graphical repeating pattern. Try painting rows of thick vertical hash marks or plus signs. Consider designs that pop from across the room but don’t require a lot of technical precision.
Step 7: Enjoy!

Once you’re finished, let the paint dry for about an hour or so before putting it on display.


