The Simplest, 5-Step Guide to Carving a Pretty Pumpkin
Plus the hack that makes drawing the face so much easier.

Lucy Schaeffer
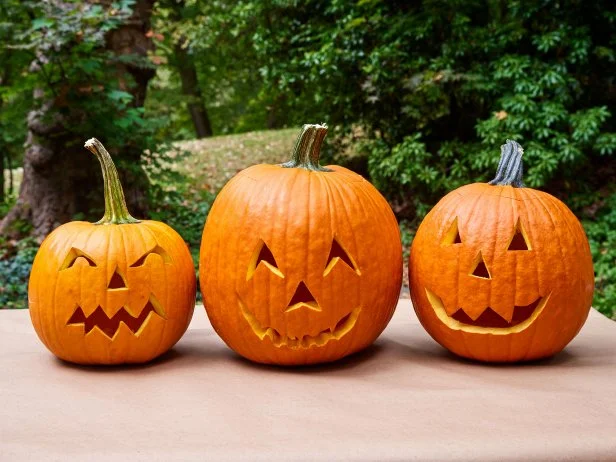
Whether you go silly or spooky, pumpkin carving can be done in a single sitting—with fun jobs for all ages in the family. Here’s what you need to know, including the best pumpkin carving tips.
Choosing the Perfect Pumpkin
Lucy Schaeffer
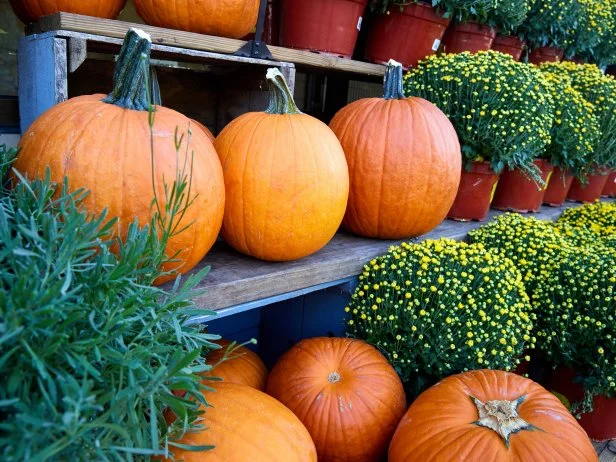
Grocery stores usually have a decent (and affordable) selection, but if the bins look a little picked over, head to a garden center or local farm stand for fresher options and more variety. Or make a day of it and grab one at the apple orchard or pumpkin patch. A few things to look for:
- The stem: Pick one with a healthy, unbroken stem. A broken stem is a fast track to early rot; an intact stem will last a long time and look great as a “handle. Bonus points if you can find a green stem, which signifies just-picked freshness.
- The shell: Give your pumpkin a gentle press. Soft spots = spoilage waiting to happen.
- The shape: Tall and oval gives you a dramatic face, round and squat reads more friendly. Picture the personality you want before you commit. But don’t overthink it: sometimes the quirky, lopsided pumpkins end up with the most character once they’re carved.
Essential Tools for Pumpkin Carving
For a basic carve, you really don’t need anything fancy—just a few kitchen staples will do the trick. That said, the pro pumpkin artists break out wood-carving gouges, linoleum carvers or even clay sculpting tools to get extra intricate. If you’re just getting started, keep it simple and gather these basics:

Lucy Schaeffer
- Pumpkin(s): Pick one big enough to carve comfortably.
- Paper drop cloth or newspaper: For covering your work surface.
- Paring knife, serrated knife and chef’s knife: The paring and serrated knives handle the detail work, while the big sharp knife is your go-to for cutting the lid.
- Large spoon: Or, if you want to speed things up, see the scoop options below in the “nice to have additional tools and supplies below”
- Two bowls: One for seeds, one for pulp.
- Dry-erase marker: Sketch your design, then wipe away mistakes.
- Paper towels: things will get messy!
Nice to Have Additional Tool and Supplies:

Lucy Schaeffer
- Ice cream scoop (look for one with a thin edge) or fleshing loop tool
- Commercial carving kit
- Stencils (included in some carving kits)
- Cookie cutters
- Vinegar/water mixture in spray bottle
- Vaseline

Shop the Best Pumpkin Carving Tools
Think beyond your standard pumpkin carving kit and opt instead for professional-grade tools that will really bring your pumpkin to life.
How to Carve a Pumpkin: Step-by-Step Guide
Step 1: Wipe Your Pumpkin

Lucy Schaeffer
Gently wipe your pumpkin with a damp paper towel to remove any dirt.
Step 2: Remove the Lid
Lucy Schaeffer
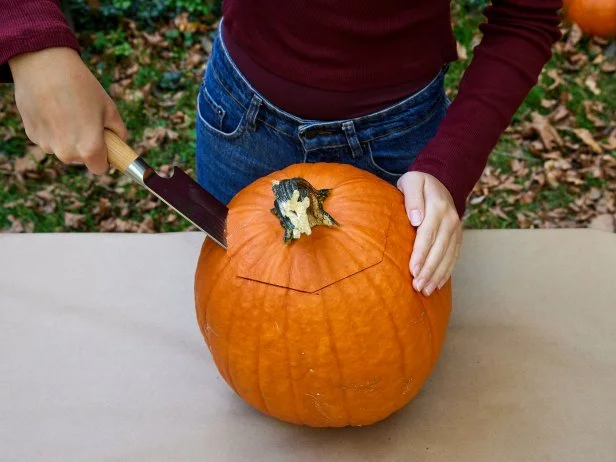
Many people aim for a perfect round circle, which is hard to achieve. A round top is also difficult to align back onto the base perfectly. Instead, we recommend cutting around the stem in a zigzagged circle. The lid will fit back onto the base like a puzzle piece. To do so, hold your chef’s knife at a slight inward angle so the lid won’t slip inside later, and make cuts using a long stroke.

Lucy Schaeffer
Once the top is free, set the lid on a cutting board and slice away any extra pulp from the underside for a clean finish.
Step 3: Scoop and Scrape the Guts
Lucy Schaeffer
Lucy Schaeffer
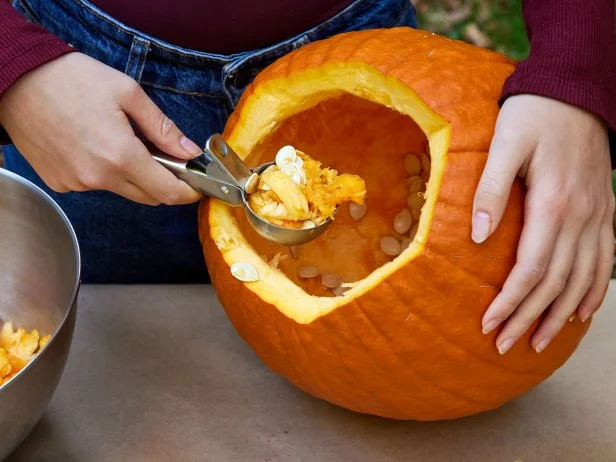
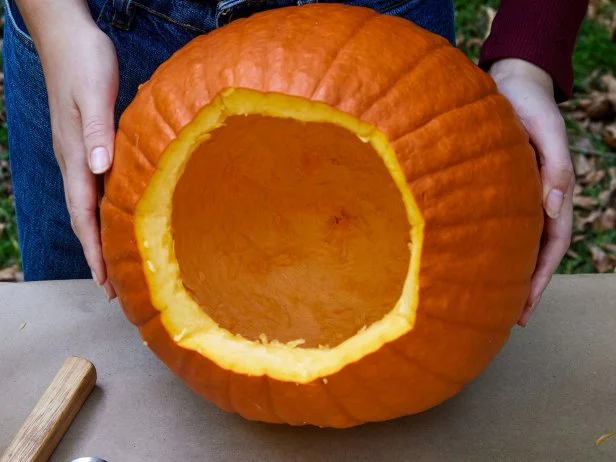
A large spoon with a thin edge will do the job, but if you want to work faster, try a fleshing loop, ice cream scoop, avocado scoop or the scooper from a pumpkin kit. Of these, the fleshing loop is the clear winner. It quickly clears out pulp and shaves the walls smooth without tiring your hand. If you’ve only ever used a spoon, you’ll be amazed. This is the part kids love: let them dive in and pull out the “pumpkin guts” with their hands before an adult or older sibling comes in for the final clean-up. The cleaner and thinner the walls, the better: your pumpkin will last longer and carve like butter. For best results, shave the “face” wall down to about one-inch thick (even half-an-inch if you’re feeling ambitious).
Lucy Schaeffer
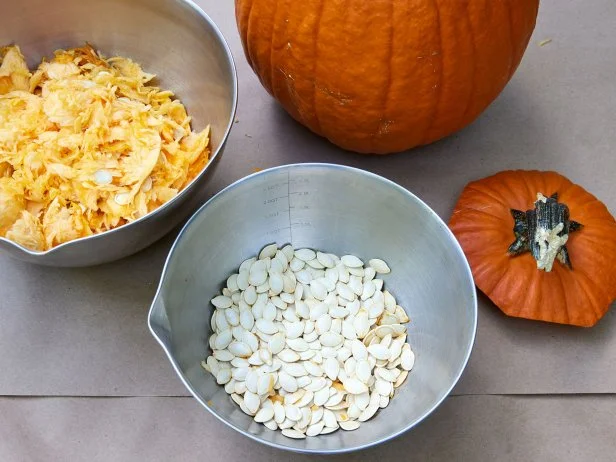
Don’t toss those seeds. Scoop them into a separate bowl, give them a quick rinse, then spread them on a baking sheet. A generous sprinkle of salt and a short roast in the oven turns them into crunchy, golden roasted pumpkin seeds.
Step 4: Draw Your Design
Lucy Schaeffer
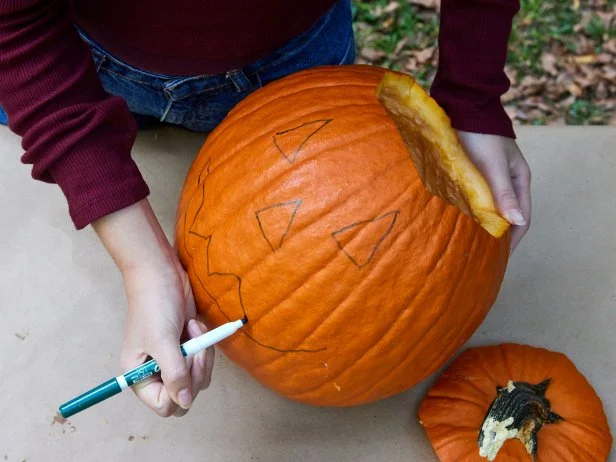
A dry-erase marker makes sketching easy (just wipe mistakes with a damp paper towel). Avoid features that are too small or too close together—they can break. Classic triangle eyes, nose and a jagged smile are great for beginners since they use straight cuts.
Lucy Schaeffer
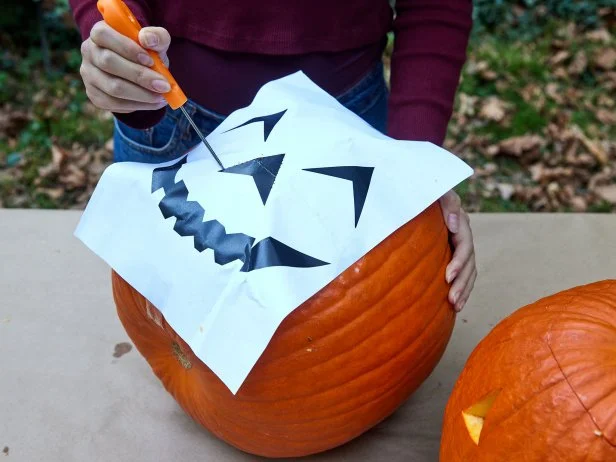
Not into free-hand drawing? Use a stencil: tape it on and prick the outlines with a pin for a foolproof guide.
Step 5. Carve the Face
Lucy Schaeffer
Lucy Schaeffer
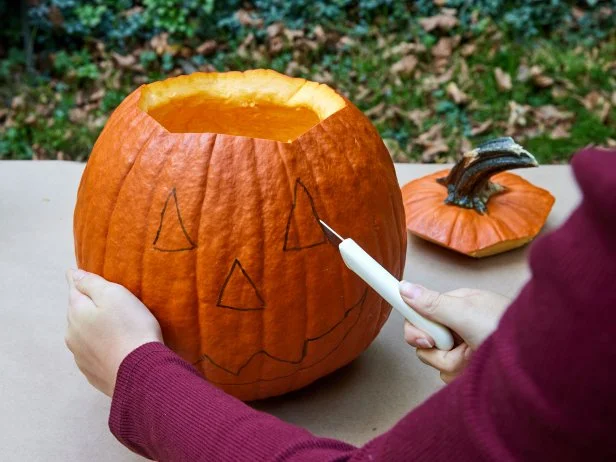
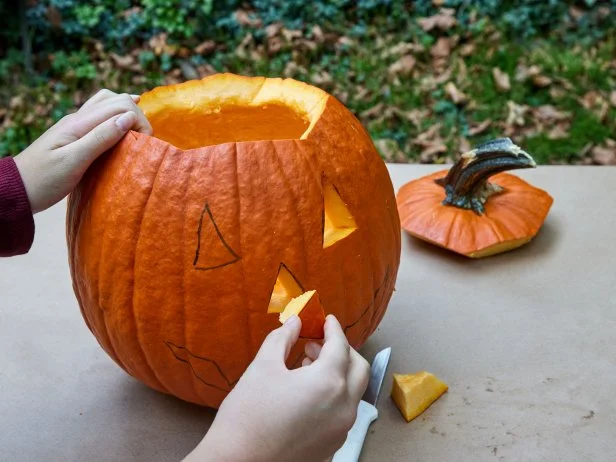
This step is best left to adults. Use a sharp paring knife or the serrated blade from a carving kit to carefully follow your lines or the pinpricks from your stencil while keeping your other hand well away from the blade. For trickier designs, like a wide toothy grin, work in smaller sections. Cut out one piece at a time, then gently push from the inside to pop the chunk free before moving on.
Lucy Schaeffer
Bonus Level: Want to take your jack-o’-lantern up a notch? Try “half-carving.” Instead of cutting all the way through, use an X-Acto knife or a carving tool to shave off just the orange skin, leaving the white flesh underneath. You can add extra details with “half-carving,” like eyebrows. When you light up the pumpkins, those areas glow with a soft, lantern-like effect. For easy shapes, press in a cookie cutter first to mark your design before carving.

Pumpkin-Carving Tips and Tools From a Pro Carver
Master pumpkin-carver Adam Bierton shares his carving tips, the best tools to use, tricks like how to use potatoes in jack-o'-lanterns, plus methods for preserving carved pumpkins.
How to Make Your Pumpkin Last
Once your masterpiece is carved, a little TLC will help it last longer. Try one (or a combo) of these tricks:

Lucy Schaeffer
- Bleach bath: A quick spritz inside and out with diluted bleach (or a bathroom cleaner that contains bleach) keeps mold at bay and discourages critters from snacking.
- Edge seal: Rub a little petroleum jelly or cooking oil along the cut edges to lock in moisture and slow down shriveling.
- Natural spray: Prefer to keep it compost-friendly? Mix 1 part vinegar with 10 parts water and mist the pumpkin daily to fight mold.
- Chill time: If you’ve got fridge space, tuck your pumpkin in overnight. It is a vegetable after all, and will soften quickly if left out in warm weather.
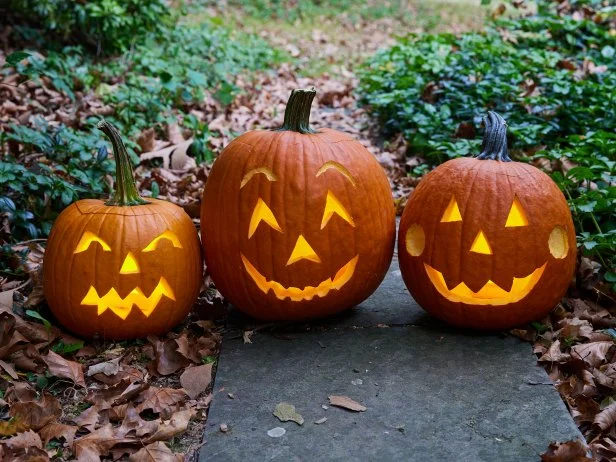
In general, don’t put your jack-o’-lantern outside too early—waiting until a week or so before Halloween will keep it looking its best on the big night.
Lucy Schaeffer
Lighting Your Pumpkin
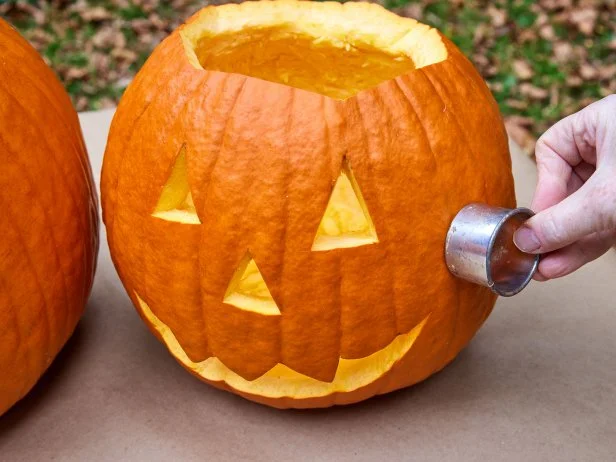
Skip the candle mess and fire hazard—LED tea lights are safer and last longer. Look for versions with flicker, color-changing, or even remote controls for added fun.
Creative Ways to Reuse or Compost Your Pumpkin
When Halloween’s over, check with your town or municipality—many now offer special pumpkin compost pickups right after the holiday. If that’s not an option, here are some other fun ways to give your jack-o’-lantern a second life:
- Feed the wildlife: If untreated with bleach, break into chunks for deer, squirrels, and birds.
- Bird feeder: Cut in half, hollow out, and hang with twine filled with seed.
- Compost: Smash and toss into your compost pile—pumpkins are nitrogen-rich and break down quickly. You can also bury pumpkin pieces directly in your garden beds—they’ll enrich the soil as they decompose.
- DIY planter: Before it gets too soft, fill your pumpkin with soil and plant fall flowers like mums or pansies.