DIY Concrete Planters: A Step-by-Step Guide
Learn to craft your own concrete planters with this tutorial from HGTV.

Jennie Andrews
Crafting stylish tabletop planters takes just a few materials and a few minutes.

Crafting stylish tabletop planters is a quick, fun project that is deceptively easy. You only need a few materials and a few minutes to create custom cement pots that will hold any type and size of plant.
Concrete is typically made with a combination of an aggregate (such as sand or very small pebbles), cement (this acts as the glue to bind the particles together) and water. This mixture is then poured into forms and allowed to set. If mixed properly, concrete is strong and durable. In small applications, like these pots, it typically doesn't require any additional support such as rebar. Further, adding a light substrate into the mix can cut down on the finished weight without sacrificing strength.
Materials + Supplies
- Portland cement
- vermiculite
- sand
- silicone planter molds
- recycled plastic containers
- non-stick cooking spray
- small wooden dowels
- duct tape
- respirator mask suitable for dust
- gloves

Step 1: Prep Molds
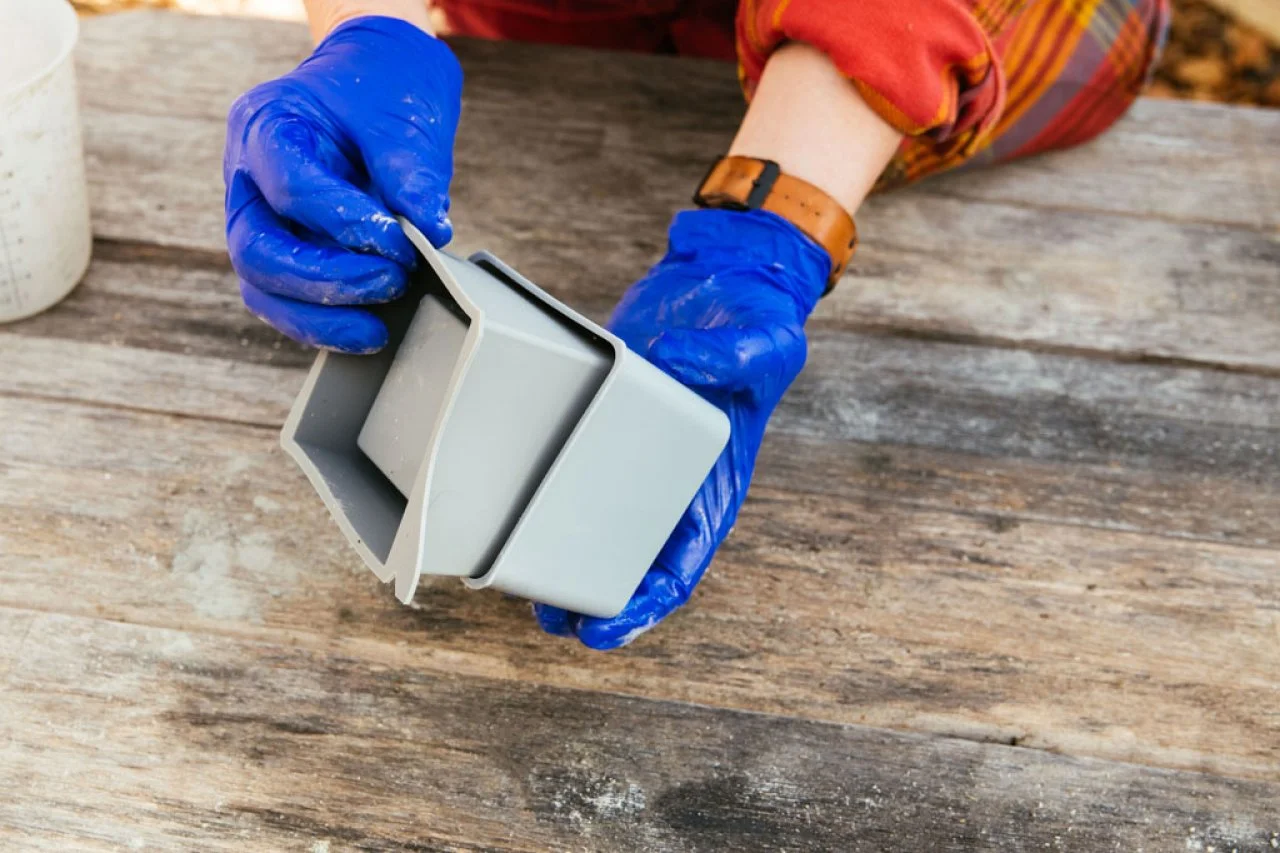
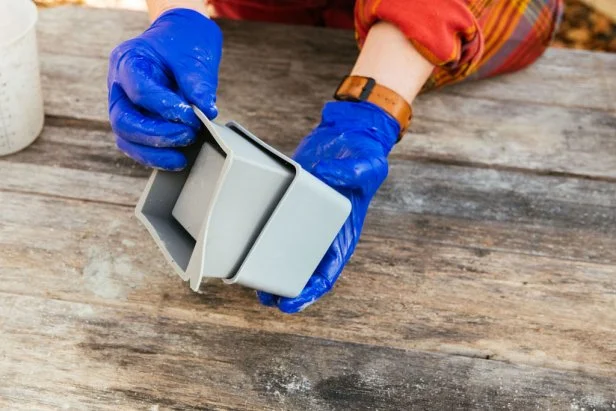
Planters can be made by pouring concrete into a variety of molds and letting it sit to cure until hard. Ready-made silicone molds are the easiest way to create pots with consistent shapes and sizes (Image 1). They also require very little prep. While these molds require a small initial monetary investment, they can be reused many times.
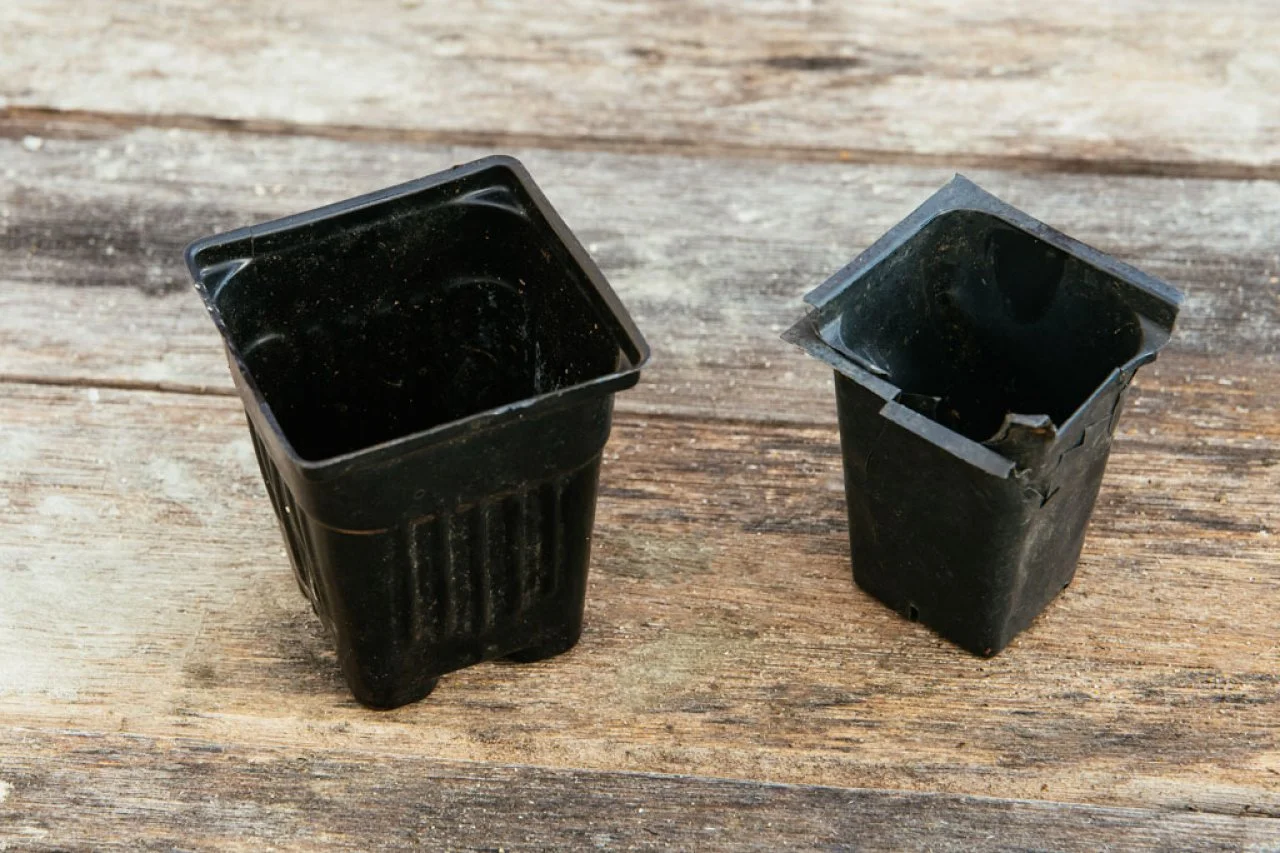
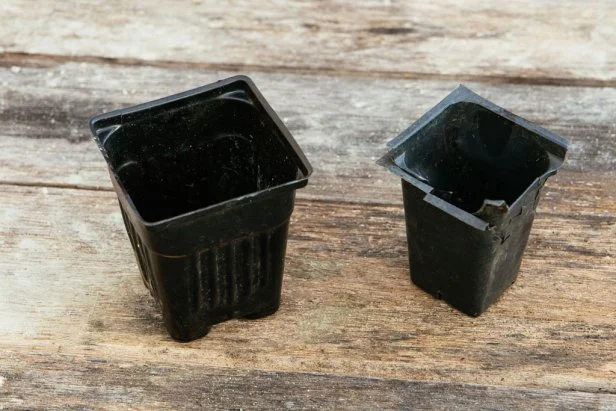
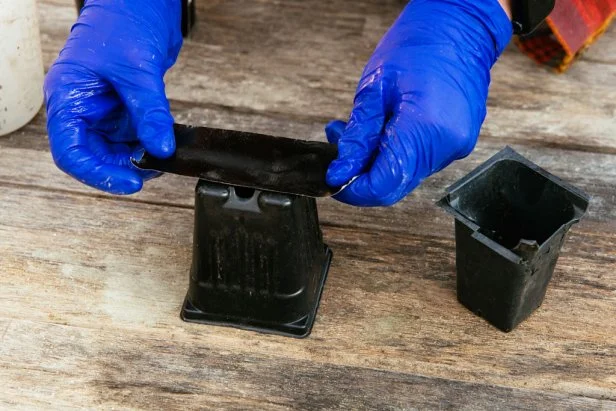
Plastic containers recycled from the kitchen or garden also make great molds for planters (Image 2). The downside to these containers is that they often take a bit more prep work and the results are not as uniform or consistent as a manufactured mold. Using recycled materials is the most cost-effective method, but typically these molds can only be used once and then must be discarded. You will need two sizes of containers, one that is the size and shape you want for the outside of the pot and another that fits inside the first with about a half-inch of space in between the two containers. Thinner plastic that can be cut or is flexible works best for this project. For larger concrete planters, molds can be made from plywood.
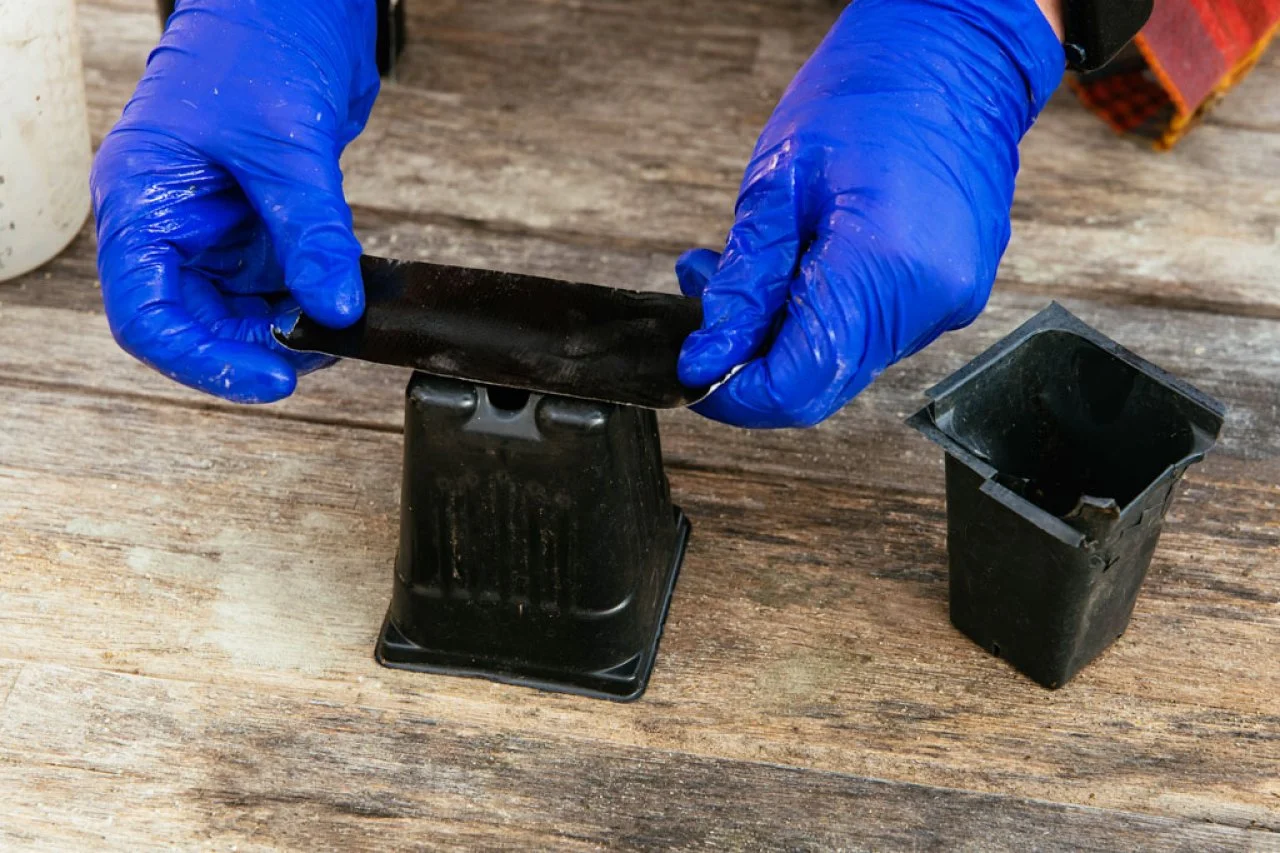
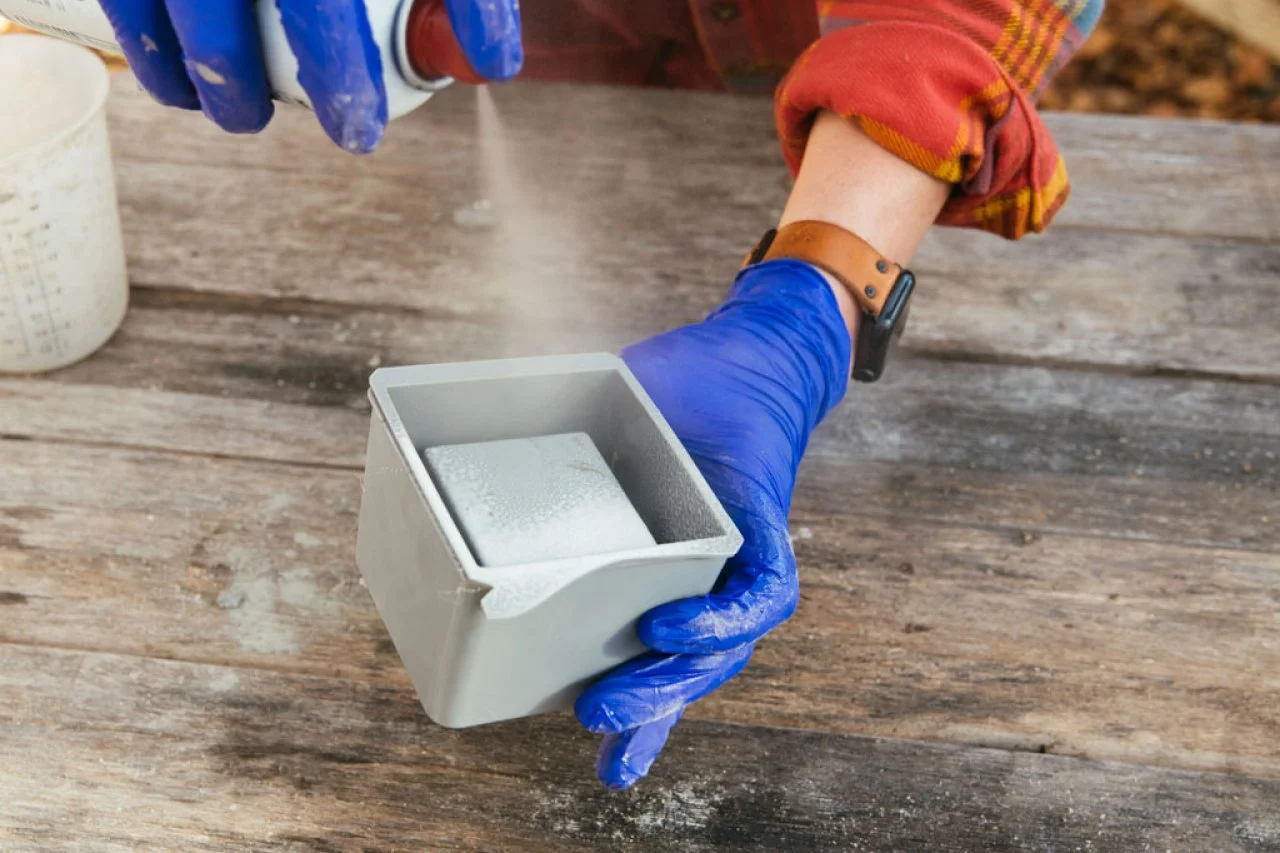
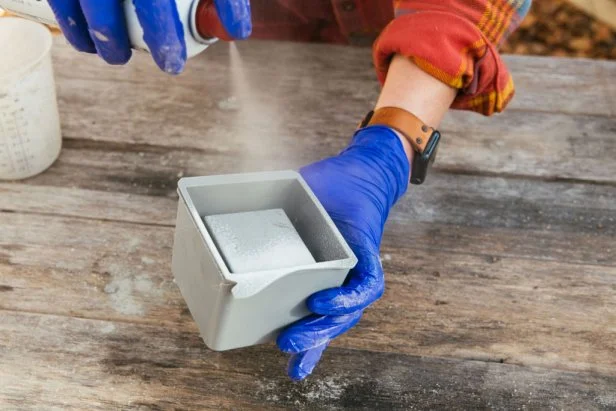
To prep molds for concrete, use strong duct tape to cover any holes in your containers (Image 3). When using recycled plastic containers, spray the inside of the large plastic container and the outside of the small plastic container with non-stick cooking spray. If using a silicone mold, spray the entire inside (Image 4).
Jennie Andrews
Jennie Andrews
Jennie Andrews
Jennie Andrews
Step 2: Mix Concrete
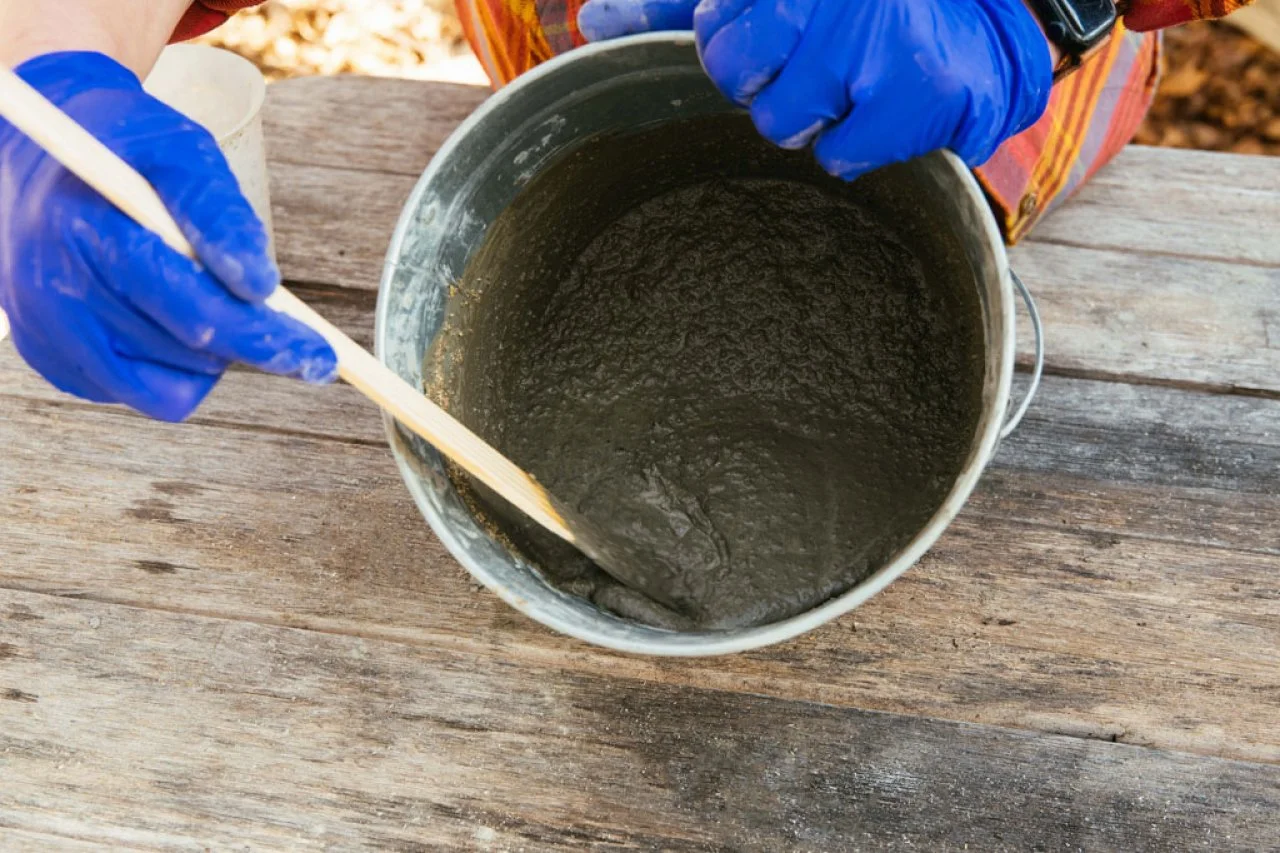
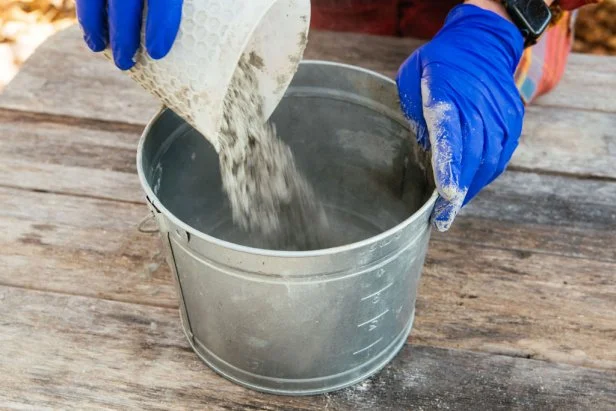
While there are a number of different "recipes" for concrete, the following mixture is strong and durable, yet it's also about 30% lighter than traditional concrete mixes. Before measuring ingredients, protect your hands from chemical irritation and your lungs from particulates with gloves and a respirator mask rated for dust (such as an N95).
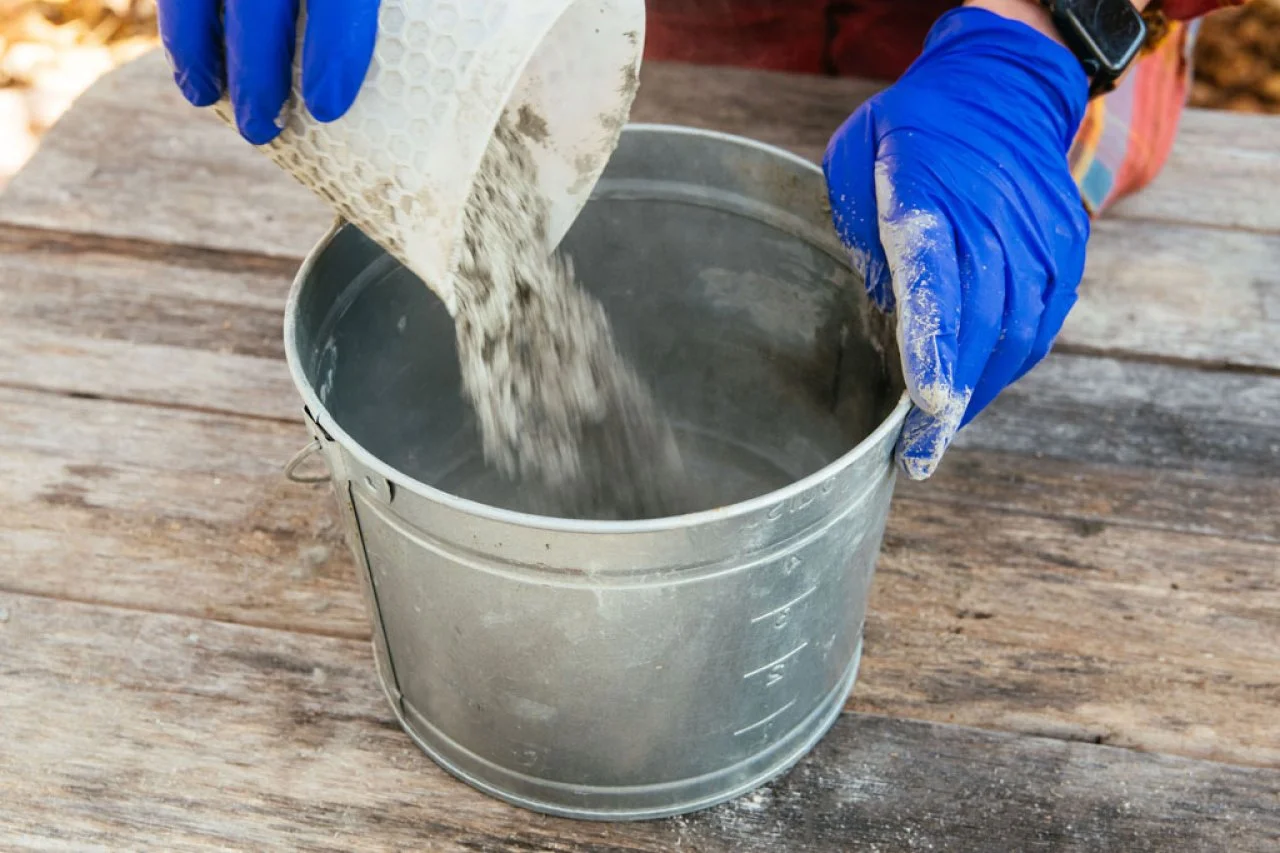
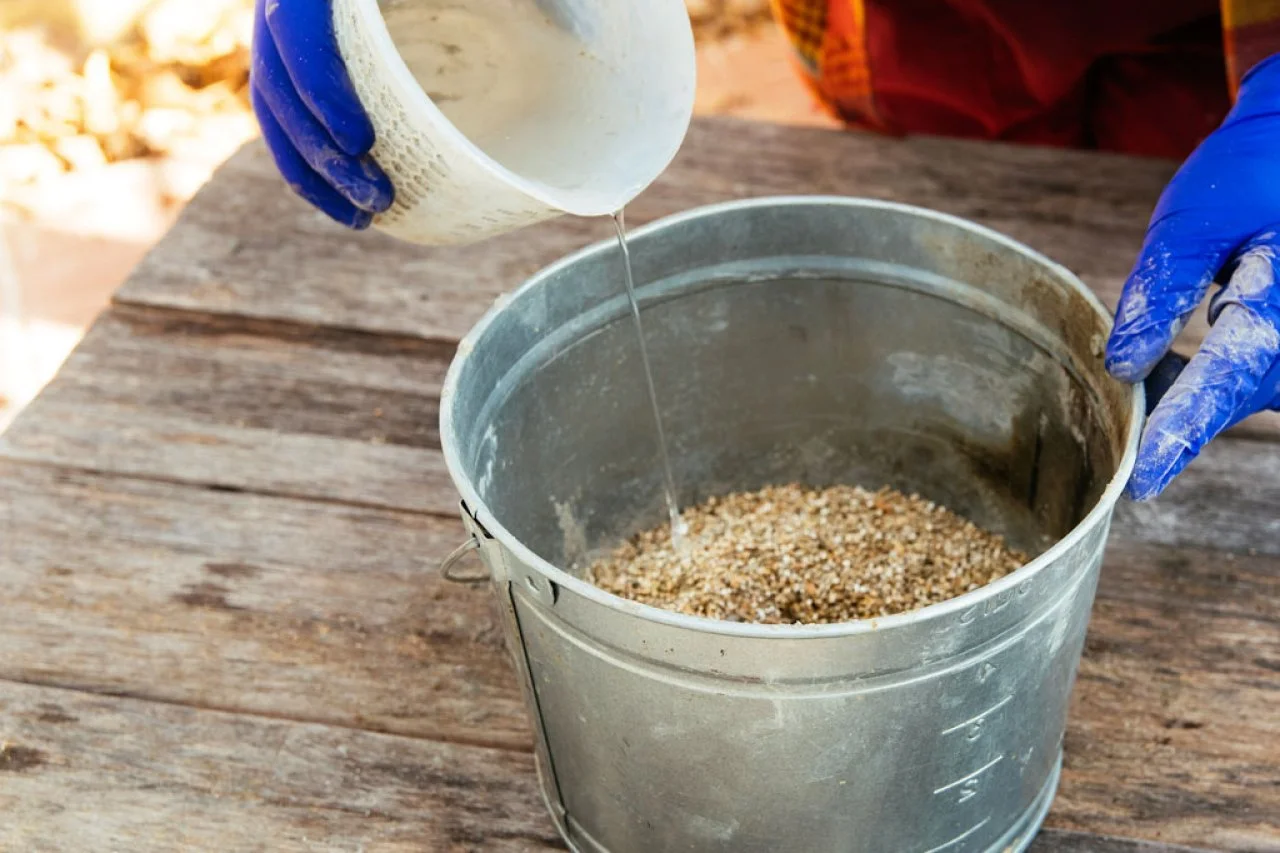
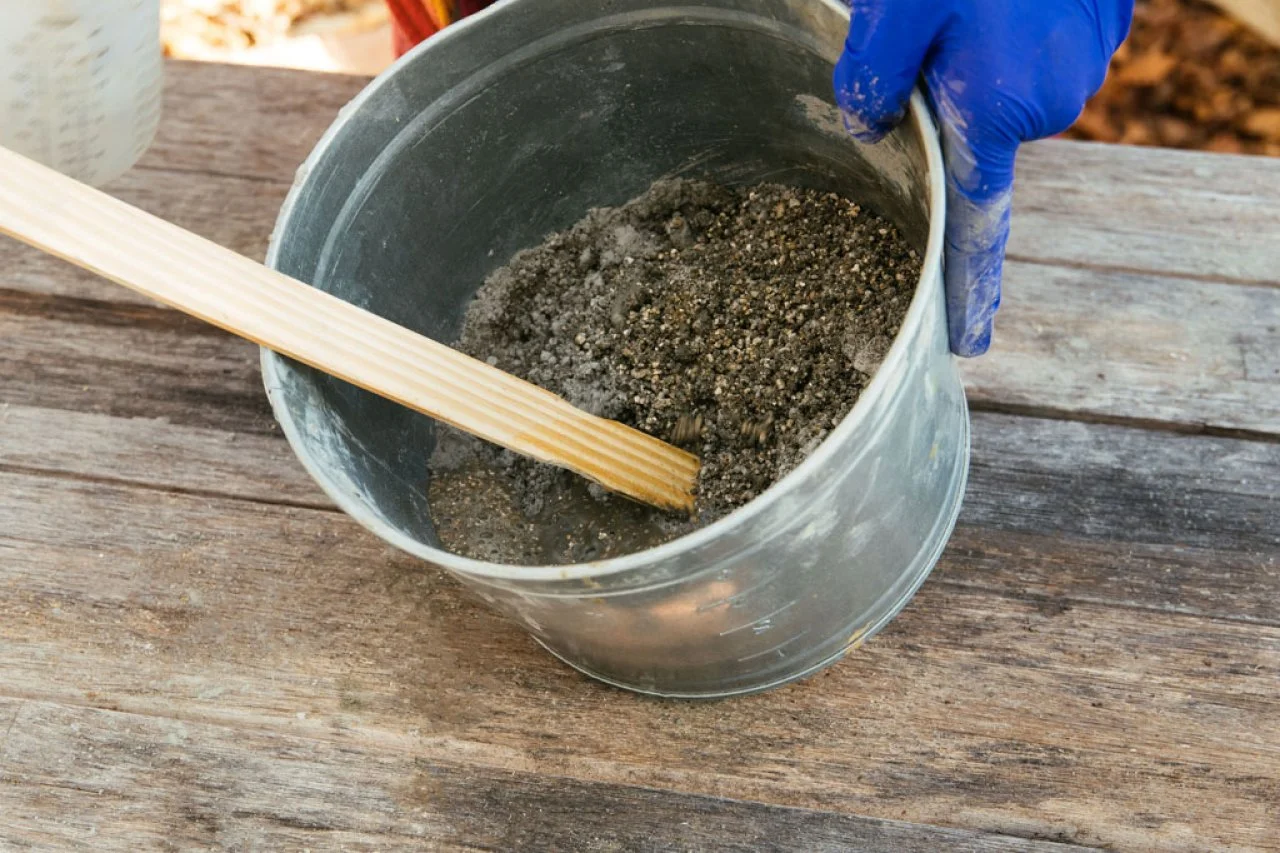
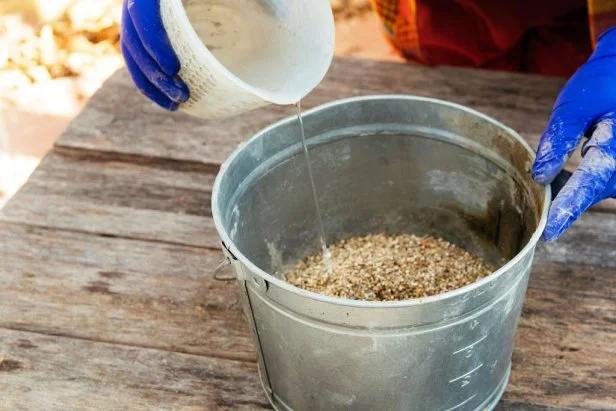
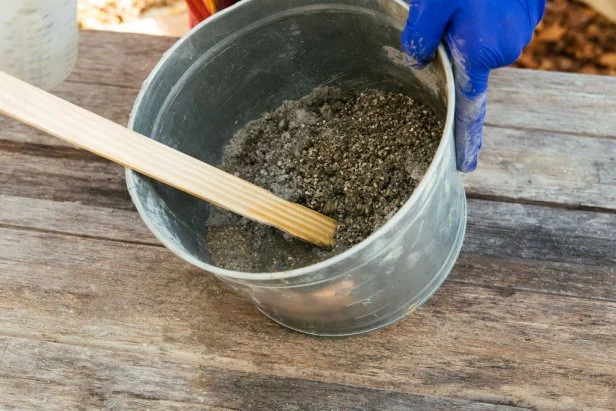
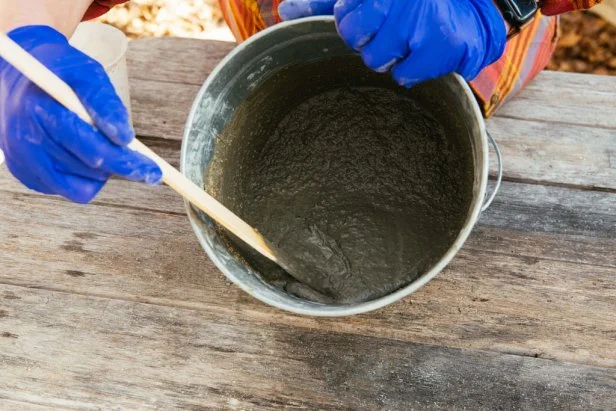
Mix two parts Portland cement with one part sand and one part vermiculite (Image 1). Vermiculite is a soil additive that can be found in the garden supply section of your local hardware store. Mix well and then slowly begin to add water (Image 2). While continuing to stir, add water until concrete mix is about the consistency of thick pancake batter (Image 3). The consistency matters. The mixture needs to be thin enough to fill small spaces without leaving air bubbles, but mixtures that are too thin sacrifice strength and durability (Image 4). Aim for a consistency that will pour, but very slowly (Image 5).
Jennie Andrews
Jennie Andrews
Jennie Andrews
Jennie Andrews
Jennie Andrews
Step 3: Fill Pre-Made Silicone Molds
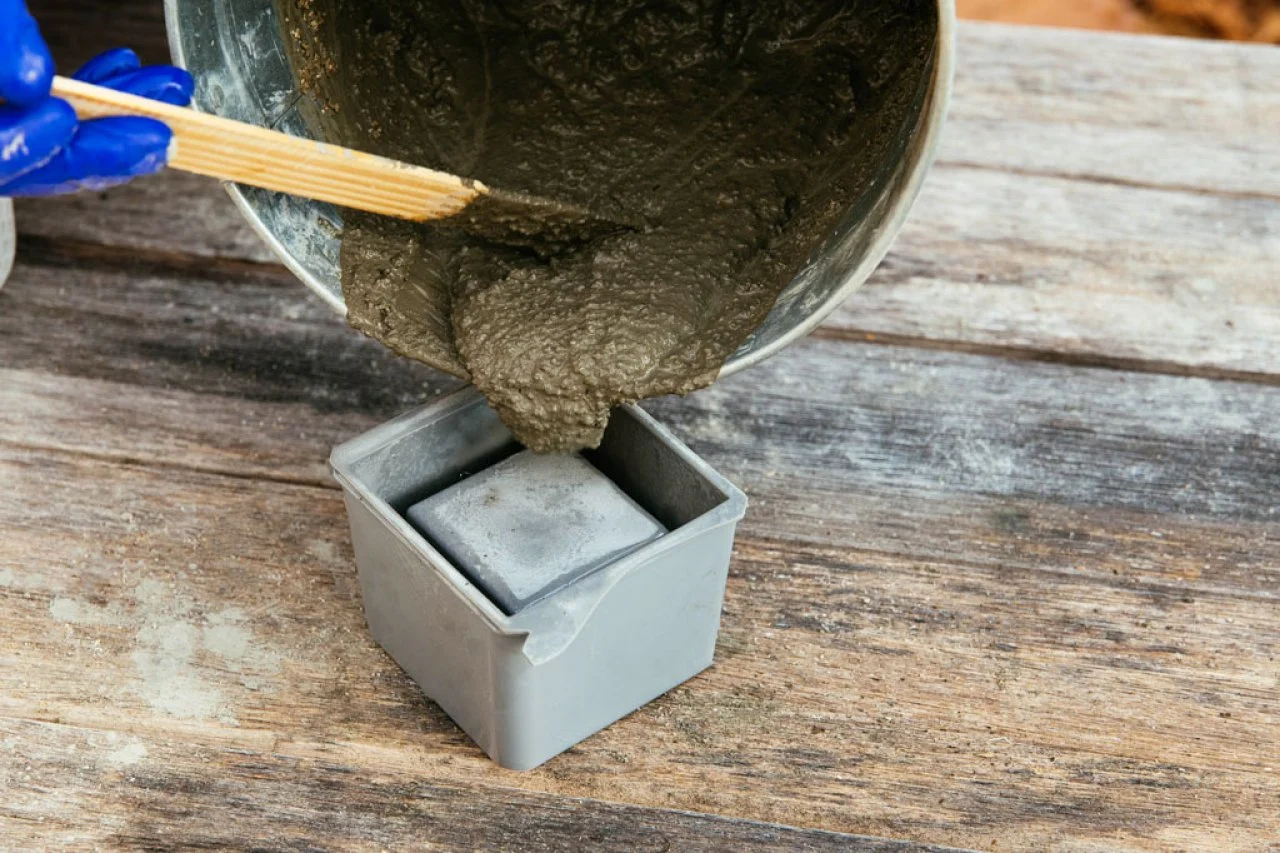
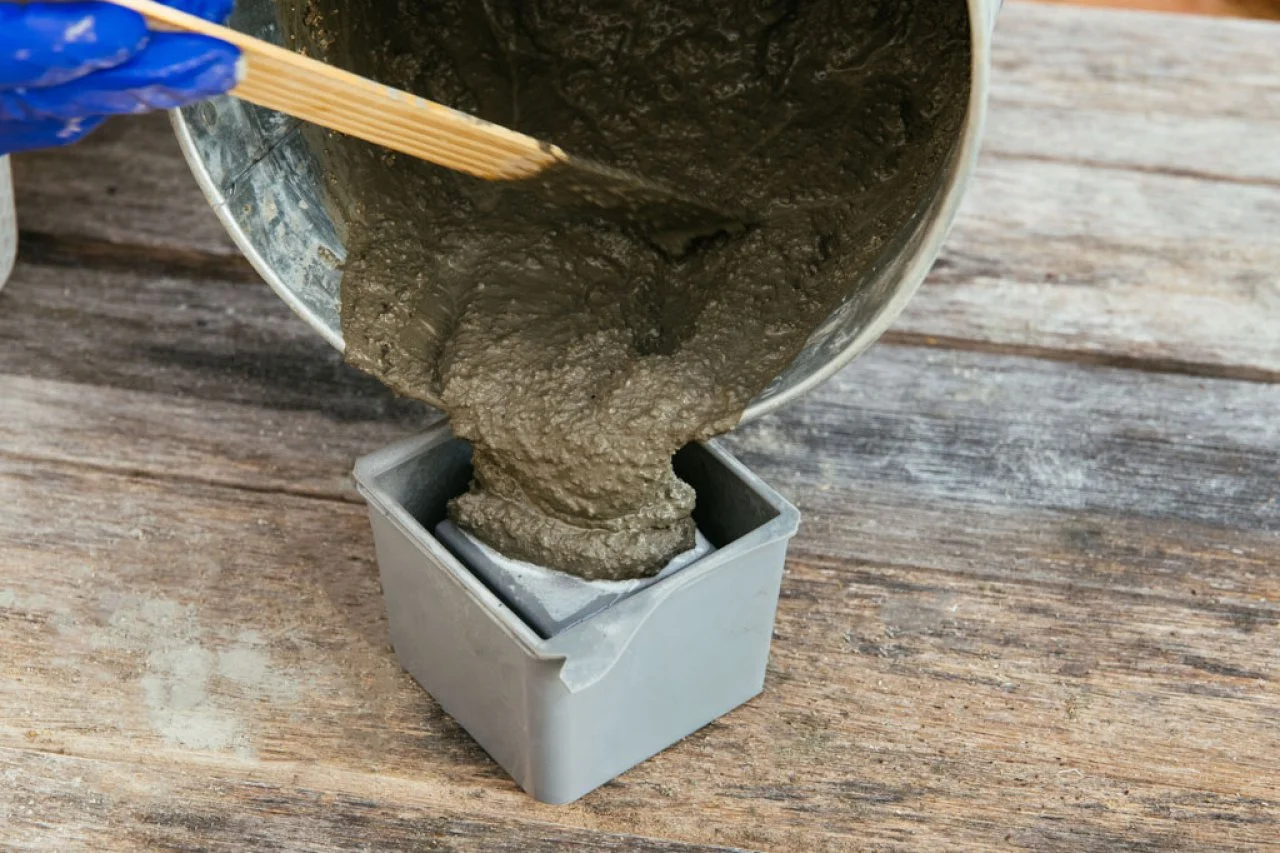
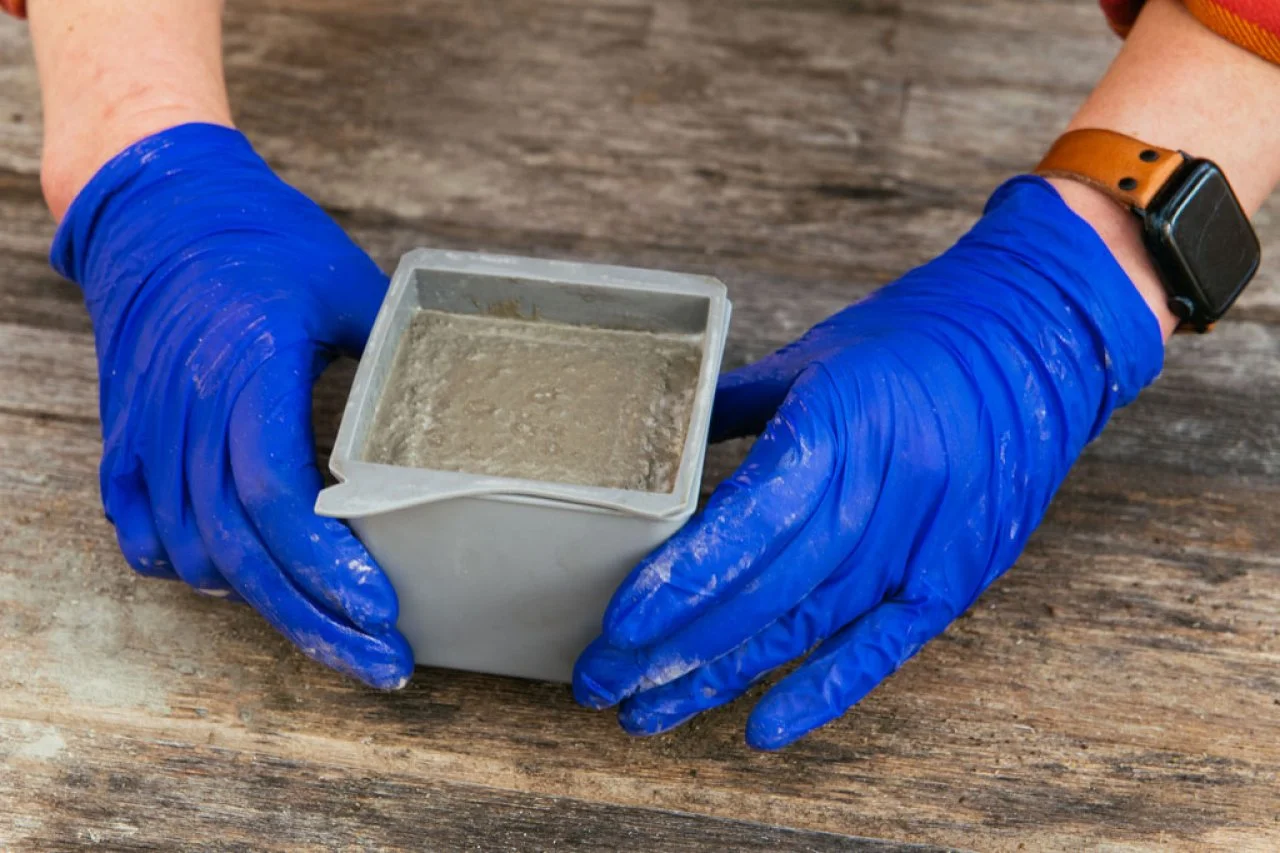
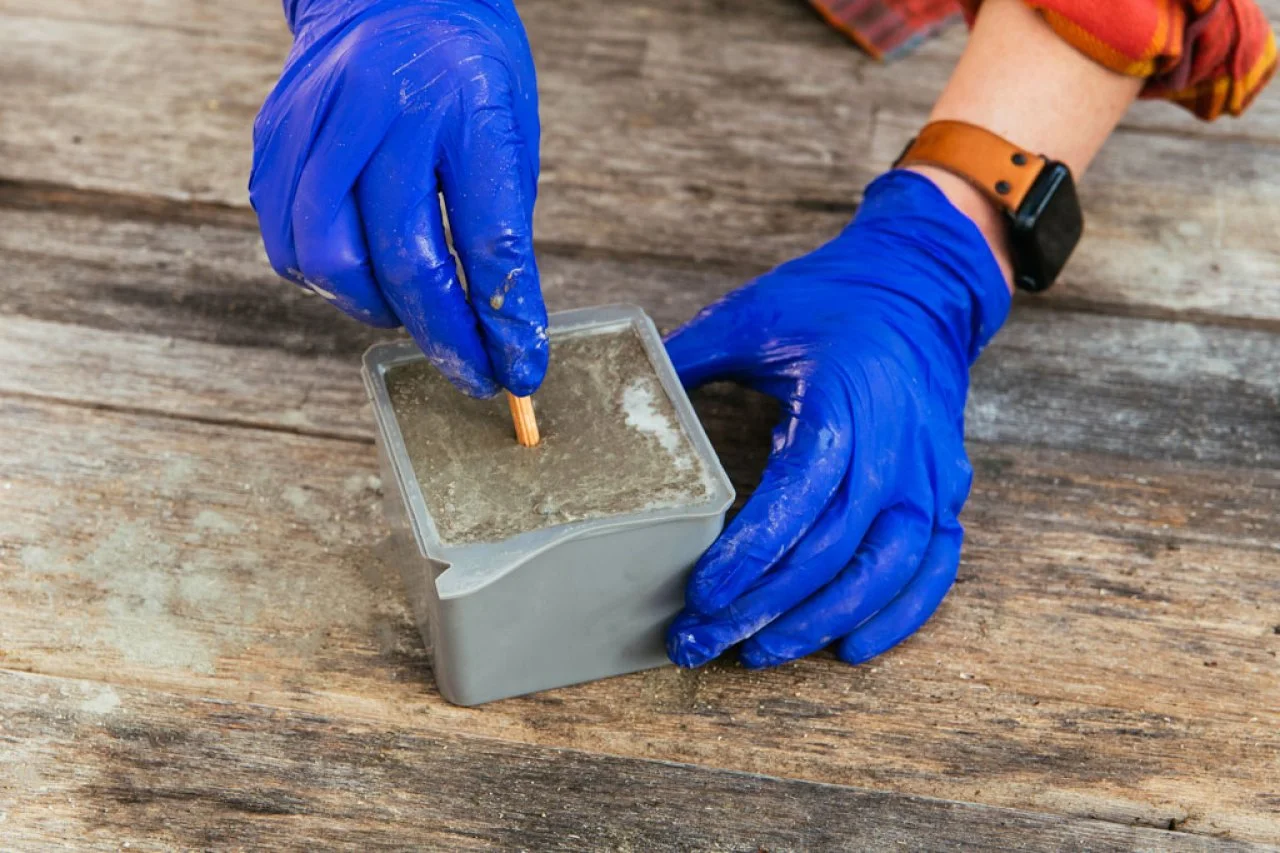
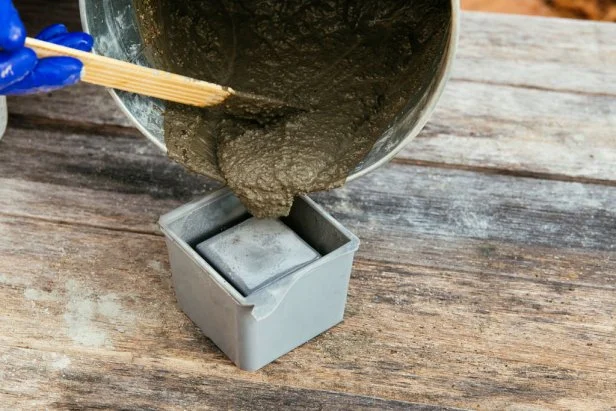
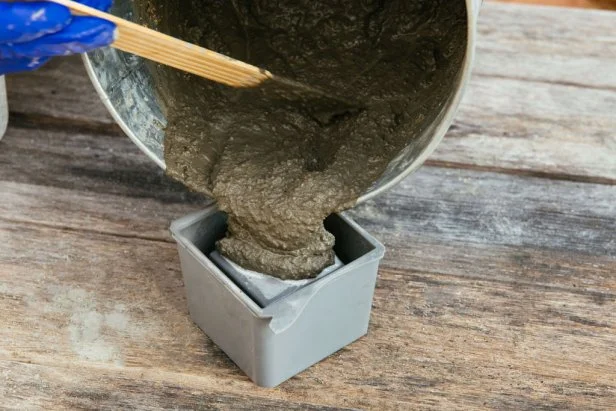
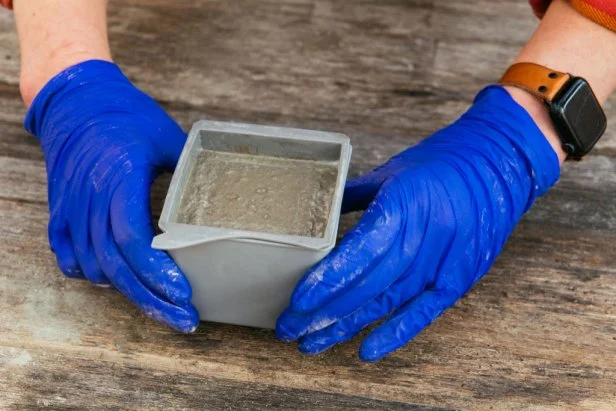
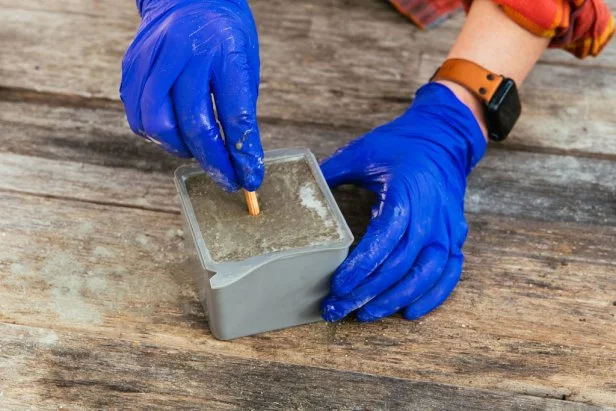
Filling pre-made molds is easy. Molds come with two pieces, a soft silicone form and a harder plastic form. Place the soft mold into the hard plastic form and simply fill with concrete (Image 1). Use a knife or skewer to stir the concrete once it is in the mold. Tap the mold on the table, causing any air bubbles to rise to the surface (Image 2). Because these molds are poured upside down, making a drainage hole is easy. insert a small wooden dowel into the center of the mold (Image 3). Let dry 24 hours.
Jennie Andrews
Jennie Andrews
Jennie Andrews
Step 4: Fill Recycled Containers
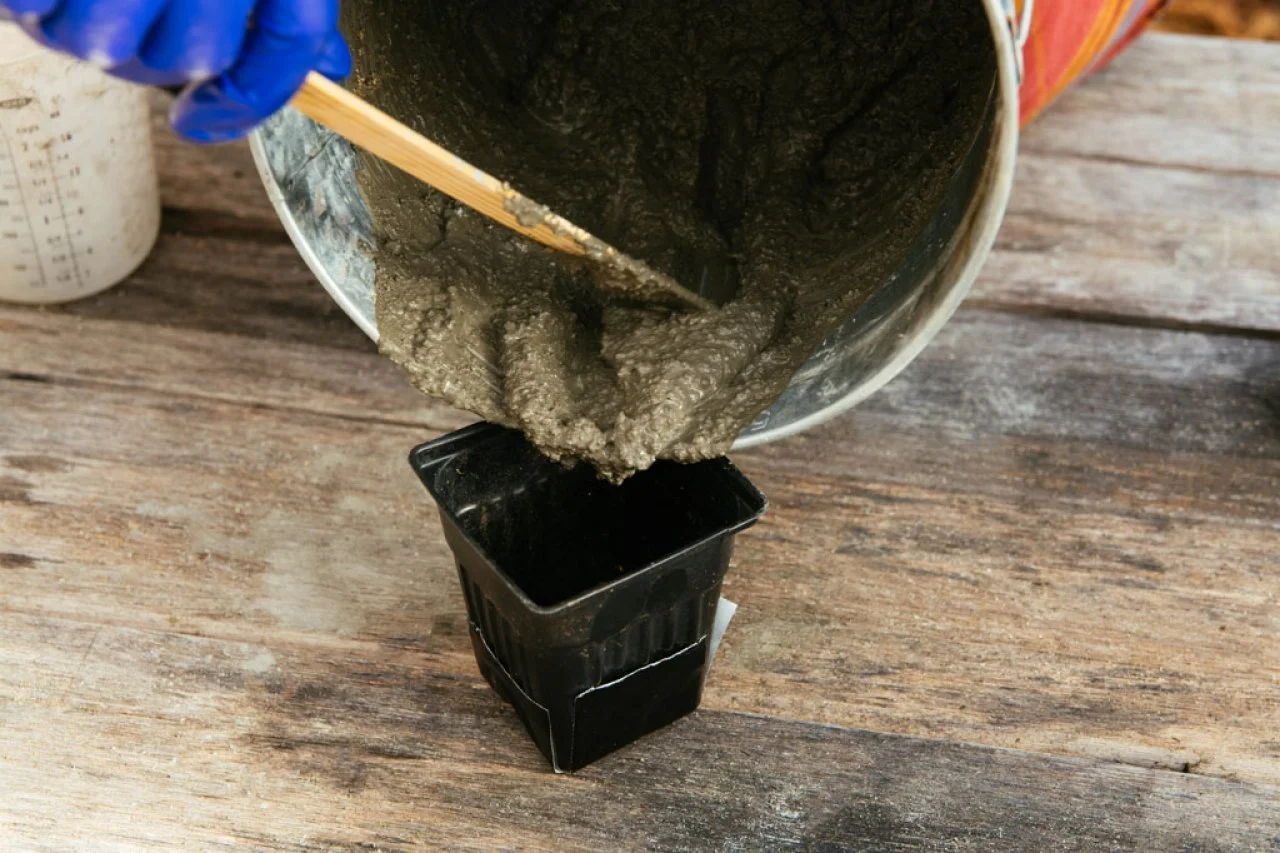
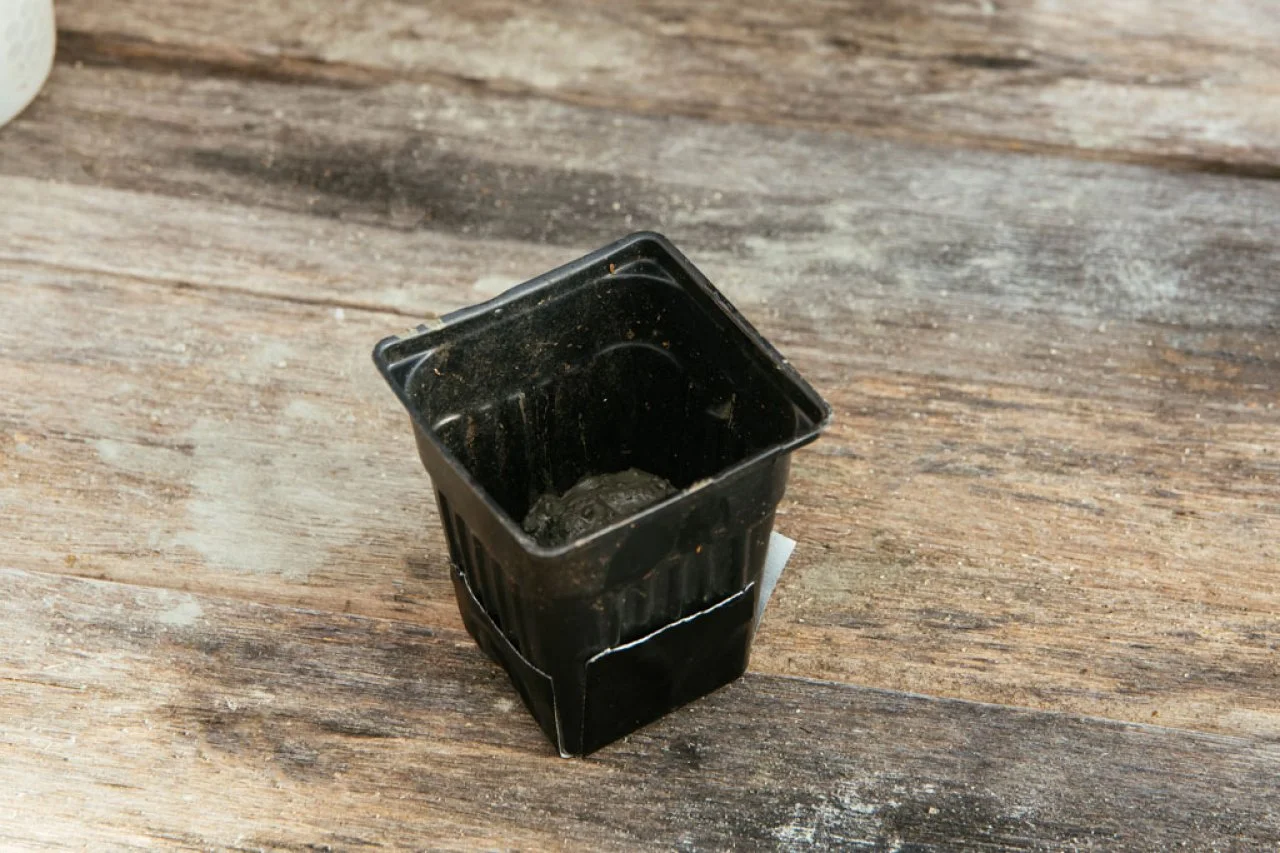
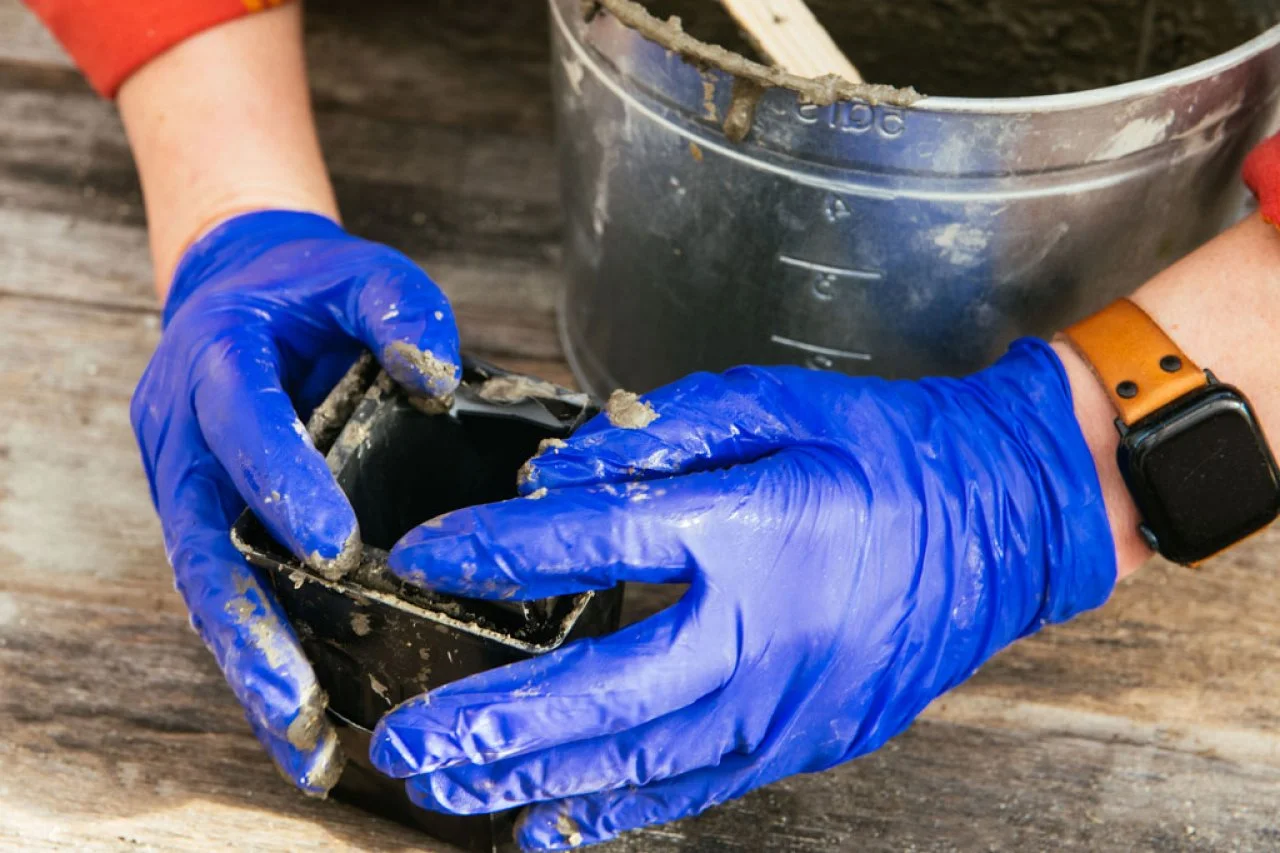
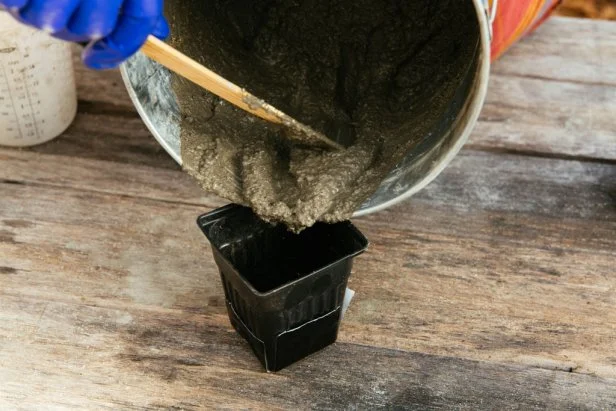
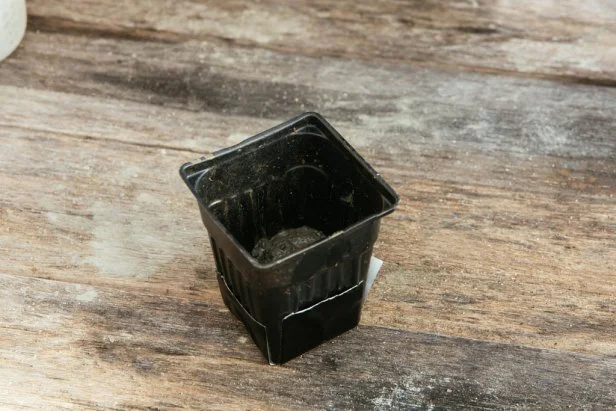
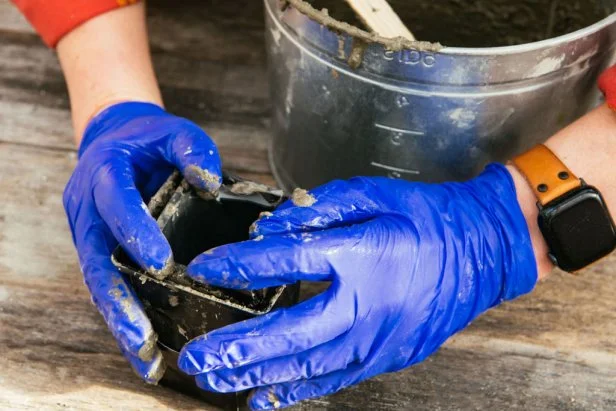
The method for recycled containers is slightly different. Pour concrete into the larger of your two containers until it is about 2/3 full (Image 1). Tap the container on the table to remove air bubbles (Image 2). Insert the smaller container into the middle, pressing it down until the rims are in line (Image 3). Be certain to keep the small container as centered as possible so the walls of your planter will be uniform. If the concrete doesn't reach the rims, remove the center container, add more concrete and then re-insert the small container. Use a knife or stick to help move the concrete between the containers. Once concrete fully fills the containers, hold both in place and tap the containers again to remove air. Place crisscrossing pieces of tape across the top of the pots. The tape will keep the interior container from floating up and will hold in the sides of the mold so the walls don't bulge. Let dry 24 hours.
Jennie Andrews
Jennie Andrews
Jennie Andrews
Step 5: Remove Concrete From Molds
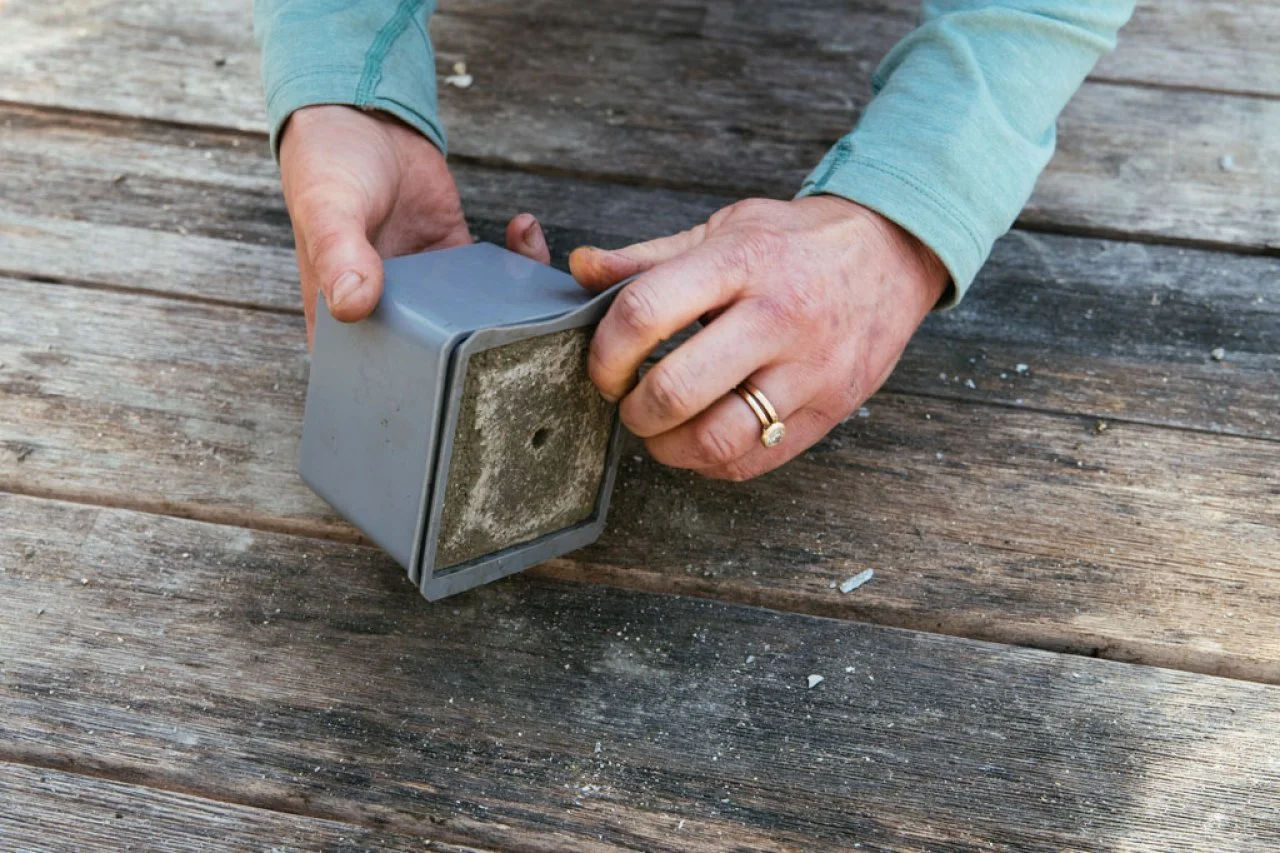
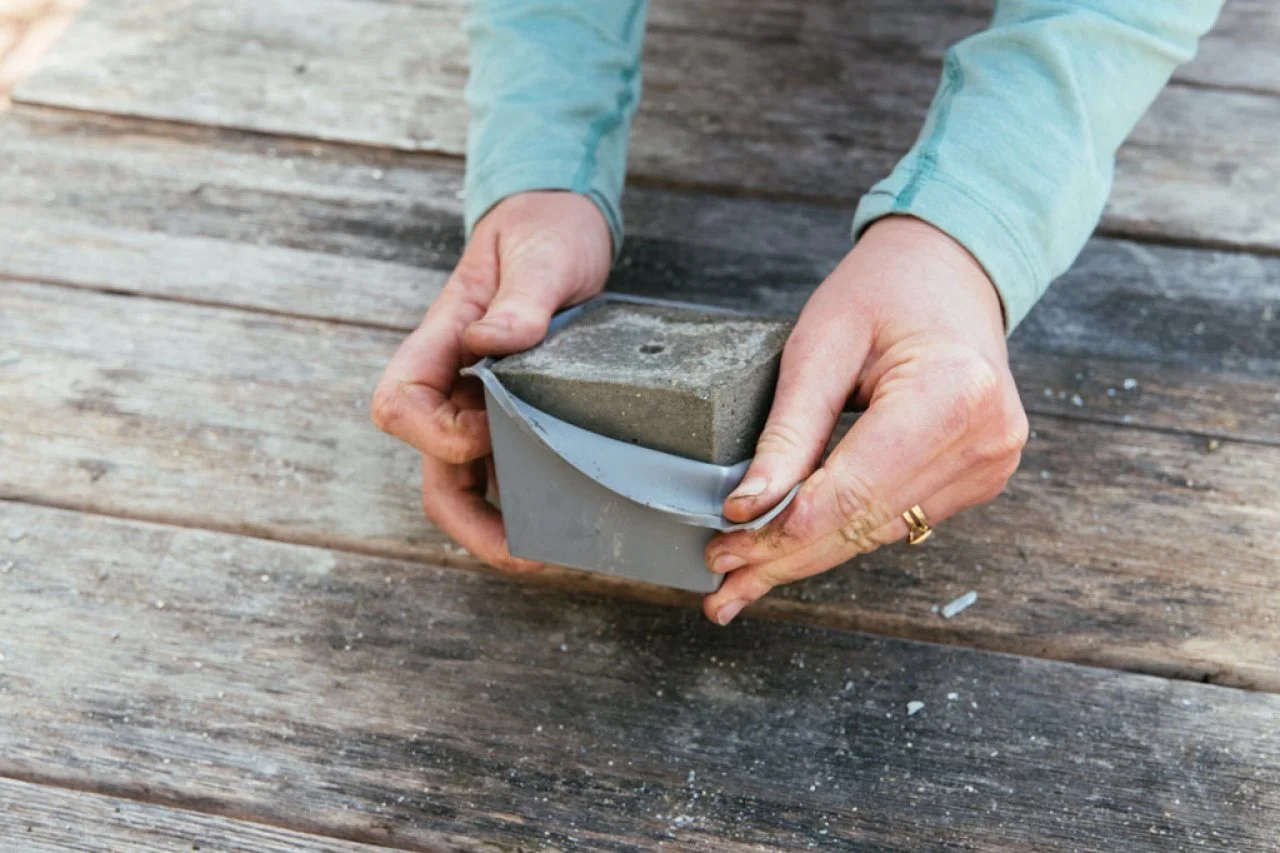
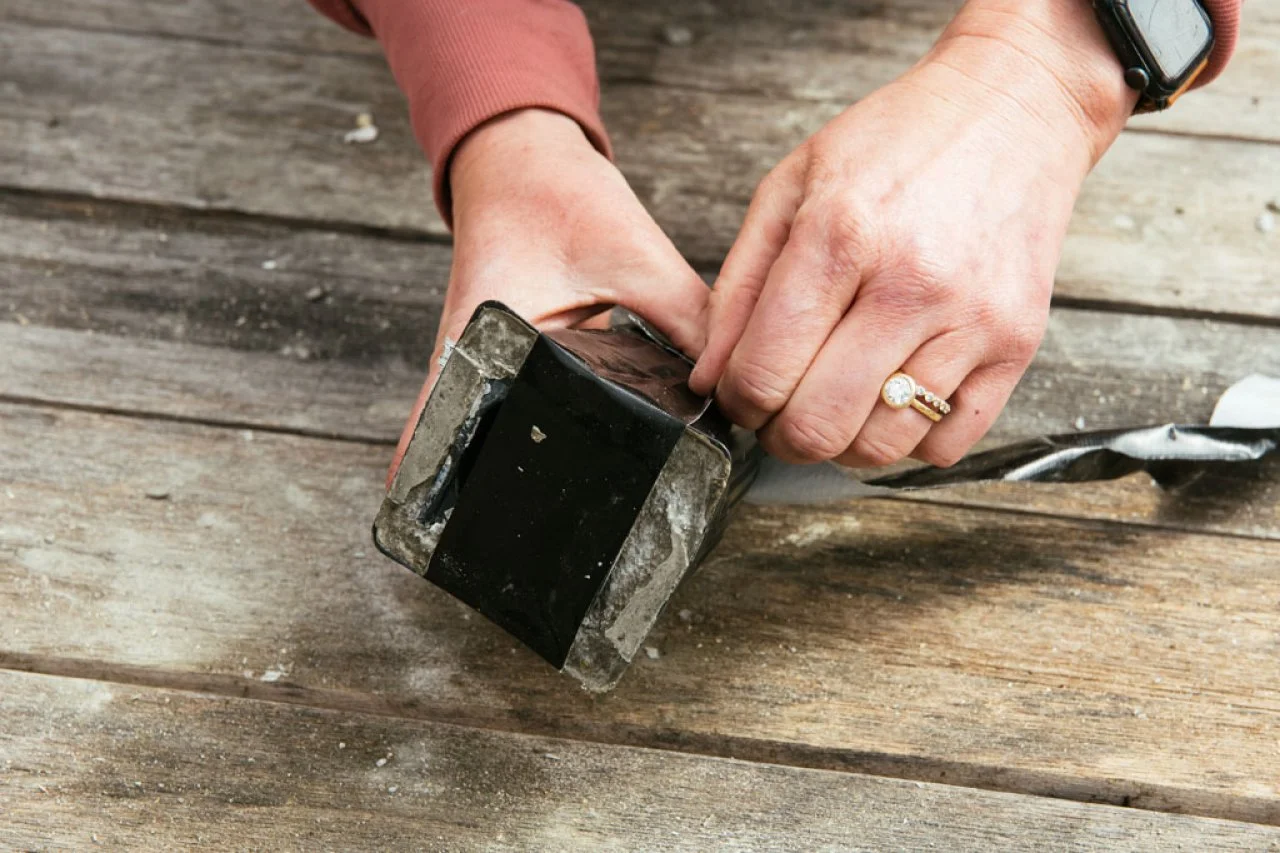
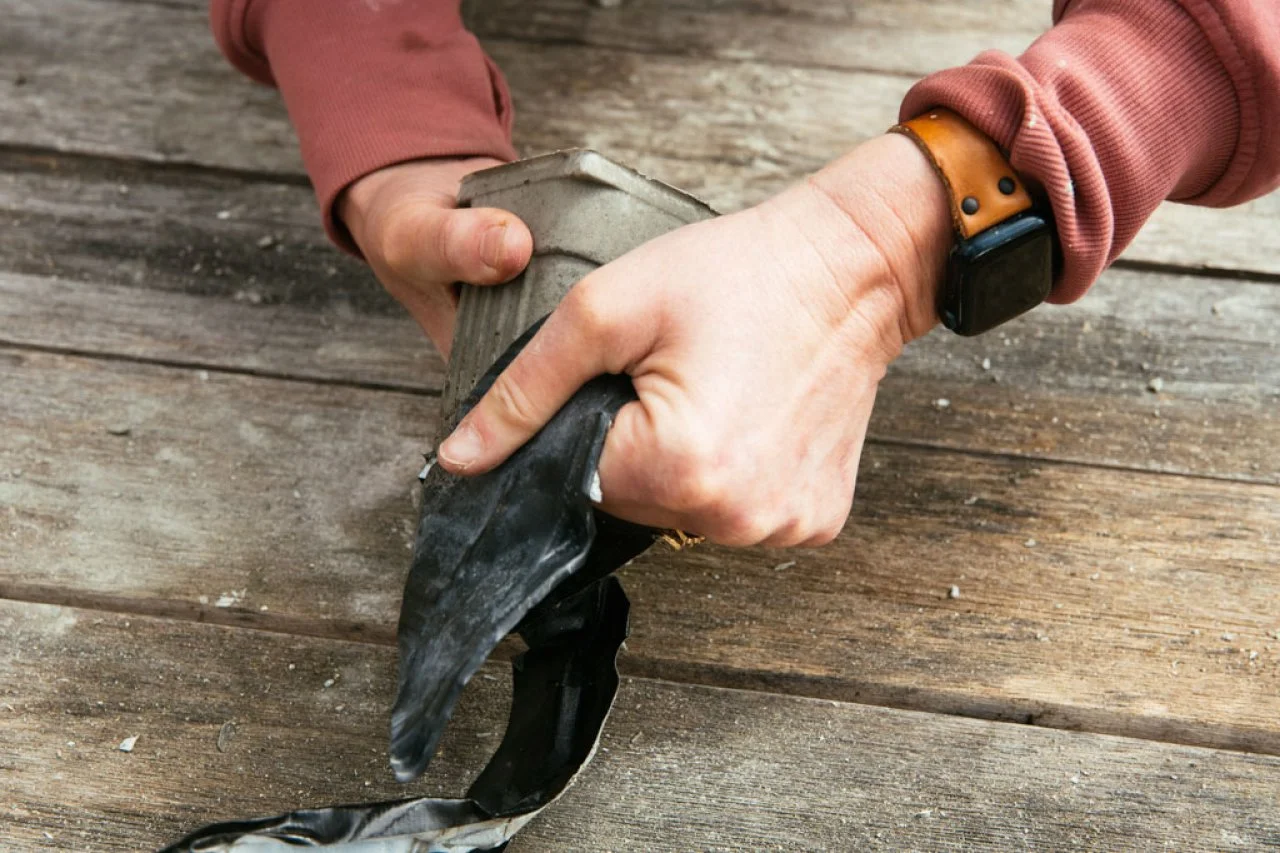
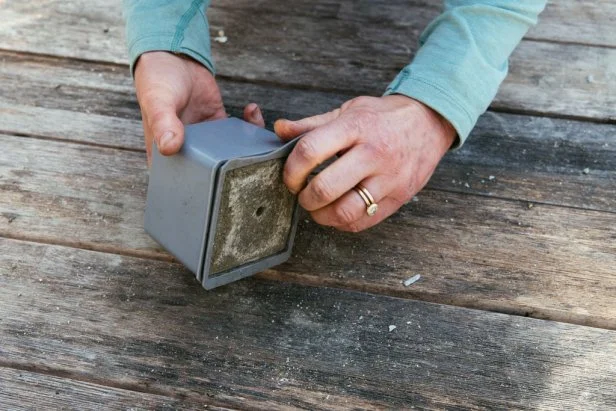
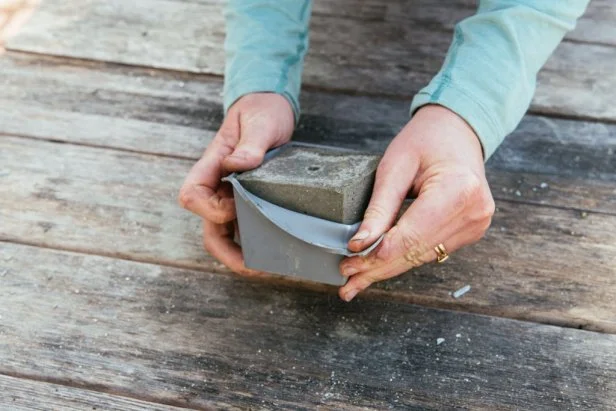
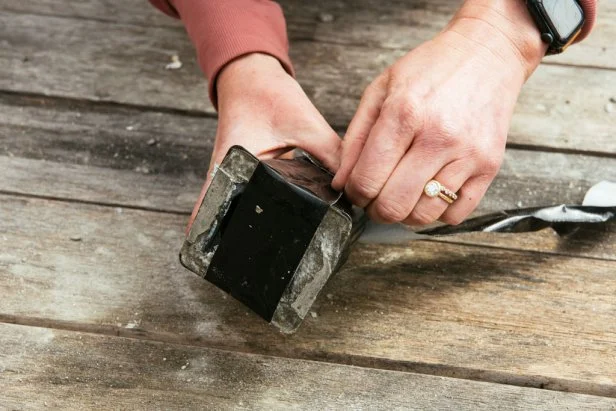
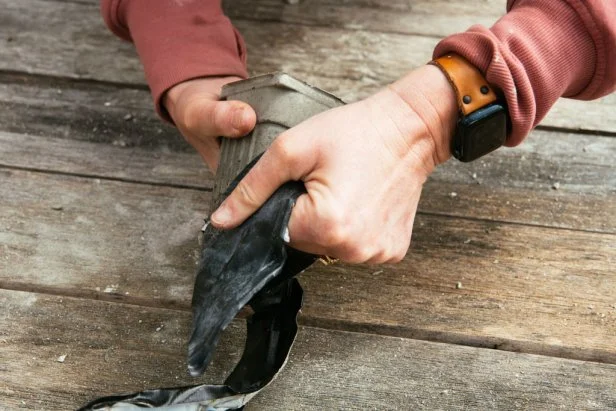
If you used pre-made molds, remove the wooden dowel and then work the silicone mold from the plastic form (Image 1). Peel the mold away from the concrete planter (Image 2). If you used upcycled containers, remove the tape and peel or cut the container away from the concrete (Images 3 & 4). For thicker plastic containers, insert a knife along the interior edges to loosen the form and then flex the plastic to help work the form from the mold.
Jennie Andrews
Jennie Andrews
Jennie Andrews
Jennie Andrews
Step 6: Sand Concrete Containers
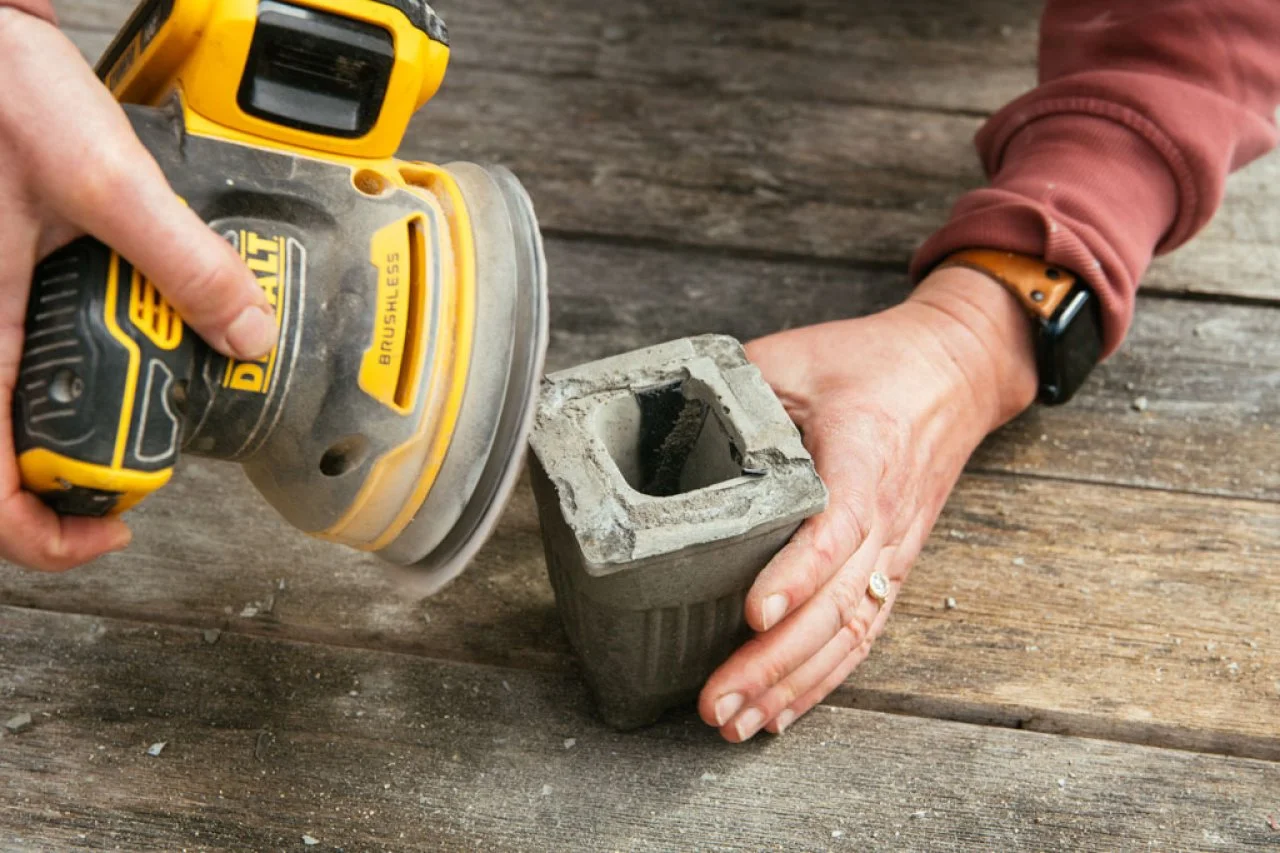
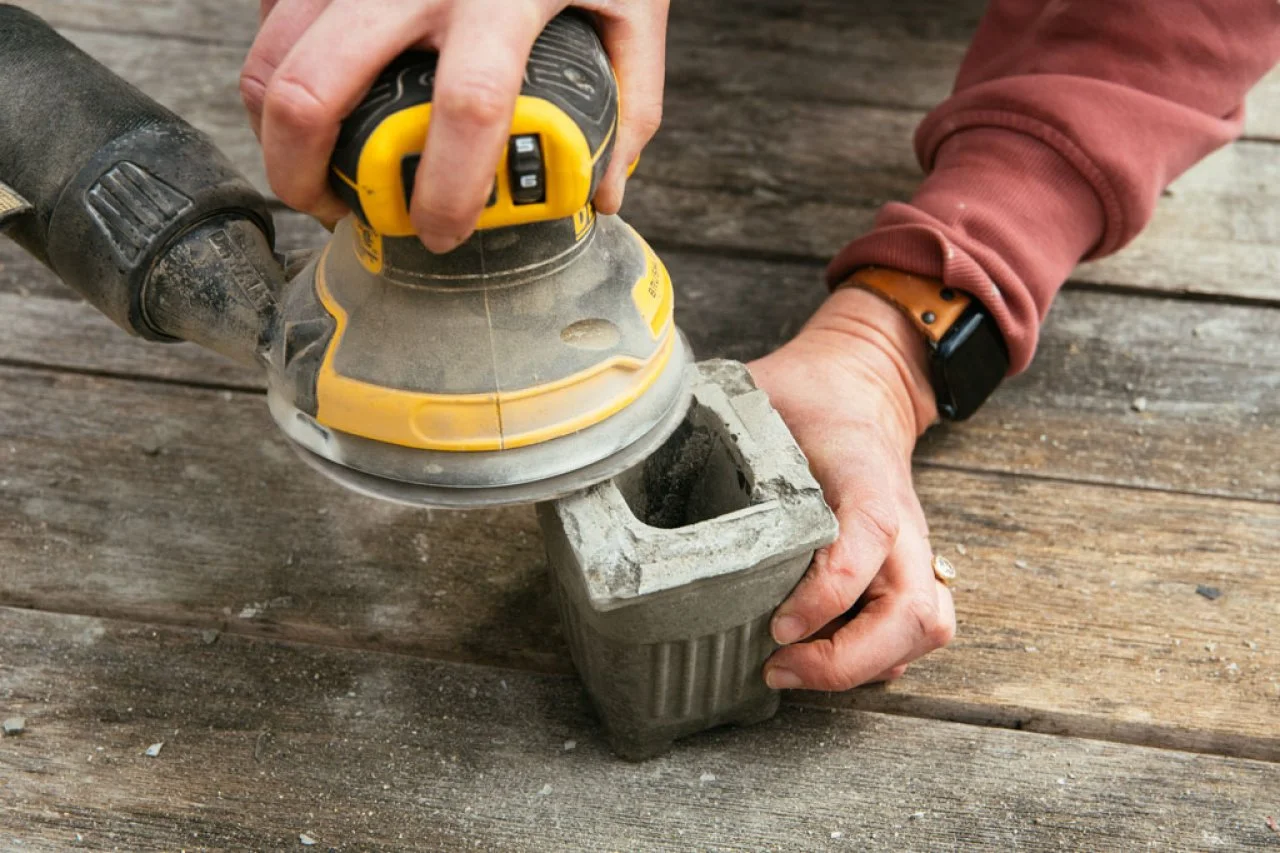
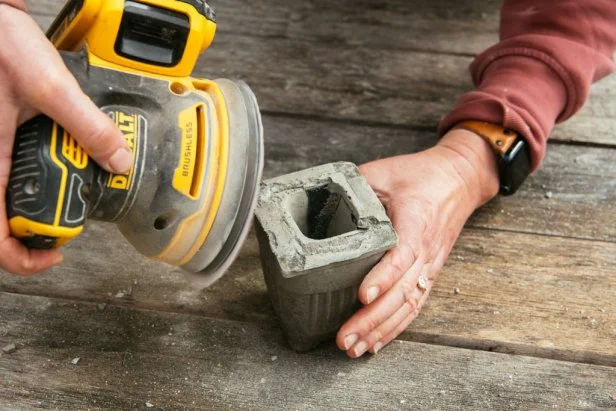
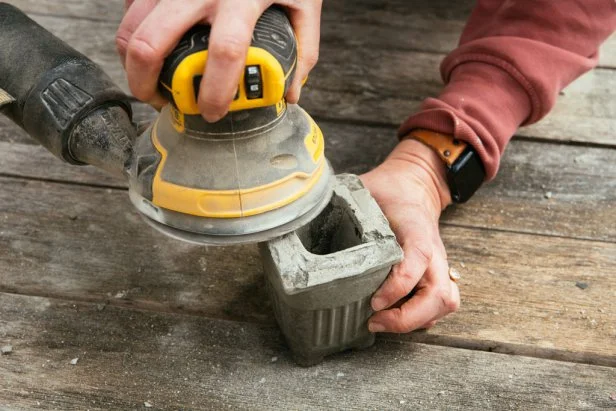
Use an 80-120 grit sandpaper attached to an orbital sander to remove imperfections, especially around the rim and edges (Images 1 & 2). Wear your respirator during this step, as you will certainly produce a lot of dust. Sanding works best after concrete is well set but not totally cured. Use caution, however, because concrete that is too soft may crumble when sanded.
Jennie Andrews
Jennie Andrews
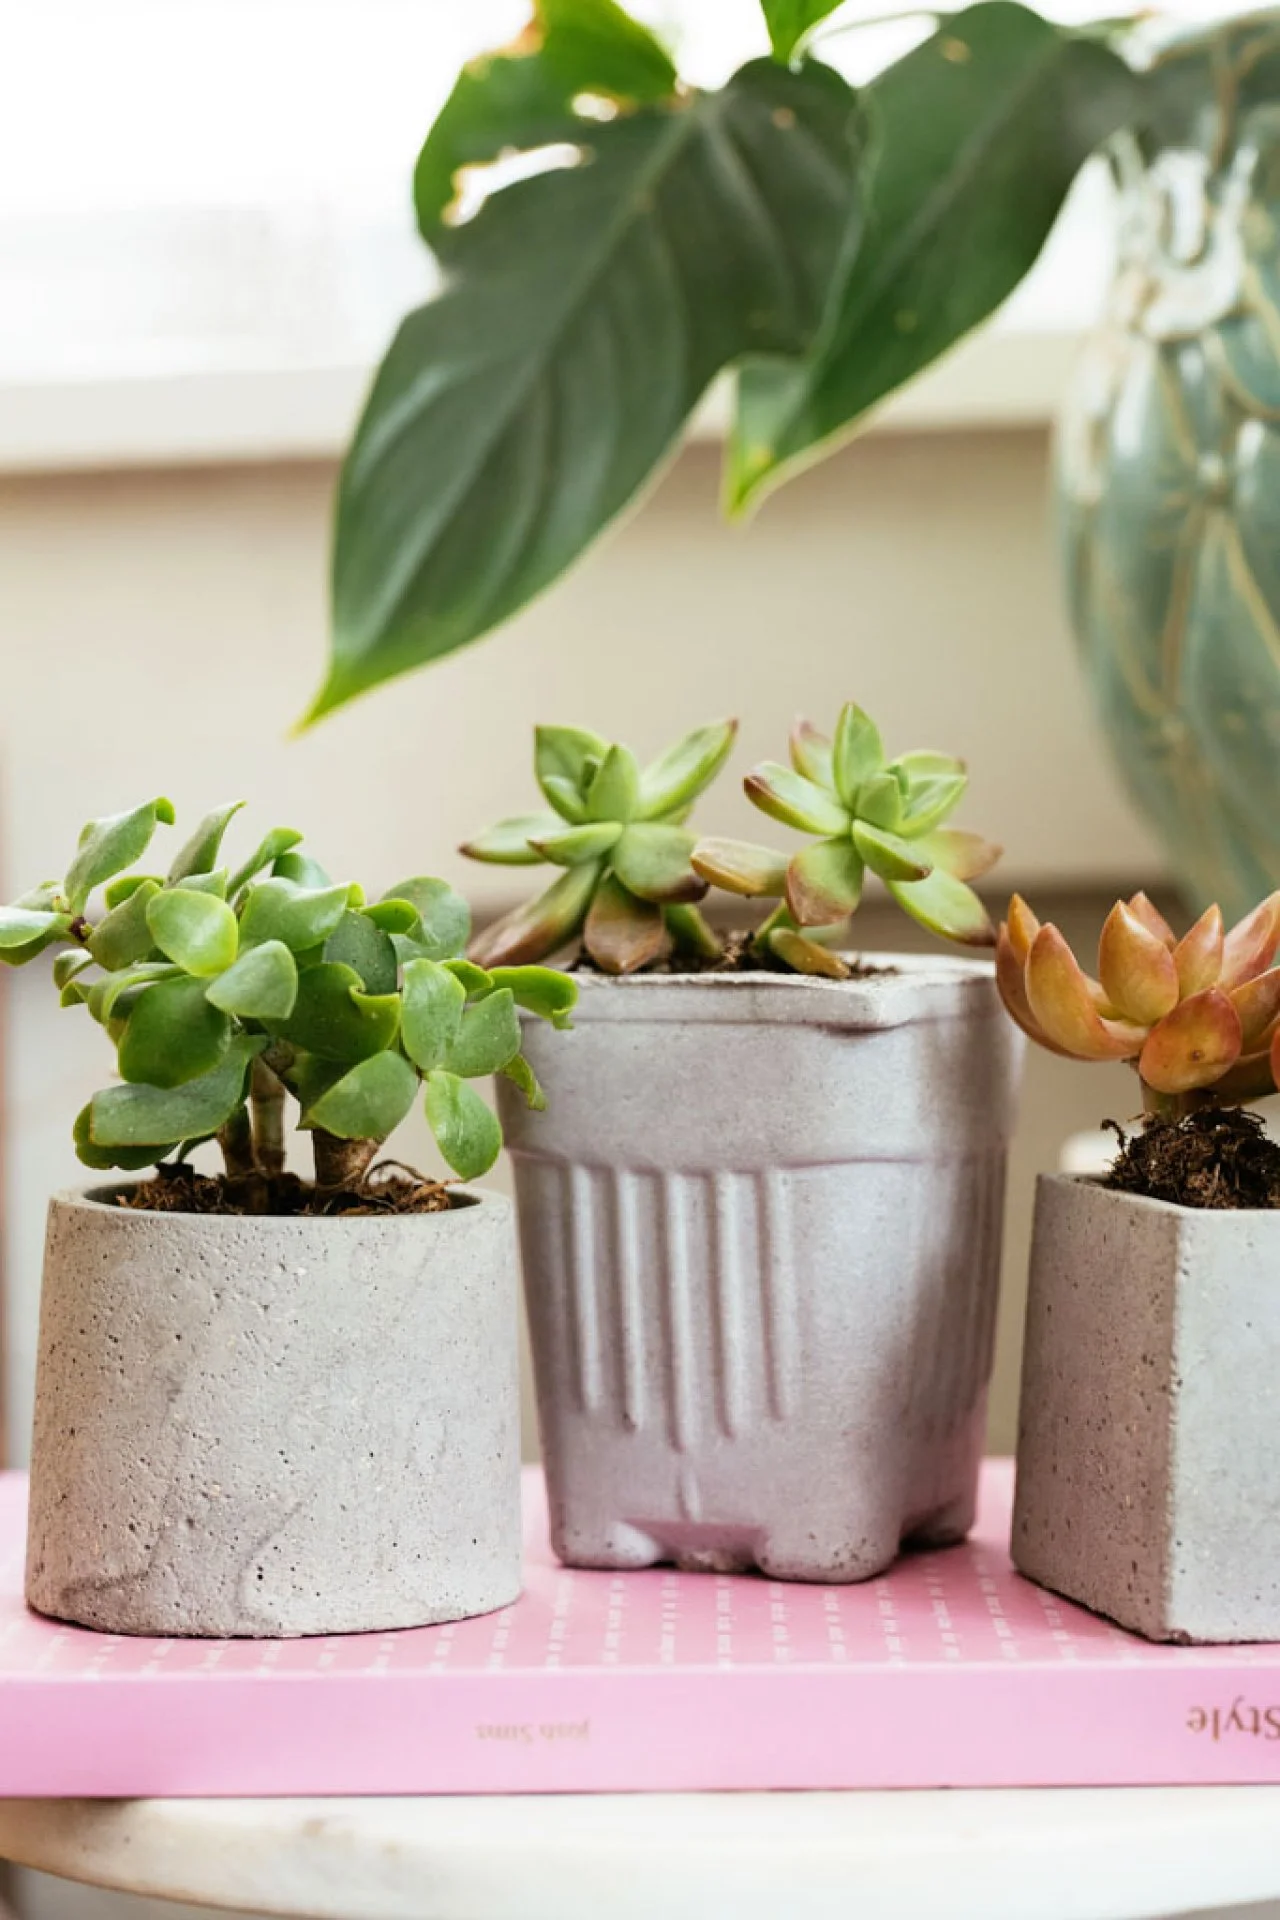
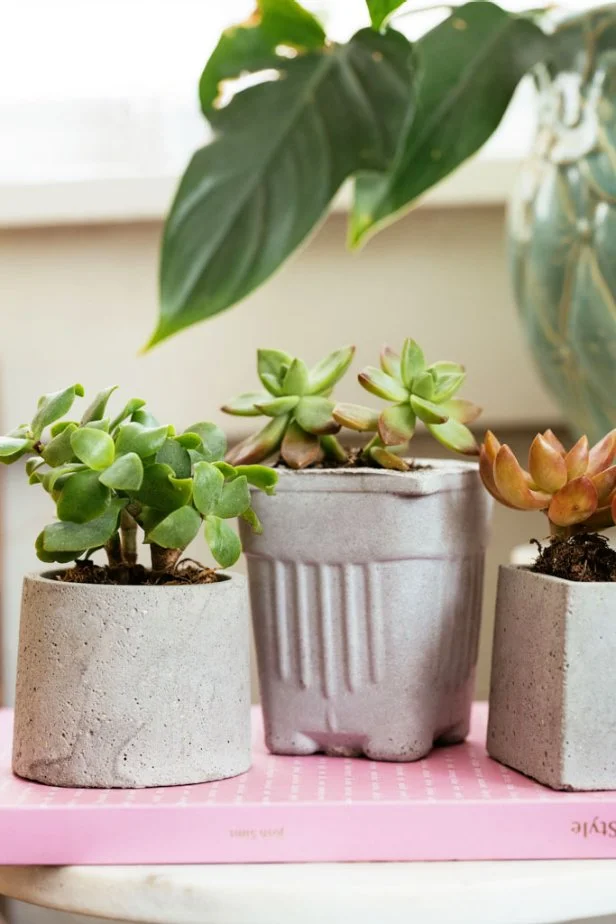
Your new pots can be displayed with a raw concrete finish or painted, but either way, they will benefit from a coat of concrete sealer once they are fully cured (typically about three days). Any plants can be planted in concrete, so options are endless to create a beautiful tabletop display with your cute, modern planters
Jennie Andrews
Your new pots can be displayed as raw concrete or painted.





.jpg.rend.hgtvcom.231.174.85.suffix/1738869872256.webp)