


Turn an Old Sweater Into a Chic, Preppy Pillow

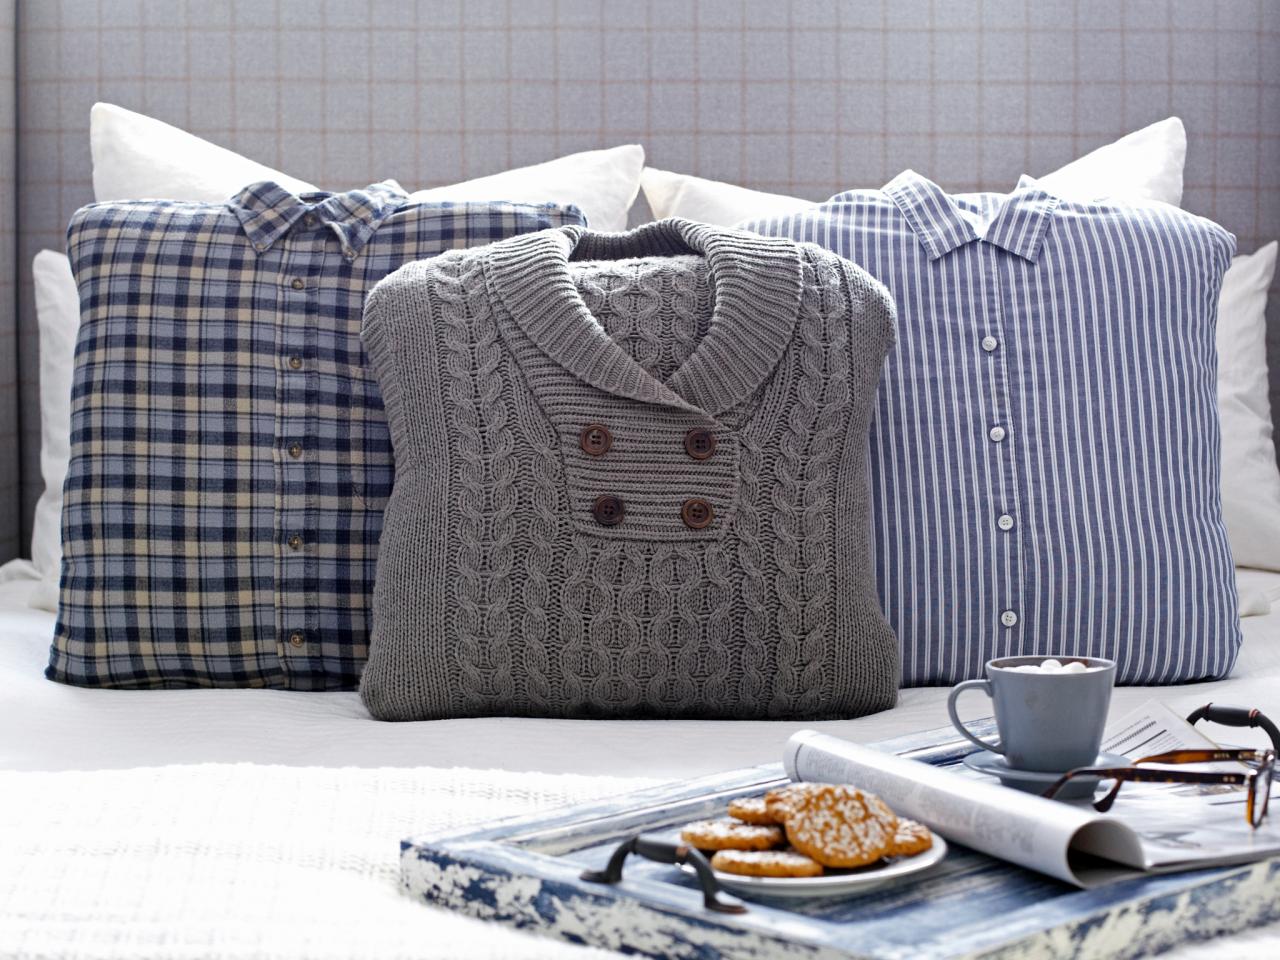
Make a Statement With DIY Chic, Preppy Pillows
Add warm, menswear-inspired appeal to your bed pillows this winter with quick and easy slipcovers made from old sweaters and button-up shirts. You need a needle and thread, pillow inserts, fabric and your imagination to complete this fun project.

Materials Needed:
- pillows or pillow inserts sized 16x16", 18x18" or 20x20"
- knit sweaters or menswear shirts
- needle
- thread
Dress Pillow Insert
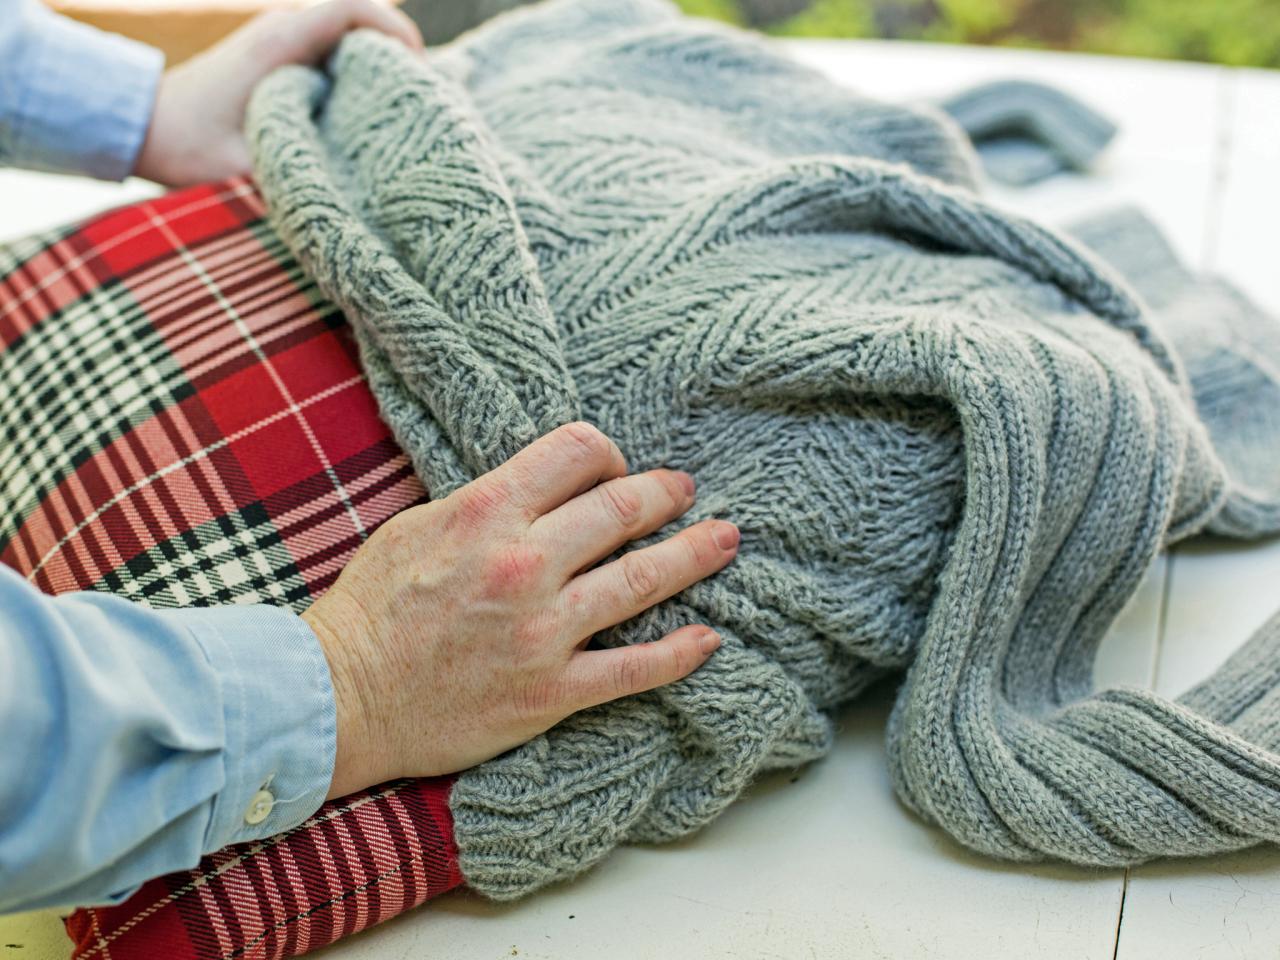
Gather your materials, then slide the sweater or shirt onto a pillow insert in a similar manner to dressing a torso.
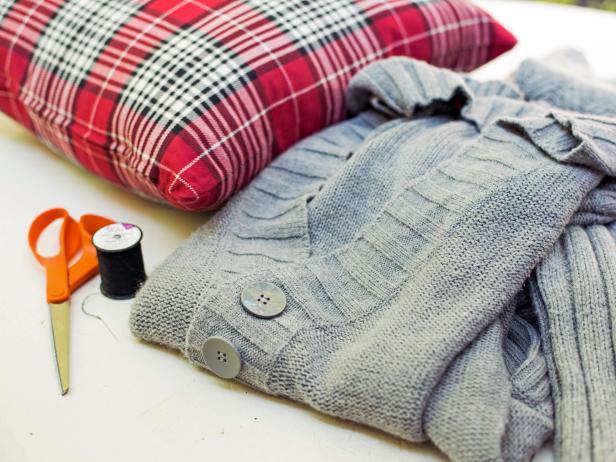

Gathering Materials to Make a Preppy Sweater Pillow
The first step in creating a sweater pillow is to gather the materials you will need to work on the project. You will need an needle and thread, a sweater or man's shirt, and pillow inserts.
Sliding a Sweater Over an Insert to Create a Preppy, Chic Sweater Pillow
Part of the first step in creating a sweater pillow after you have gathered your materials together is to slide the sweater or shirt onto a pillow insert. This is done as if you were dressing a torso or mannequin.
Position Arms
To ensure a crisp, professional look, align the arms of the sweater or shirt with the top corners of the pillow insert.

Positioning the Arms of a Sweater When Creating a Sweater Pillow
Step 3 in creating a sweater pillow is to position the arms of the sweater properly with the pillow insert. To ensure a crisp, professional look, align the arms of the sweater or shirt with the top corners of the pillow insert.
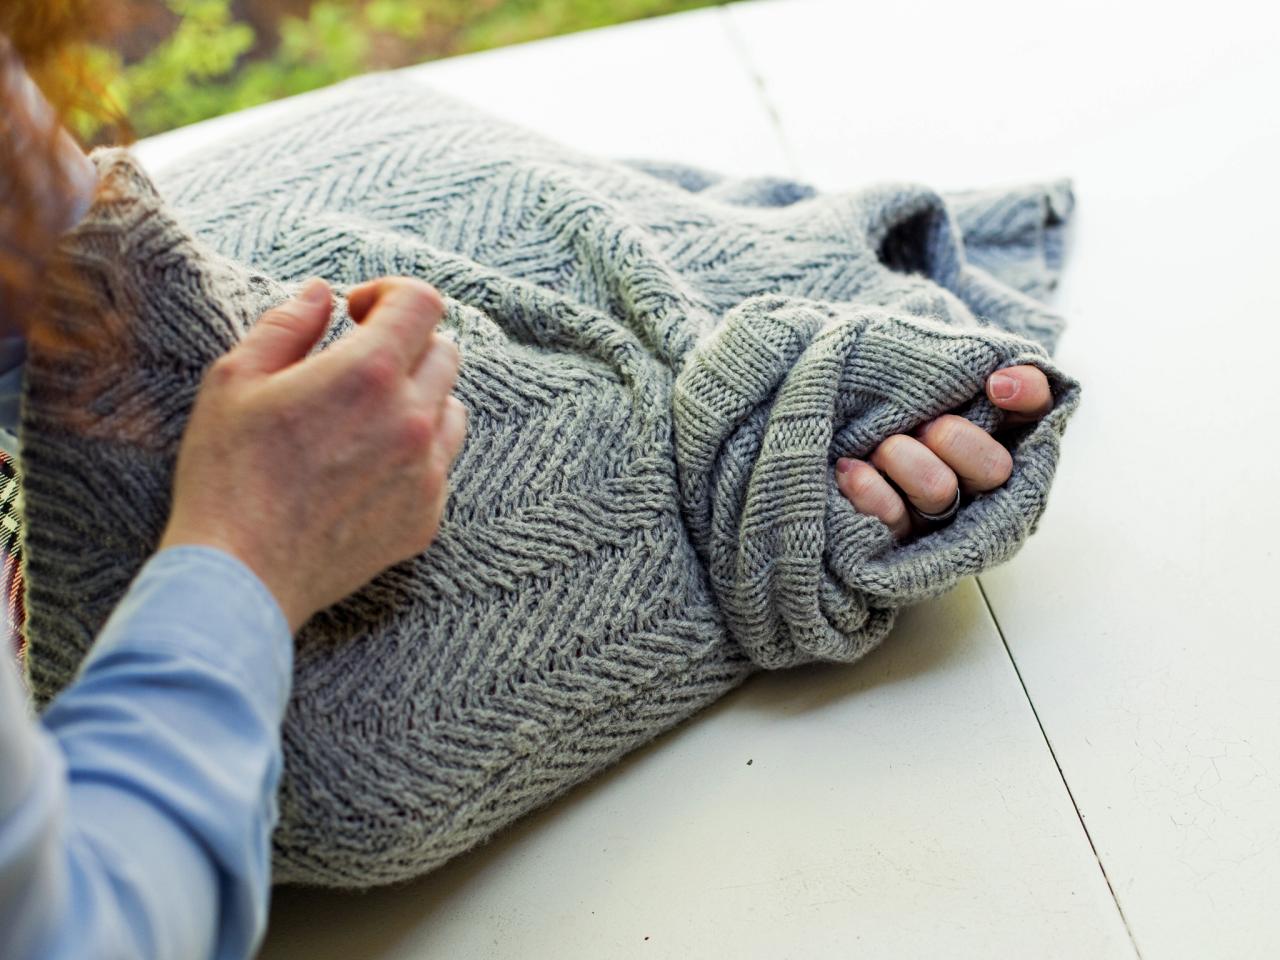
Fold and Tuck Arms
Once arms are firmly positioned along sides of pillow inserts, gather the sleeve in your hand and tuck each arm inside itself. You want a clean arm opening free of bunching or stretching.
Tip: Folding the arm in creates a clean, crisp line along the upper sides of the pillow and ensures fabric remains firmly and neatly stretched across front and back.
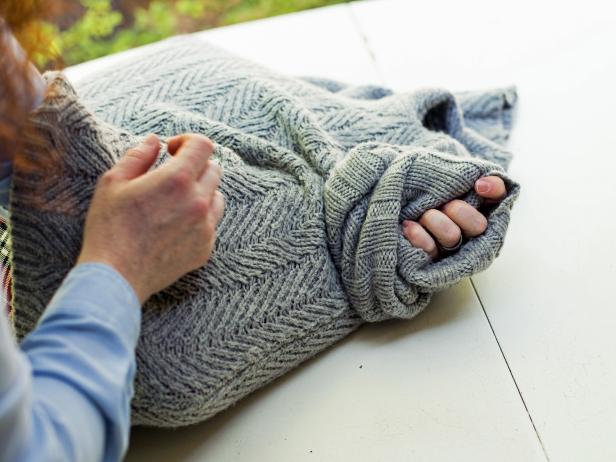
Folding and Tucking a Sweater's Sleeves to Position Fabric for Pillow
Step 4 in creating a pillow made from a sweater is to fold and tuck. Once the arms of the sweater are firmly positioned along sides of the pillow inserts, gather one sleeve in your hand and tuck the arm inside itself. You will want a clean arm opening, free of bunching or stretching. Repeat with the other sleeve. Tip: Folding the arm in creates a clean, crisp line along the upper sides of the pillow and ensures that the fabric remains firmly and neatly stretched across its front and back.
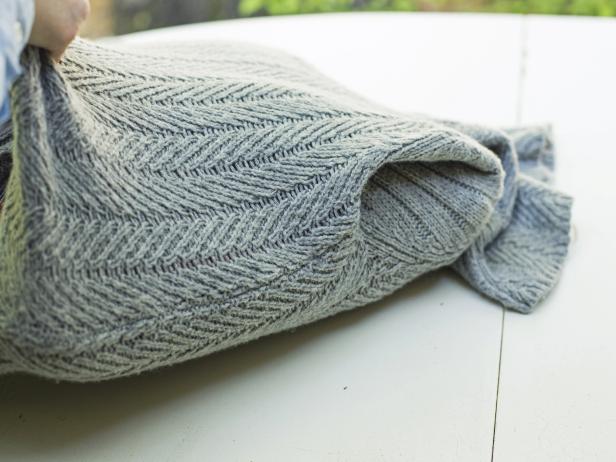
Ensuring Proper Placement of Fabric When Creating a Sweater Pillow
Step 3B in creating a sweater pillow is to make sure the arm of the sweater creates a clean, crisp line along the upper sides of the pillow to ensure the fabric remains firmly and neatly stretched across front and back. This step follows tucking each arm inside itself. You want a clean arm opening free of bunching or stretching.
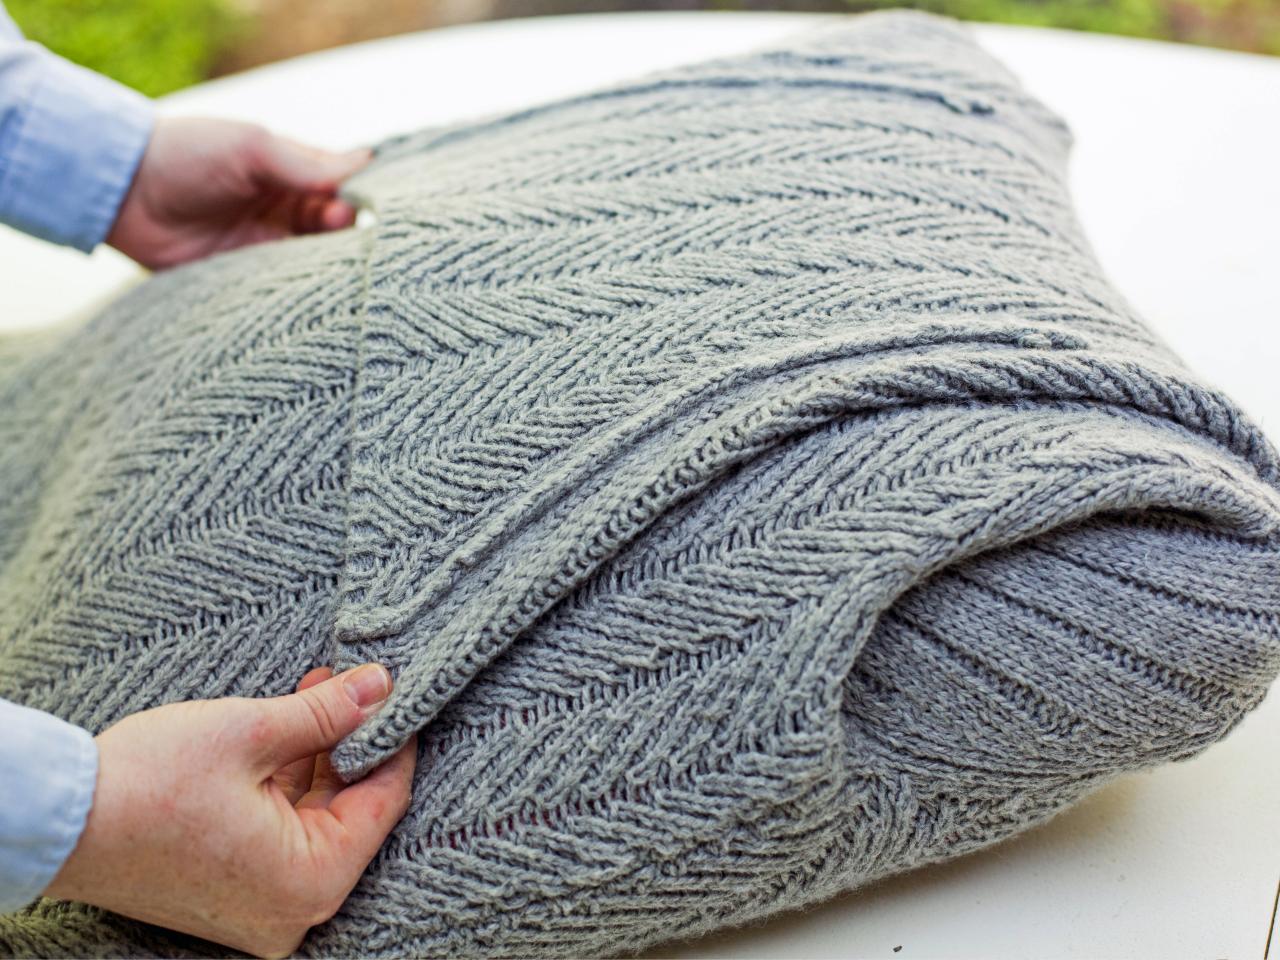
Fold Neck
Fold the neck of the sweater or shirt onto the back of pillow form. This will create a clean line across the top of the pillow. The same step can be used for shirts to keep collars flat and square.

Folding the Neck of a Sweater Neatly Against a Pillow Form
Step 5 in creating a pillow from a sweater is to fold the neck of the sweater or shirt onto the back of pillow form. This will create a clean line across the top of the pillow. Tip: The same step can be used for shirts to keep collars flat and square.
Add Stitch to Neck
Using needle and thread, make a small stitch at corner where neck meets back of pillow. This will hold the neck firmly in place without damaging the sweater, shirt or pillow insert.

Stitching the Neck of a Sweater in Place When Making a Sweater Pillow
Step 6 in creating a sweater pillow is to add a stitch to the neck of the sweater. Using needle and thread, make a small stitch at corner where the neck meets the back of the pillow. This stitch will hold the neck firmly in place without damaging the sweater, shirt or pillow insert.
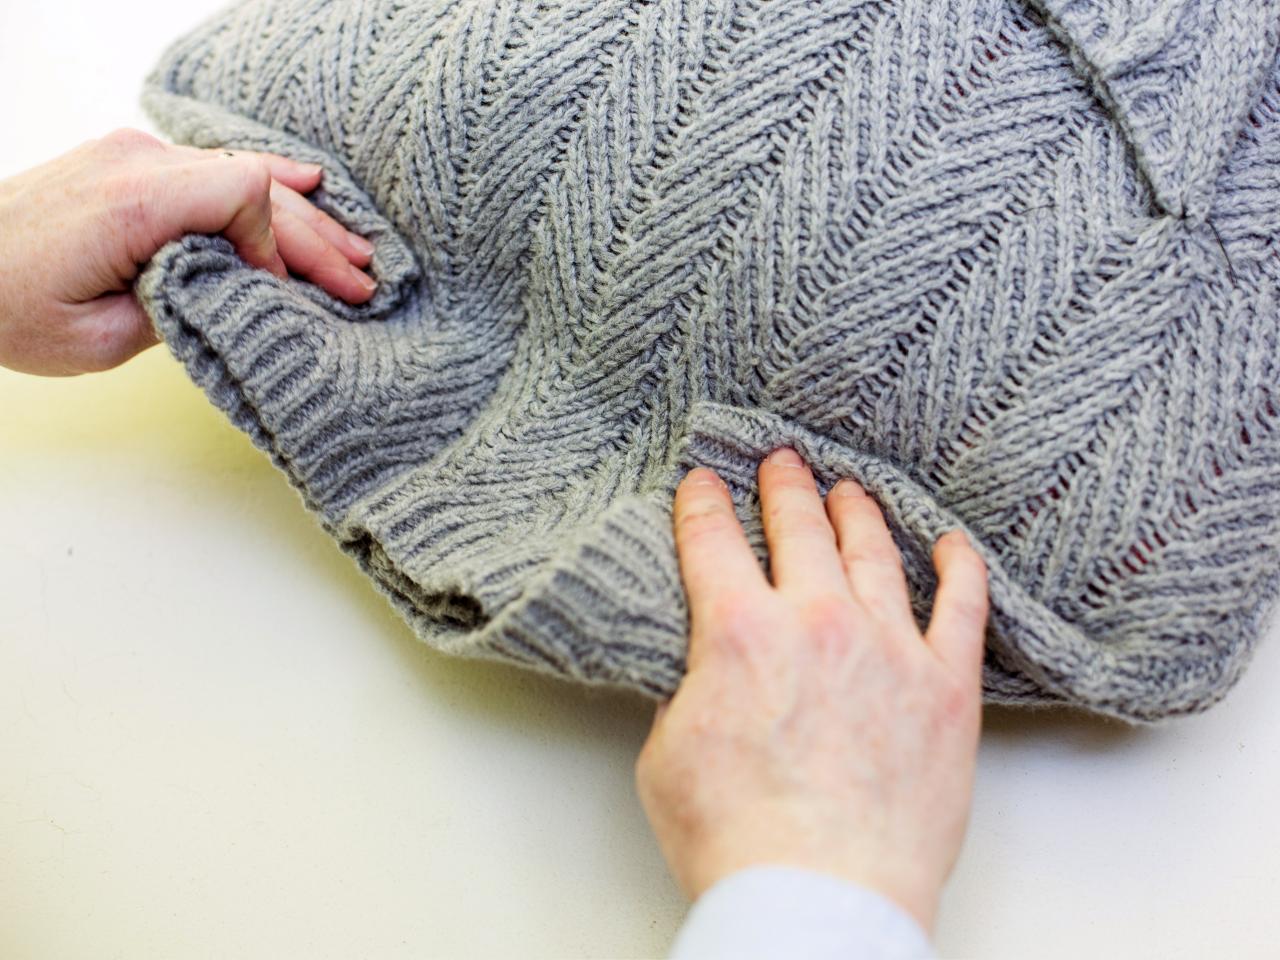
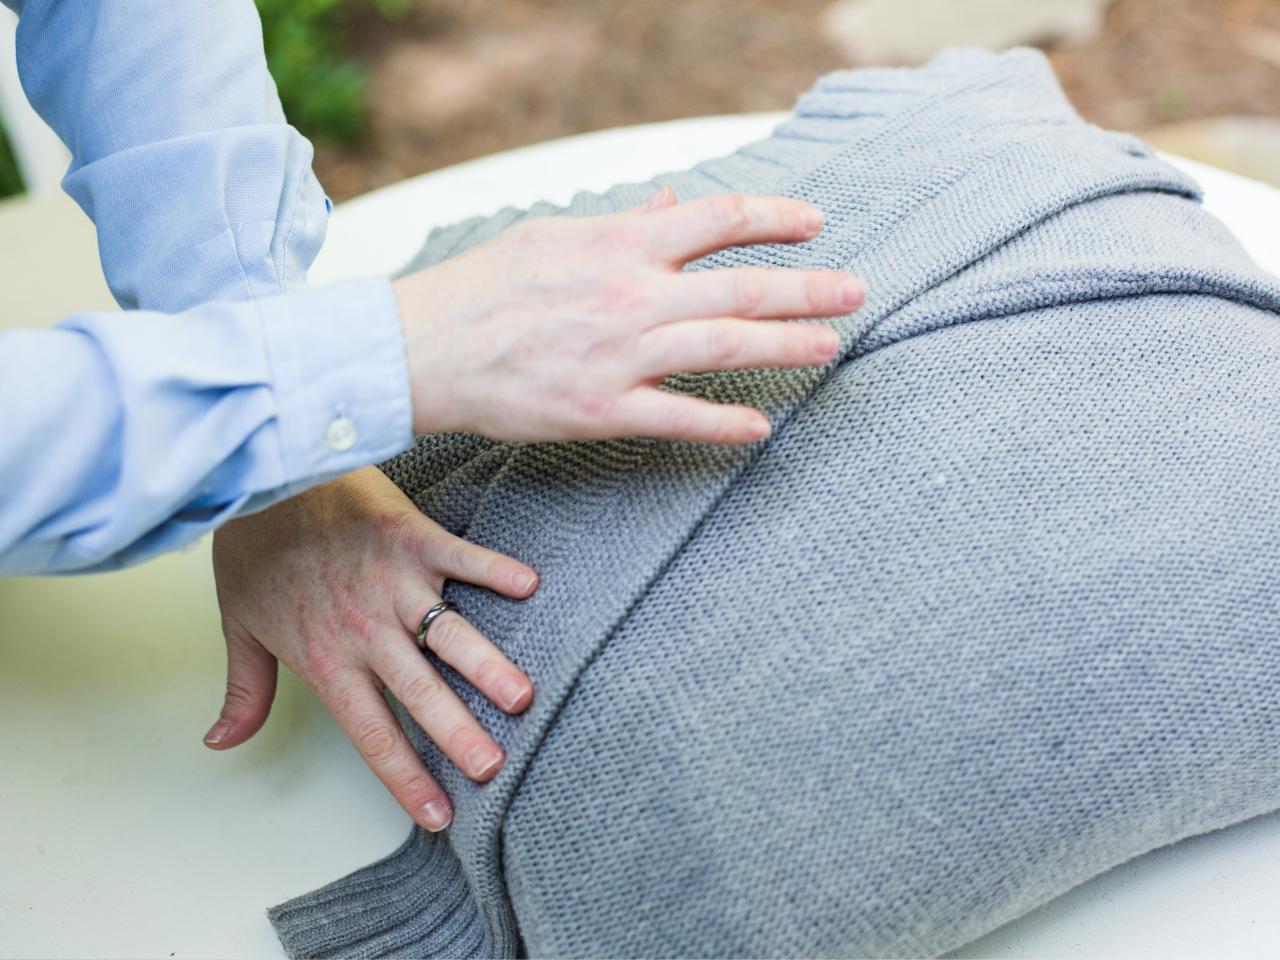
Fold Bottom Corners
Fold corners of bottom of sweater to back of pillow insert.

Folding the Bottom of a Sweater to an Insert to Create a Sweater Pillow
Step 7 in creating a preppy, sweater pillow is to fold the corners of the bottom of the sweater to the back of the pillow insert. You will then be ready to attach them with a needle and thread.
Stitch Bottom Corners
Using needle and thread, make a small stitch at bottom corners of sweater where they meet back of pillow insert.

Making a Stitch with a Needle and Thread to Create a Sweater Pillow
Step 8 in creating a sweater pillow is to use a needle and thread and make a small stitch at bottom corners of sweater where they meet the back of the pillow insert.
Stitch Arms
Untuck arms from the sides, then pull them across back of pillow insert. Using the needle and thread, add a few small stitches to keep them in place.

Stitching the Arms of a Sweater to Attach to Pillow Insert.
Untuck the sweater arms from the sides, then pull them across back of the pillow insert. Using the needle and thread, add a few small stitches to keep them in place.
Add Menswear Flair to Your Home
Use the throw pillows to add whimsical menswear touches to your bedroom or living room this winter. Best of all: It just takes a few carefully cut stitches to remove the sweater or shirt from the pillow insert when warmers months come.

Mirrored Furniture & Menswear Pillows In Blue Bedroom
A mirrored nightstand, dresser and lamp reflect the cool blue hues of this transitional bedroom. A curvy upholstered headboard with a subtle check pattern provides beautiful contrast to the bright white bedding and creative pillows, which are made to look like the front of men's shirts.


