


Make Picture-Perfect Pom-Poms in Minutes
Make super cute, no-sew pom-poms in a jiffy with these tips and tricks.

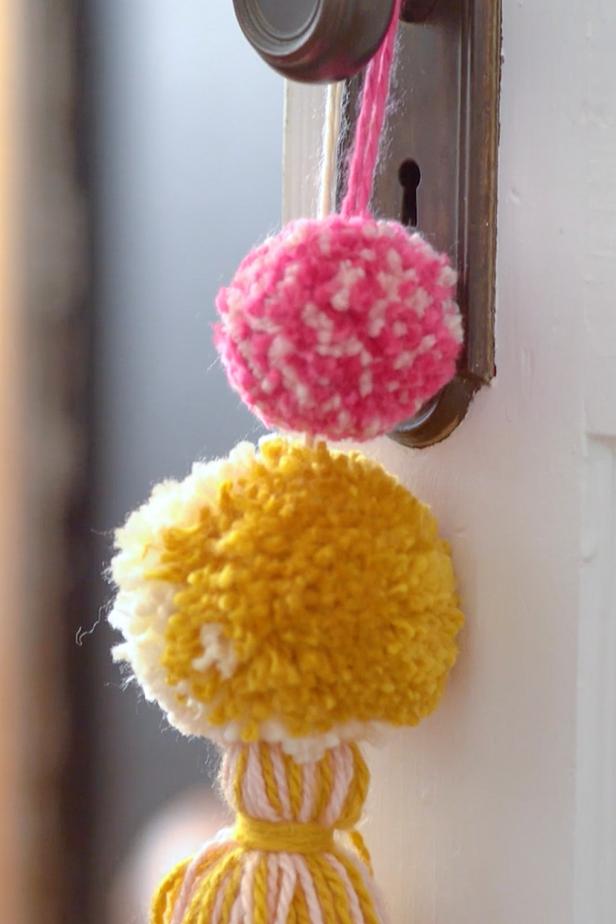
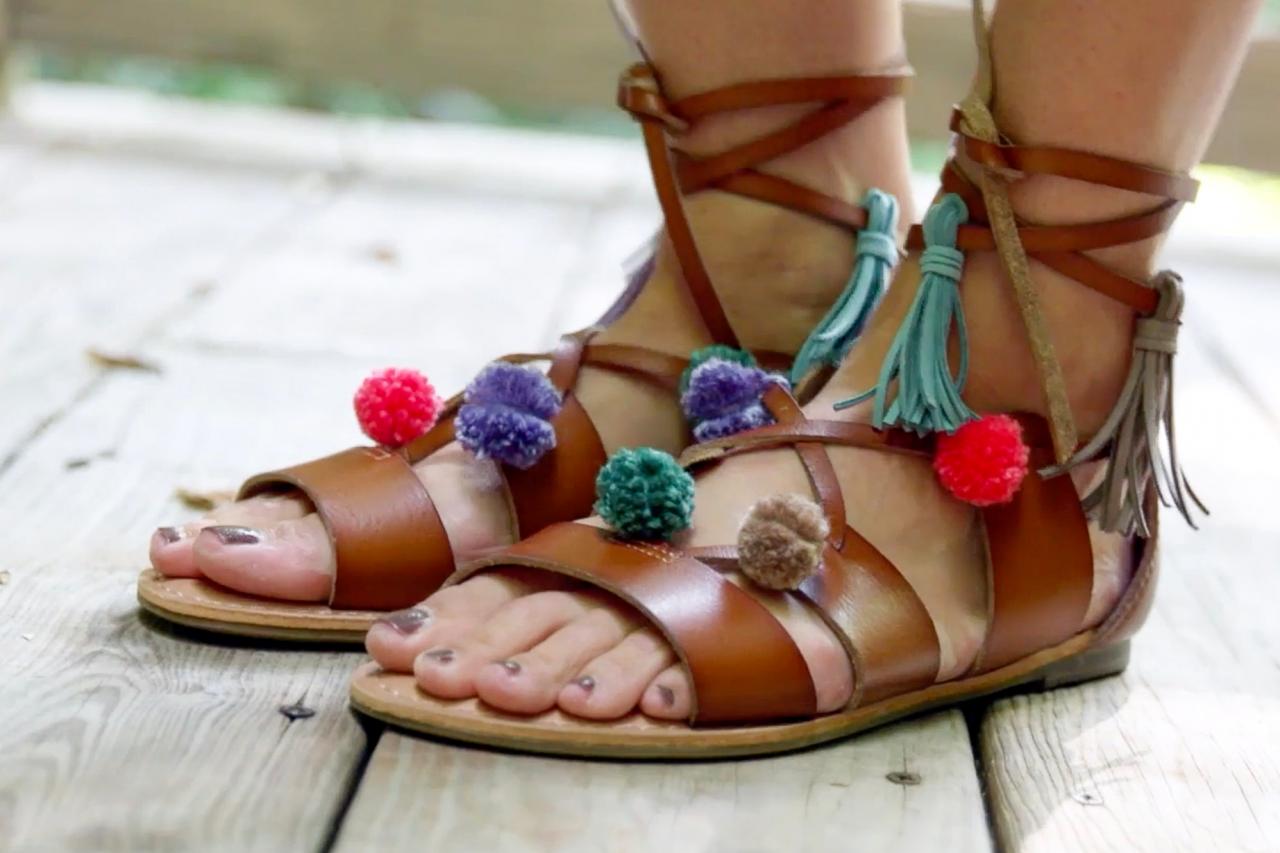
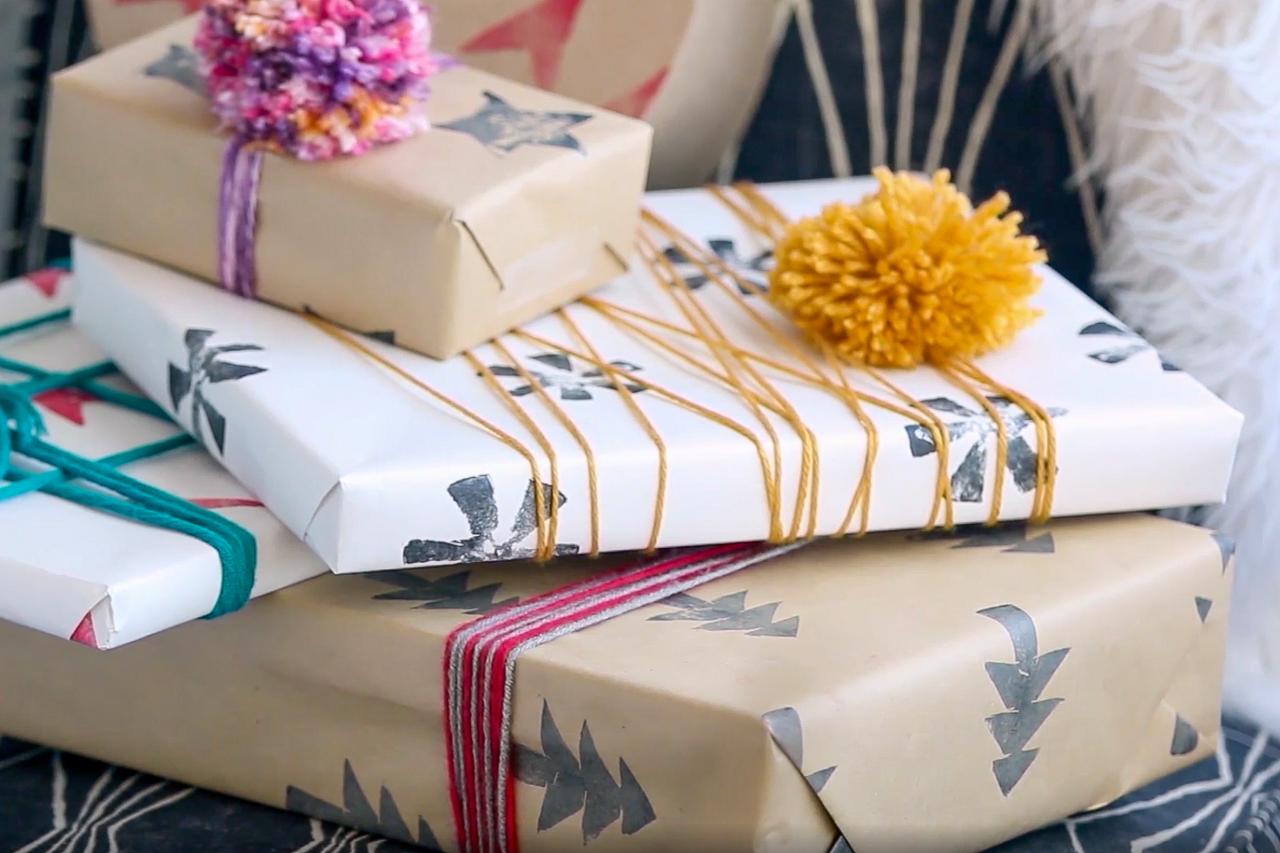
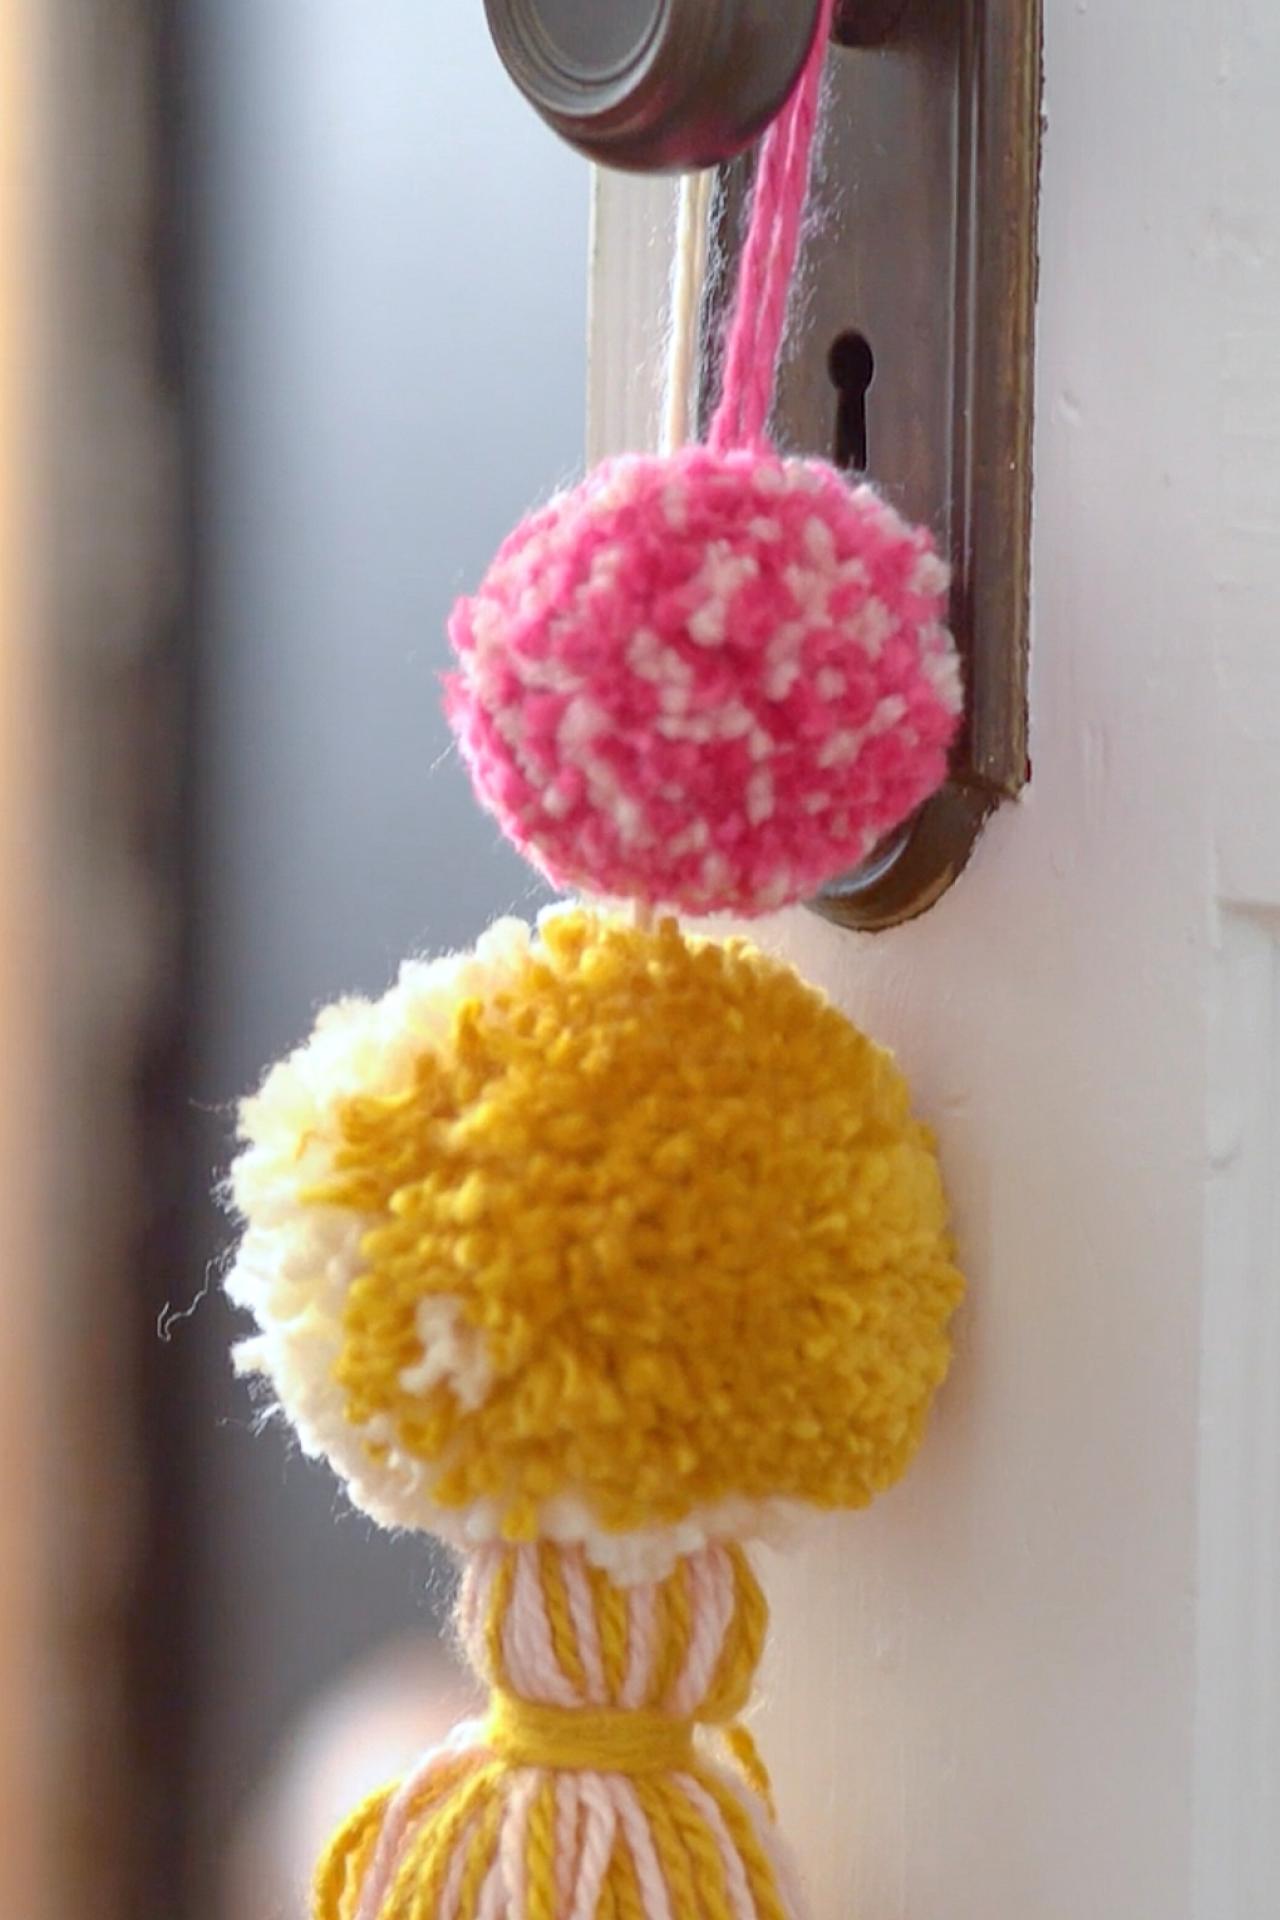
Poofy pom-poms might just be the most cathartic craft, and they require very little time and very few tools to create. Use pom-poms as a decorative door hanger, add some color to a basic pair of sandals or level up a hand-wrapped gift. Watch as HGTV's own Marianne Canada works her magic with four different techniques for perfect fluff. Read on for the how-to and make your own.
TEENY, TINY POM-POMS

Cassidy Garcia
Materials + Tools
- 1 skein of yarn
- scissors
- fork

Cassidy Garcia
Cassidy Garcia
Cassidy Garcia

Cassidy Garcia
Cassidy Garcia
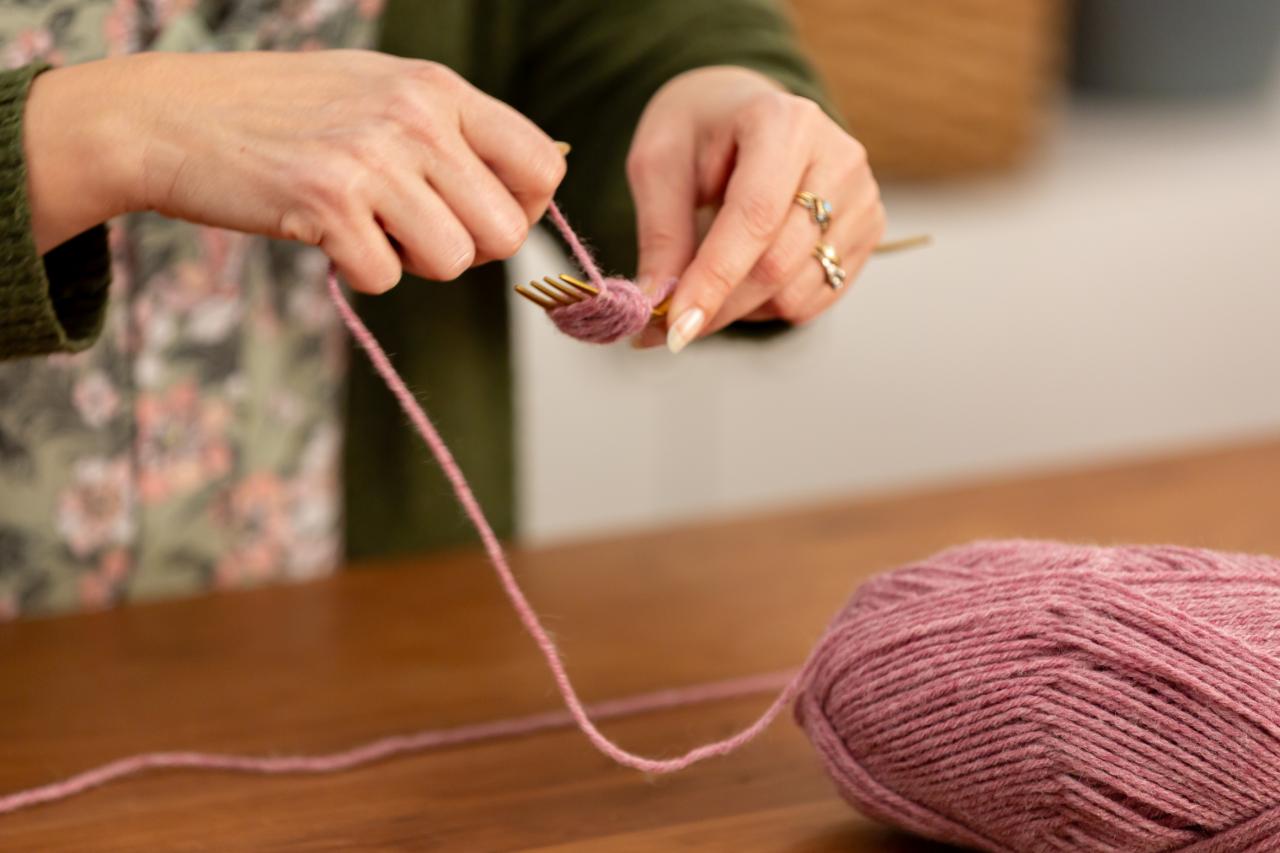
DIY Perfect Pom-Poms: Wrap Fork
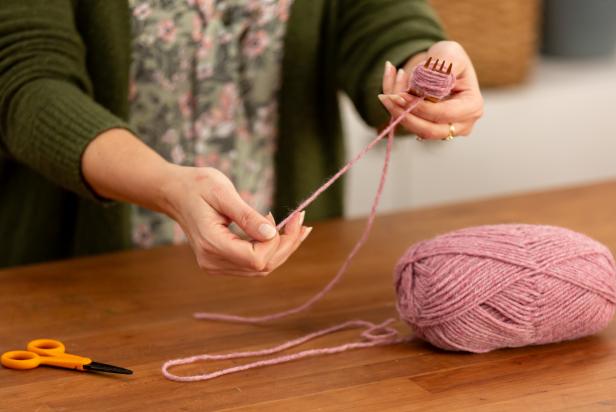
Take the loose end of yarn from the skein and begin wrapping it around the fork about 20 times. Wrap the yarn loosely, but tight enough to stay on the fork.

Photo By: Cassidy Garcia
DIY Perfect Pom-Poms: Push Yarn Through Center
Once wrapped, cut the yarn using scissors. Then, take the pre-cut piece of yarn and push it through the center tine of the fork.
Photo By: Cassidy Garcia
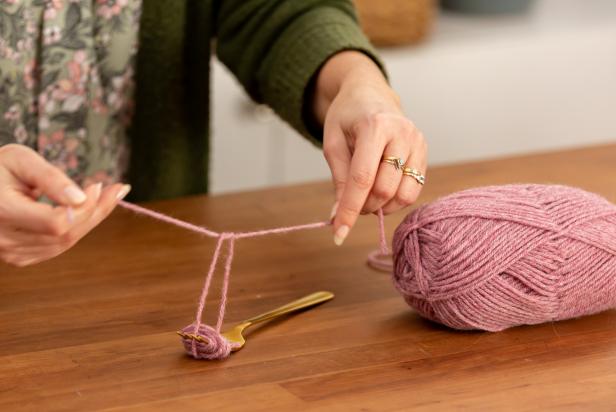
DIY Perfect Pom-Poms: Tie Knot on Fork
Then, tie a basic knot tight in the center of the fork.
Photo By: Cassidy Garcia
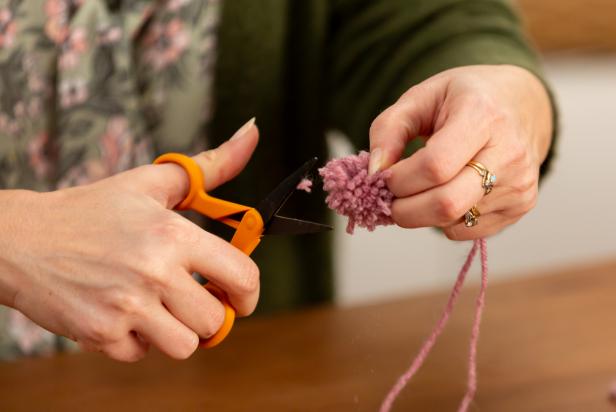
DIY Perfect Pom-Poms: Cut Yarn
Gently slip the bundle off of the fork. Using scissors, cut the loops at both ends.
Photo By: Cassidy Garcia
DIY Perfect Pom-Poms: Trim Shape
Gently slip the yard bundle off the fork. Using scissors, cut the loops at both ends and trim the classic, round shape.
Photo By: Cassidy Garcia
First, cut about 2 feet of yarn and set aside for later. Then take the loose end from a yarn skein and begin wrapping it around the fork about 20 times (Image 1). Wrap the yarn loosely, but tight enough to stay on the fork. Cut the yarn from the rest of the skein. Then, take the pre-cut piece of yarn and push it through the center tine of the fork (Image 2). Tie a basic knot tight in the center (Image 3). Next, slip the pom-pom bundle off the fork and use scissors to cut the loops at both ends (Image 4). Lastly, trim any uneven edges to create a classic, round shape (Image 5).
HAND-WRAPPED POM-POMS

Cassidy Garcia
Materials + Tools
- 1 skein of yarn
- scissors
Cassidy Garcia
Cassidy Garcia

Cassidy Garcia
Cassidy Garcia
Cassidy Garcia
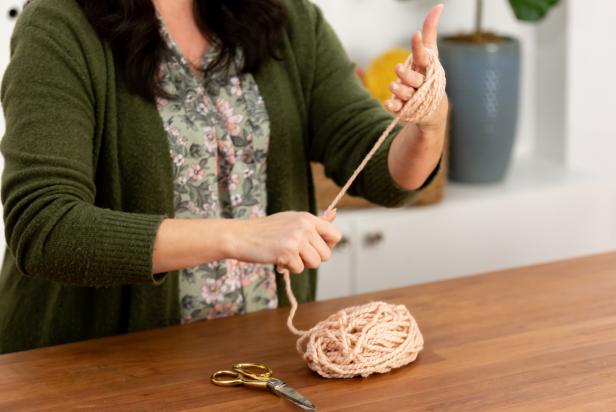
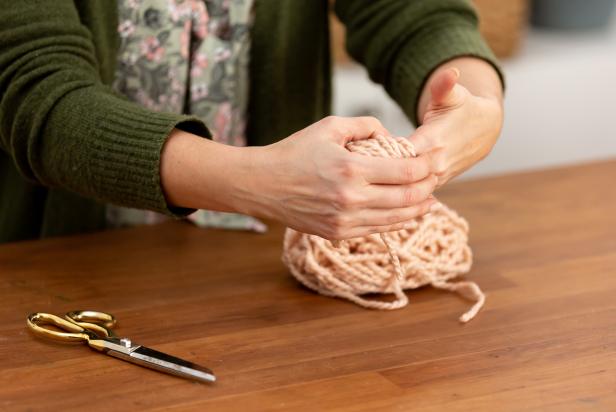
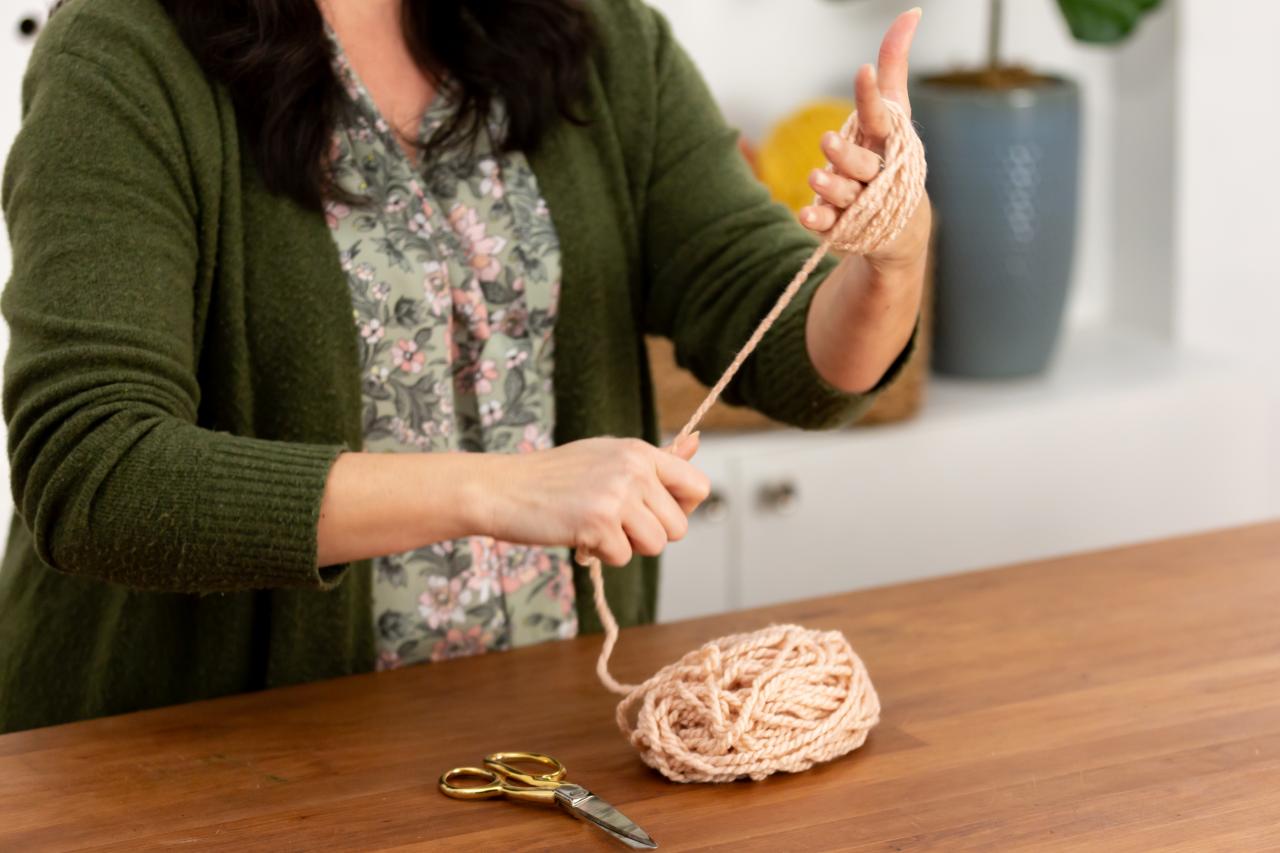
Perfect DIY Pom-Poms: Wrap Hand
The simplest way to make a bigger pom-pom is to use your hand. Take the loose end of the yarn from the skein and begin by wrapping it around the widest part of your hand. Wrap approximately 50 times.
Photo By: Cassidy Garcia
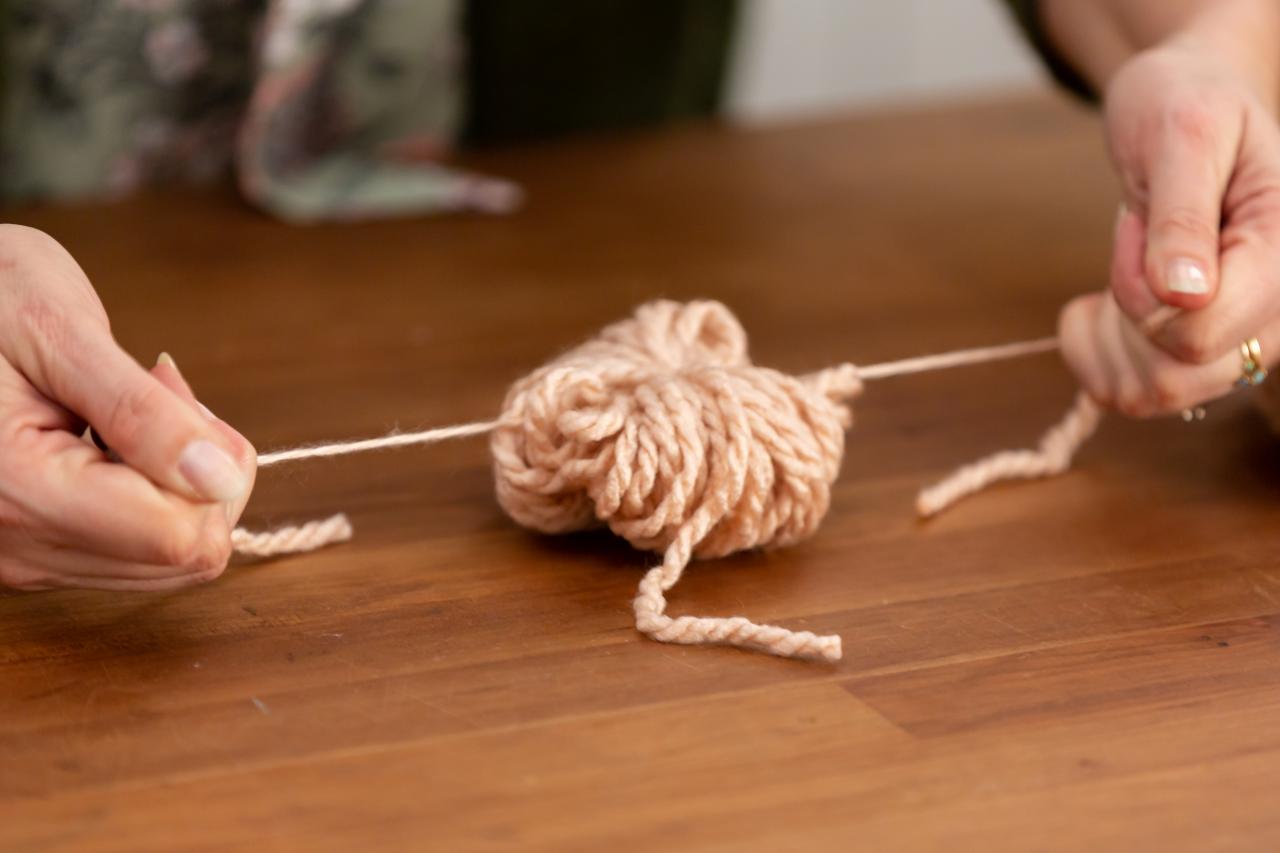
Perfect DIY Pom-Poms: Remove Yarn
To keep the pom-pom fluffy, be sure not to wrap the yard too tightly around your hand. Then, gently slide the pom-pom off your hand.
Photo By: Cassidy Garcia
Perfect DIY Pom-Poms: Tie Yarn Knot
Lay the pom-pom in the center of the pre-cut piece and then tie a basic knot in the center.
Photo By: Cassidy Garcia
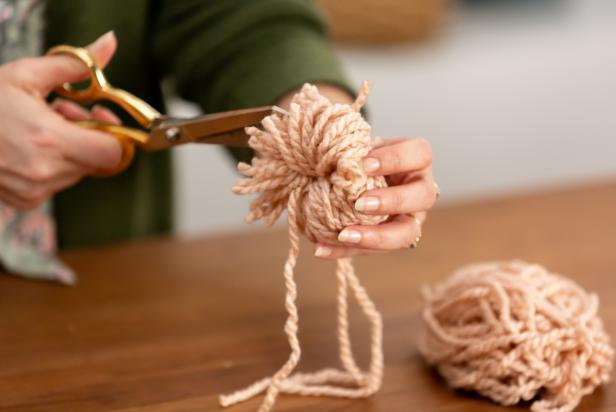
Perfect DIY Pom-Poms: Cut Loops
Using scissors, carefully cut the loops on both ends.
Photo By: Cassidy Garcia
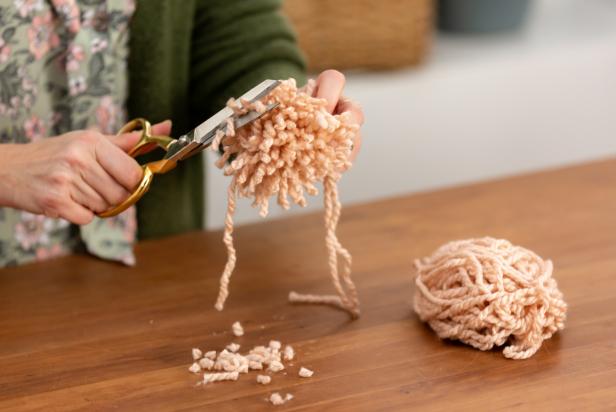
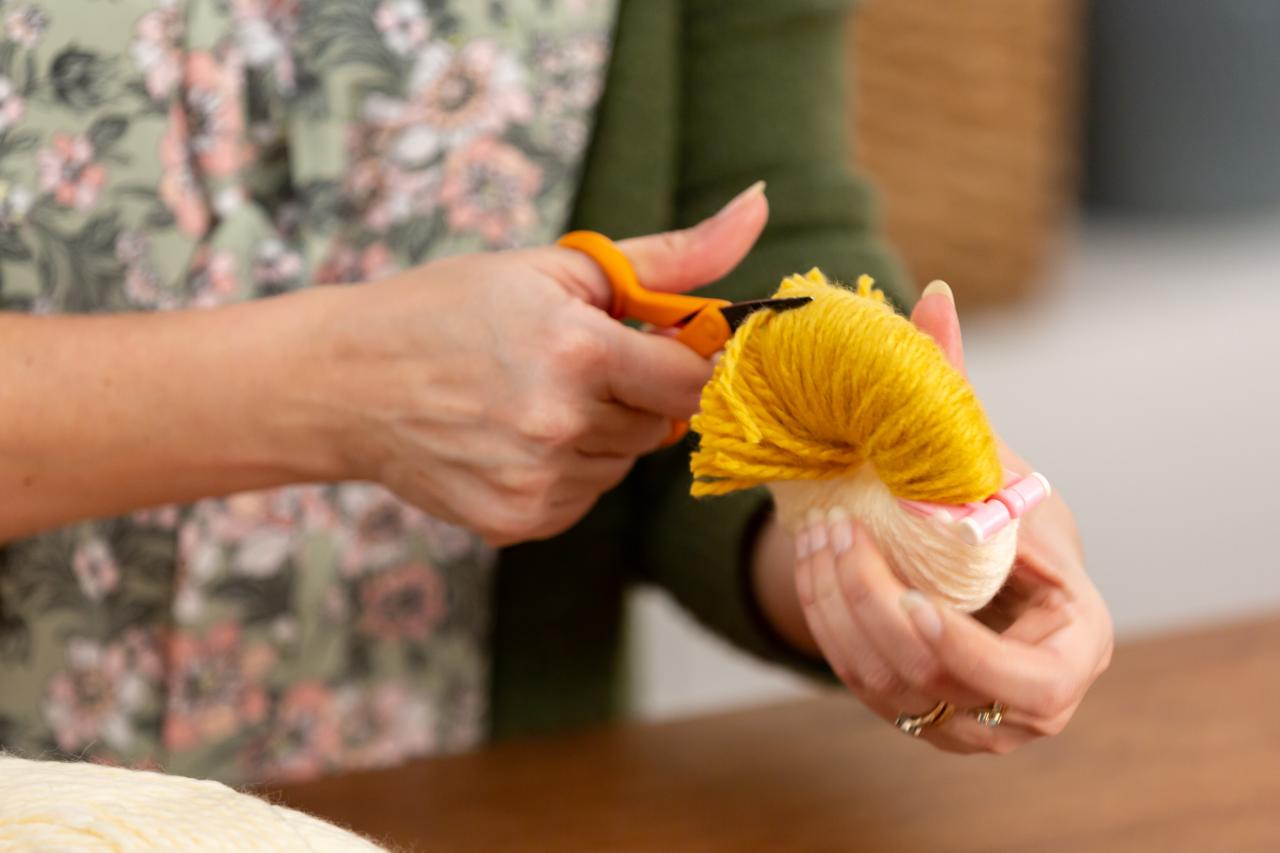
Perfect DIY Pom-Poms: Trim Edges
Create the classic, round shape by using scissors to trim around the edges.
Photo By: Cassidy Garcia
The simplest way to make a pom-pom is to use your hand. Start by cutting about 2 feet of yarn and set aside for later. Take the loose end of the yarn from the skein and begin wrapping it around the widest part of your hand (Image 1). Wrap the yarn approximately 50 times. To keep the pom-pom fluffy, be sure not to wrap the yarn too tightly. Tip: Use bulkier yarn for a thicker pom-pom. Once wrapped, gently slide the pom-pom off your hand (Image 2). Now, grab the pre-cut piece of yarn and place the bundled pom-pom in the center. Tie a basic knot around the middle of the bundle (Image 3). Once tied, use scissors to carefully cut the loops at both ends (Image 4). Lastly, trim any uneven edges to create a classic, round shape (Image 5).
EVEN BIGGER POM-POMS
Cassidy Garcia
Materials + Tools
- 1 skeins of yarn
- scissors

Cassidy Garcia
Cassidy Garcia
Cassidy Garcia

Cassidy Garcia
Cassidy Garcia
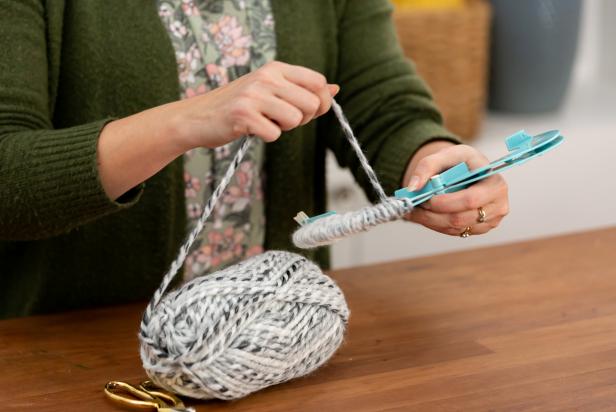
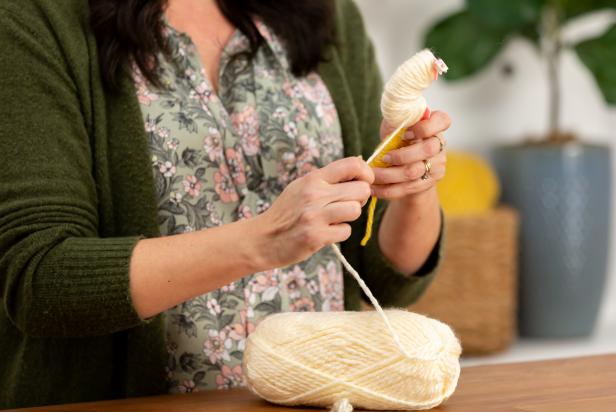
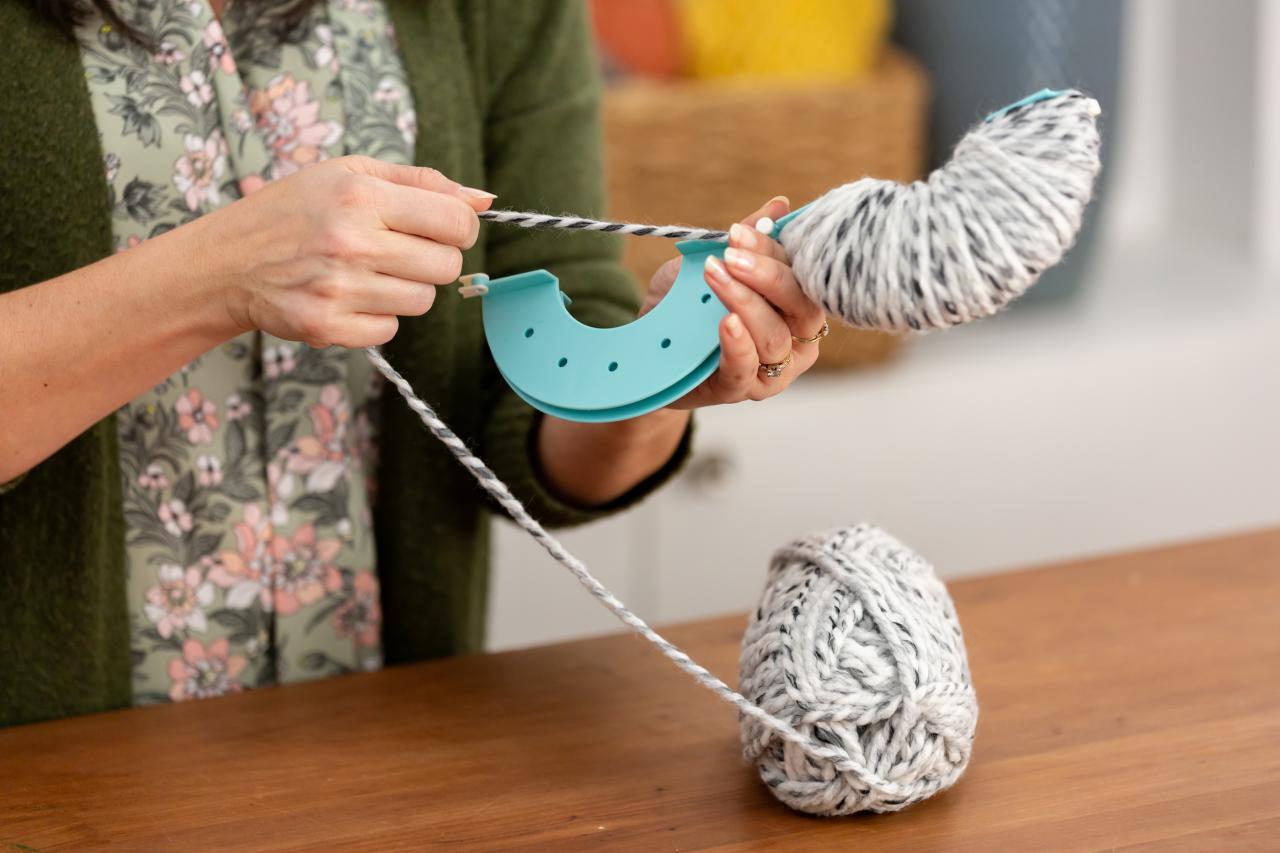
Perfect DIY Pom-Poms: Wrap First Side
Start by lining up the two sides of your pom-pom maker and begin wrapping the yarn. To get a really even result, be sure to wrap back-and-forth and layer-by-layer across the sides of your pom-pom maker.
Photo By: Cassidy Garcia
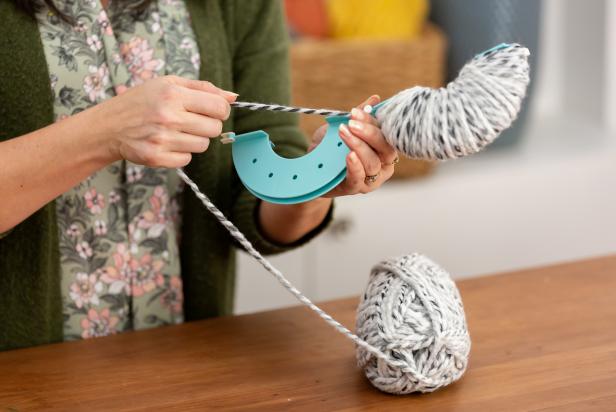
Perfect DIY Pom-Poms: Wrap Other Side
When one side of the pom-pom maker is very full, switch to wrapping on the other side, but do not cut the yarn. Use half the skein on one side, and half the skein on the other.
Photo By: Cassidy Garcia
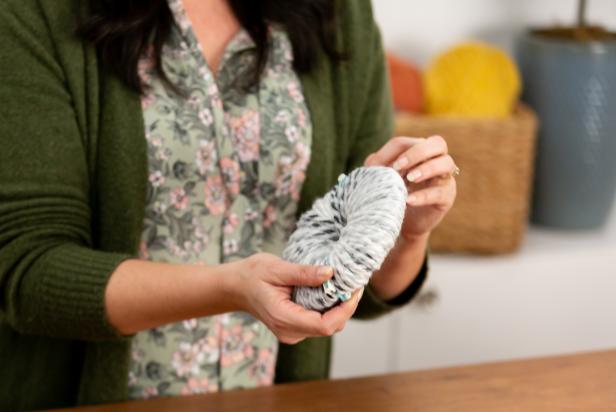
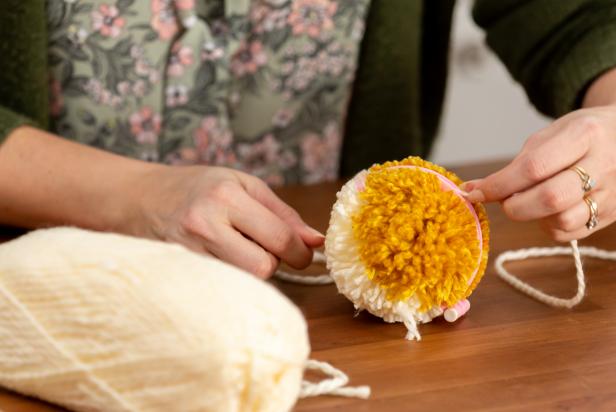
Perfect DIY Pom-Poms: Clip Together
Once both sides are very full and nearly coming off the pom-pom maker, clip the two sides together. Next, cut about two feet of yarn and set aside.
Photo By: Cassidy Garcia
Perfect DIY Pom-Poms: Wrap Yarn Piece
Using the piece of pre-cut yarn, tie it around the channel of the pom-pom maker.
Photo By: Cassidy Garcia
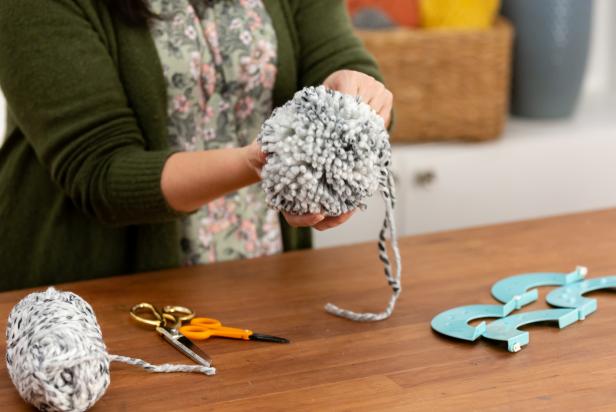
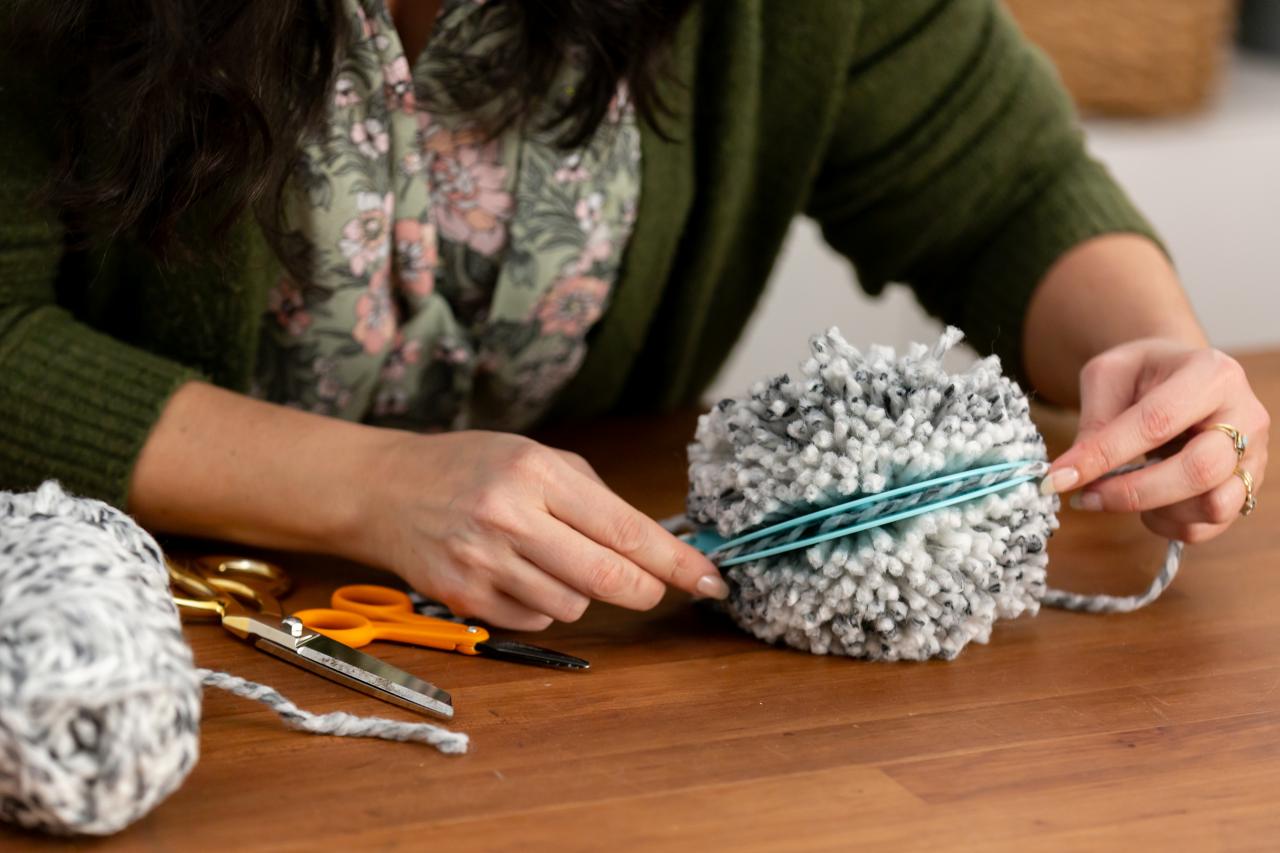
Perfect DIY Pom-Poms: Tie Knot
Tie a tight knot around the pom-pom with the extra piece of yarn.
Photo By: Cassidy Garcia
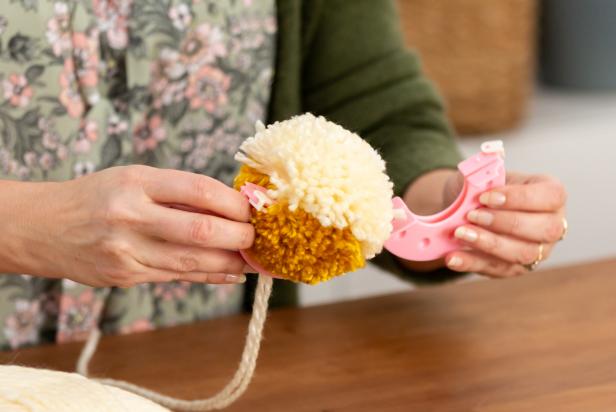
To make larger pom-poms, you will need a pom-pom maker and one entire skein of yarn. Read the directions to assemble the pom-pom maker. Begin by cutting about 2 feet of yarn and set it aside. Next, wrap the loose end of the yarn evenly across the sides of your pom-pom maker (Image 1). Use half the skein on one side, and half the skein on the other. When one side of the pom-pom maker is very full, switch to wrapping on the other side, but do not cut the yarn (Image 2). Once both sides are wrapped, use scissors to cut the yarn from the rest of the skein. Now clip the two pieces of the pom-pom maker together (Image 3). Using scissors, cut down the middle of the yarn. Then, grab the pre-cut piece of yarn and place it into the channel in the pom-pom maker (Image 4). Tie a tight knot on both sides (Image 5). Unclip the pom-pom maker and trim it where needed to complete the shape.
BI-COLOR POM-POMS
Cassidy Garcia
Materials + Tools
- 2 skeins of yarn in varied colors
- scissors
Cassidy Garcia
Cassidy Garcia

Cassidy Garcia
Cassidy Garcia
Cassidy Garcia
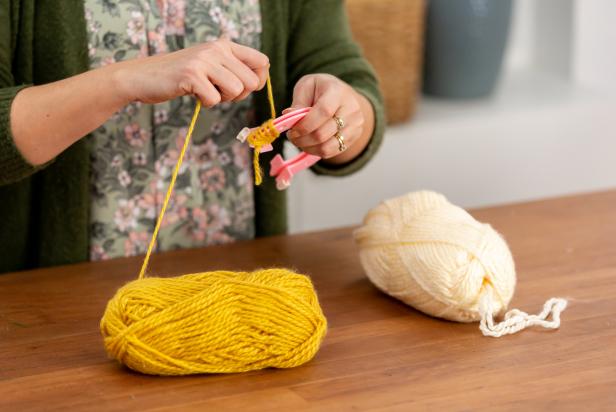
Perfect DIY Pom-Poms: Bi-Color Pom-Poms
To make patterned, bi-color pom-poms you will need a pom-pom maker and two different colors of yarn skeins. Begin by wrapping one color on one side of the pom-pom maker.
Photo By: Cassidy Garcia
Perfect DIY Pom-Poms: Wrap Second Color
Use about half of the first color on one side. Continue wrapping until the side with one color is full and nearly coming off the pom-pom maker. Cut the yarn from the skein. Next, move to the other color of yarn and repeat steps above. Reserve a foot-long piece of yarn for later.
Photo By: Cassidy Garcia
Perfect DIY Pom-Poms: Cut Loops
Using scissors, carefully cut the loops on both ends.
Photo By: Cassidy Garcia
Perfect DIY Pom-Poms: Tie Yarn
Using the piece of pre-cut yarn, tie it around the channel of the pom-pom maker.
Photo By: Cassidy Garcia
To make bi-color pom-poms, you will need a pom-pom maker. Read the directions to put together the pom-pom maker. Begin by cutting about 2 feet of yarn and set it aside. Next, use one color of yarn and wrap it layer-by-layer onto one side of the pom-pom maker (Image 1). Once the yarn is full on one side, cut the yarn from the skein. Next, grab the other color of yarn skein and repeat the steps from above (Image 2). Once both sides are evenly matched, cut the yarn from the rest of the skein. Clip the two pieces of the pom-pom maker together and use scissors to cut down the middle of the yarn (Image 3). Then, grab the pre-cut piece of yarn and place it into the channel in the pom-pom maker. Tie a tight knot on both sides (Image 4). Unclip the pom-pom maker and trim it where needed to complete the shape (Image 5).
Pom-Pom Crafts
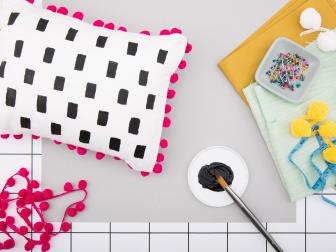
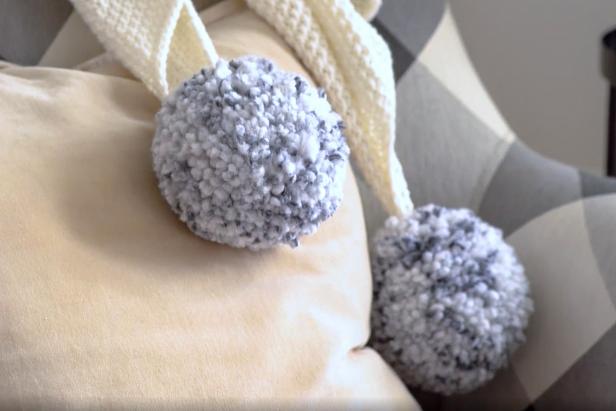
Make an Adorable Pom-Pom Pillow
You can whip together these mod embellished pom-pom pillows in about thirty minutes with no sewing skills required.

Make a Rainbow Pom-Pom Wreath 10 Photos
Grab the yarn, and make this easy wreath to show your pride or support for Pride Month.


