


How to Make Agate Slice Resin Bookends
Customize the color, shape and size to fit your personal design aesthetic.

Cassidy Garcia

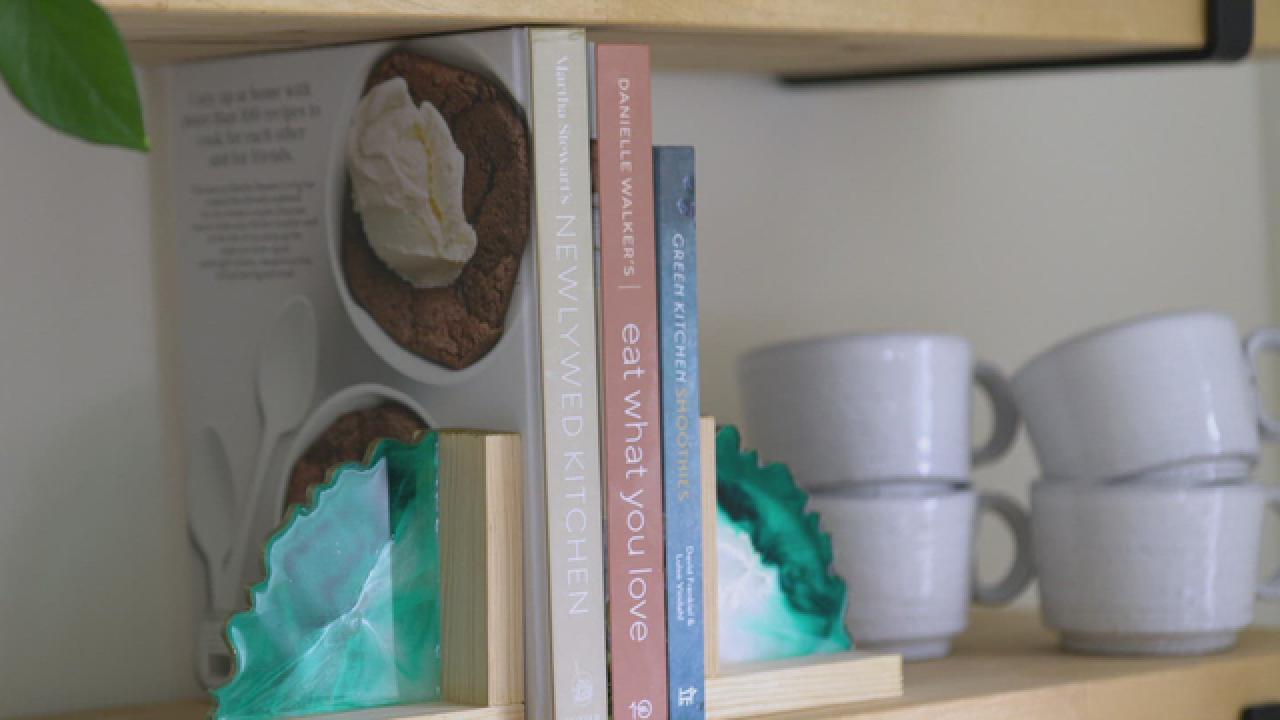
Decorative geodes and agate slices are having a moment, but they can be a little pricey. Envy no more and make your own trendy, agate-inspired bookends using colorful resins. HGTV Handmade’s Crafty Lumberjacks share an easy, step-by-step guide to craft up a pair of resin bookends that’ll perfectly flank your favorite reads.
Materials + Tools
- resin kit
- mixing cups
- faux agate slice mold
- teal alcohol ink
- white alcohol ink
- (2) 3-1/2'' wood pieces
- (2) 4'' wood pieces
- wooden skewers
- craft sticks
- gloves
- wood glue
- super glue
- embossing glue
- embossing powder
- embossing heat gun
- microfiber cloth
- paint brush
- tarp or craft paper
Tip: Use a resin kit that has a longer setting time and be sure to follow the instructions on the package.
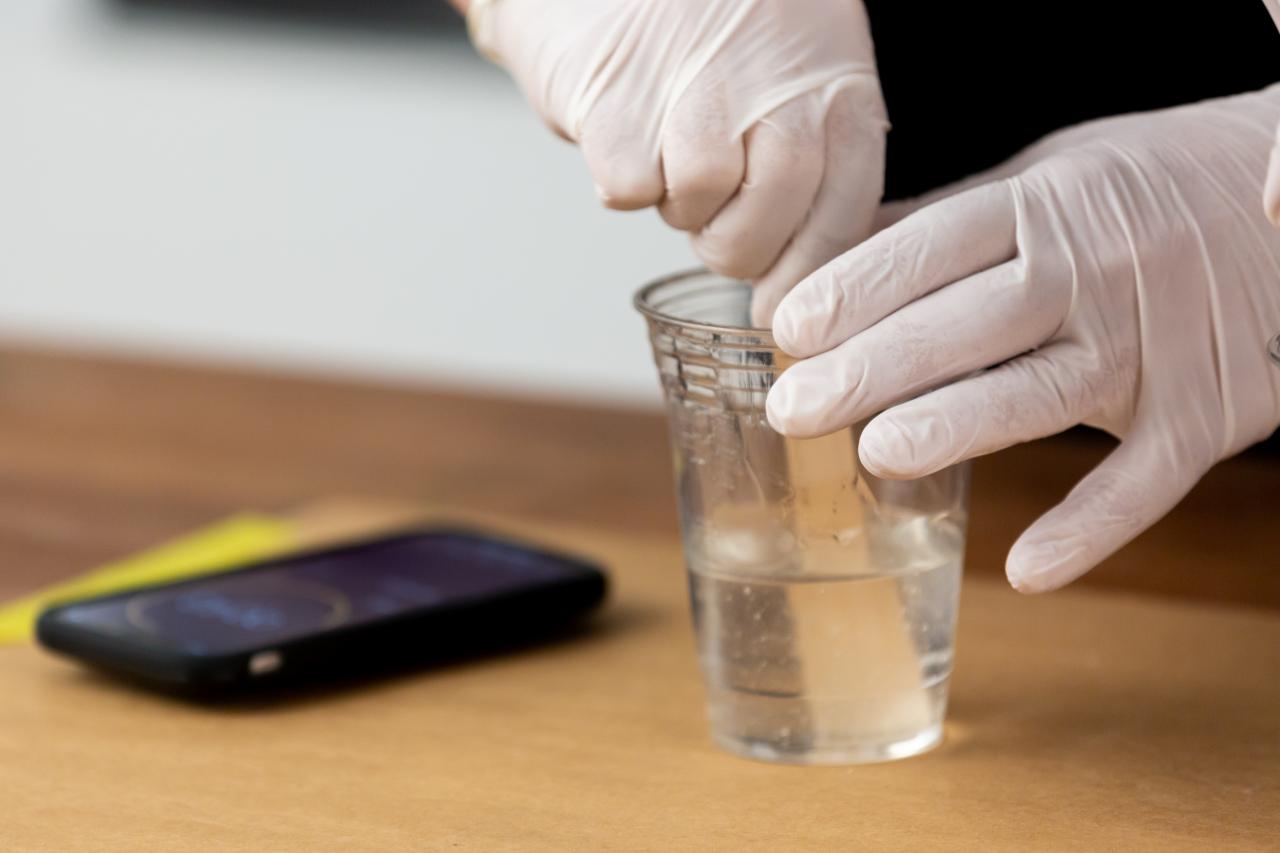
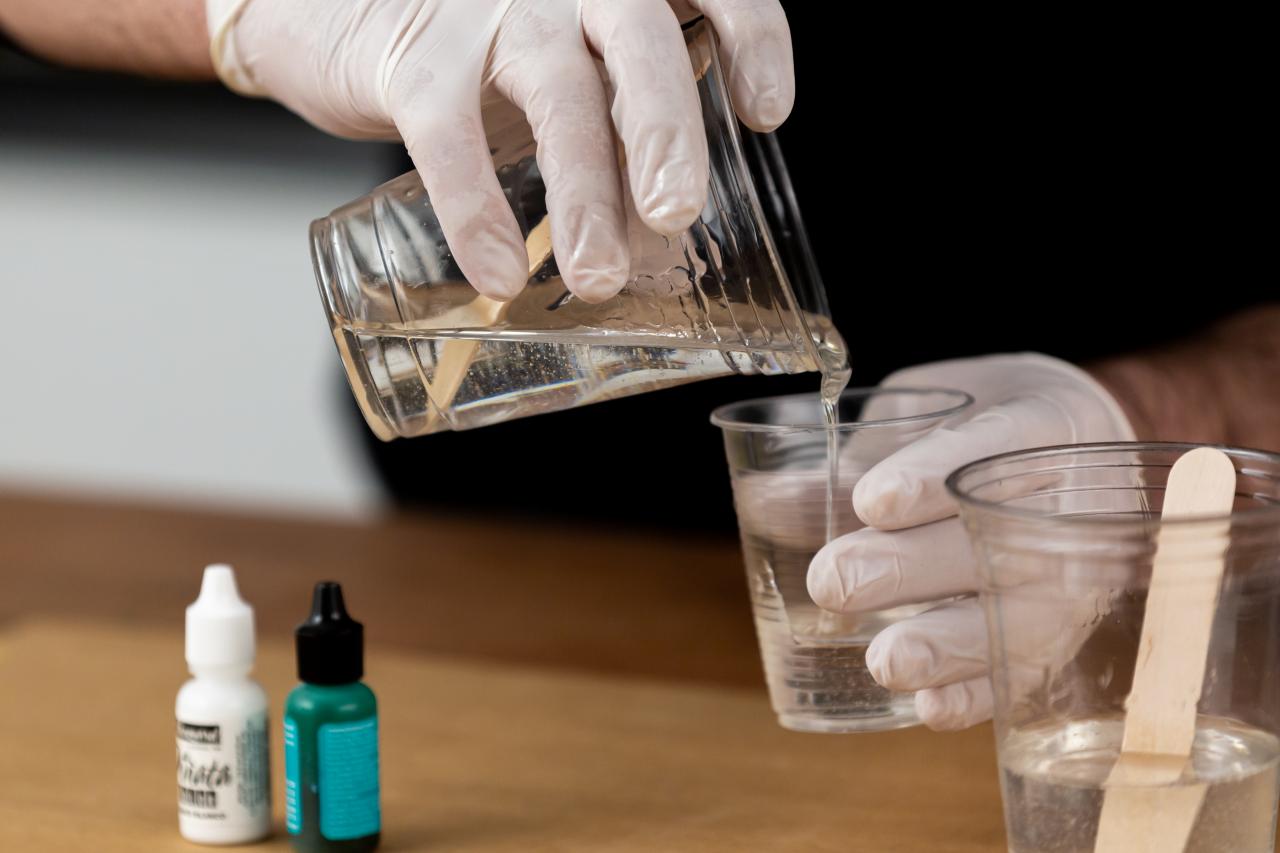
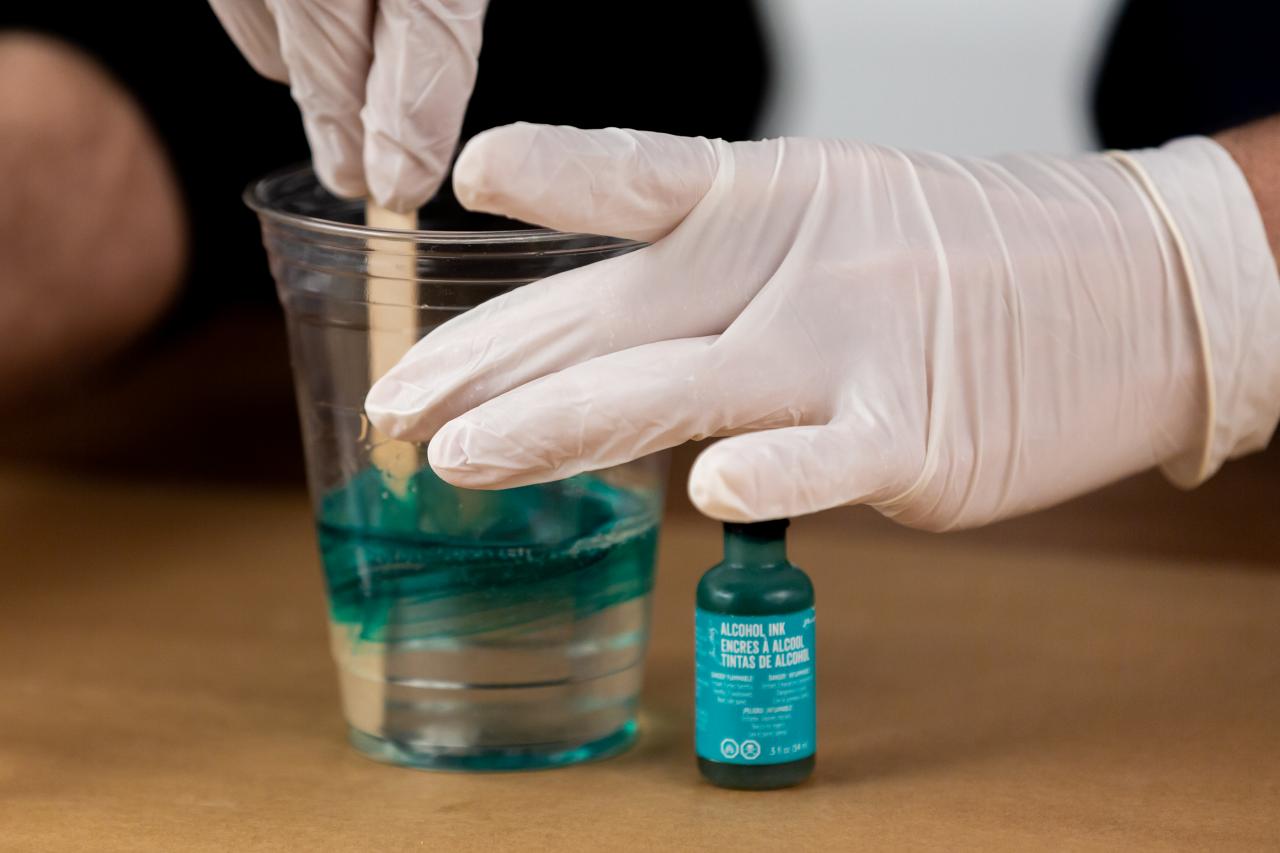
Mix Resin + Add Color
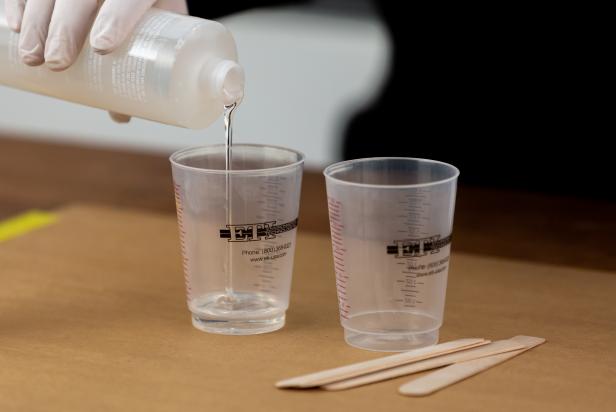
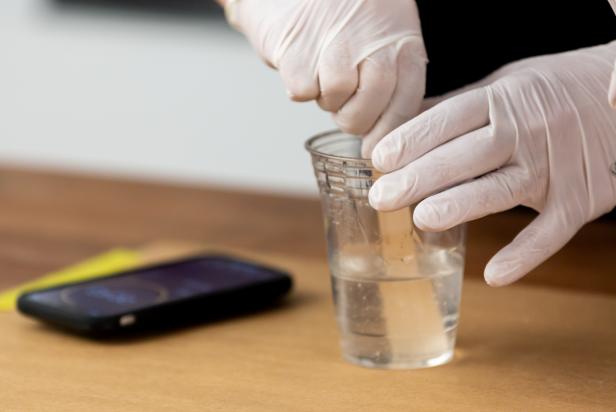
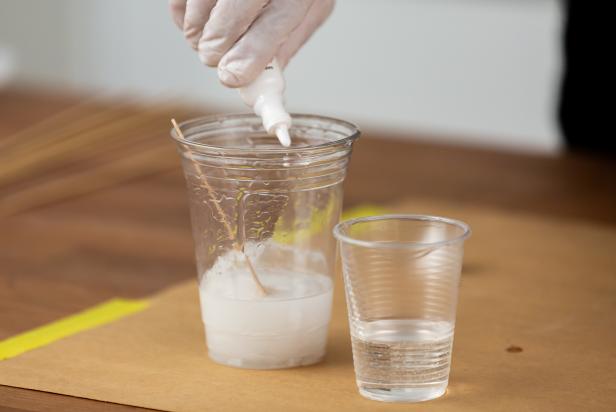
Before you begin, gather all materials together, put on protective gloves and cover your work surface to protect from any spills. For this design, pour equal parts (1:1) resin and hardener into two mixing cups (Image 1). Slowly mix the resin and hardener together with a craft stick for two minutes (Image 2). Now, split the mixture into three smaller mixing cups (Image 3). In one cup, add 2-3 drops of teal alcohol ink and stir well to distribute the color (Image 4). In the second cup, add 2-3 drops of white alcohol ink and stir well to distribute (Image 5). Keep the last cup clear.
Cassidy Garcia
Cassidy Garcia

Cassidy Garcia

Cassidy Garcia
Cassidy Garcia
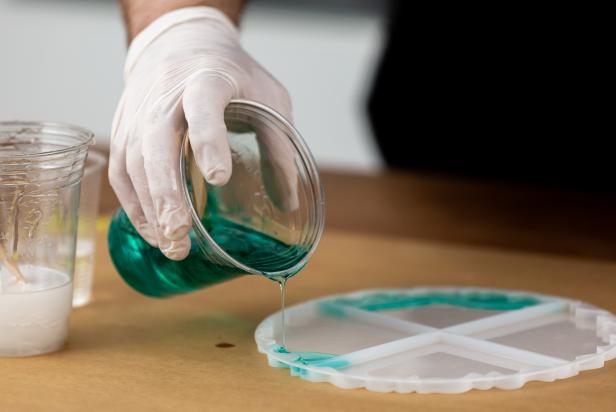
Pour + Layer Resin
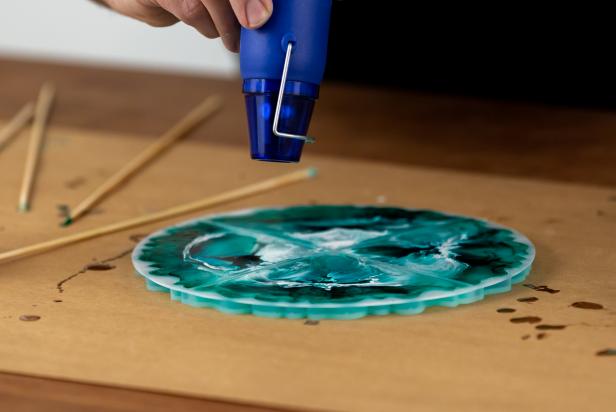
Start by pouring a thin layer of the teal resin around the outside edge of your chosen mold (Image 1). Add a couple of drops of the teal alcohol ink directly into the first pour and mix with a wooden skewer (Image 2). Then, pour a small amount of the white resin on the inside section of the mold and mix together with the teal color using a wooden skewer (Image 3). Add clear resin to fill up each section (Image 4). Tip: Create a layered, organic look by pouring alternating colors in the same spot. Last, use an embossing heat gun and wave it back and forth over the mold to remove any air bubbles (Image 5). Then leave the resin mold to cure for 24 hours.
Cassidy Garcia

Cassidy Garcia

Cassidy Garcia

Cassidy Garcia
Cassidy Garcia
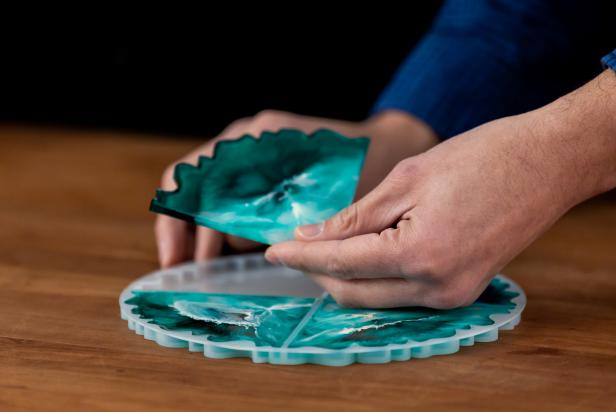
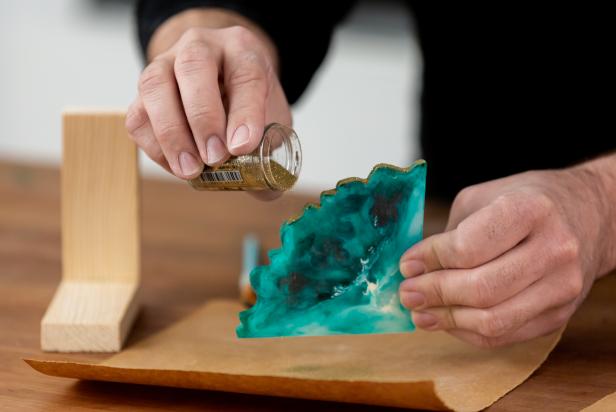
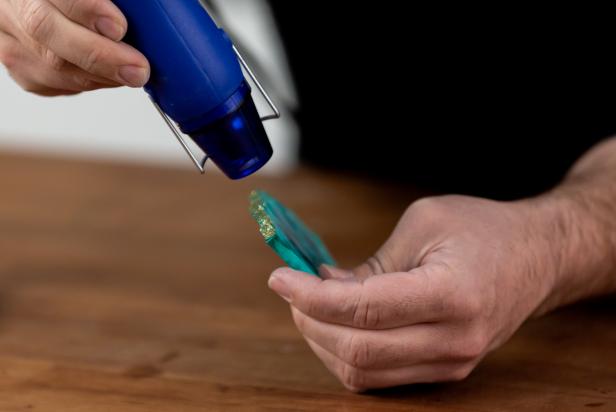
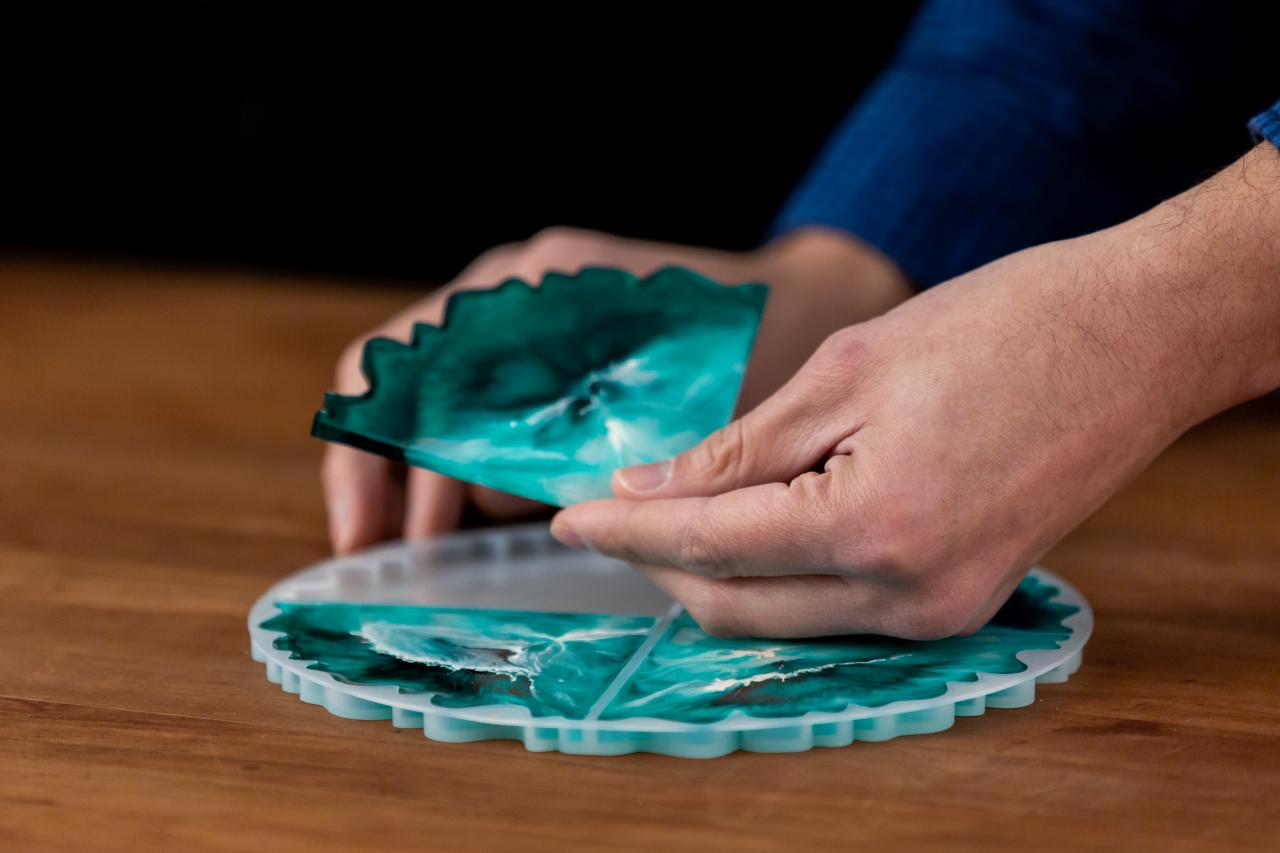
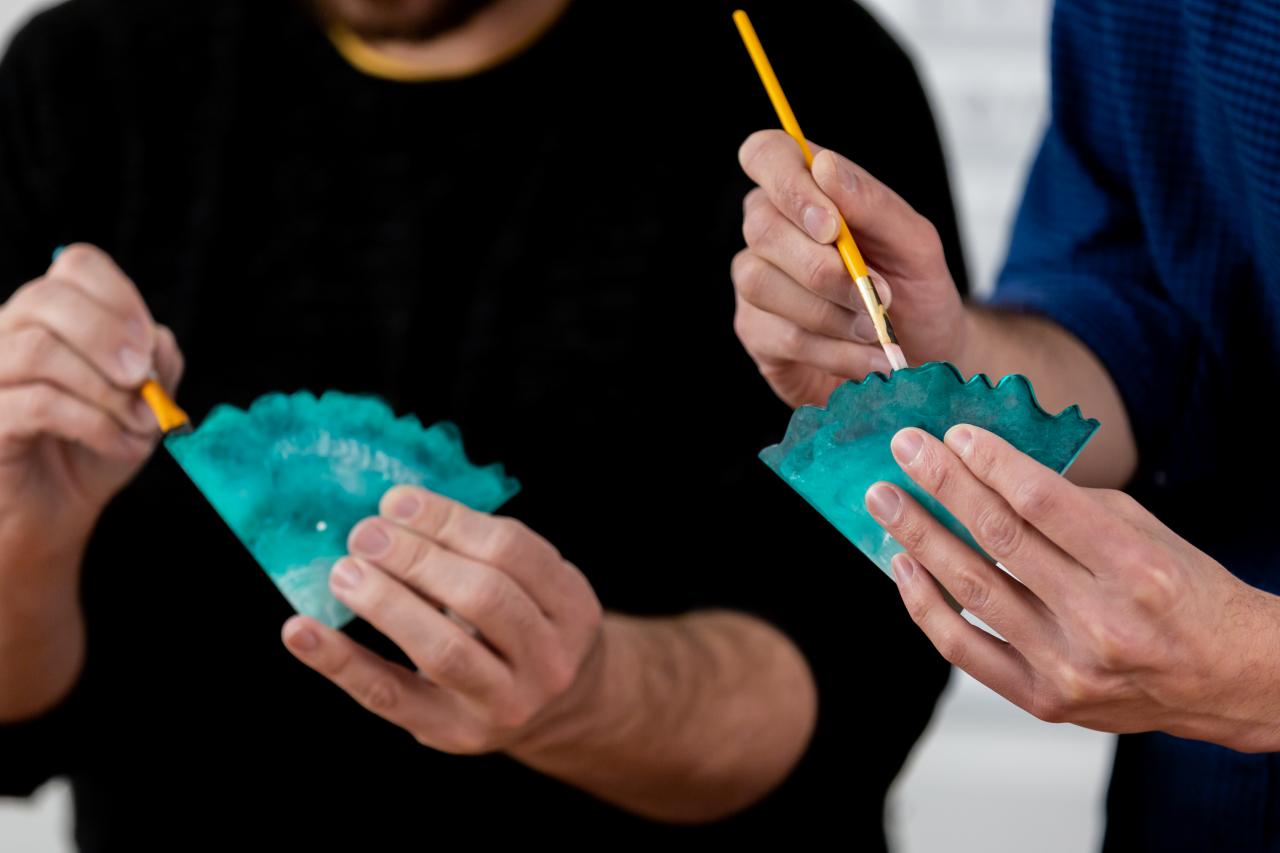
Emboss Resin Slices
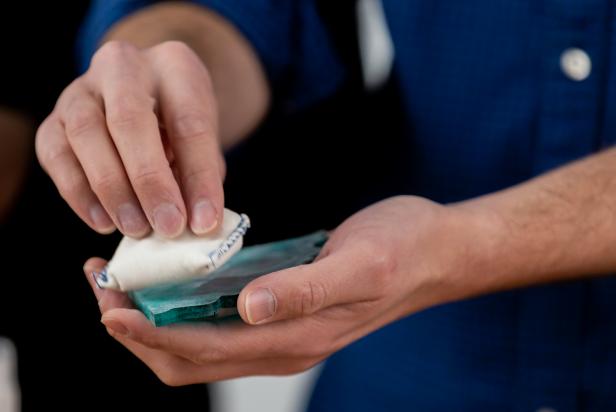
Once fully dry, carefully remove the slices from the mold and pick two slices to emboss (Image 1). Now wipe down each slice with a microfiber cloth (Image 2). Using a paint brush, add a light coat of embossing glue around the outside edge of the two agate slices (Image 3). Next, generously shake on embossing powder along the edge and tap off any extra (Image 4). Heat the powder by waving an embossing heat gun back and forth until the powder turns shiny and dry (Image 5).
Cassidy Garcia
Cassidy Garcia

Cassidy Garcia
Cassidy Garcia
Cassidy Garcia
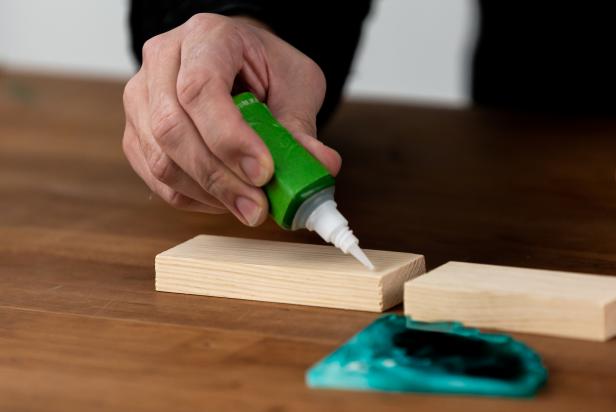
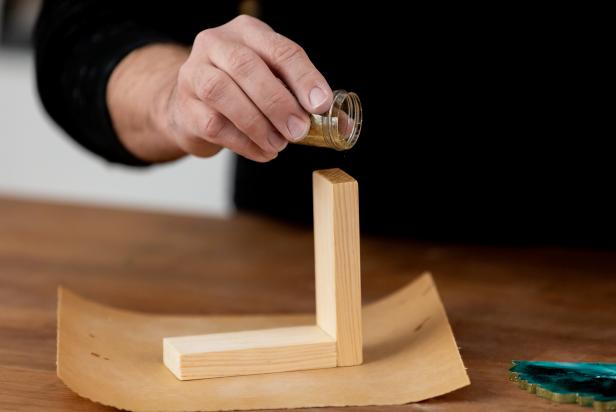
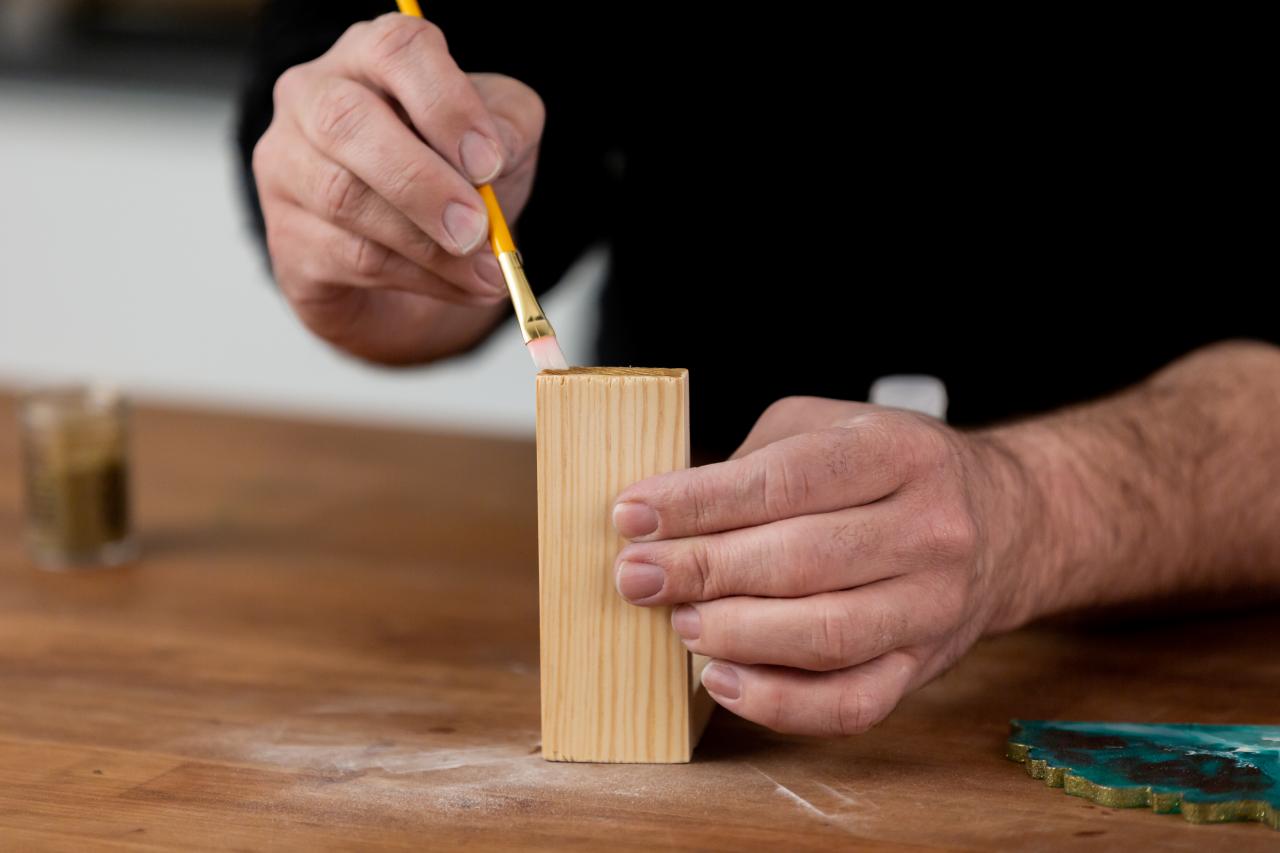
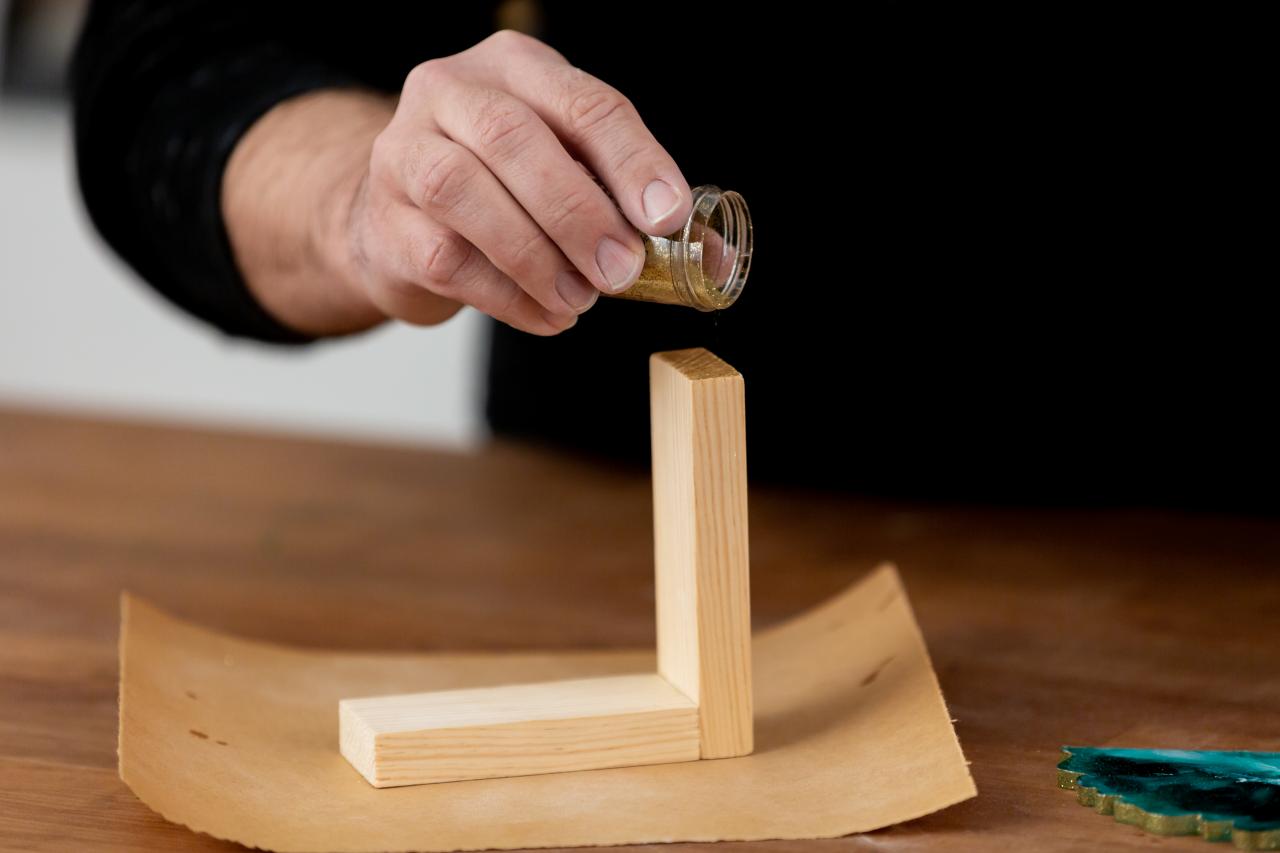
Glue + Emboss Wood
Add a small amount of wood glue to the end of the 4’’ wood piece (Image 1). Then adhere with the 3-1/2” wood piece at a right angle (Image 2). Let the glue dry completely. Next, use a paint brush to add a light coat of embossing glue to the ends of the wood (Image 3). Add embossing powder over the glued edges and shake off any extra (Image 4). Heat up the powder by waving an embossing heat gun back and forth until the powder turns shiny and dry.
Cassidy Garcia

Cassidy Garcia

Cassidy Garcia
Cassidy Garcia
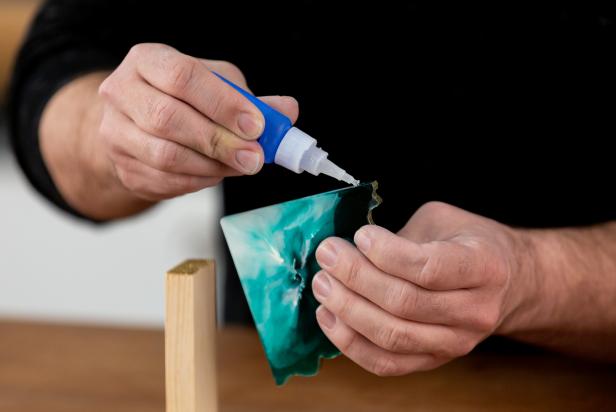
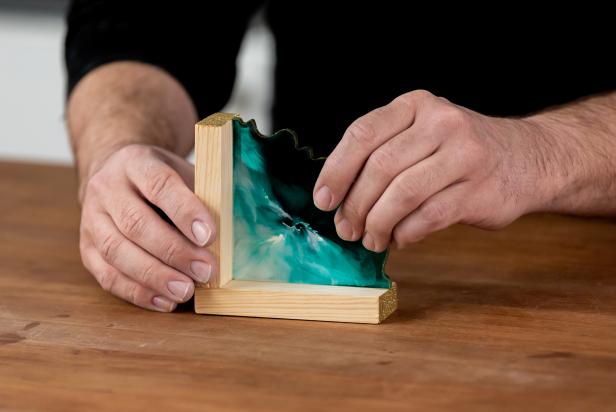
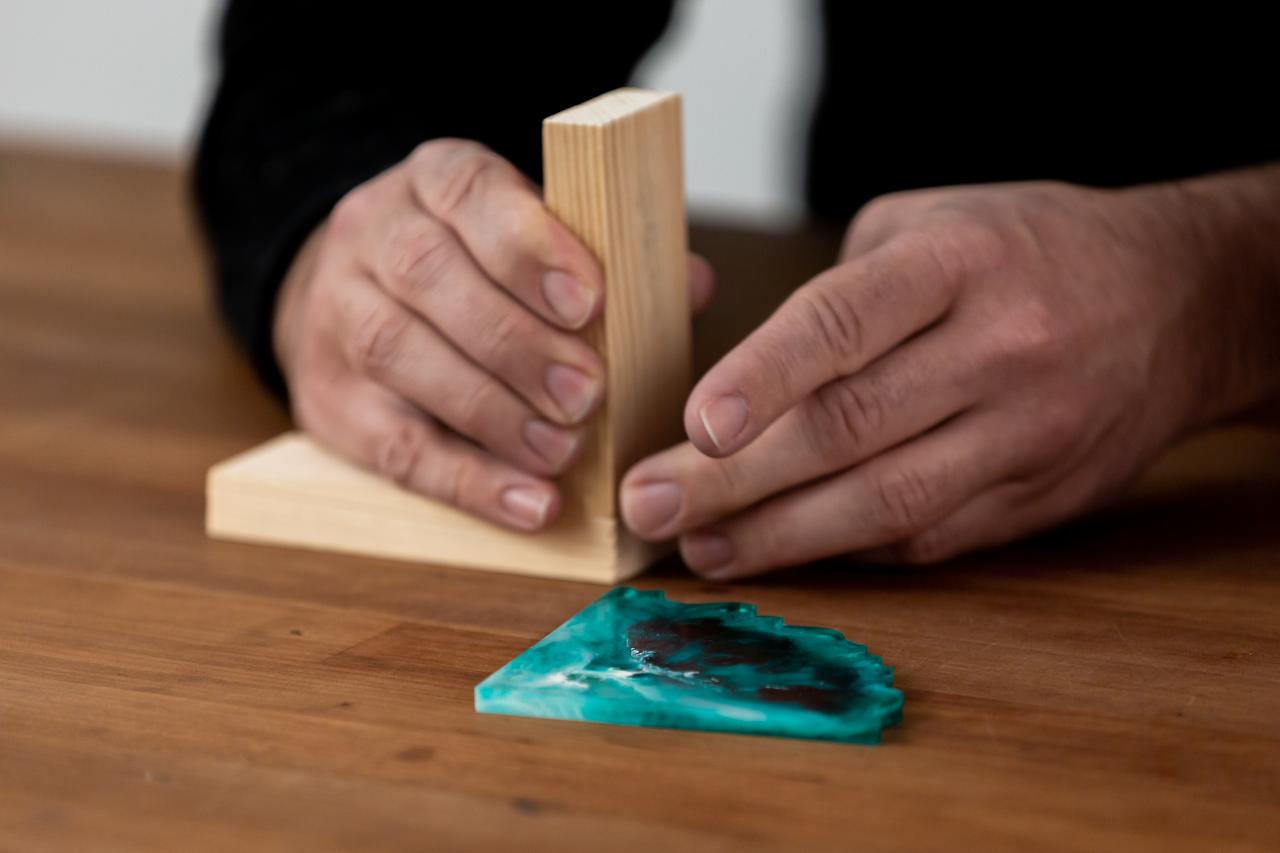
Add Wooden Pieces + Enjoy
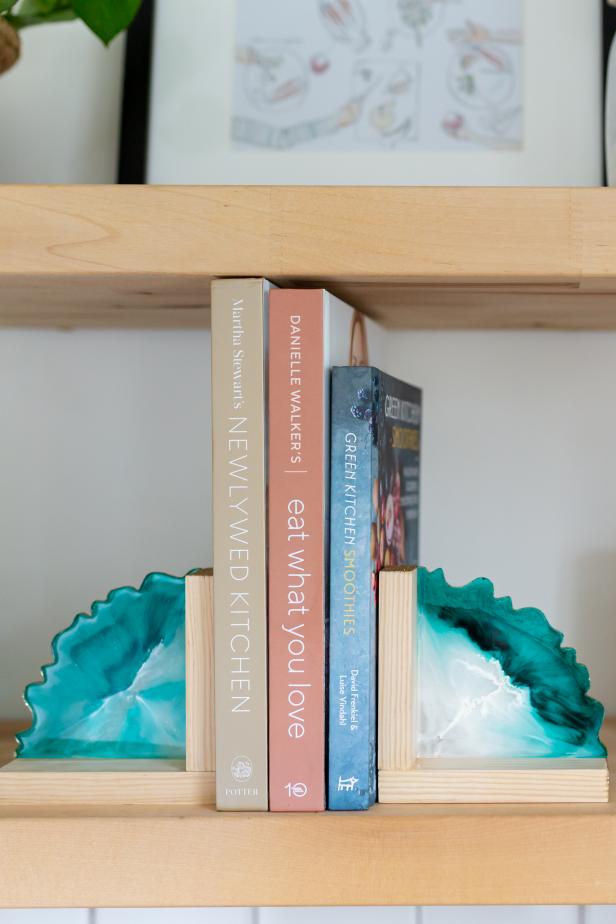
Lastly, add a small amount of super glue along the straight edges of the resin slice and adhere it to the inside of the wood (Image 1). Hold firmly until the glue is dry (Image 2). Repeat for the second piece. Craft these cute resin bookends as a colorful, handmade gift or display them with your favorite books (Image 3).
Cassidy Garcia
Cassidy Garcia
Cassidy Garcia
Crafty Ideas for Bookworms

21 Beautiful Book Storage Ideas 28 Photos
Get inspired by these beautiful bookshelves and clever book storage ideas.

How to Make a Vintage Book Planter
Turn an old book into a succulent planter with our easy how-to instructions.

Stacked-Books Table Lamp
Upcycle old books by turning them into a one-of-a-kind lamp.


