How to Make a Wooden Christmas Tree
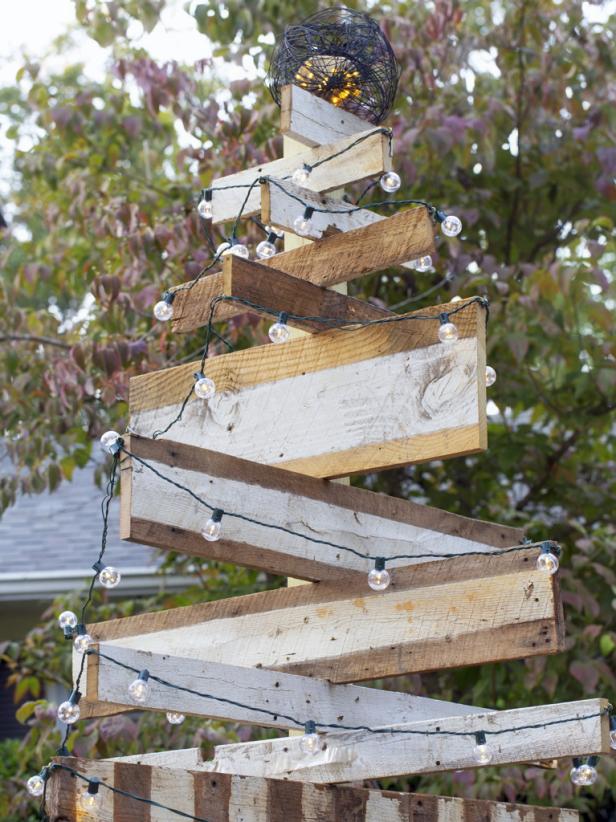
Add some farmhouse charm to your front yard this holiday season with a rustic, wooden Christmas tree.
Beauty of Holiday Tree Made of Reclaimed Wood

Rustic, Wooden Christmas Tree

Add some farmhouse charm to your front yard this holiday season with a rustic, wooden Christmas tree. You will need the following materials: reclaimed barn wood planks, 1 10-foot tall pressure-treated 4x4 pine post, 1 bundle of pressure-treated pine tree stakes, drill, screws, strands of festival globe lights, C-hooks, 50-foot extension cord, metal tree stand, circular saw, 3-inch wood screws, speed square and burlap or all-weather tree skirt.

Materials Needed:

  • reclaimed barn wood planks
  • 1 10-foot tall pressure-treated 4x4 pine post
  • 1 bundle of pressure-treated pine tree stakes
  • drill
  • screws
  • strands of festival globe lights
  • C-hooks
  • 50-foot extension cord
  • metal tree stand
  • circular saw
  • 3-inch wood screws
  • speed square
  • burlap or all-weather tree skirt

Insert Post Into Stand

On a flat, level area of the yard, carefully place the 4x4 pine post into the metal tree stand. Tighten the bolts by hand until the 4x4 post is perfectly centered and standing up straight.
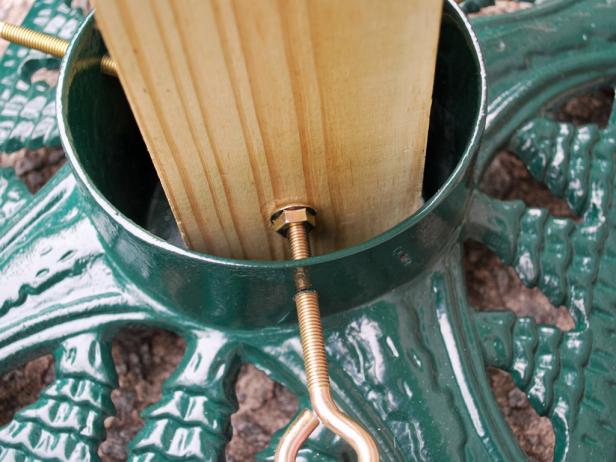
Inserting Wood Post Into Stand for Holiday Tree

Pine Post for Wooden Christmas Tree Project

On a flat, level area of the yard, carefully place the 4x4 pine post into the metal tree stand. Tighten the bolts by hand until the 4x4 post is perfectly centered and standing up straight.

Add Tree Stakes

Add extra support to the bottom of the 4x4 pine post and keep it from shifting by pushing the tree stakes firmly into the ground, then leaning back against the post at a 45-degree angle.
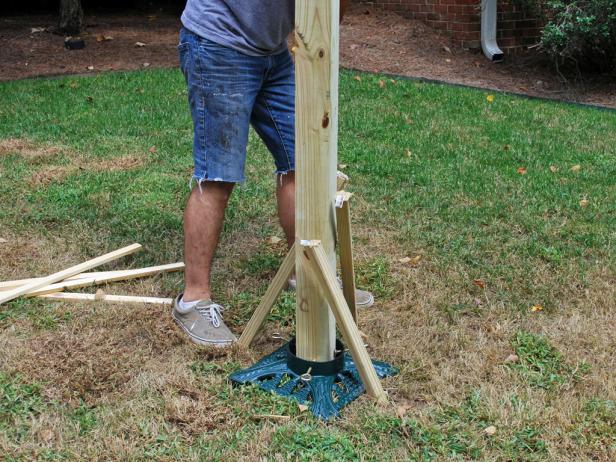
Adding Wooden Tree Post

Stakes for Wooden Christmas Tree

Add extra support to the bottom of the 4x4 pine post and keep it from shifting by pushing the tree stakes firmly into the ground, then leaning back against the post at a 45-degree angle.

Attach Stakes With Drill

Using a drill and 3-inch wood screws, fasten stakes firmly to bottom of post. Tip: Reinforcing the bottom of the 4x4 post eliminates any shifting, plus it will ensure that planks of wood sit perfectly plumb with the ground. Once the project is complete, the stakes can be easily concealed with an all-weather or burlap tree skirt.
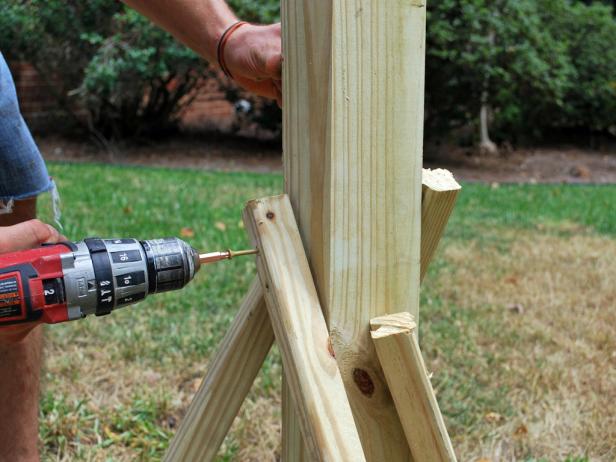
Drilling Stakes Into Pine Post for Outdoor Holiday Tree

Attach Stakes With Drill for Wooden Christmas Tree

Using a drill and 3-inch wood screws, fasten stakes firmly to bottom of post. Tip: Reinforcing the bottom of the 4x4 post eliminates any shifting, plus it will ensure that planks of wood sit perfectly plumb with the ground. Once the project is complete, the stakes can be easily concealed with an all-weather or burlap tree skirt.

Cut Wood

Use a circular saw to cut the wood planks to size. To achieve the tapered Christmas tree silhouette look, trim each plank between 6 inches and 1 foot shorter in length than the one below it.
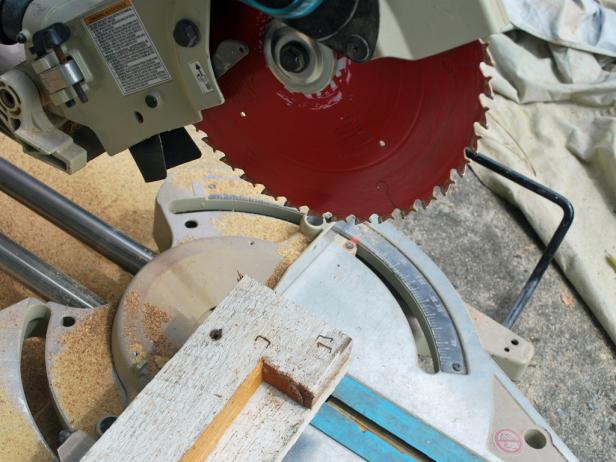
Cutting Wood With Saw for Holiday Craft Project

Cut Wood Planks for Wooden Christmas Tree

Use a circular saw to cut the wood planks to size. To achieve the tapered Christmas tree silhouette look, trim each plank between 6 inches and 1 foot shorter in length than the one below it.

Lay Out Cut Planks

Once planks have all been cut with the saw, lay them flat on the ground to ensure that the proper silhouette is starting to take shape.
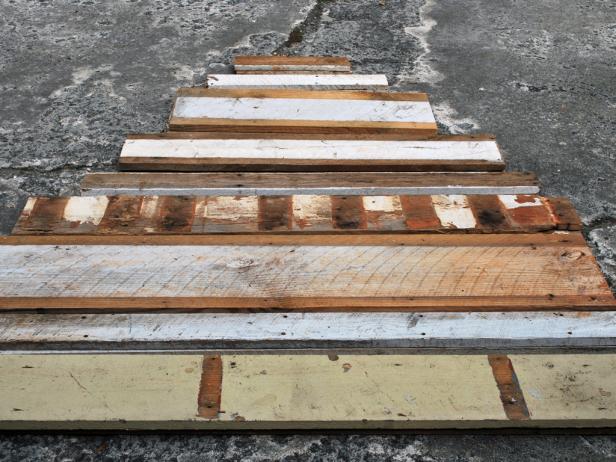
Lay Out Cut Planks for Holiday Tree Craft

Wood Planks for Wooden Christmas Tree Project

Once planks have all been cut with the saw, lay them flat on the ground to ensure that the proper silhouette is starting to take shape.

Attach Planks

Starting at the very bottom, temporarily tack up each plank to the 4x4 post with a drill and wood screws.
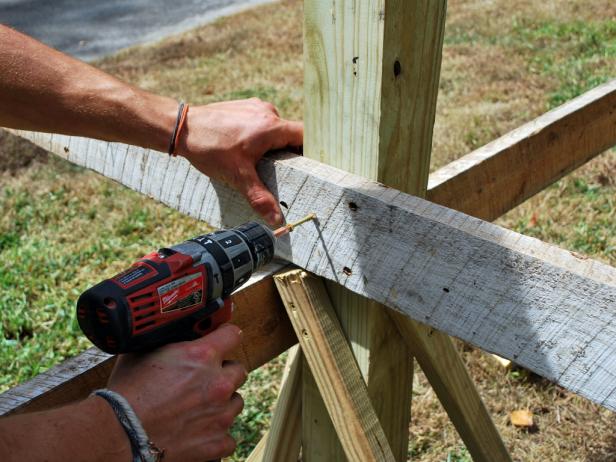
Adding Reclaimed Wood Planks to Post for Outdoor Holiday Tree

Attach Planks for Wooden Christmas Tree Project

Starting at the very bottom, temporarily tack up each plank to the 4x4 post with a drill and wood screws.

Ensure a Level Fit

Use a speed square to ensure each plank sits level with the ground. Permanently secure to the post with wood screws.
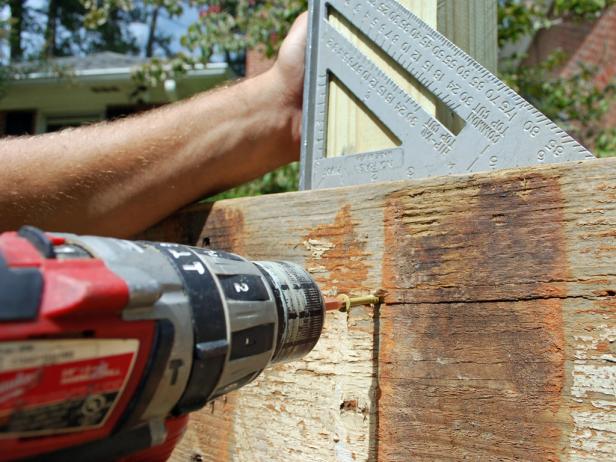
Securing Wooden Holiday Tree to Post

Level Wood Planks for Wooden Christmas Tree Project

Use a speed square to ensure each plank sits level with the ground. Permanently secure to the post with wood screws.

Check Progress

As you work your way up the post, step back into the yard to examine progress for consistent spacing and level installation. If anything is crooked, it's best to fix it before moving higher up the post.
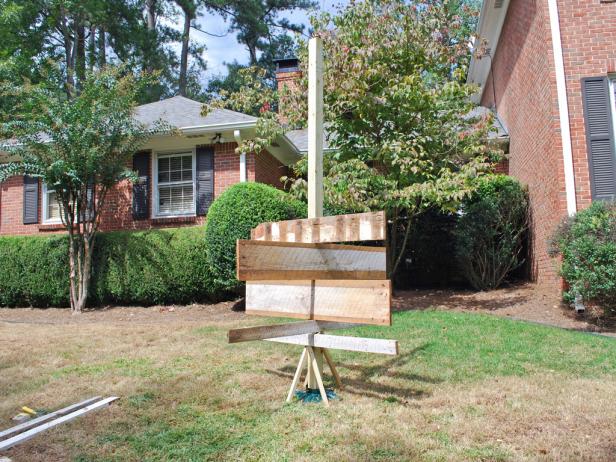
Building Outdoor Holiday Tree With Reclaimed Wood

Check Progress for Wooden Christmas Tree Project

As you work your way up the post, step back into the yard to examine progress for consistent spacing and level installation. If anything is crooked, it's best to fix it before moving higher up the post.

Continue to Top

With all planks checked for levelness, continue attaching each plank all the way up to the top of the post.
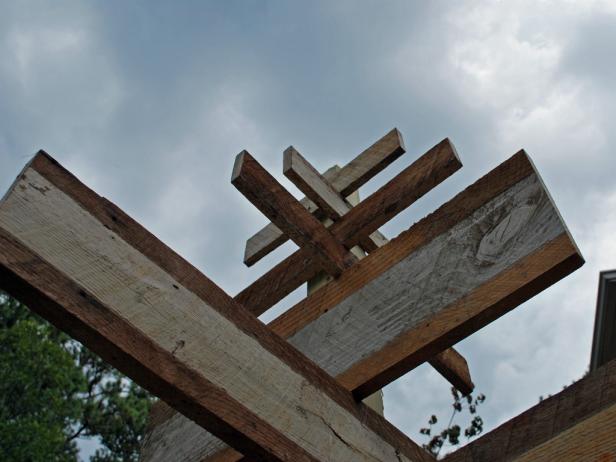
Reclaimed Wood Planks on Post for Outdoor Holiday Tree

Rustic Wooden Christmas Tree

With all planks checked for levelness, continue attaching each plank all the way up to the top of the post.

Add C-Hooks

Attach C-hooks along the outside edges of each plank, using them to hold the festival globe lights snugly.
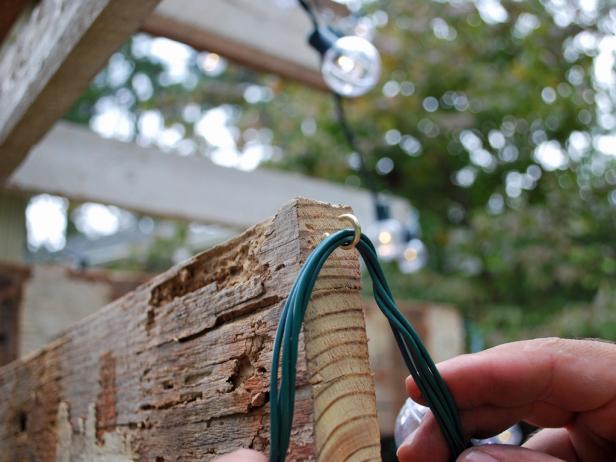
Hooks on Wood Planks to Hang Holiday Lights

Add C-Hooks to String Lights for Wood Christmas Tree

Attach C-hooks along the outside edges of each plank, using them to hold the festival globe lights snugly.

Next Up

How to Make a Christmas Cat Spinner Wand

In all of the gifting during the holidays, don't forget about your furry friends. This holly-themed cat toy is easy to make and will encourage hours of playful interaction.

How to Make a Christmas Catnip Toy

Don't forget your furry best friend when making handmade gifts for the holidays. With just basic sewing skills, you can whip up a catnip-filled stocking-shaped toy as a surprise for your favorite kitty.

Two Ways to Wrap Gorgeous Gifts With Plain Brown Paper

Plain brown craft paper doesn't have to be boring. Check out these two fresh and inexpensive ideas for wrapping pretty holiday presents.

How to Make Paper Snowflakes

A great winter or Christmas craft to make with kids, you can let it snow inside by creating your very own wintry flurry of snowflakes out of paper.

How to Make a Wood Cutting Board

Woodworking projects can be intimidating, but this project is actually easier than you may think. With basic shop materials and dense hardwood, which is the best wood for cutting boards, you'll be able to create a chef-worthy chopping accessory that any foodie would love.

How to Make Rustic Nail-Head Christmas Trees

To add rustic charm and curb appeal during the holidays designer Dan Faires makes tree silhouettes with plywood and nail heads.

How to Make Yarn Christmas Trees

These little yarn trees are so simple to put together, you'll have time to make a few for your home plus plenty of handmade gifts for friends and family, too.

How to Make a No-Sew Ruffled Christmas Tree Skirt

Put the finishing touch on your tree with an elegant and feminine linen skirt. The only tools you'll need are scissors and glue to make this easy no-sew ruffled tree skirt.

How to Make Boxwood Christmas Topiaries

Turn boxwood clippings into DIY holiday topiaries to flank a fireplace mantel, bring some life to a holiday tablescape or add height to a buffet table.

How to Make Painted Pail Stockings

Give your holiday decorations a playful twist by swapping out traditional fabric Christmas stockings for metal pails painted with fun, bright colors.

More from:

Handmade Holidays

What's New in Handmade

Follow Us Everywhere

Join the party! Don't miss HGTV in your favorite social media feeds.