


How to Build a Herringbone Privacy Screen

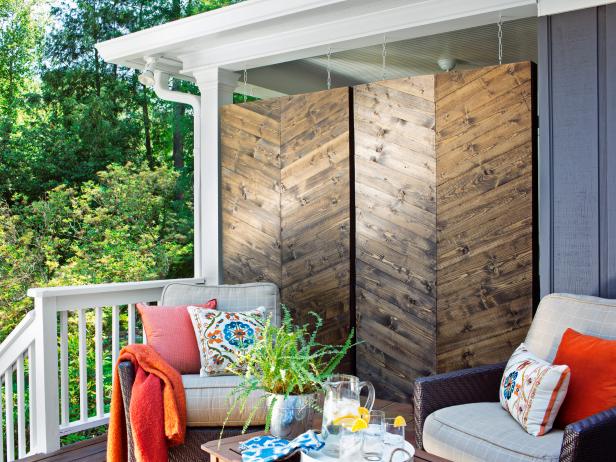
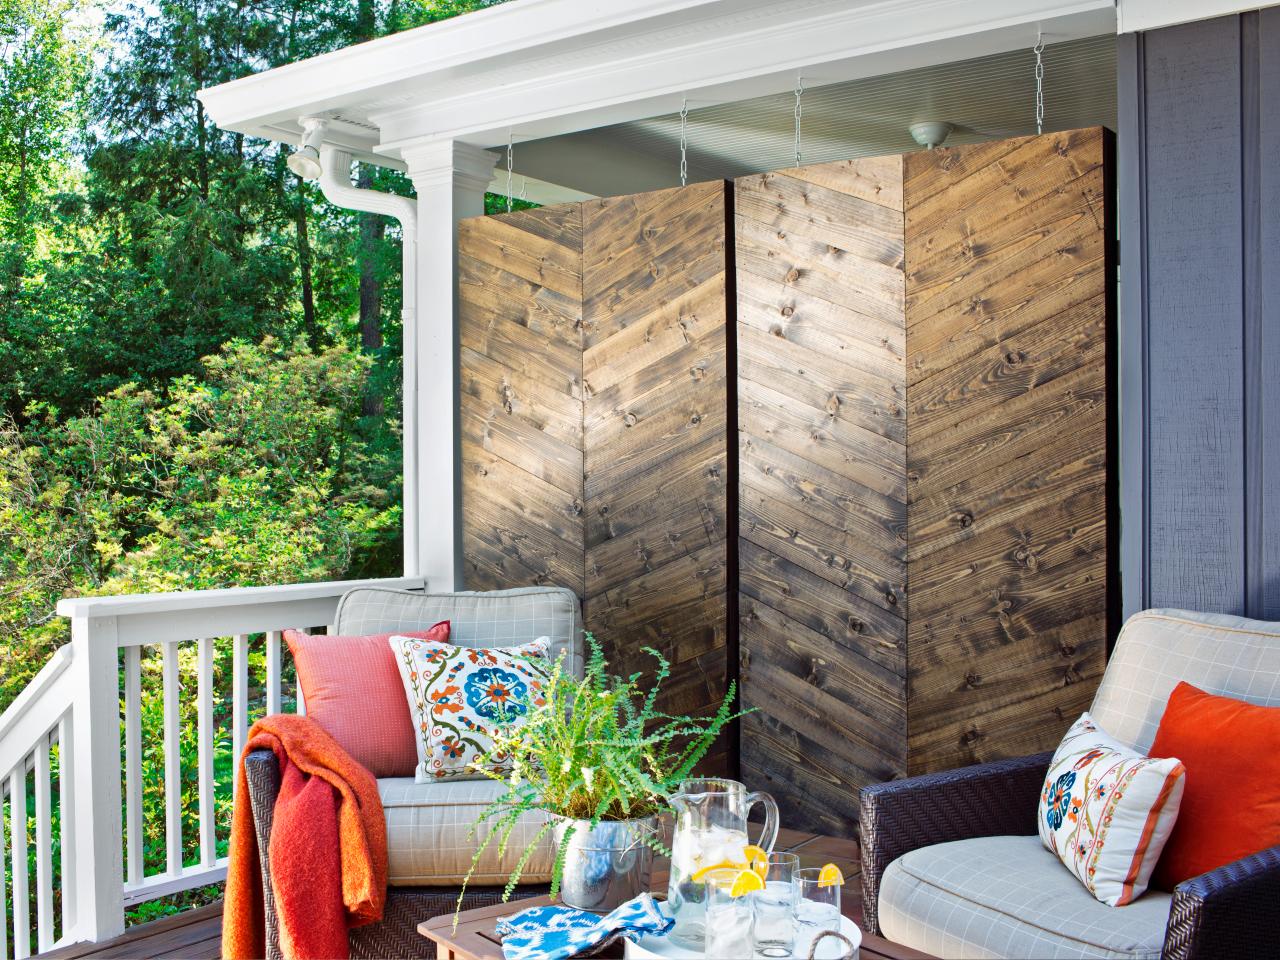
Patio Privacy Screen
A wood screen hangs on two chains on this patio, providing a modicum of privacy in this open-air space. A couch with orange throw is behind the screen and in front of a small wood table on which is a pitcher of lemon water and two glasses.

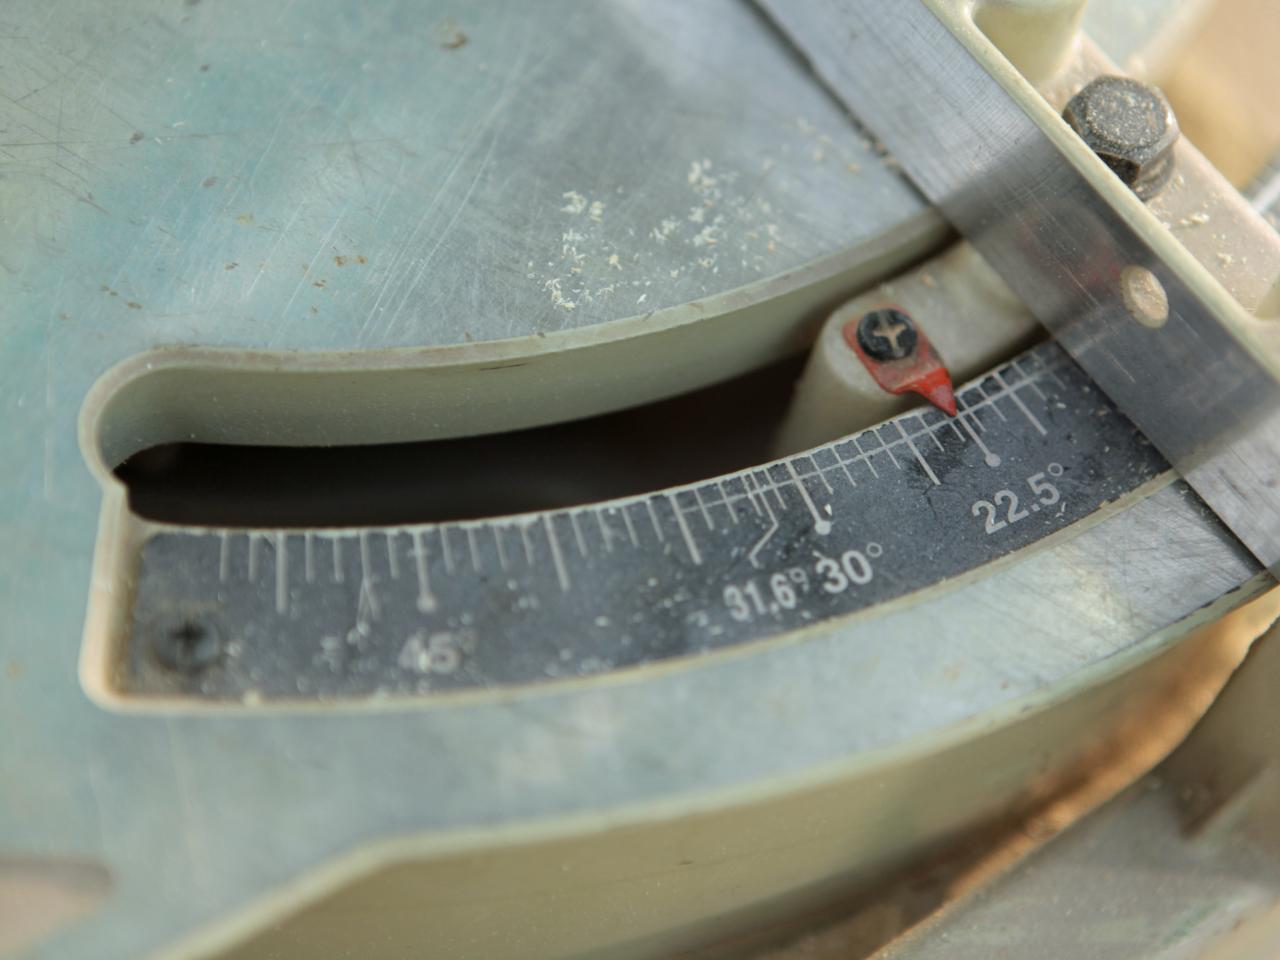
Create stylish and affordable outdoor privacy screens by arranging boards in a herringbone pattern (also known as a chevron pattern.) The secret to the design is laying the boards out at a 22-1/2 degree angle.
Materials Needed:
- 1X6 pressure-treated pine slats
- drill or nail gun
- 3-inch exterior screws or nails
- 2X4 pressure-treated lumber
- outdoor stain
- outdoor sealer
- paint brush or stain pad
- tape measure
- pencil
- circular saw
- miter saw
- 4 L-brackets
- galvanized metal C-hooks
- exterior chain
- speed square
Cut Wood for Frame
Using miter saw, cut two pieces of pressure-treated 2X4 at 37 inches, two pieces at 72 inches and one piece at 69 inches. The finished screen will be 72 inches by 40 inches.

Cut Wood for Frame
Using miter saw, cut two pieces of pressure-treated 2X4 at 37 inches, two pieces at 72 inches and one piece at 69 inches. The finished screen will be 72 inches by 40 inches.
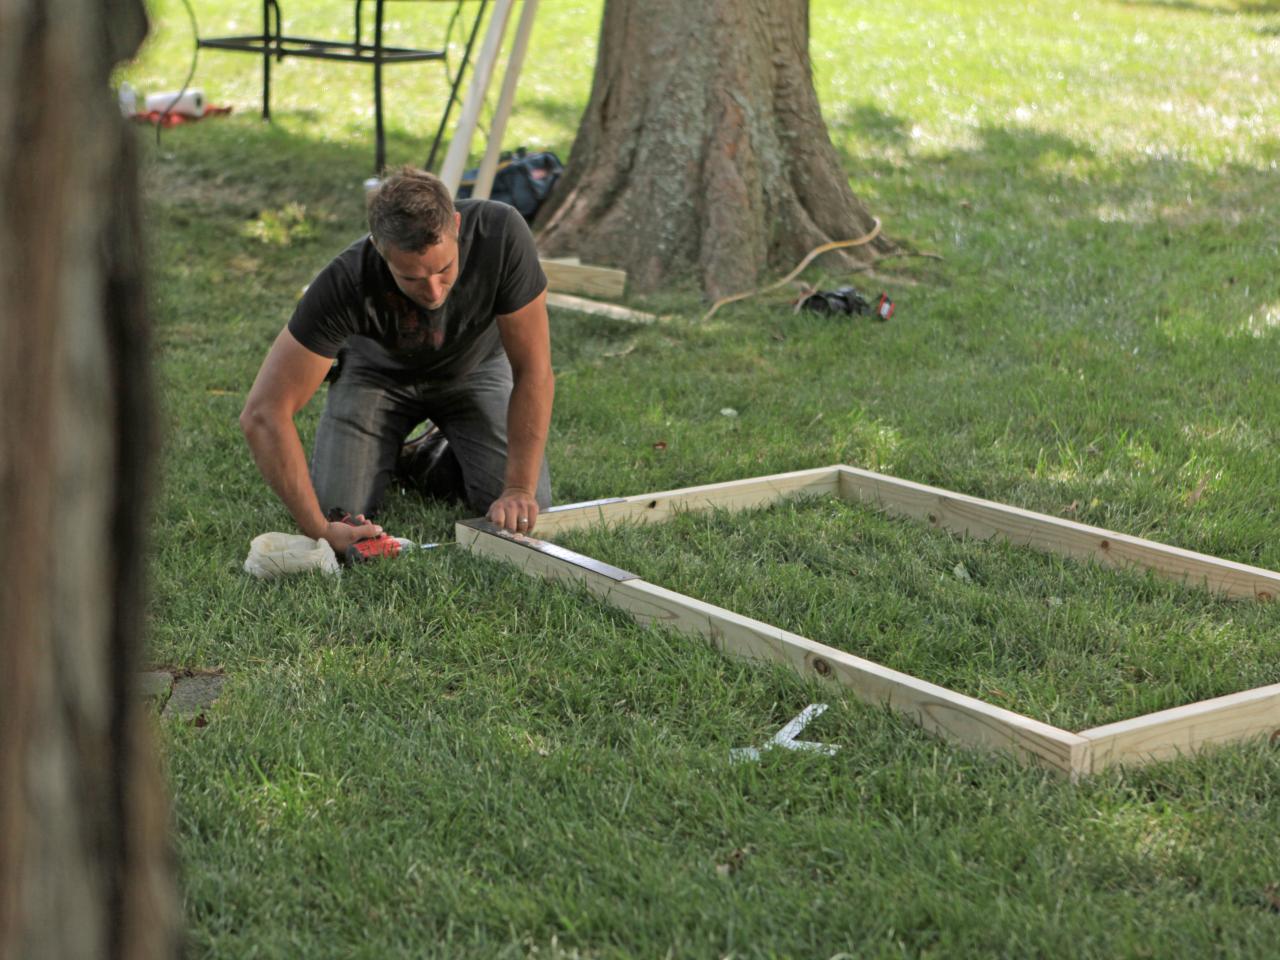
Assemble Frame
Lay the five pieces out on a flat, level surface. Next, line pieces up using a speed square with the two 37 inch pieces on the top and bottom and the 72 inch pieces on the sides. Fasten two top corners together to ensure frame pieces have been properly cut to size.
Using 3-inch exterior screws or nails, fasten all outside frame pieces together with drill or nail gun.
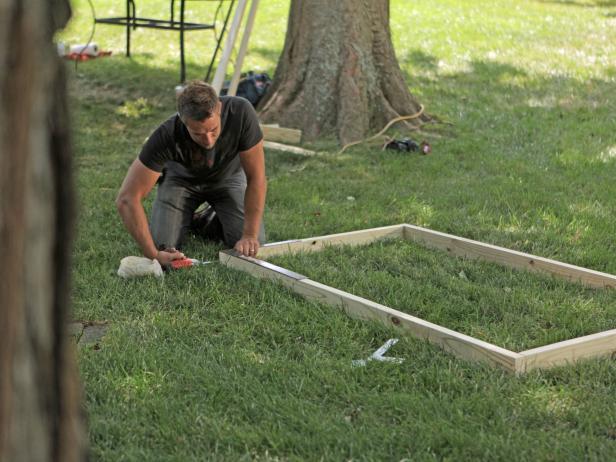
Assemble Frame
Lay the five total pieces out on a flat, level surface. Next, line pieces up using a speed square with the two 37-inch pieces on the top and bottom and the 72 inch pieces on the sides. Fasten two top corners together to ensure frame pieces have been properly cut to size.
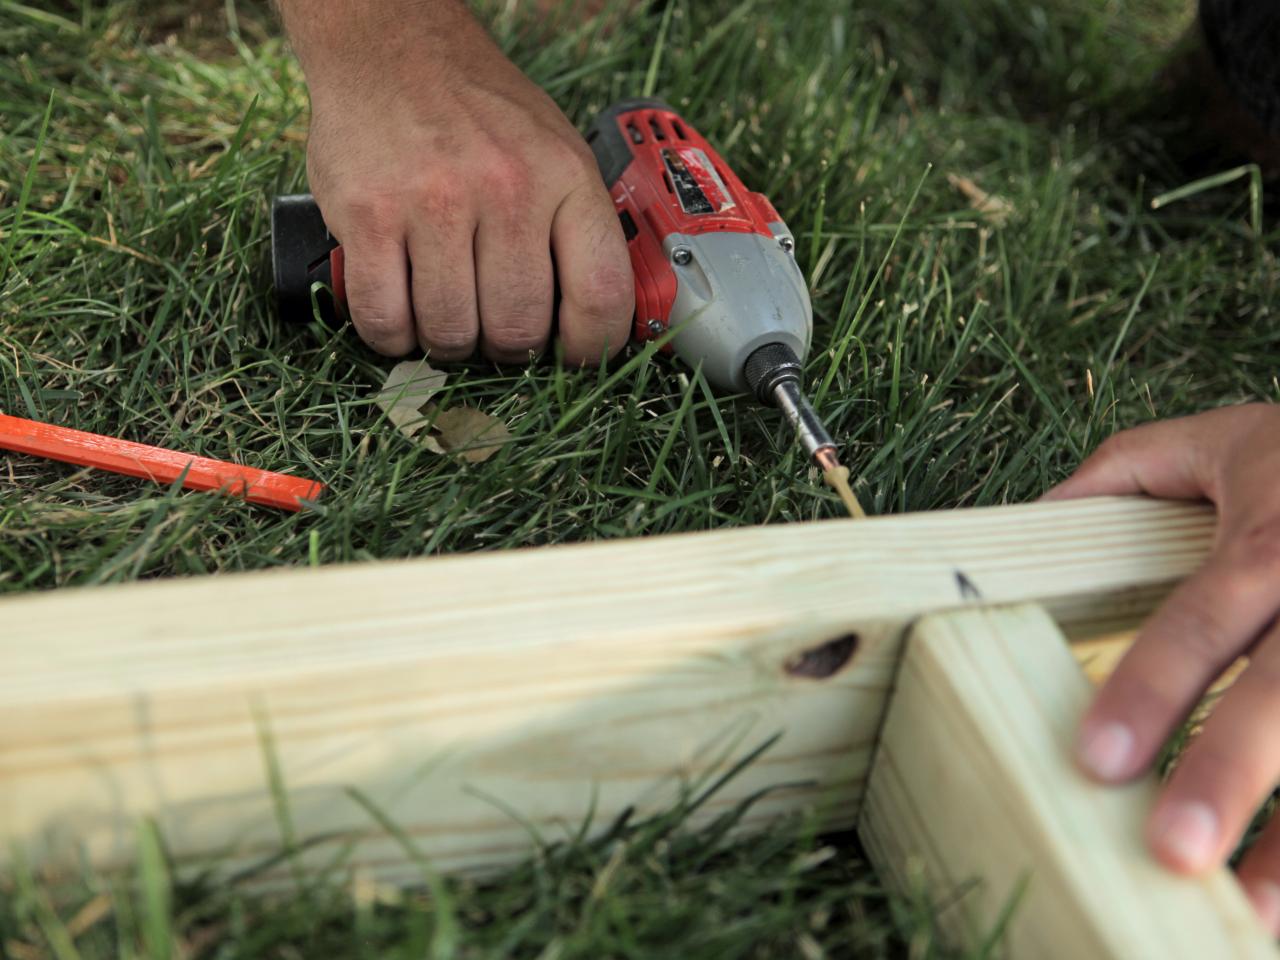
Screw Frame Pieces Together
Using 3-inch exterior screws or nails, fasten all outside frame pieces together with a drill or nail gun.
Attach Center Support
Using tape measure and pencil, mark the center point of the top and bottom 2X4s. Next, place the remaining 69 inch 2X4 on the pencil marks, then with drill or nail gun.

Attach Center Support
Using tape measure and pencil, mark the center point of the top and bottom 2X4s. Next, place the remaining 69-inch 2X4 on the pencil marks, then attach with drill or nail gun.
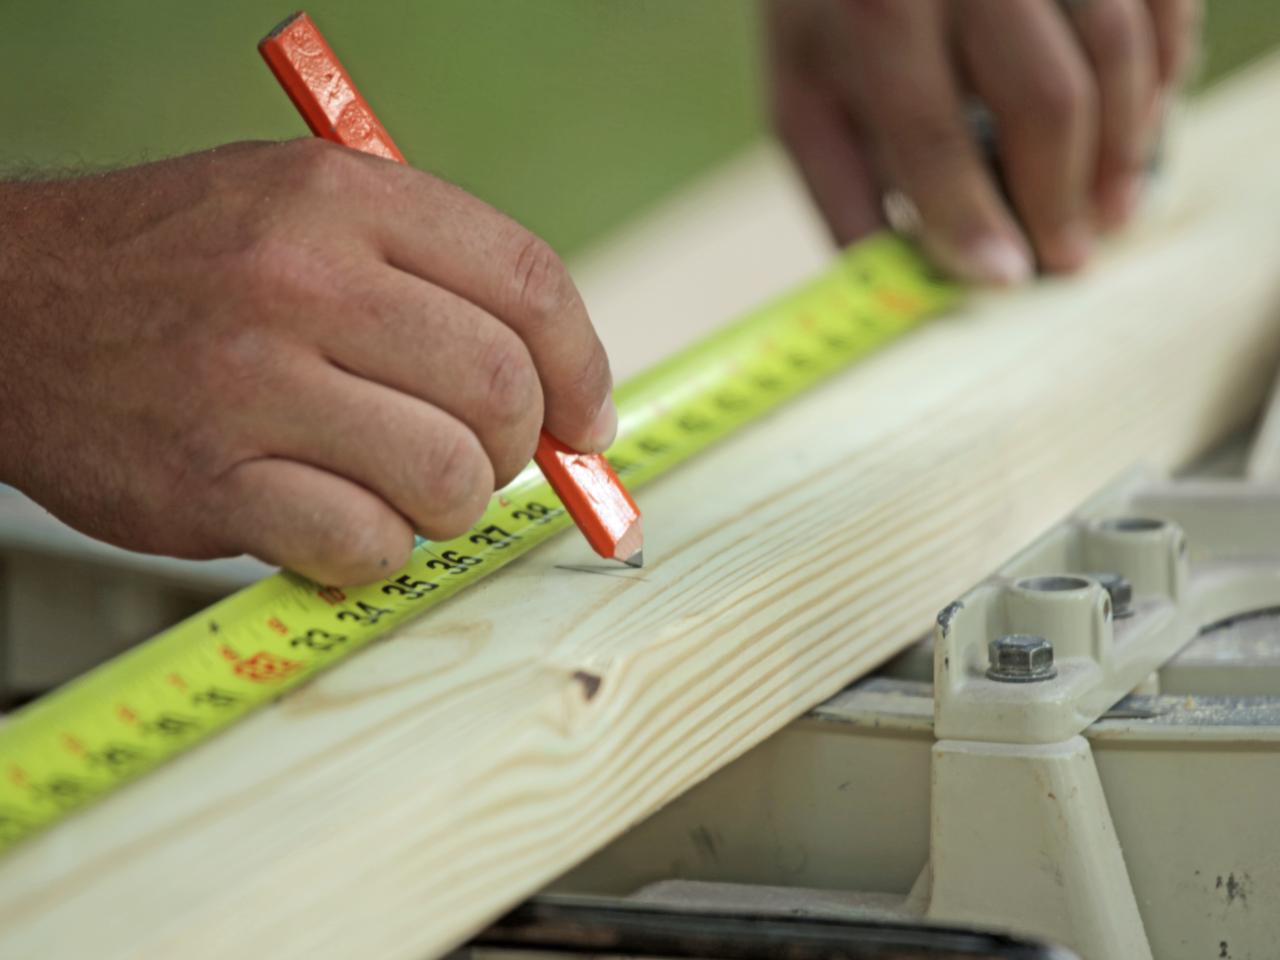
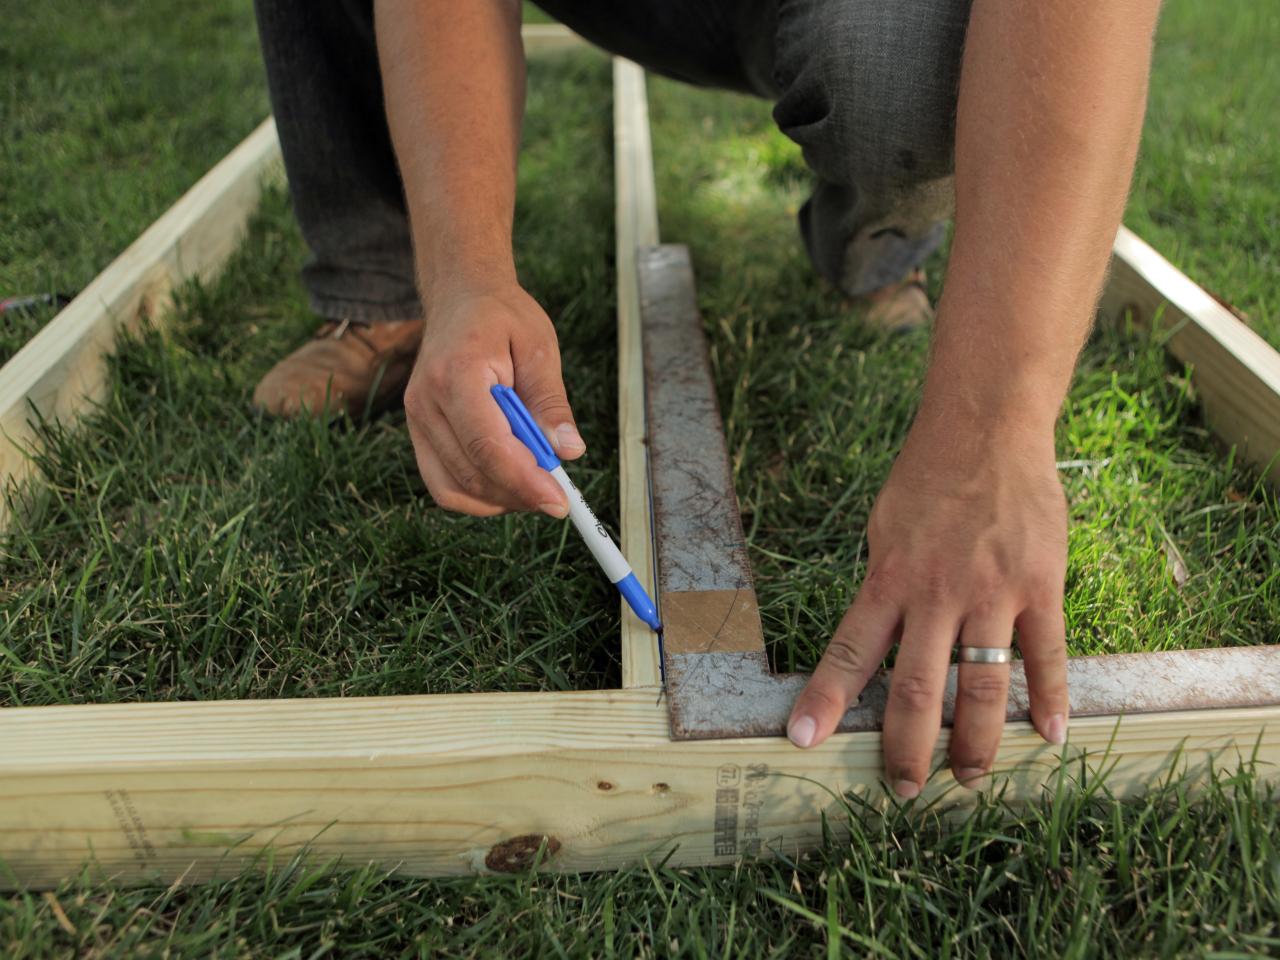
Mark Center Line
Using tape measure and pencil, make a line directly down the middle of the center 2X4. This line will be your guide for the proper placement needed to create the herringbone pattern.

Mark Center Line
Using tape measure and pencil, make a line directly down the middle of the center 2X4. This line will be your guide for the proper placement needed to create the herringbone pattern.
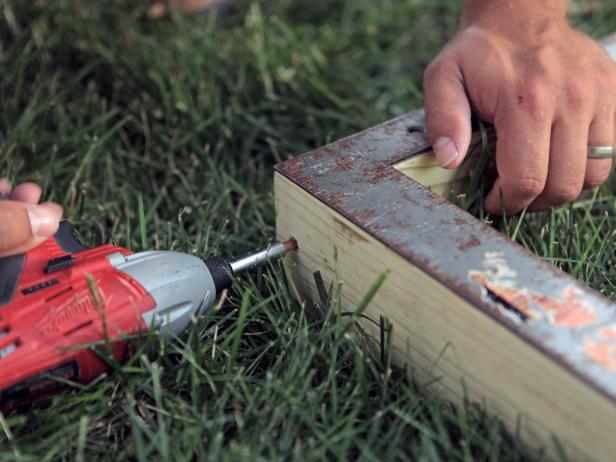
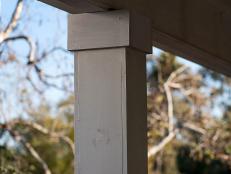
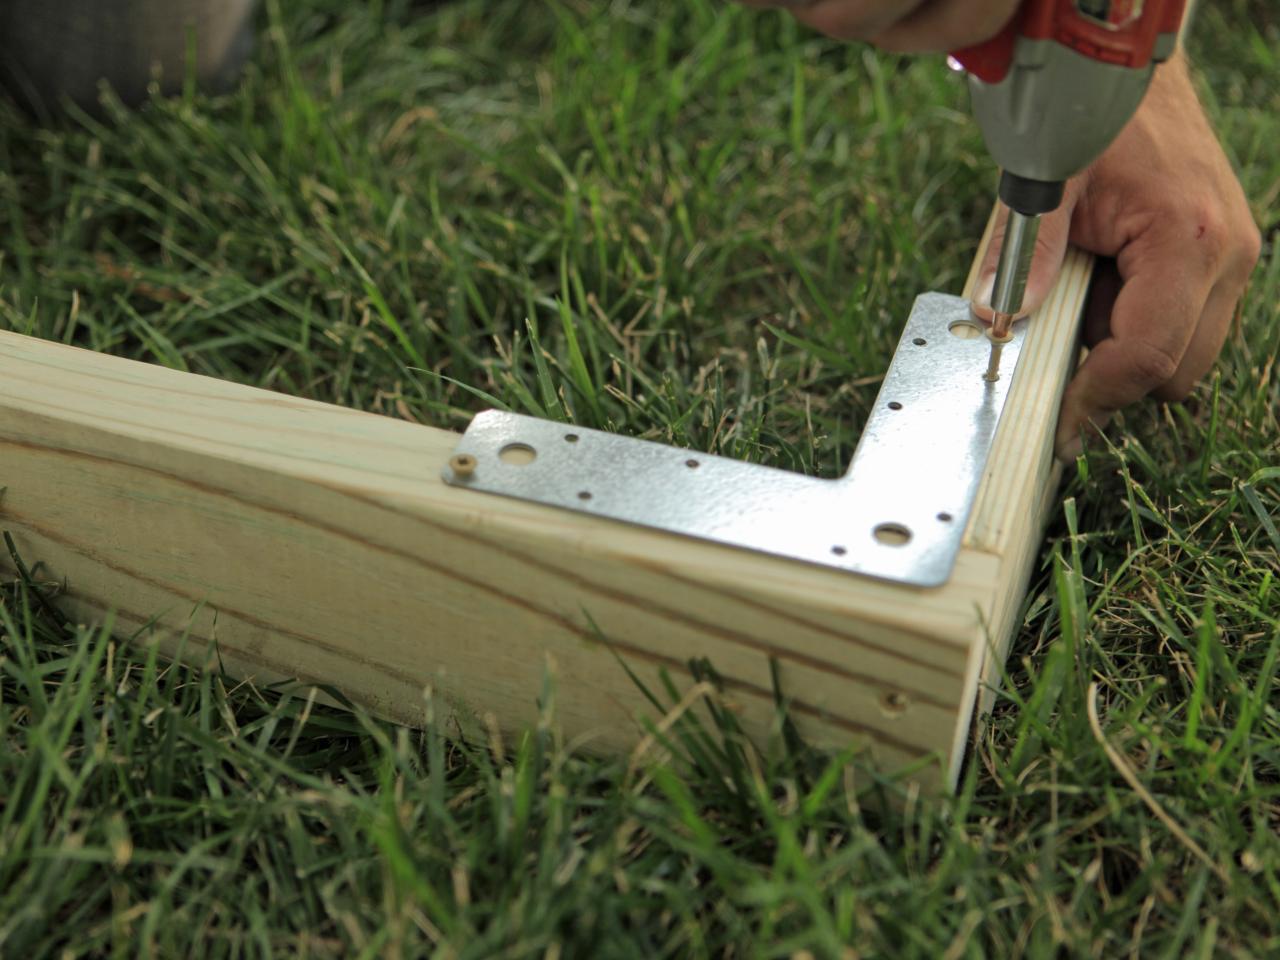
Attach L-Brackets
Using drill and exterior screws, attach L-brackets to each corners of the frame for added stability.

Attach L-Brackets
Using drill and exterior screws, attach metal L-brackets to each corners of the frame for added stability and rigidity.
Cut Herringbone Pieces
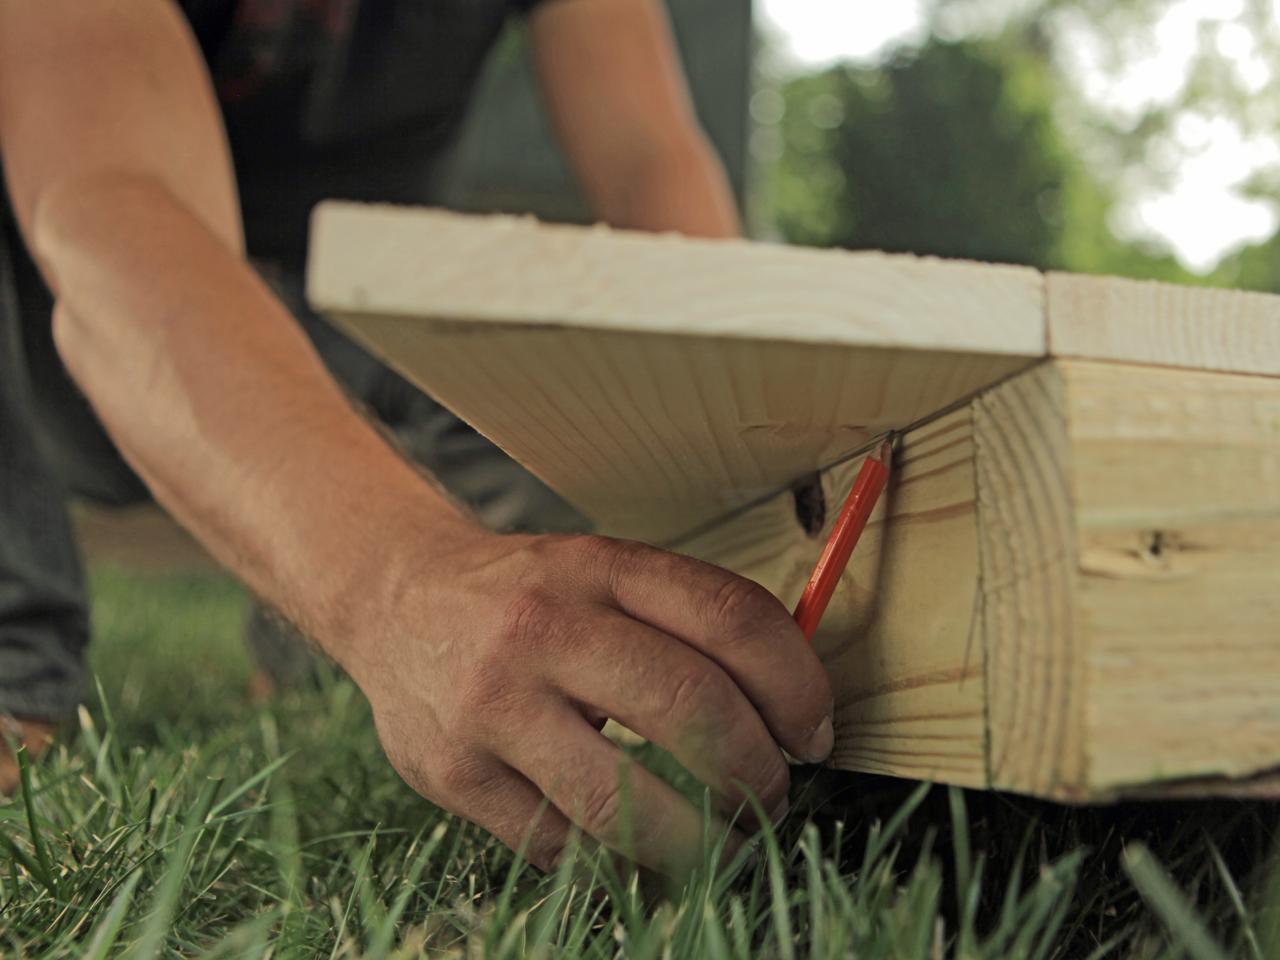
Using a circular saw, cut a pilot piece of the 1x6 pressure-treated pine that runs from the outside edge of the frame to the center of the middle 2X4; this should come to exactly 30 inches. Next, cut one edge off at a 22-1/2 degree angle using miter saw. After placing the cut piece onto the frame to ensure it is cut correctly, mark then cut the opposite end with miter saw at a 22-1/2 degree angle.
Repeat the same marking and cutting process for all boards on the front and back sides of the partition.

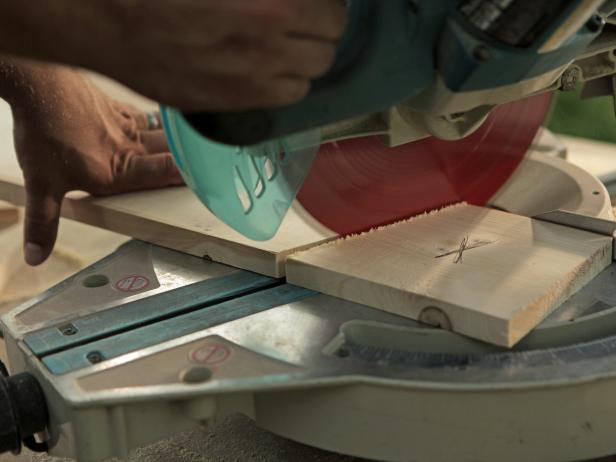
Cut Boards at an Angle
Cut the ends of all the the herringbone boards at a 22-1/2 degree angle using a miter saw. When they are butted together, the herringbone pattern will be apparent.
Cut Herringbone Boards
Using a circular saw, cut a pilot piece of the 1x6 pressure-treated pine that runs from the outside edge of the frame to the center of the middle 2X4; this should come to exactly 30 inches. Next, cut one edge off at a 22-1/2 degree angle using miter saw. After placing the cut piece onto the frame to ensure it is cut correctly, mark then cut the opposite end with miter saw at a 22-1/2 degree angle. Repeat the same marking and cutting process for all boards on the front and back sides of the partition.
Attach Boards
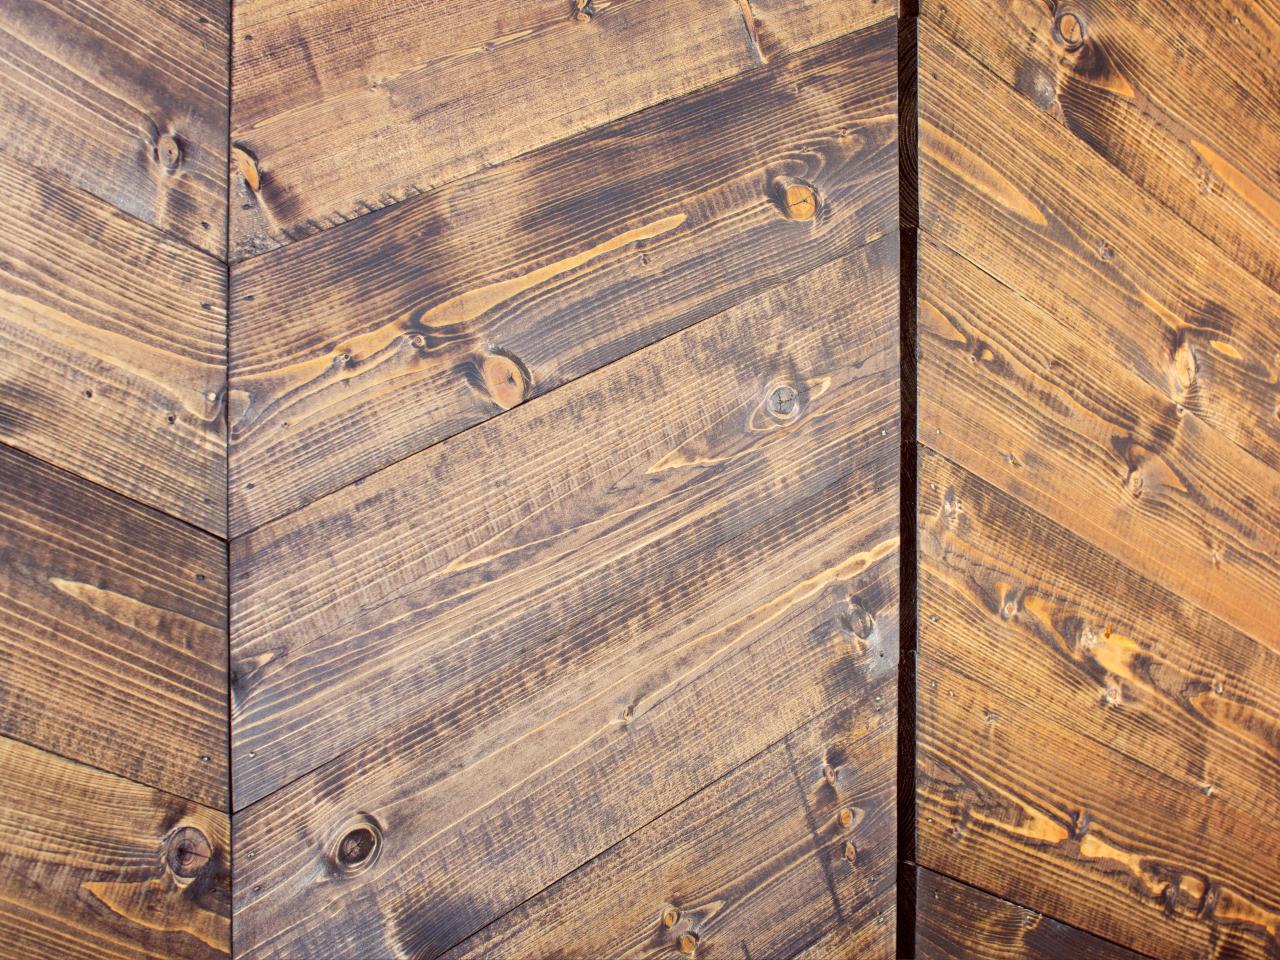
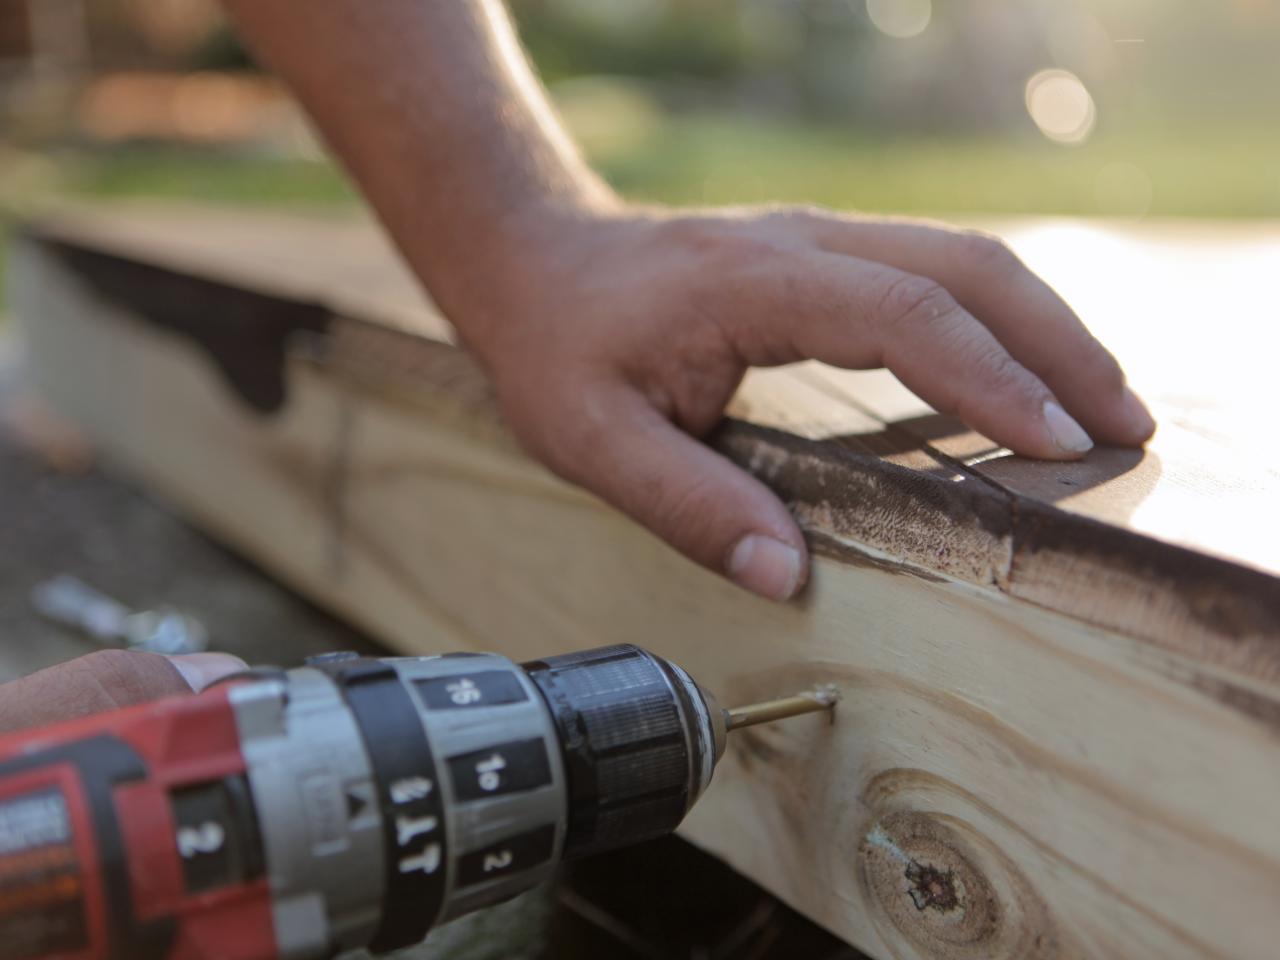
Using drill and exterior screws or nail gun and nails, attach each of the mitered planks to the frame. Attach each pine plank so that one end of the board completely covers the side post and the other end covers half of the center post. The herringbone pattern will be created when the two planks meet in the middle.

Attach Slanted Boards
Using a drill and exterior screws or nail gun and nails, attach each of the mitered planks to the frame. Attach each pine plank so that one end of the board completely covers the side post and the other end covers half of the center post. The herringbone pattern will be created when the two planks meet in the middle.
Cut Edges
On the very top and bottom corners of your screen, use a tape measure and pencil to mark where the edges will be cut. Next, cut with circular saw.

Cut Hanging Edges
On the very top and bottom corners of your screen, use a tape measure and pencil to mark where the edges will be cut. Next, cut with circular saw.
Attach Trimmed Corner Pieces
Attach the trimmed top and bottom corner pieces using nail gun or drill.

Attach Trimmed Corner Pieces
Attach the trimmed top and bottom corner pieces to the frame using a nail gun or drill to complete the building of your privacy frame.
Stain and Seal Wood
Using a stain pad or a paint brush, add stain to planks and frame. Let dry, then apply outdoor sealant. Let dry completely before hanging.

Stain and Seal Wood
Using a stain pad or a paint brush, add stain to planks and frame. Let dry, then apply outdoor sealant. Let dry completely before hanging.
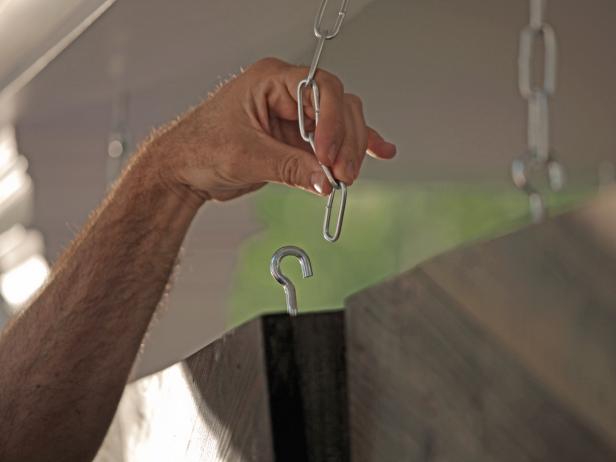
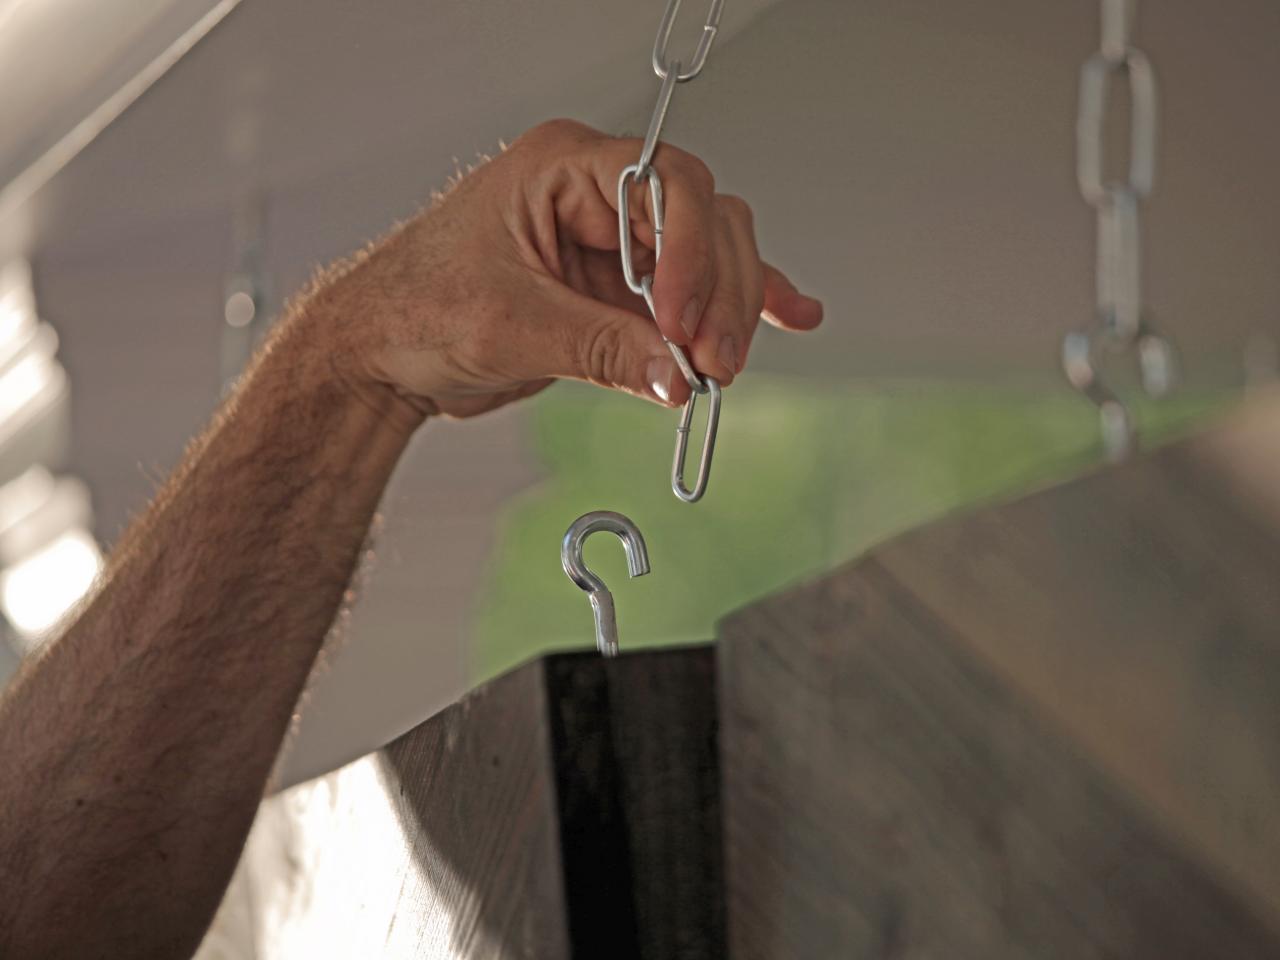
Hang the Privacy Screen
Drill two holes into the top of each frame for attaching C-hooks, spaced approximately 6 inches in from the outside edge. Next, screw C-hooks into holes in top of frame, add corresponding C-hooks to the ceiling and attach to one another with pre-cut chain.

Drill Holes in Screen Frame
Drill two holes into the top of each frame for attaching C-hooks, spaced approximately 6 inches in from the outside edge.
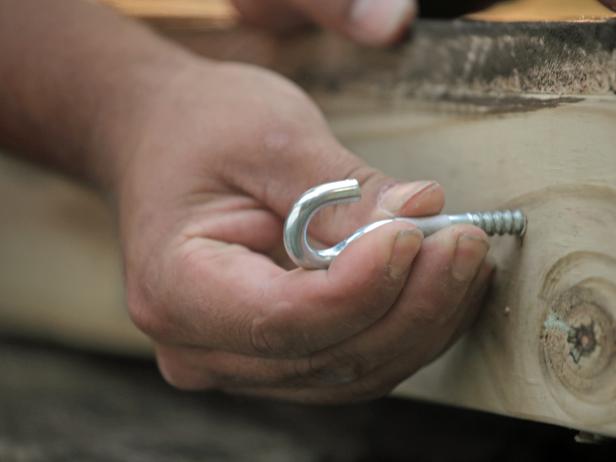
Screw Hooks to Top of Screen
Drill two holes into the top of each frame for attaching C-hooks, spaced approximately 6 inches in from the outside edge. Next, screw C-hooks into holes in top of frame.
Hang the Privacy Screen
Next, screw C-hooks into holes in top of frame, add corresponding C-hooks to the ceiling and attach to one another with pre-cut chain.
Porch With Sitting Area And Privacy Screens
Wooden privacy screens section off this rustic porch sitting area. The modern herringbone design creates a stylish twist on a basic door.


")


