


DIY Live-Edge Coffee Table
This lively look will make all of your industrial-style design dreams come true.


Live-edge tables have been around seemingly forever but have just recently been coming on strong on the home decor front. Keep your house fresh by DIY-ing your very own industrial-style live-edge coffee table.
Materials Needed
- 4’ live-edge wood slab
- shellac
- natural brush
- (8) 3/4" black iron pipe flanges
- (6) 3/4" black iron pipe T-fittings
- (8) 6” 3/4" black iron pipe
- (4) 4” 3/4" black iron pipe
- 36” 3/4" black iron pipe
- (16) #10 1-1/4” wood screws
- orbital sander
- cloth
- 80-, 120-, 220-grit sandpaper
- tack cloth
- chisel
- hammer
- drop cloth
- disposable gloves
- steel wool
- shop vacuum (optional)
- drill
- 3” self-adhering felt pads
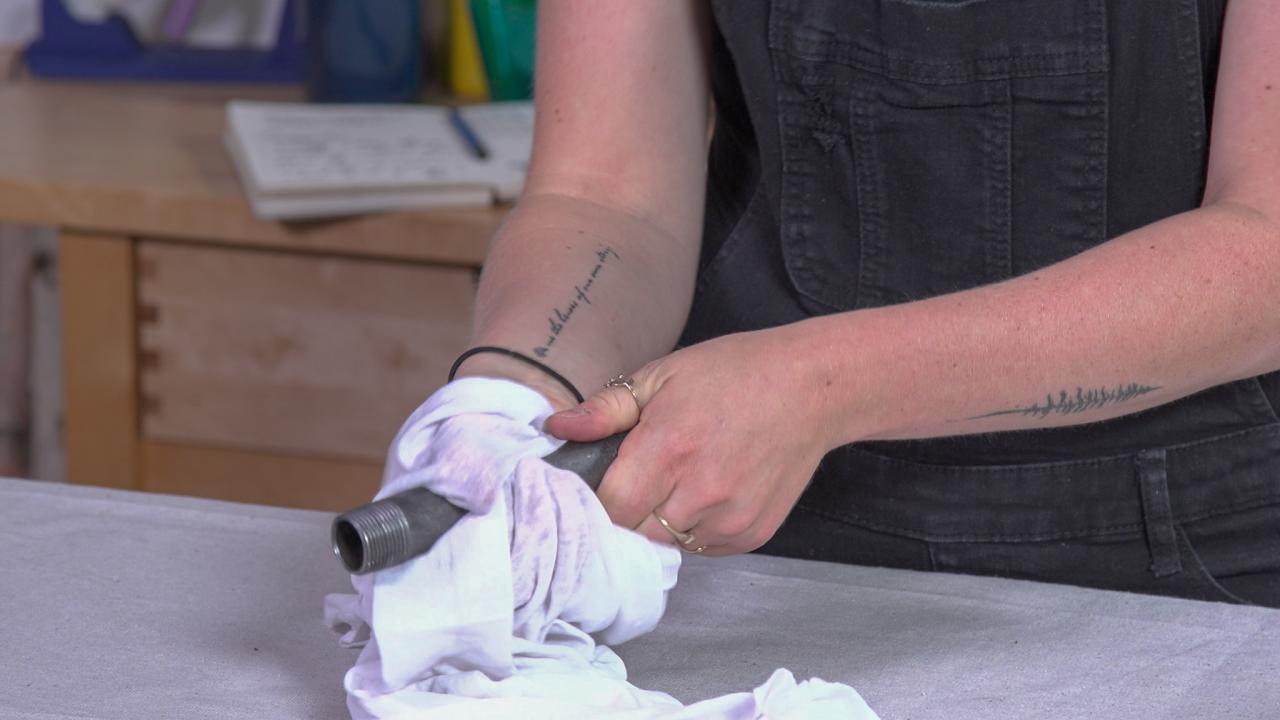
Wipe Down Pipe
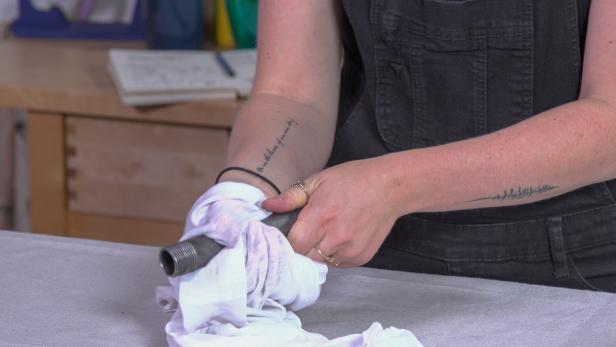
Wipe down the black iron pipe with a cloth to remove as much carbon dust as possible. Tip: Always wear disposable gloves when handling black iron to avoid coating your hands with the black dust.
RTR Media
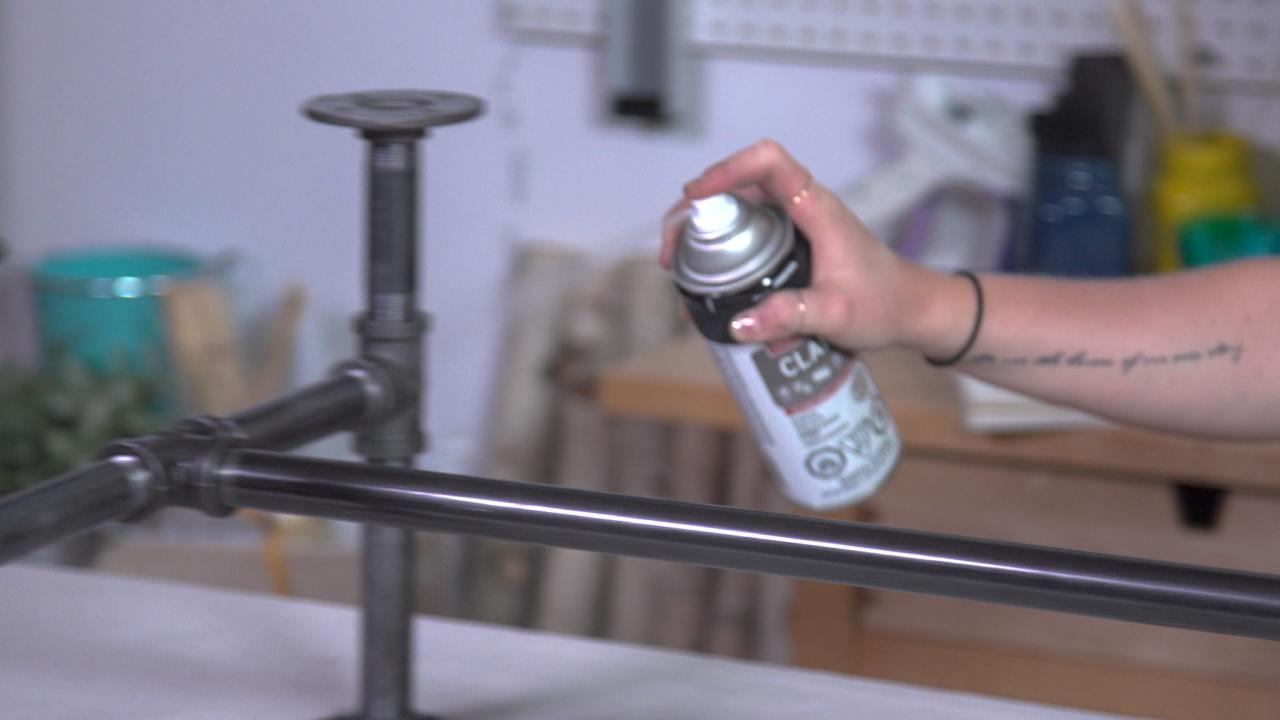
Connect Pipe
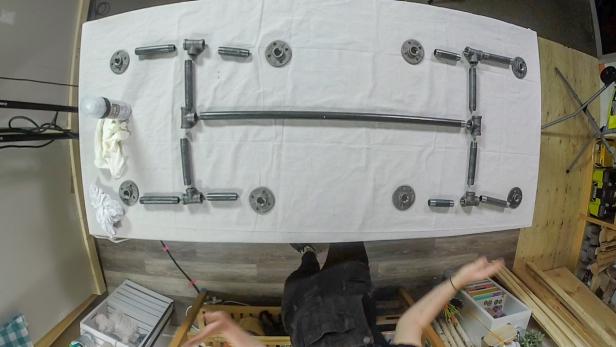
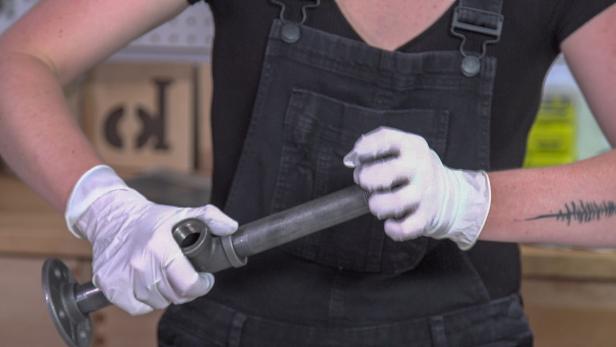
Connect all the iron fittings following the pictured layout (Image 1). Start by connecting the feet first, then cross arms on both sides and finally, bridge the gap with the middle 36-inch bar (Image 2). Feel free to play around with the layout to find what works best for you. Once assembled, spray the pipes with clear coat adhesive to stop the carbon dust from coming off (Image 3). This will seal the surface and make it house friendly. Set the frame aside and let it dry.
RTR Media
RTR Media

RTR Media
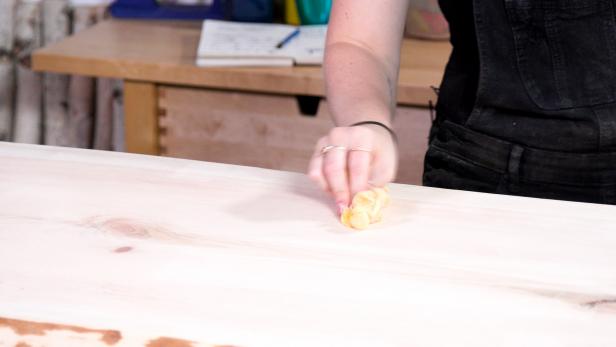
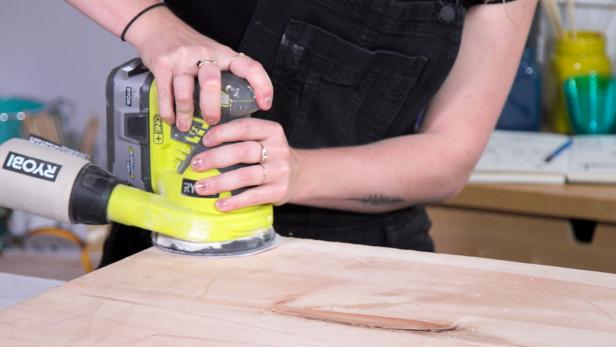
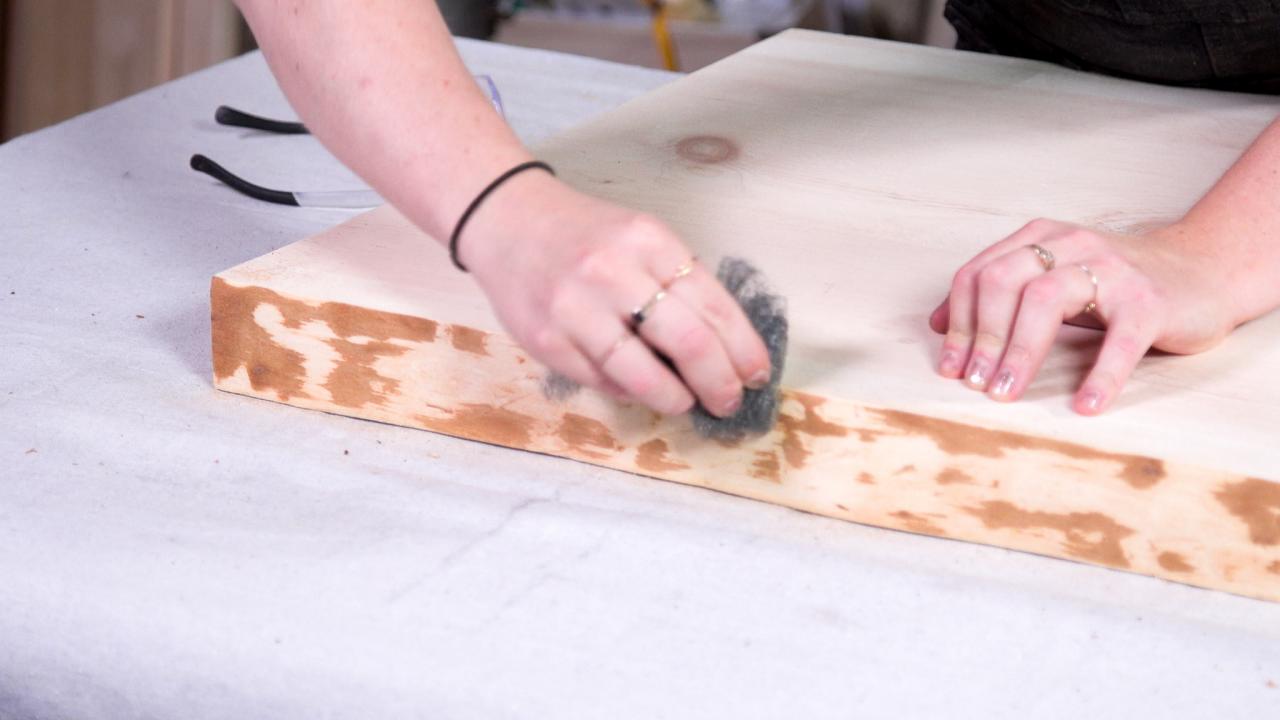
Remove Bark
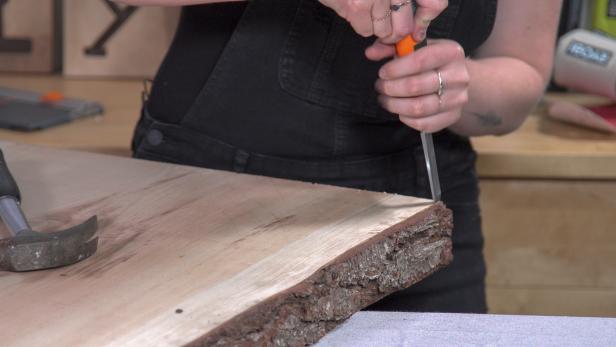
You may be tempted to leave the bark, but it almost always leads to constant mess under the table. We opted to remove it. To do so, use a chisel and hammer (Image 1). Take it slow, ensuring the flat side of the chisel is always facing the wood table. Use 80-grit sandpaper and sand off any remaining bark. Sand the table's top with 120-grit. Use steel wool to remove any remaining bits in small crevices in the wood that are hard to reach with sandpaper (Image 2). Vacuum the work area for any unwanted sawdust and use tack cloth to remove any remaining dust (Image 3). It is important to get the wood and surrounding area spotless, so the finish doesn't contain dust particles.
RTR Media

RTR Media
RTR Media
Apply Shellac
To minimize runs and drips, brush from the middle of the board and work toward the edges. Smooth out any bubbles by holding the brush at a 45-degree angle and gently pulling the brush in long strokes along the entire length of the board. Let dry.
Apply Second Coat
The first coat of finish you applied absorbed into the wood, filling most of the pores in the wood's surface. The second coat won't have as much to cling to. To help the second coat stick to the first, use a higher grit sandpaper such as a 220-grit to rough up the hardened first coat. This is called “scuff sanding.” It also helps to buff out any bubbles in the first coat. Again, be sure to use a tack cloth to remove all dust from your wood top. Apply second coat and let dry. Pro Tip: It’s better to apply lots of mini coats of finish rather than one thick coat. Feel free to add as many coats as you need, making sure to move to a higher grit sandpaper between coats as you go.
RTR Media
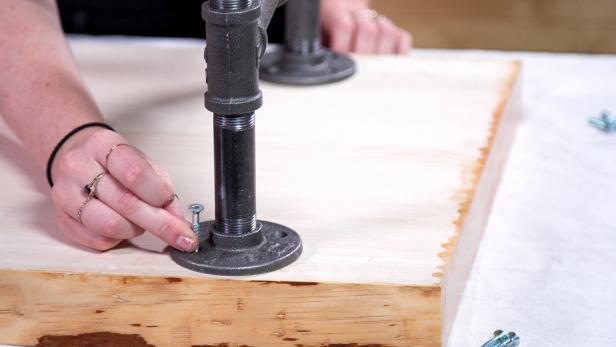
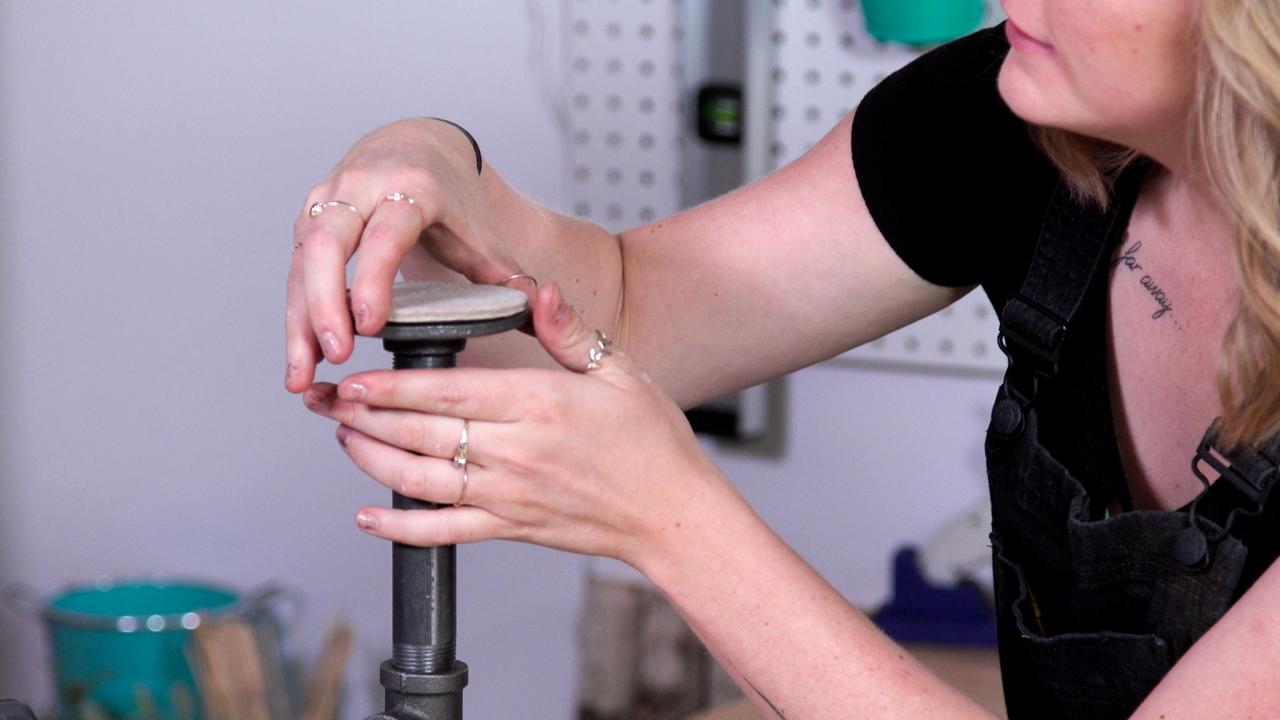
Attach Legs and Floor Protectors
Attach the legs using 1-1/2-inch wood screws. Pre-drill the holes to ensure screws go in straight and prevent splitting (Image 1). Add floor protectors to the flange feet and enjoy your new table (Image 2).
RTR Media

RTR Media

RTR Media


