


How to Construct a Double-Decker Dog Bed
Be the perfect pup parent and DIY a bed your dog will dream of all day long. Note: Please be sure to trim the dangling, knotted fabric ends shorter than the example shown to eliminate any possible choking hazard.
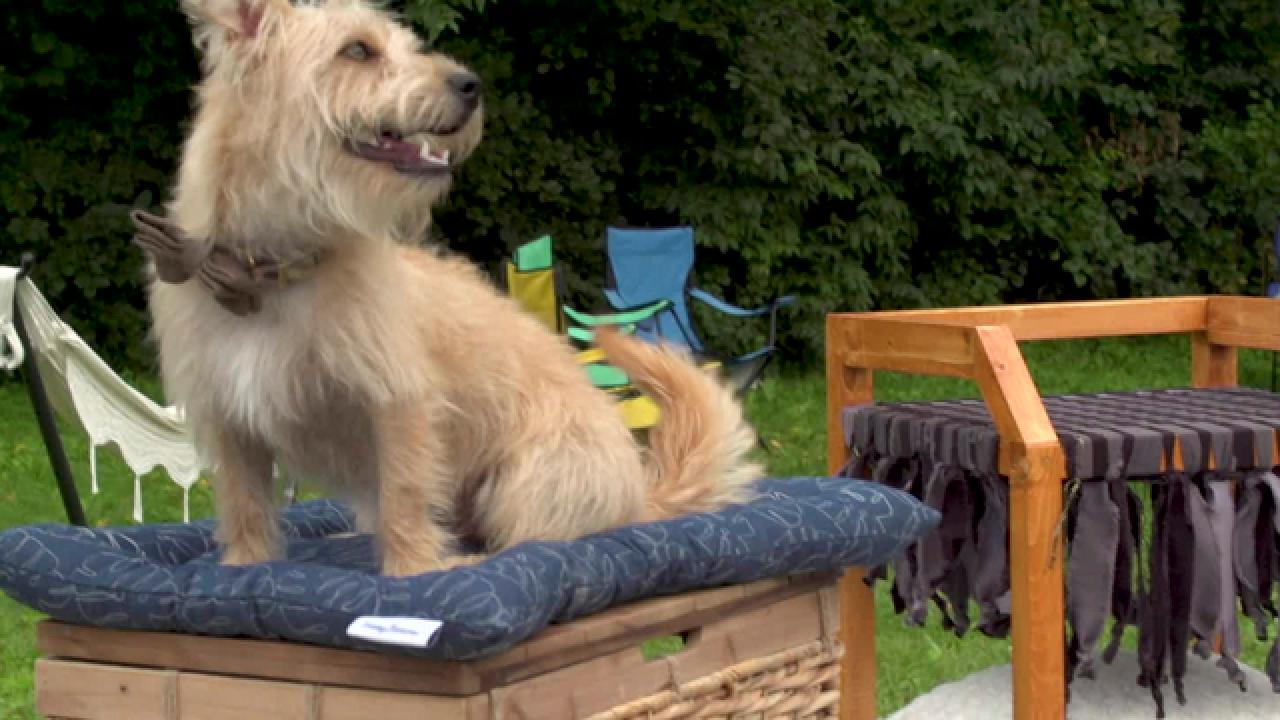

Finding a pet bed that suits your pet's needs and your home’s style can be a headache. Build a bed that’s not only ultra-comfy, but that also provides your furry friend with privacy.
Materials Needed
- (3) 2x2 x 8’ pine boards
- 1x2 x 2’ pine board
- 2’-x-2’-1/4" plywood
- 3” self-tapping wood screws
- 1-1/4” self-tapping wood screws
- wood stain
- white acrylic paint
- paint brush
- disposable gloves
- staining rags
- water-based wood finish
- wood filler
- wood glue
- 120-grit sandpaper
- drill
- miter saw
- jig saw
- painter's tape
- 27” black cotton material
- 27” gray cotton material
- 18’ copper/black decorative string
- 3’ faux fur fabric
- 3’ cotton fabric
- needle + thread
- pillow insert
- sewing needle
- fabric scissors
- ruler
- fabric measuring tape
- pencil
- straight pins
Cut List
- (2) 2x2 x 22” pine boards
- (2) 2x2 x 18” pine boards
- (5) 2x2 x 16” pine boards
- (4) 2x2 x 14” pine boards
- (2) 2x2 x 11-1/2” pine boards
- (2) 1x2 x 11-1/2” pine boards
- (2) 2x2 x 5-1/2” (long point) mitered trapezoid to 45 degrees
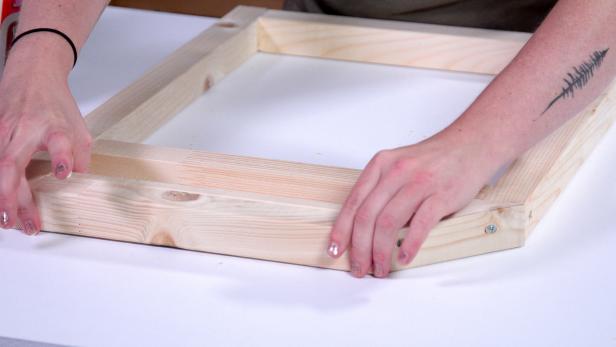
Assemble Sides
Pre-cut all boards according to the cut list above. Organize cuts in groups for easy assembly. To assemble the side frame structure, screw the pieces of wood together using 3-inch wood screws (Image 1). Be sure to thoroughly coat both joining surfaces with wood glue for added support (Image 2). Assemble according to the images below (Image 3).

RTR Media

RTR Media

RTR Media
Attach Top Pieces
Once the two side frames are complete, secure the top 11-1/2-inch cross bars and trapezoids to each side. Glue the 1x2 boards to the underside of your top pieces (Image 1). These are for aesthetics only, so no need to secure with a screw. Simply clamp and let dry (Image 2).
RTR Media

RTR Media
Complete Frame
Now that you have two matching pieces, it's time to make them three dimensional. Tie the two sides together with the five 16-inch cross pieces using 3-inch wood screws and glue.

RTR Media
Attach Plywood Base
Measure the bottom of the frame to determine the size of the plywood. The goal is for the piece to fit around the corners and be flush with the edges of the frame. Once you’ve measured twice, mark and cut the shape with a jig saw. Attach the piece with glue and 1-1/4-inch wood screws.

Sand and Stain Frame
Fill in any holes and gaps in joints with wood filler. Smooth with your finger or a putty knife (Image 1). Once dry, lightly sand all surfaces until smooth (Image 2). Apply stain to the frame and let dry (Image 3).

RTR Media

RTR Media

Paint Plywood
Tape off the bottom of the uprights where the stain is, leaving only the plywood exposed. Paint with white acrylic paint and let dry. One coat should be enough, but you may require two.

RTR Media
Finish Wood
As a final step, apply a coat of water-based wood finish to the surface of your frame according to the manufacturer’s instructions. This will help keep the frame durable and long lasting.
Weave Seat
Time to weave the fabric hammock seat. You can pick as many different fabrics as you want, but we suggest using a strong canvas material that has a bit of stretch. Start horizontally across your frame. Tie the fabric pieces onto each end of the frame. Once you’ve finished one direction, begin to weave vertically going above and below each strand. Once you reach the other side of the frame, tie off and continue across the remainder of the frame.

RTR Media
Measure and Cut Fabric for Dog Pillow
Cut fabric to the dimensions of your pillow insert. Use a tape measure or ruler to ensure the measurements are perfectly square. Once your fabric has been sized, place both cloth pieces together inside out along the sides and secure using straight pins a few inches apart. You will be sewing three sides together and leaving the fourth side open in order to insert the pillow form later. Use a backstitch to ensure the pillow seams are strong and durable.
Sew Pillow Cover
Give yourself a seam allowance of 1 centimeter. Prepare the needle with a piece of thread no longer than a yard long as longer pieces will get tangled and knot as you sew. Tie a knot in the end of the thread large enough to not pull through the fabric. Turn the cover inside out and begin stitching. Bring the needle back through both layers of fabric just in front of the starting stitch. Push the needle back into the fabric between where the needle came in and out of the fabric to create the first stitch. Bring the needle up through the fabric the same distance you came forward when creating the first stitch. Once you've sewn a distance, you will see that the threads overlap on the reverse side of the fabric. Take your time and sew small stitches for a secure seam.
Insert Pillow Form
Once the three seams are done, turn the pillow right side in again and push out the corners and insert the pillow form (Image 1). Sew the fourth side closed using a ladder stitch (Image 2). A ladder stitch moves along the seam with the needle going in on one seam edge of the fabric, then crosses to the other fabric seam edge for a completed stitch. That stitch pulls the fabric pieces together. Repeat until the gap is closed.

RTR Media

RTR Media
Note: Be sure to trim the dangling, knotted fabric ends shorter than the example shown to eliminate any possible choking hazard.

RTR Media


