


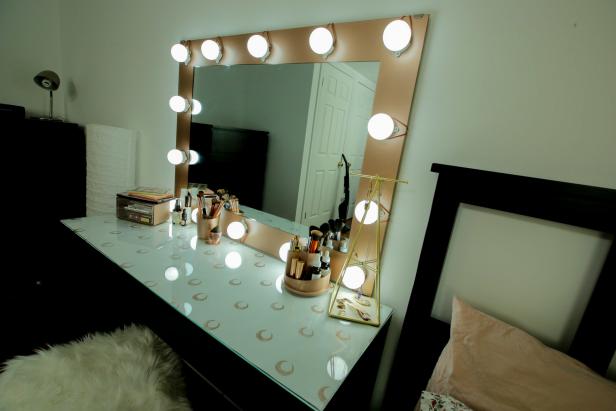
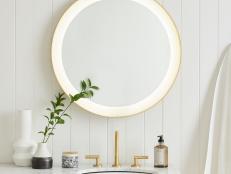
3 DIYs to Create a Customized Bedroom Vanity Area
The bedroom vanity of your dreams is just a few DIYs away.
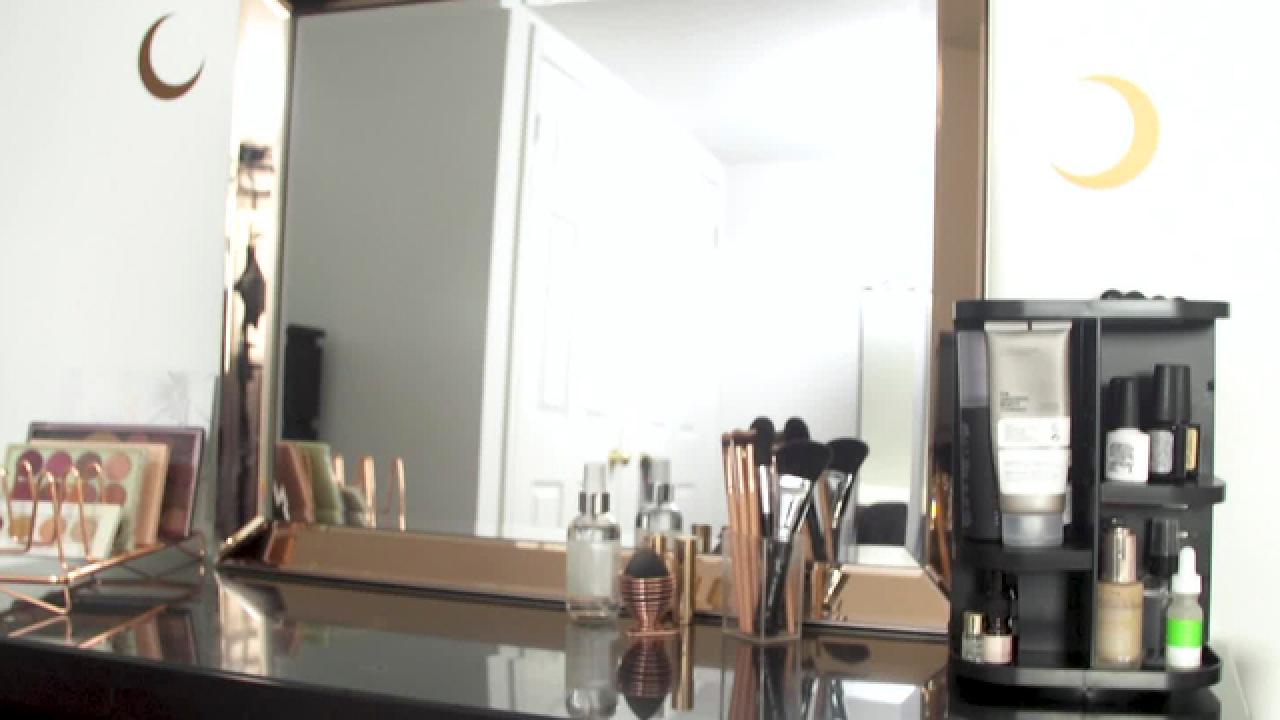

From mirrors to organizers and everything in between, the perfect vanity can be expensive to obtain. DIY your way to the quintessential place to powder your nose with the help of these three DIYs.
Illuminated Mirror: Materials Needed
- large frame-less mirror
- (2) sets of peel/stick LED vanity lights
- (4) wall mirror clips
- painter’s tape
- rose gold spray paint
- clear coat spray paint
- brown craft paper
- mirror-safe marker
- ruler
- drop cloth
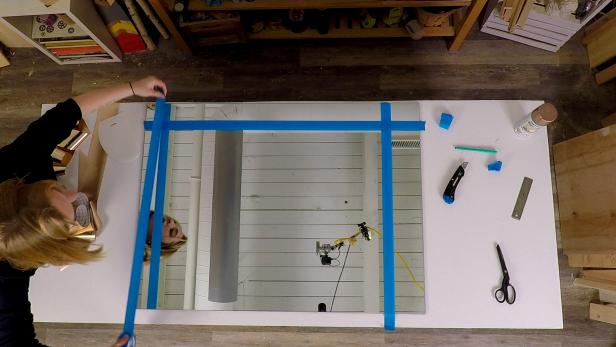
Paint Mirror Border
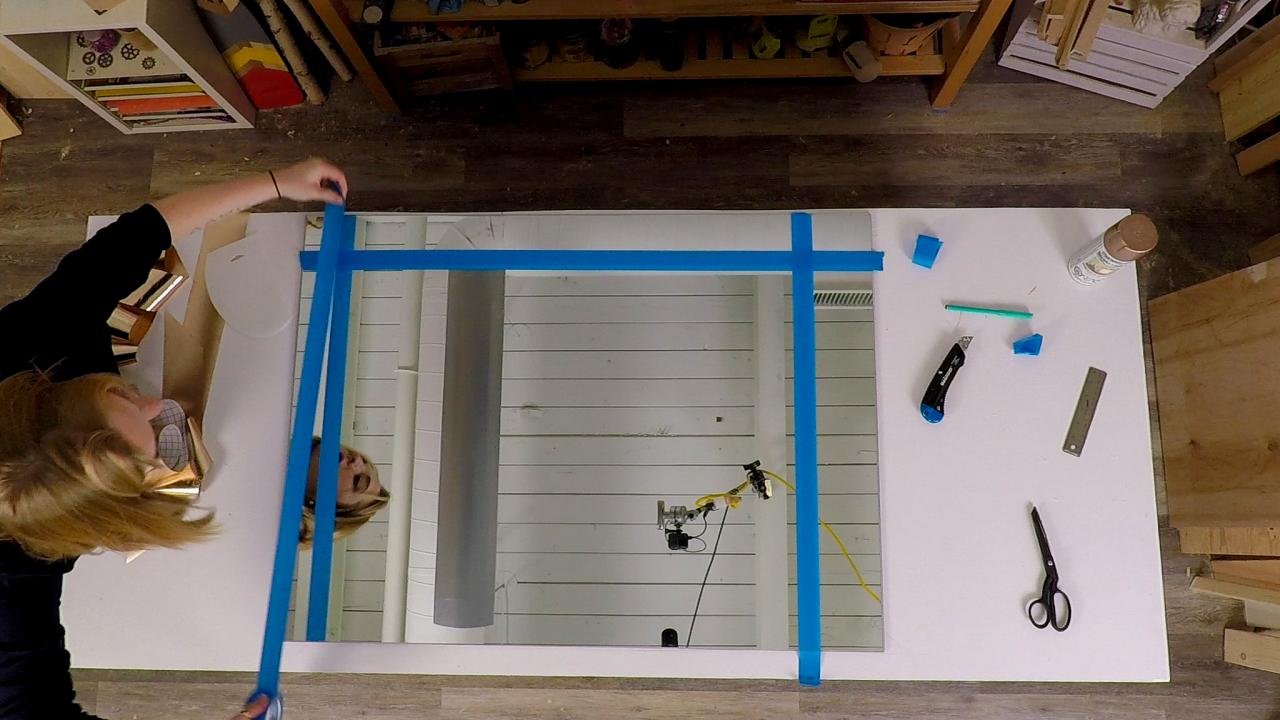
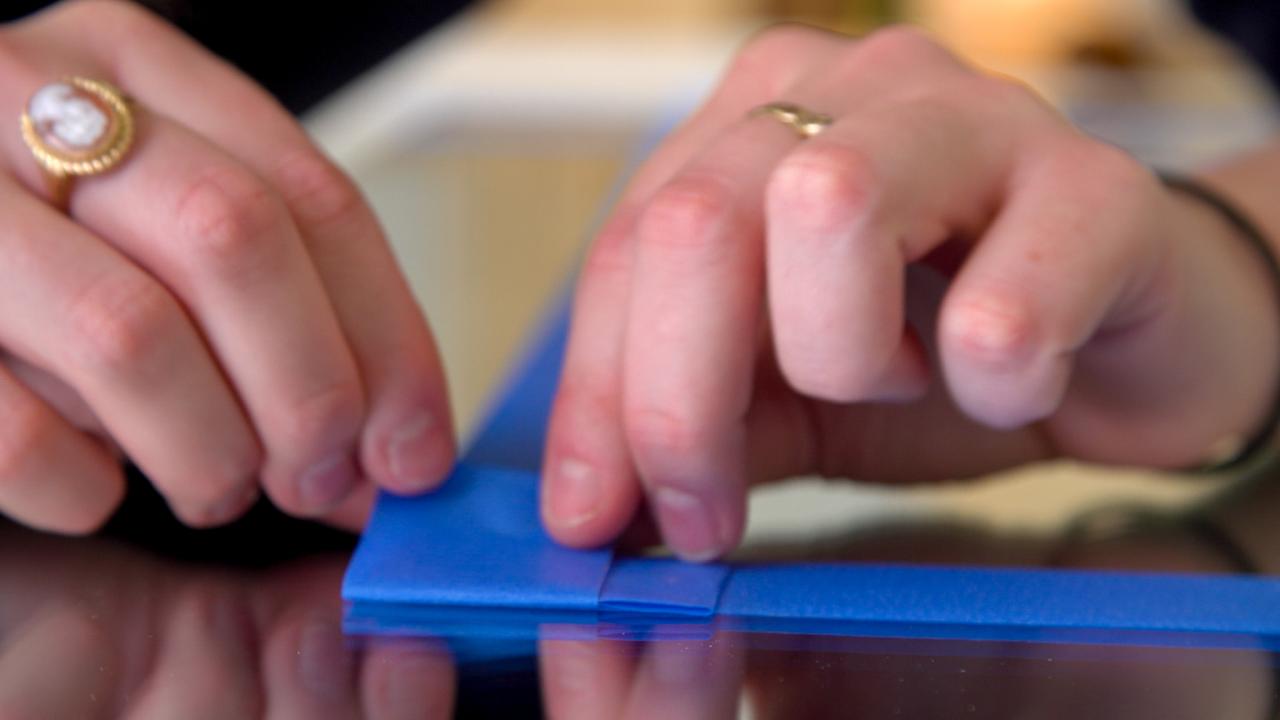
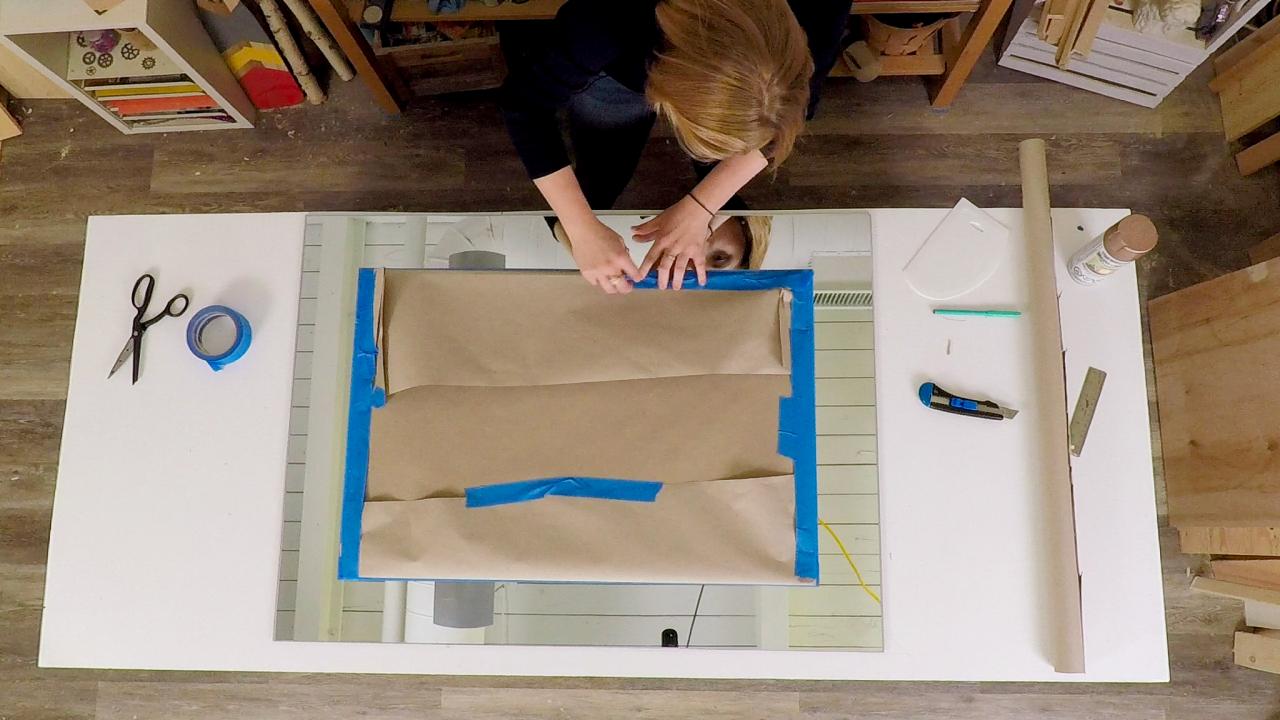
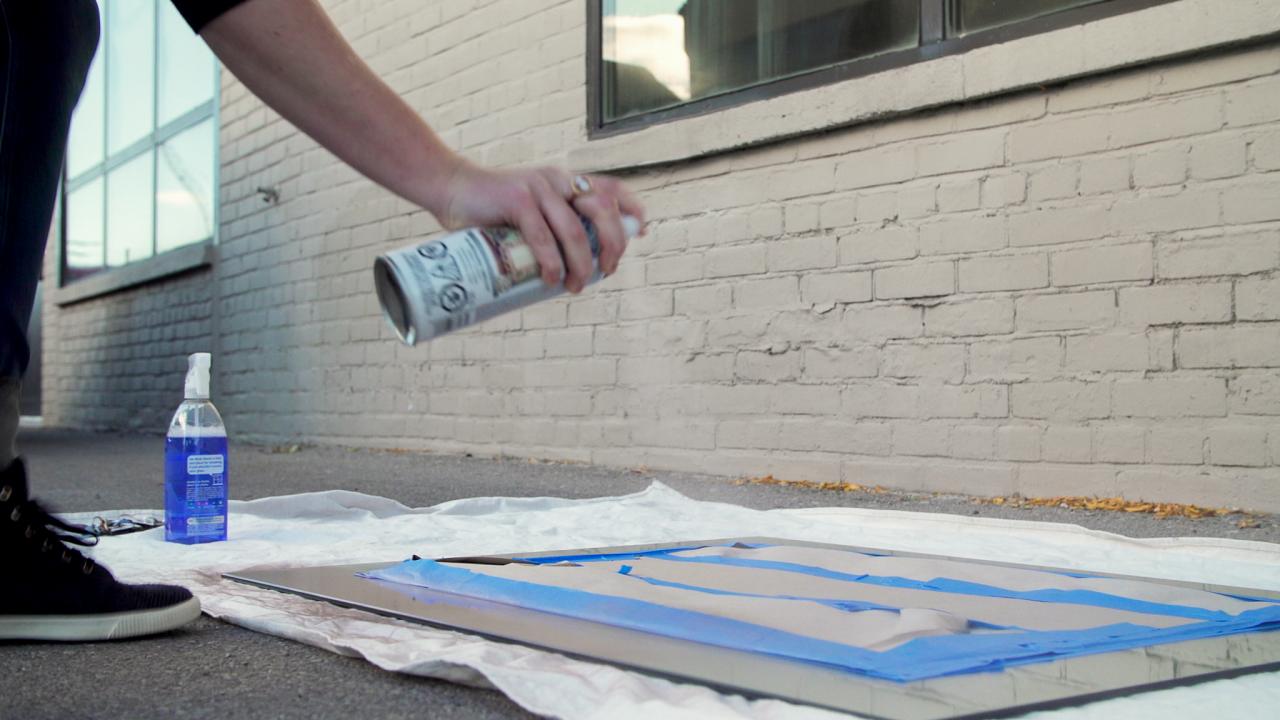
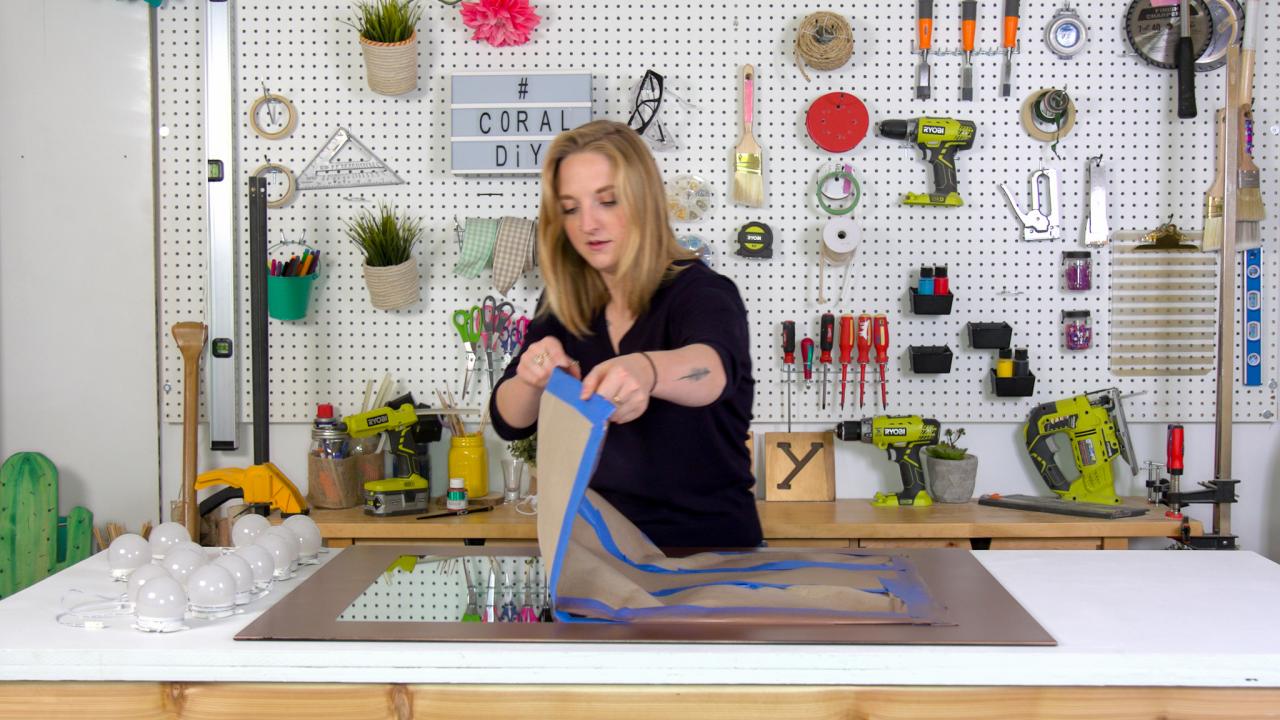
Use a ruler to measure a 4-inch border around the frameless mirror and mark with a mirror-safe marker. Using painter’s tape, create a square border inside the mirror, following the marks created with the mirror-safe marker (Images 1 and 2). Cover the inside mirror using craft paper, making sure there are no exposed areas showing (Image 3). In a well-ventilated space, carefully spray paint the exposed mirror in short, light strokes (Image 4). Cover until you are happy with the look and, once dry, cover the border with a clear coat spray. This will help add extra protection from everyday wear and tear. Once the clear coat has dried, remove tape and paper (Image 5).
RTR Media

RTR Media

RTR Media

RTR Media

RTR Media
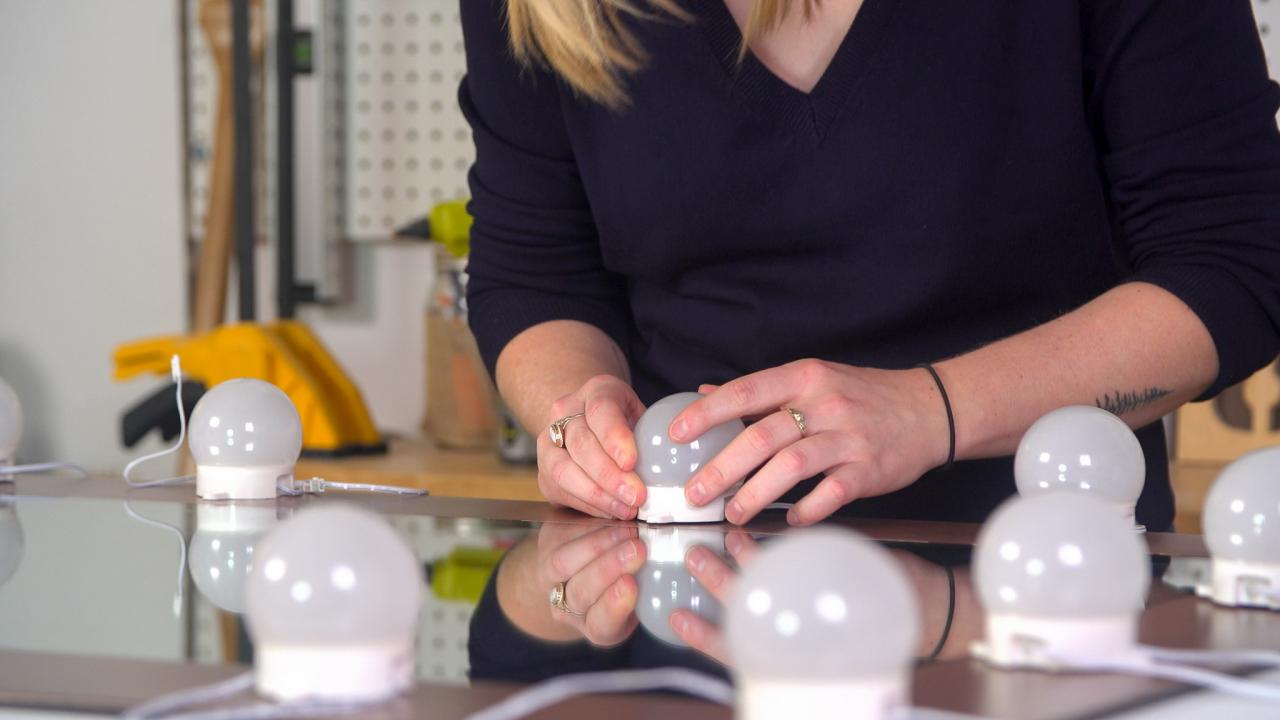
Attach Lighting
Determine where you want to place your lights and how many will fit the mirror. Peel and stick the vanity lights evenly around the frame, making sure the exposed cords are facing outward (Image 1). Once all the lights are attached, simply pull the excess cord to the back side of the mirror and secure with tape (Image 2).

RTR Media

RTR Media
Stamped Paper: Materials Needed
- small wood block
- linoleum cutter
- stamp carving block
- roll of white paper
- rose gold inkpad
- moon icon printout
- transfer paper
- hot glue gun + sticks
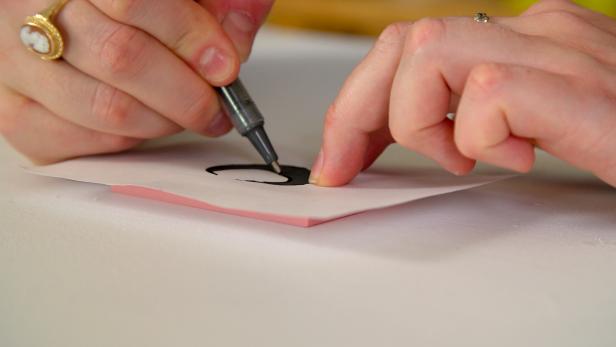
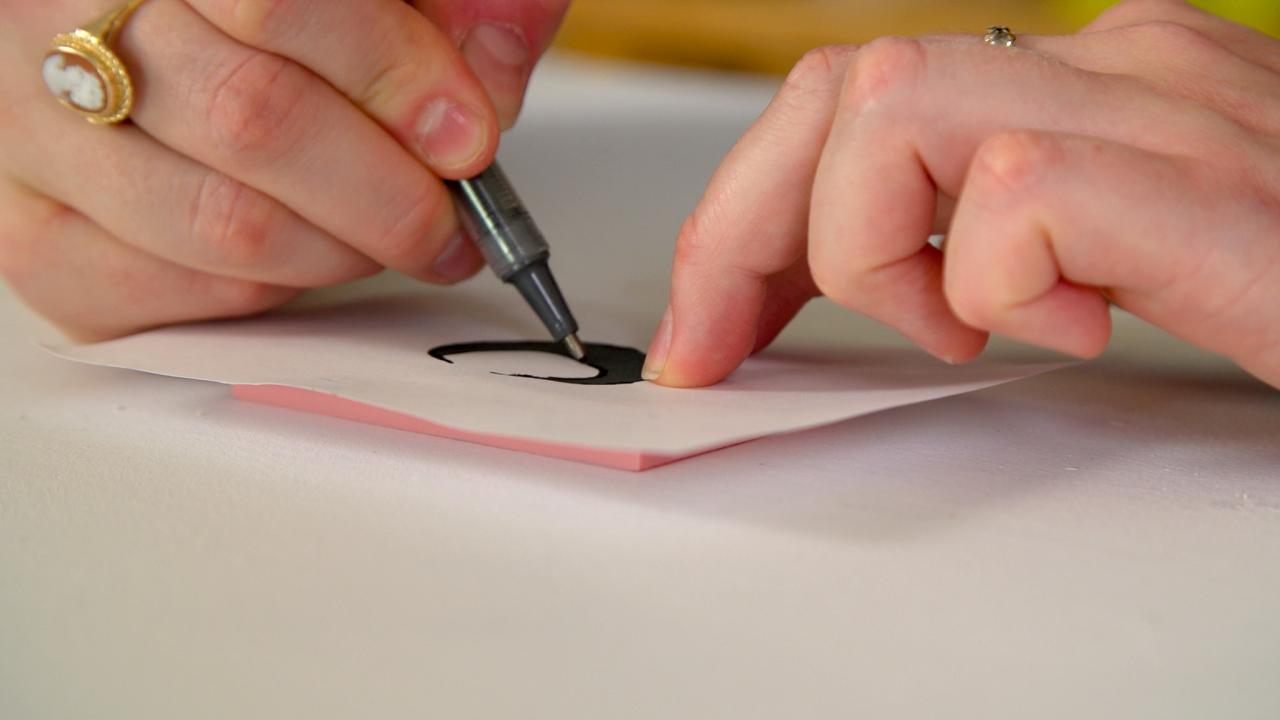
Design Stamp
If you own a desk with a glass top that sits on the wood top, a simple way to add some personality and flair is to add a piece of wallpaper or stamped paper under the glass. To do so, print or draw your stamp design to the desired size. For this project, we used a moon icon. Place a piece of transfer paper between the print-out and the stamp carving block and trace over the design.
RTR Media
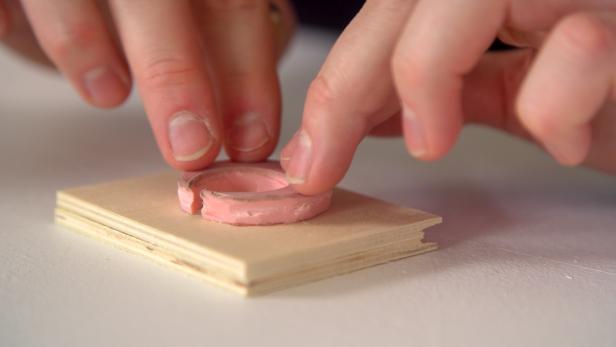
Cut Stamp
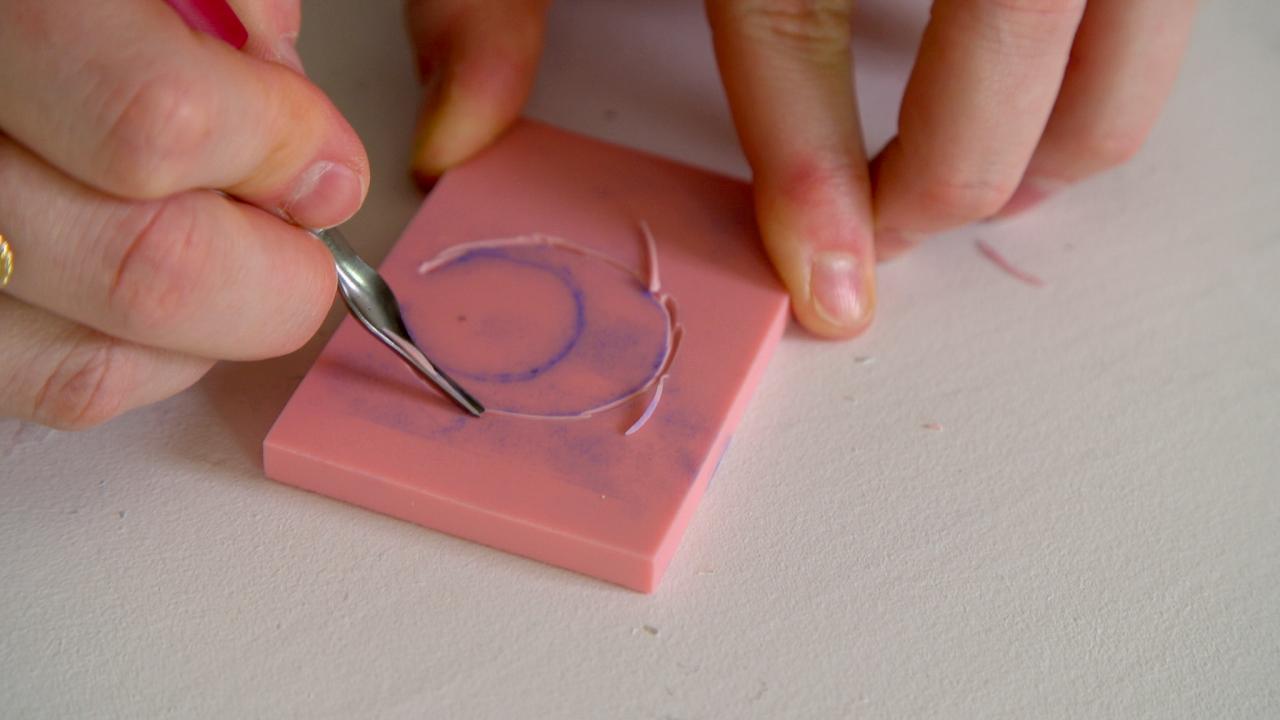
Using a lino cutter, carefully carve away the block material from the design (Image 1). Start with the smallest blade for the detailed work and a bigger blade to knock out the rest. All you need left is the raised design that will be the stamp. Hot glue the rubber stamp to a scrap piece of wood (Image 2). This will make it easier to hold and sturdier so you can reuse the stamp for other projects.

RTR Media
RTR Media
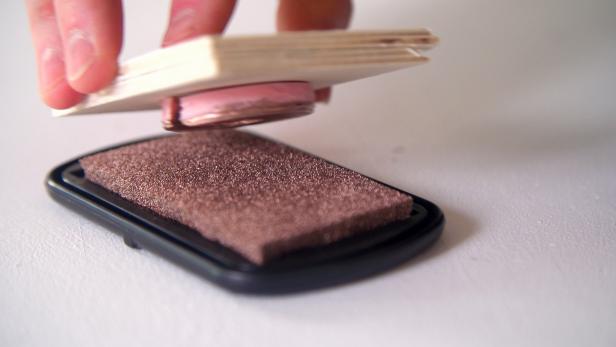
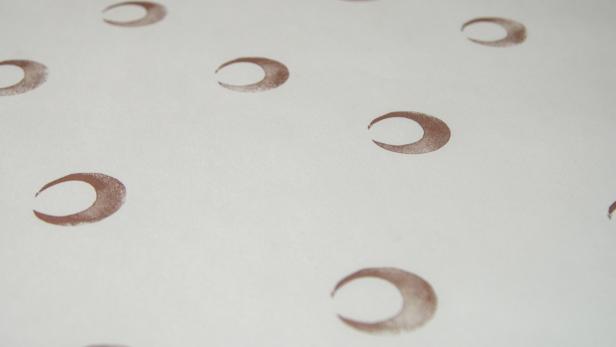
Stamp Paper
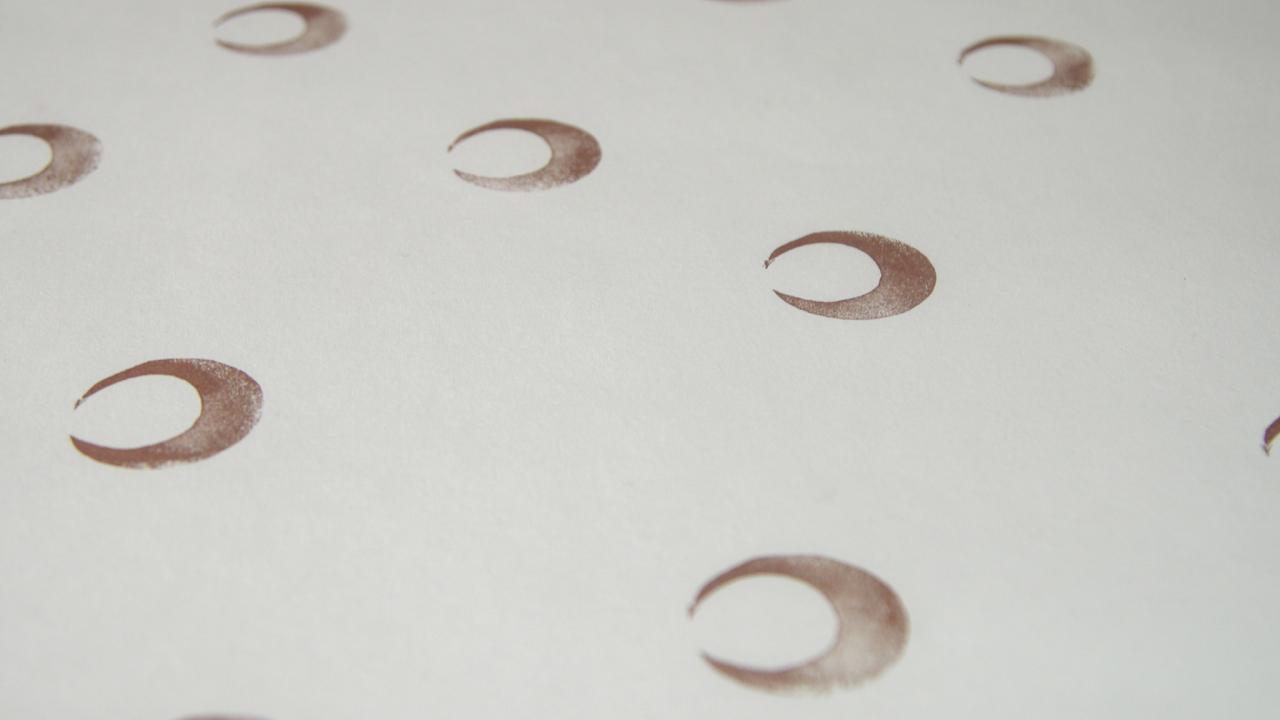
Measure and cut the roll of white paper to the size of your desktop. Using an ink pad in rose gold, stamp any pattern you wish onto the paper (Images 1 and 2). Stamps are not perfect, so embrace the uneven shapes you make as part of the design.
RTR Media
RTR Media
Makeup Organizers: Materials Needed
- dollar store makeup organizers
- rose gold spray paint
- 300-grit sandpaper
- clear coat spray paint
- drop cloth
Sand Organizers
Create your very own color-coordinated makeup organizers out of dollar store organizers and rose gold spray paint. Begin by lightly sanding the surfaces with 300-grit sandpaper. The idea is to rough up the surfaces (just a little) so that your spray paint has something to grab on to.
Paint Organizers
Prep your organizers by taping off any areas you don’t want painted and arranging them on a drop cloth or piece of scrap paper. Evenly spray paint the organizers until fully covered. Remember to add light coats from a short distance for the best results. Top with a final clear top coat to make sure the paint is locked in and more durable for everyday use.
RTR Media


