


Create Your Own Party-Perfect Charcuterie + Cheese Board
Whip up an inexpensive wood conditioner and sealant to turn a hardwood board into a foodsafe surface for feeding a crowd.


Photo by: Liz Gray; Styling by H. Camille Smith
Liz Gray; Styling by H. Camille Smith
Materials Needed
3/4" 1'x3' hardwood board (like oak or maple)
1/4 cup natural beeswax
1/2 cup mineral oil
glass measuring cup
fine- and medium-grit sandpaper
2 pull-style handles
screwdriver
jar with lid
paper towels
optional: tackcloth, chalk pencil and chalkboard label
Cut and Sand Board
Have lumber cut at the hardware store or cut it yourself to 1’ x 3’. Starting with medium-grit sandpaper and working down to fine-grit, thoroughly sand board to create a smooth surface. Use a tackcloth or damp paper towels to remove sanding grit.

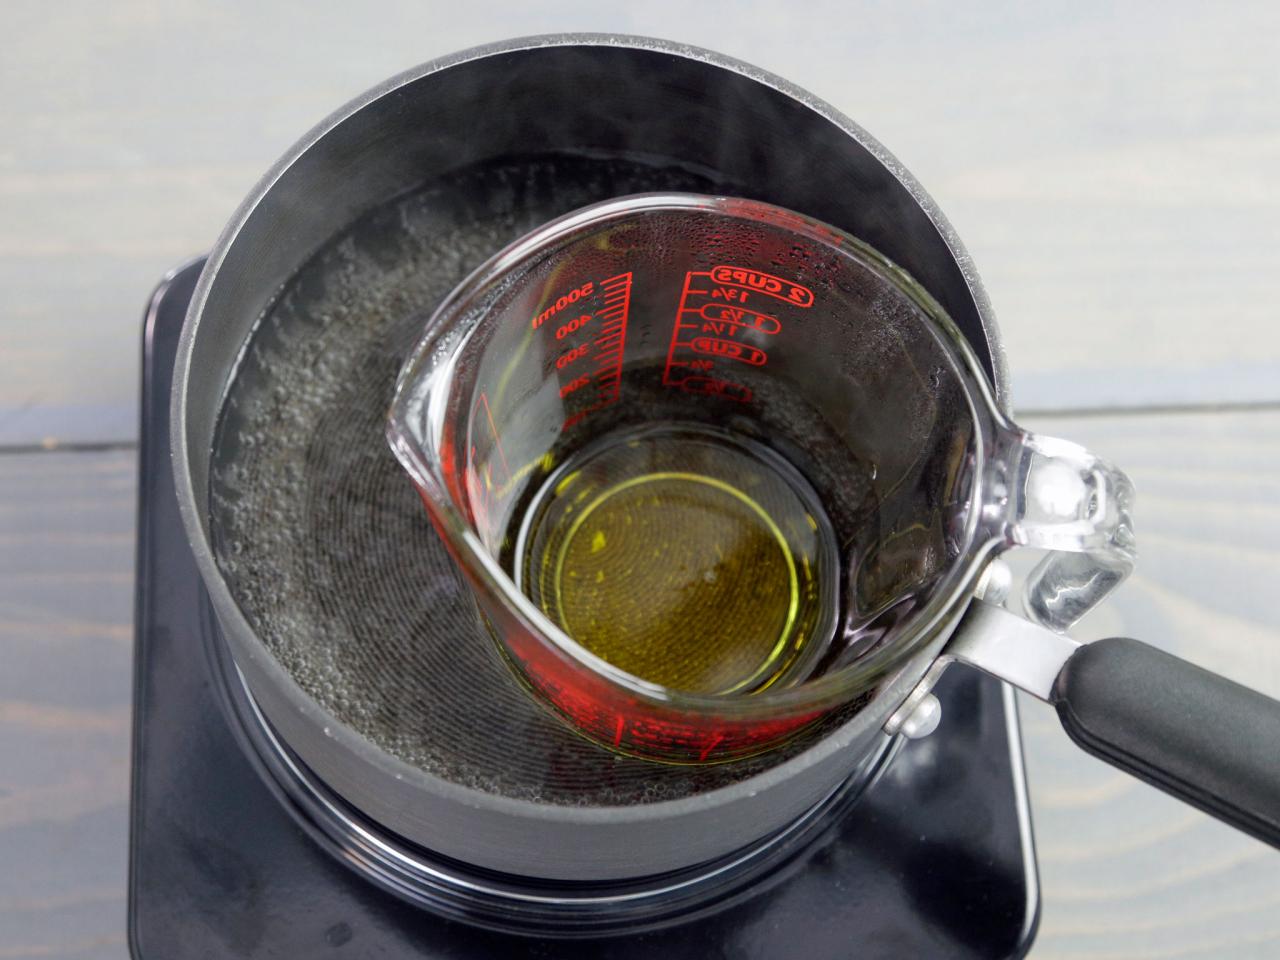
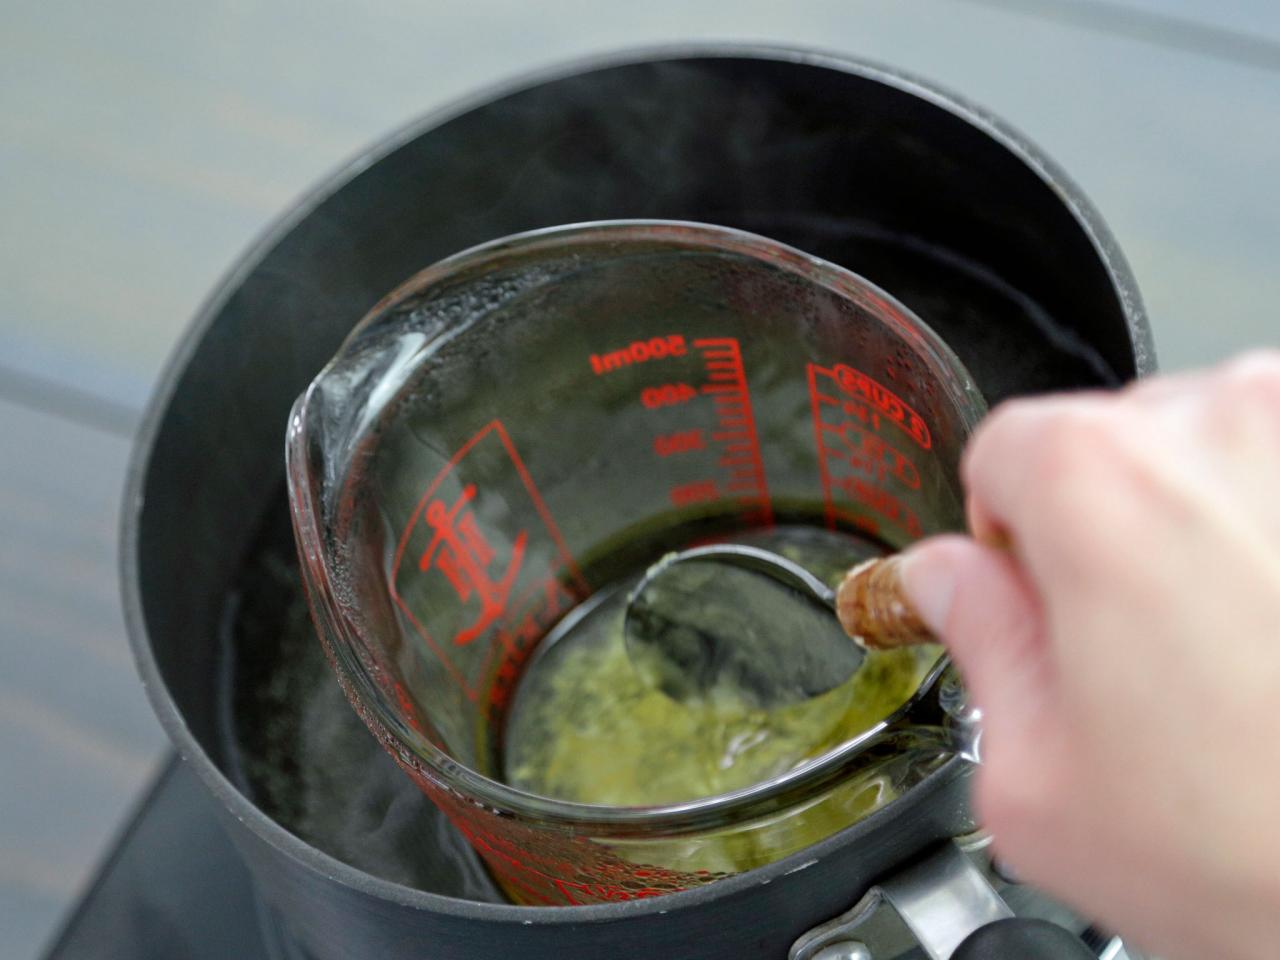
Melt Beeswax
Fill a small pot about half-full with water and place on the stove. Heat water over med-high heat, bringing it almost to a boil. Place 1/4 cup raw beeswax in glass measuring cup, and add to pot. Slowly melt beeswax.

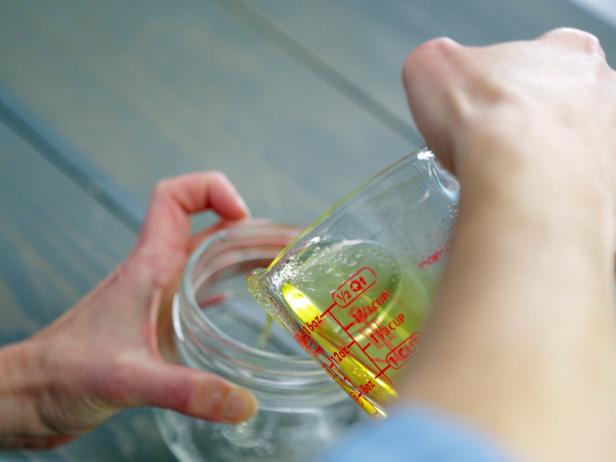
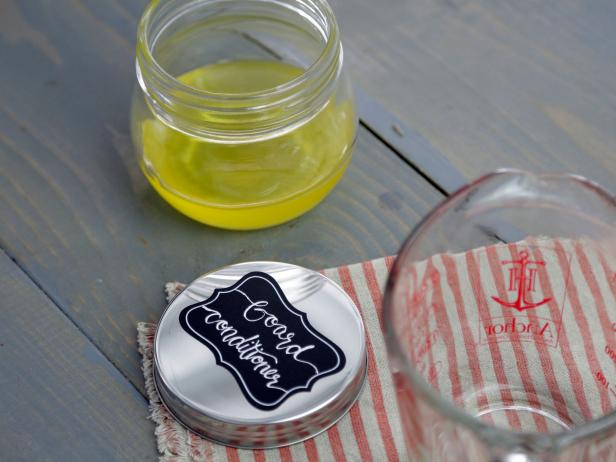
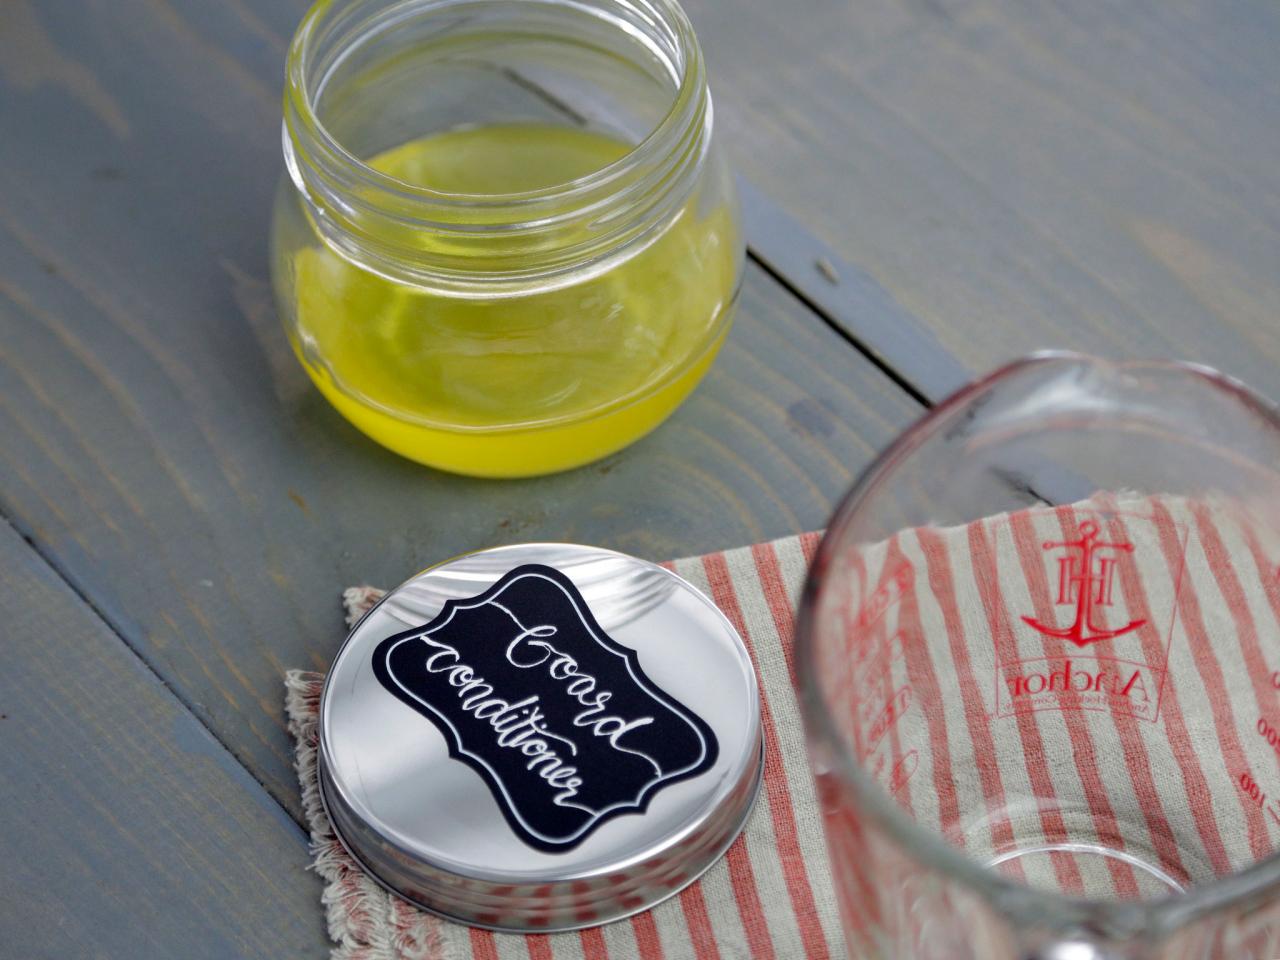
Make Board Conditioner
Add 1/2 cup of mineral oil to the melted wax; the mixture will become cloudy and bits of melted wax will start to solidify. Allow oil and beeswax mixture to once again thoroughly melt, stirring to ensure the ingredients are well combined (Image 1). Remove glass measuring cup from heat and pour mixture into a wide-mouth jar (Image 2). Optional: Use a chalk pencil and self-adhesive chalkboard tag to create a handy label (Image 3). Allow mixture to cool and your board conditioner is ready to use.

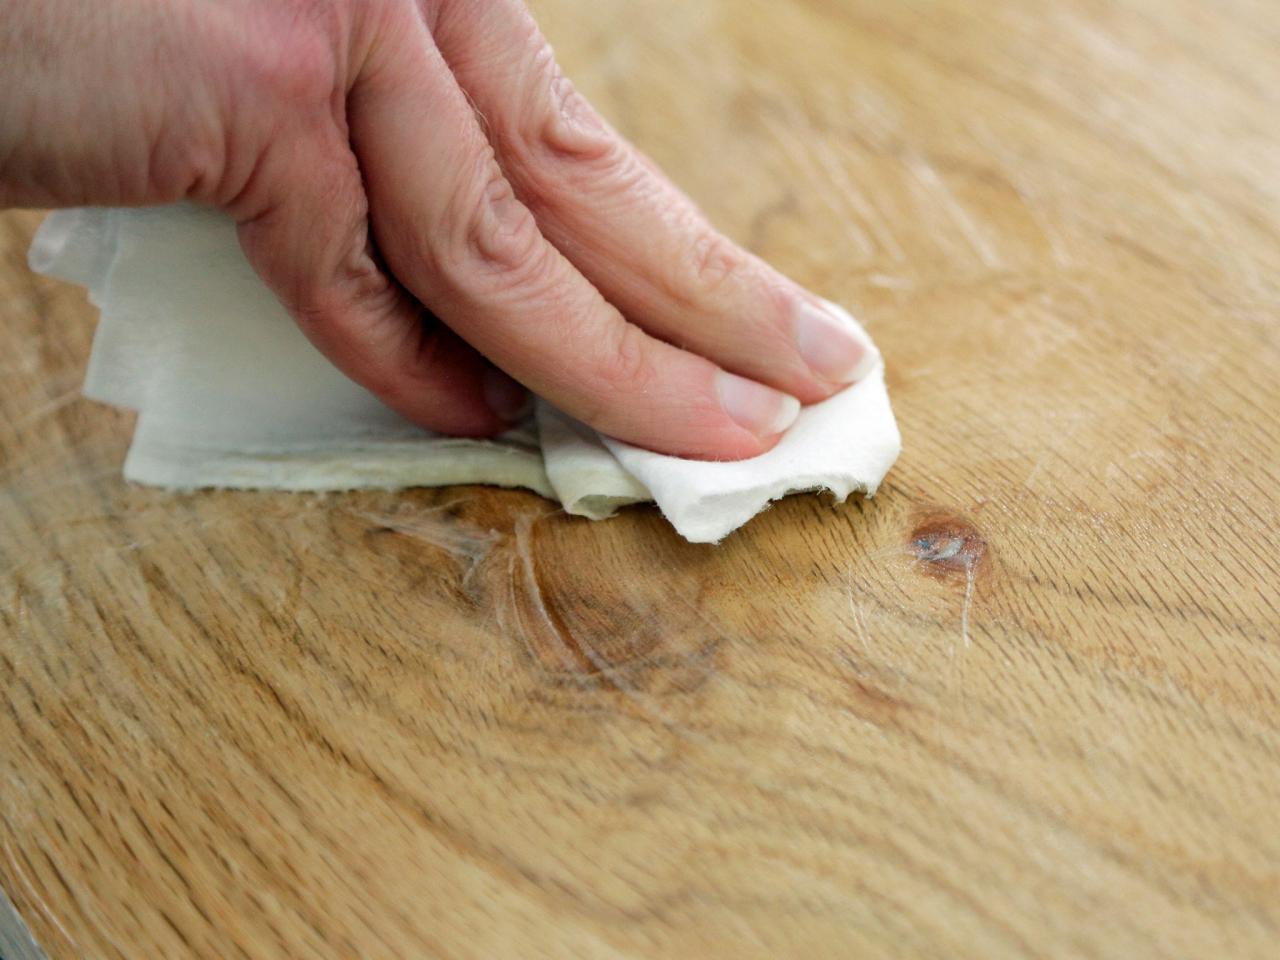
Apply Board Conditioner
Load up a paper towel with a generous amount of the board conditioner. Working with the grain, really rub it into the wood (Images 1 and 2). Be sure to cover not just the face of the board but also the sides and back. Set the board aside on a clean paper towel for an hour or so to allow the wood to really soak in the oils, then gently buff off any excess. Your newly conditioned board should be a bit darker and have a light sheen. Tip: The board conditioner is also great for restoring any dried-out wooden kitchen items like dough bowls or long-handled spoons. It's also a treat for your hands.


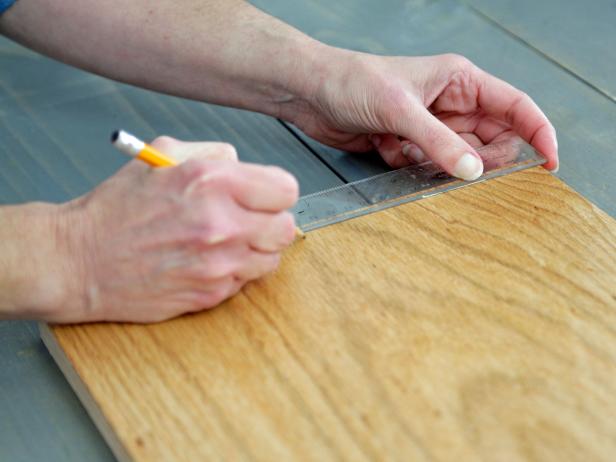
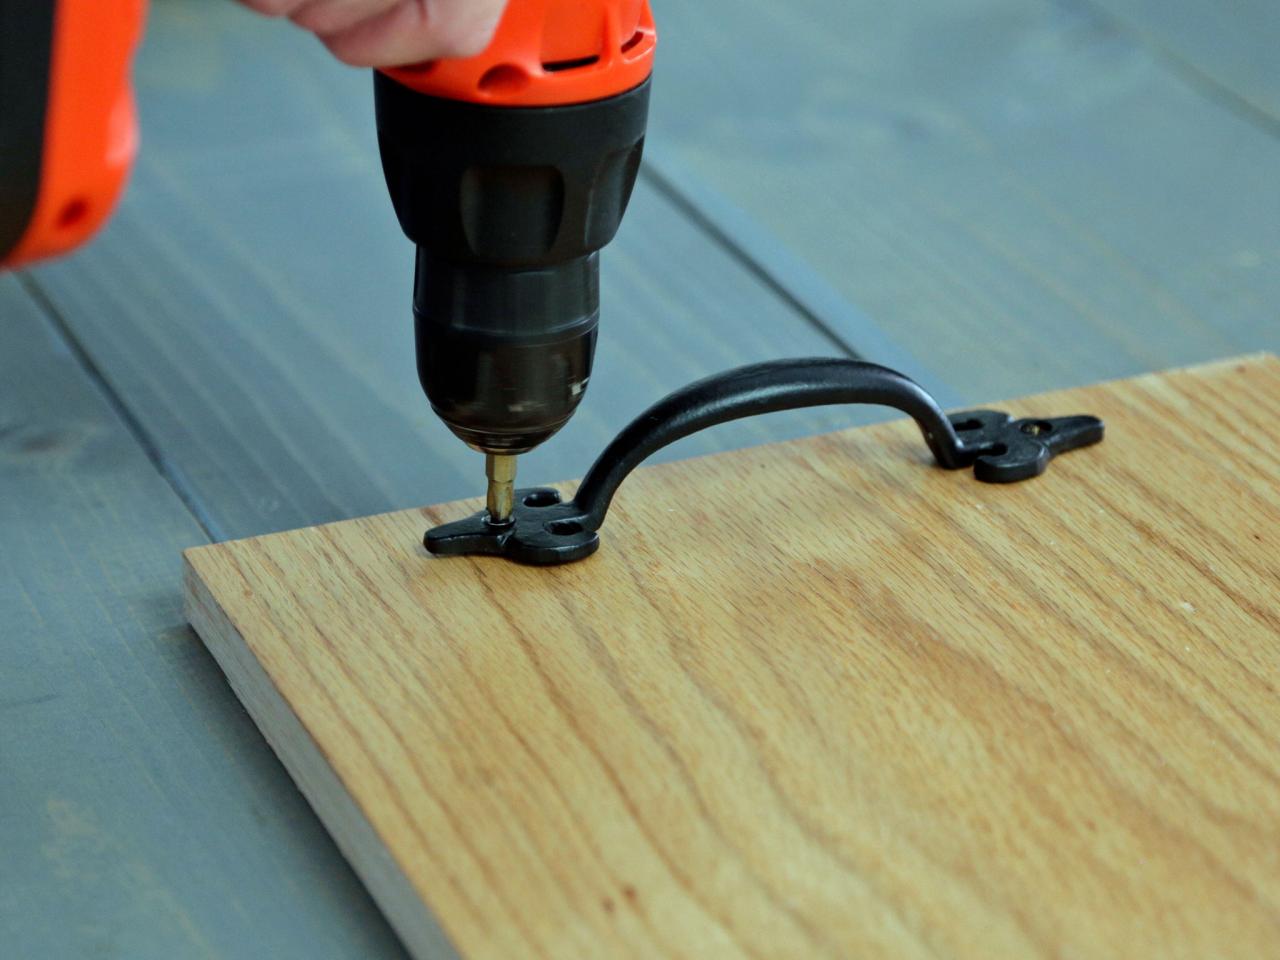
Add Handles
Using a ruler and pencil, note the center of each end of the board (Image 1), then attach handles (Image 2).

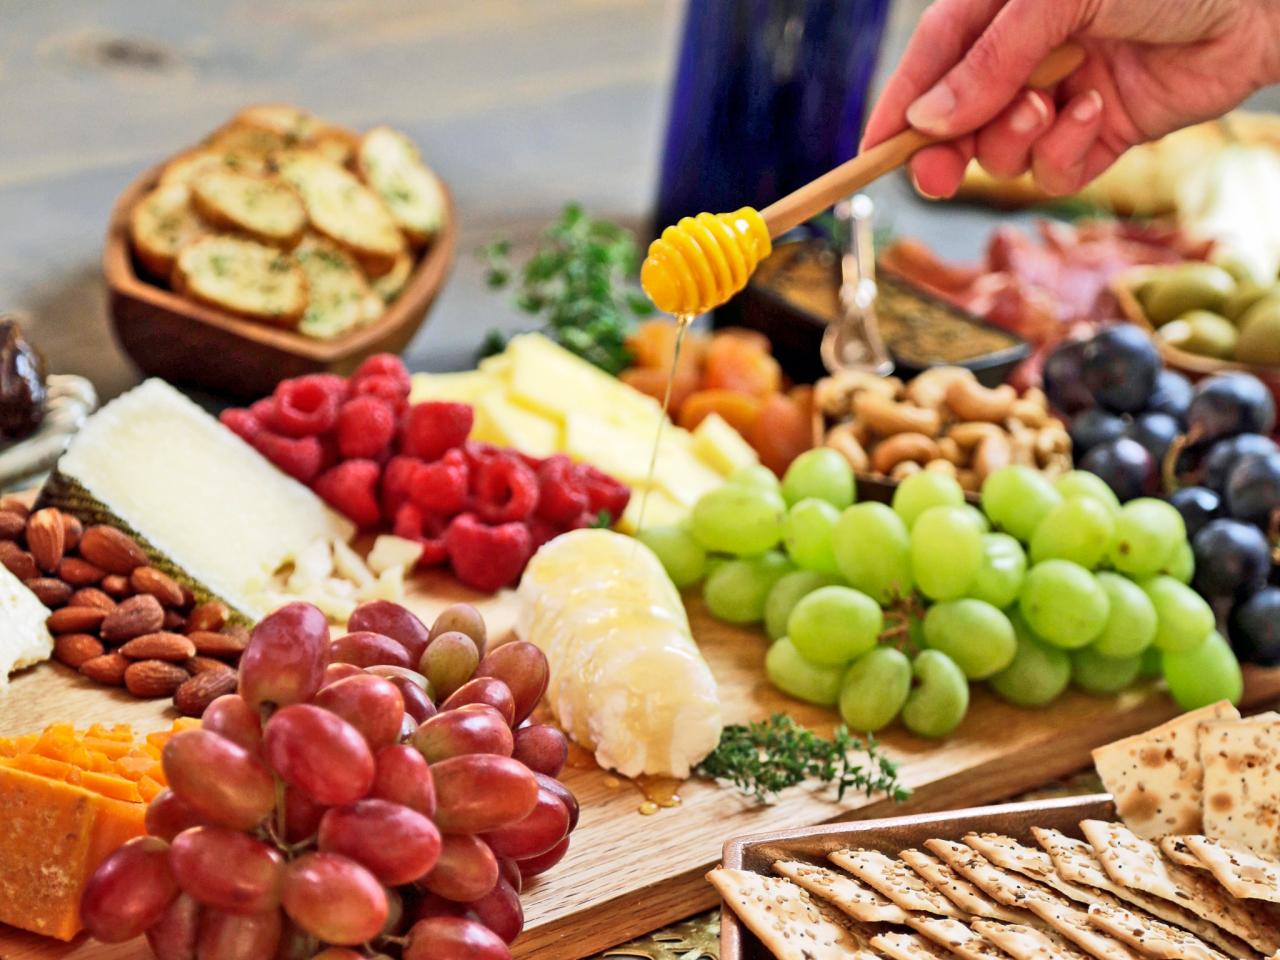
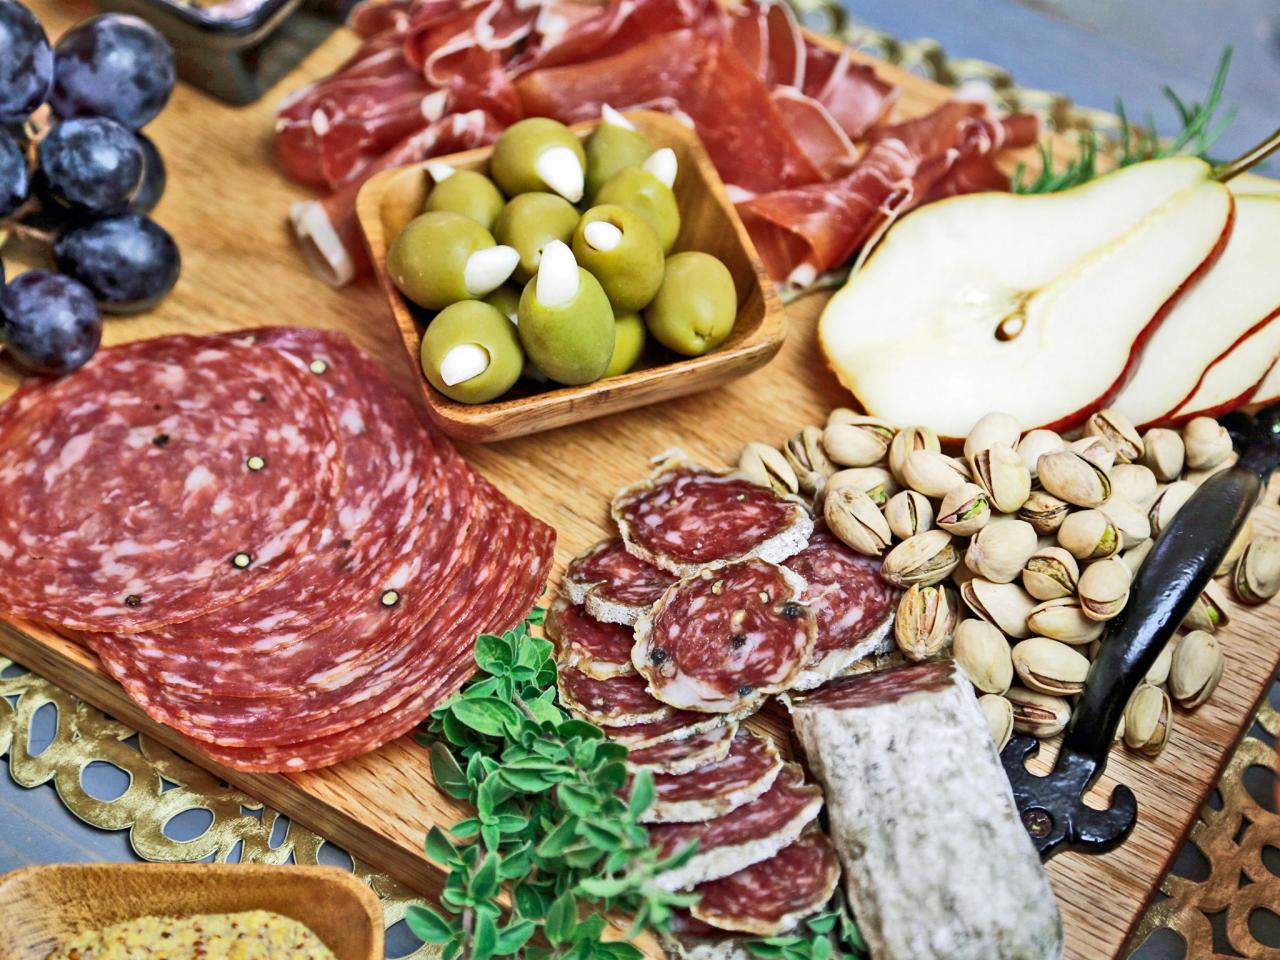
Get Ready to Party
Pile your board high with a selection of meats, cheeses, fruit and nuts to feed a crowd (Images 1 and 2). Not sure which foods you need? Get our tips for setting an epic spread.

Liz Gray; Styling by H. Camille Smith

Liz Gray; Styling by H. Camille Smith
Photo By: Liz Gray; Styling by H. Camille Smith
Photo By: Liz Gray; Styling by H. Camille Smith


