


How-To: Multi-Striped Dresser

Dresser Painted With Cheerful Stripes
Update your plain dresser with cheerful stripes, as HGTV Magazine did here. Use up leftover paint from previous DIYs or buy affordable sample-sized containers.
Photo by: J. Aaron Greene
J. Aaron Greene

Materials Needed:
- screwdriver
- 4" foam roller
- measuring tape
- pencil
- delicate-surface painter’s tape
- utility knife
- 1" paintbrush
- paper cups
- paint (base color and stripe colors used above can be found in steps 1 and 4)
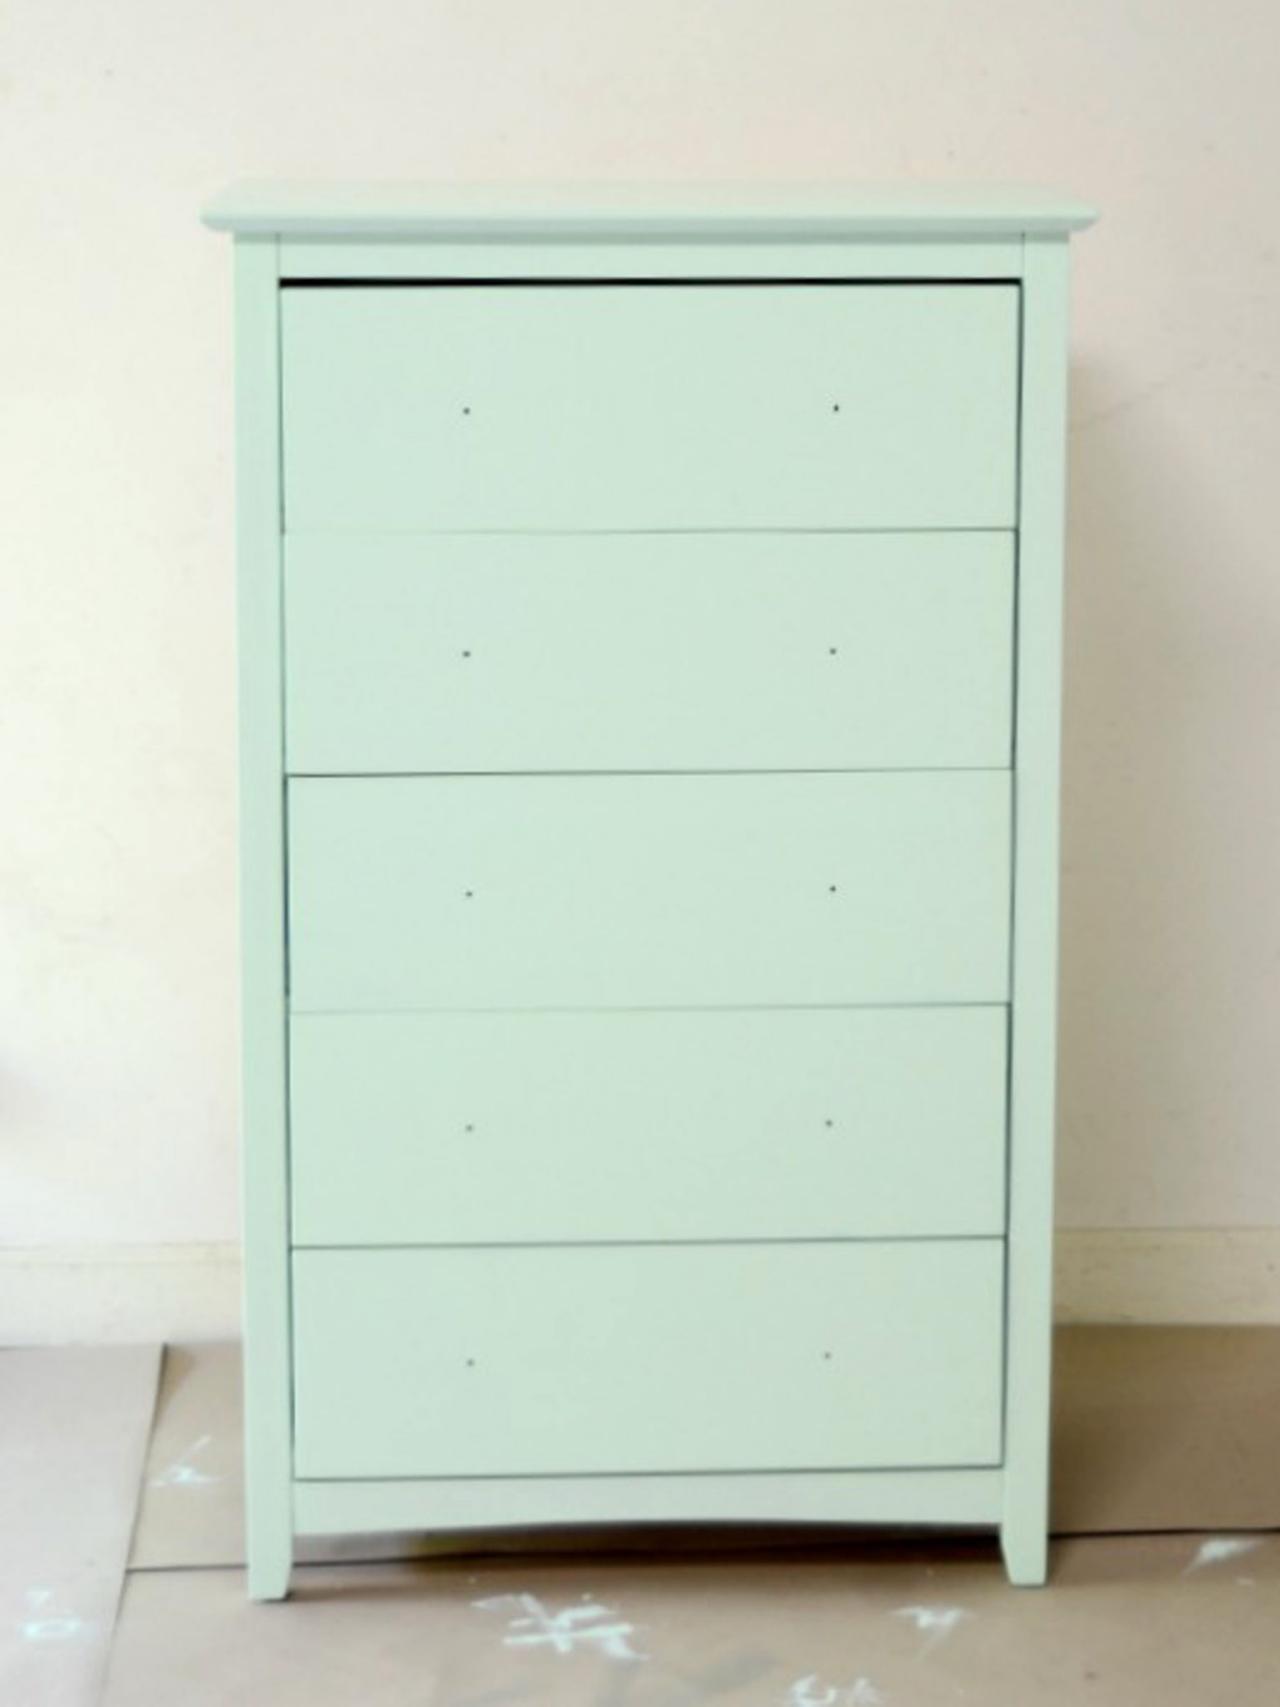
Step 1
Remove the drawers and unscrew the knobs. Use a small roller to paint the drawer fronts and the entire frame with one color of latex paint. Let dry, then slide the drawers back into the dresser. (Base color: Mantis Green by Benjamin Moore)

HGMAG014_Dresser-Stripes-Process-2-3x4
Photo by: Barb Blair
Barb Blair
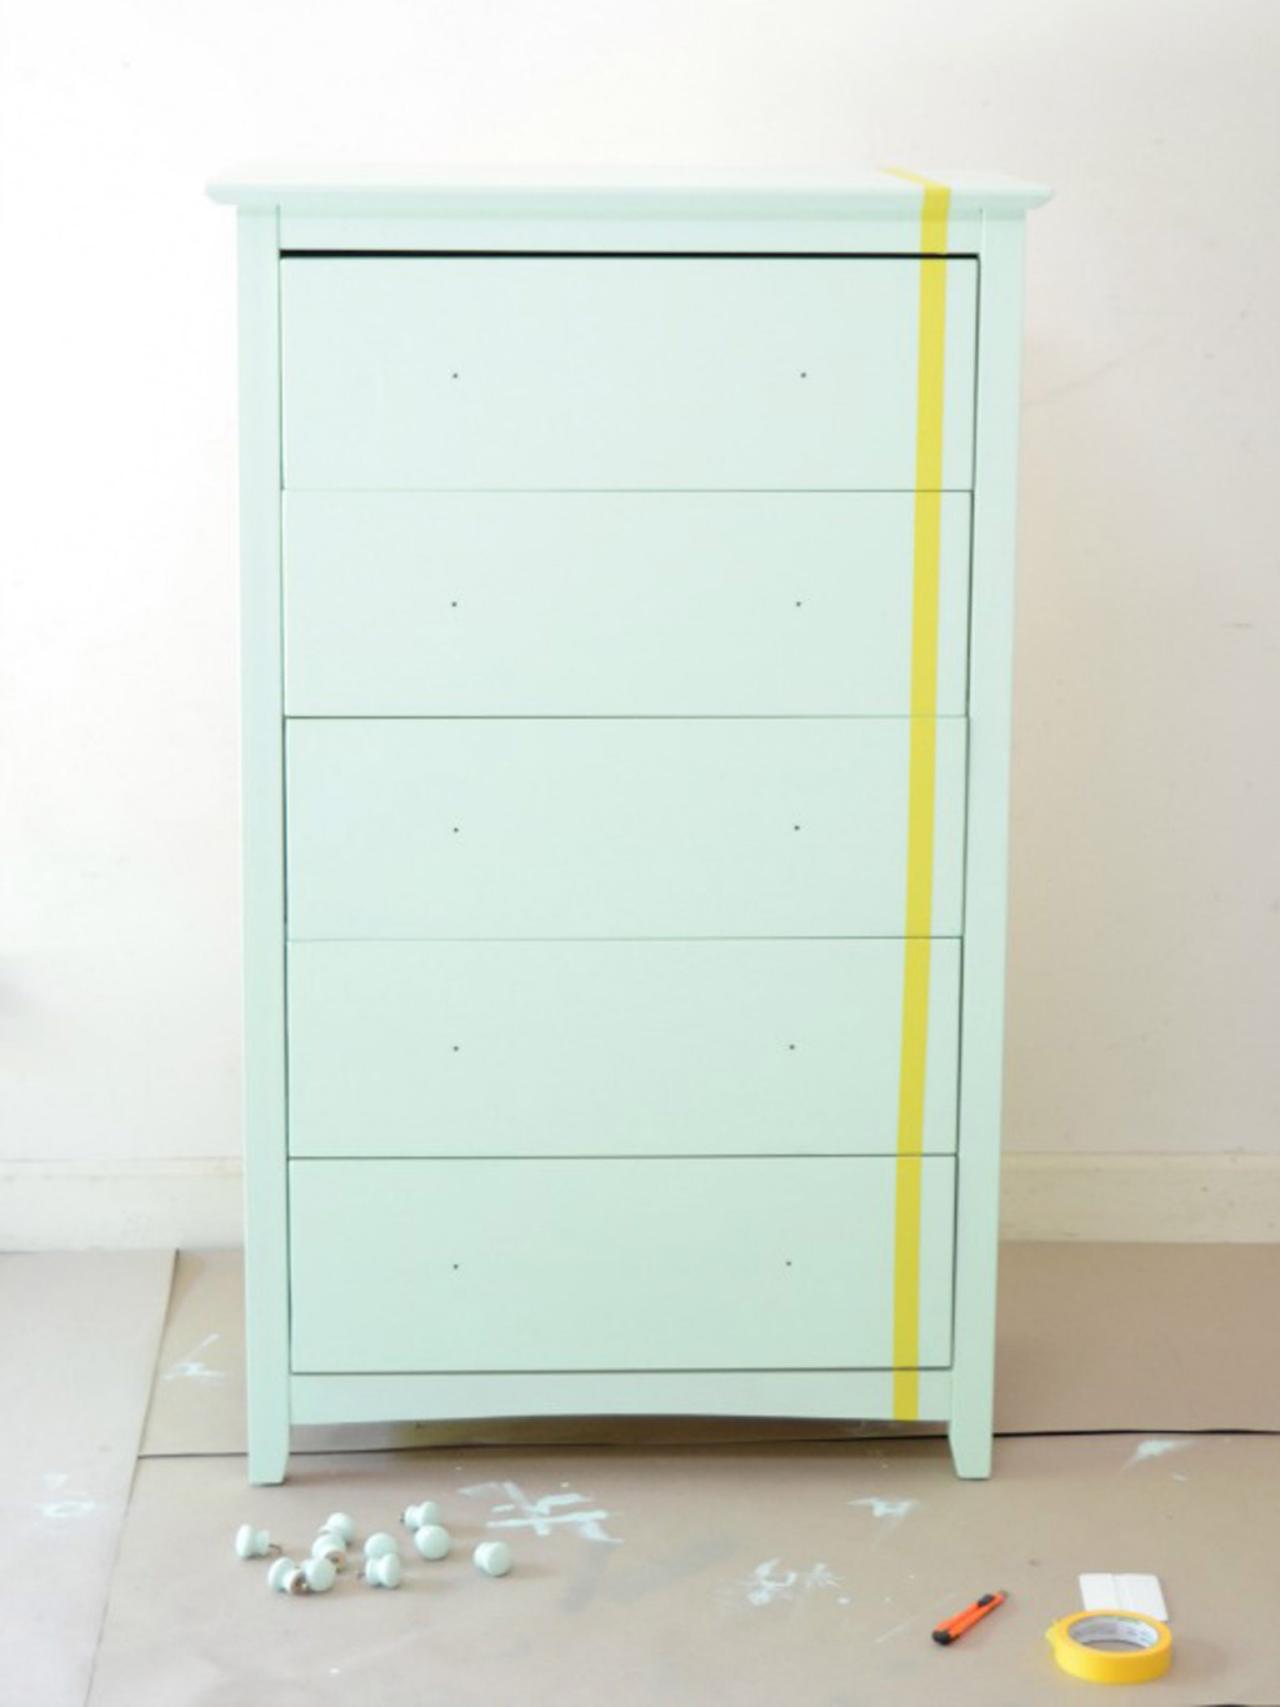
Step 2
Tape off your first stripe: To make sure it’s straight, use a measuring tape to make pencil marks every few inches, starting at the back of the dresser’s top and working down the front. Apply delicate-surface painter’s tape along those marks. Repeat with another piece of tape, running it parallel to the first piece. Use a utility knife to slice the tape between the drawers, pressing down the edges.

HGMAG014_Dresser-Stripes-Process-3-3x4
Photo by: Barb Blair
Barb Blair
Step 3
Paint the first stripe with a brush. Peel off the tape while the paint is still wet. While the stripe dries, tape off and paint another one a few inches away.

HGMAG014_Dresser-Stripes-Process-4-4x3
Photo by: Barb Blair
Barb Blair
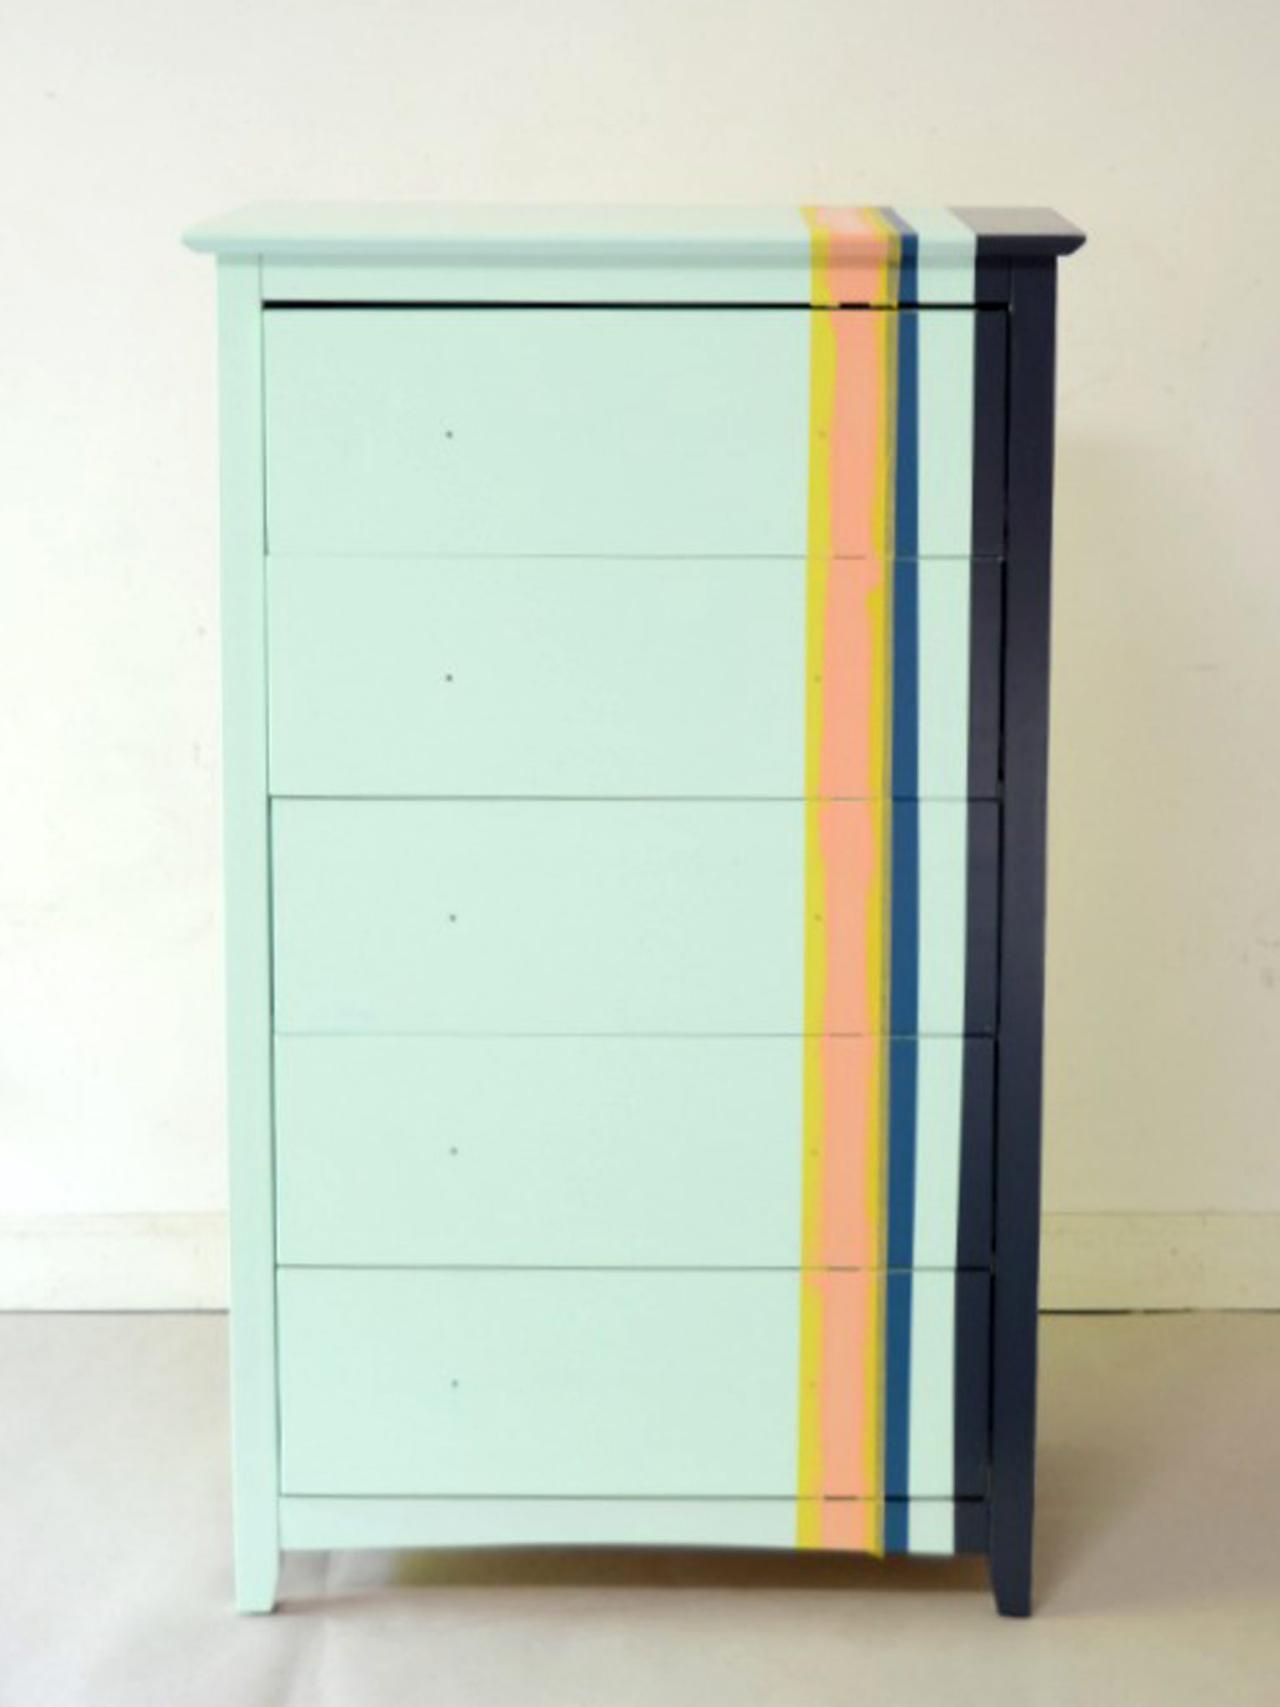
Step 4
Repeat with as many stripes as you want, eyeballing the distance between each one. You can even paint thin stripes over wide ones — just make sure the first coat is dry before applying tape. (Stripe colors: Deep Carnation by Benjamin Moore, Buttered Sweet Corn by Glidden, Lunch Bag by Martha Stewart Living Paint, Blue Danube by Benjamin Moore, Nancy’s Blushes by Farrow & Ball, Holly Leaf by Martha Stewart Living Paint, Hale Navy by Benjamin Moore)

HGMAG014_Dresser-Stripes-Process-5-3x4
Photo by: Barb Blair
Barb Blair
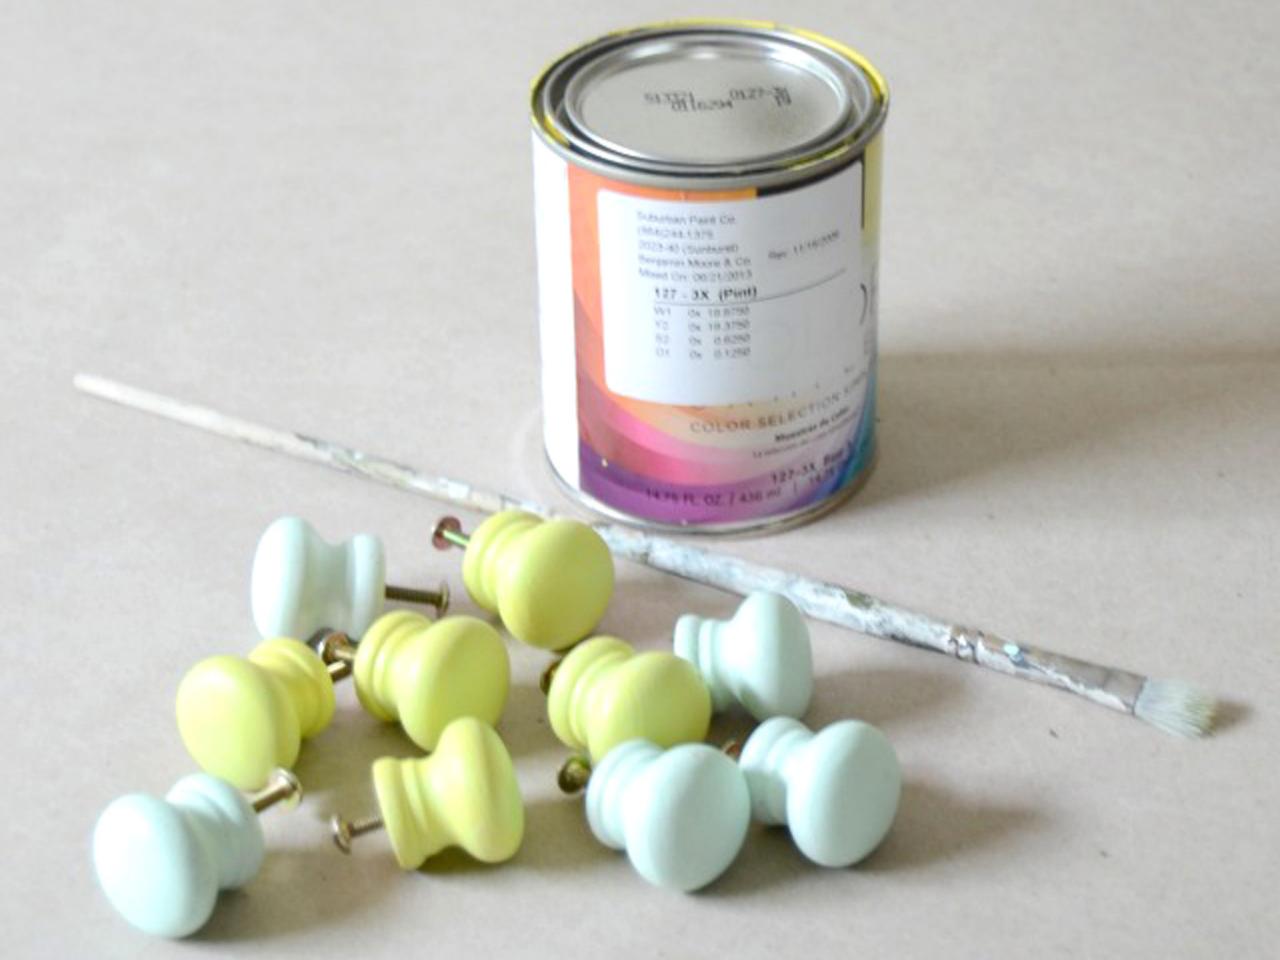
Step 5
Place paper cups upside down and poke the drawer knobs through the tops to hold them in place. Paint each knob the same color as the stripe it matches up with on the dresser. Let dry, then screw them back in.

HGMAG014_Dresser-Stripes-Process-6-4x3
Photo by: Barb Blair
Barb Blair


