


How to Paint a Tile Backsplash
Give your kitchen a facelift this weekend with a little elbow grease, some 220-grit sand paper and a lot of epoxy paint. Find out how to paint a tile backsplash with this step-by-step guide and shop everything you need to get started from our comprehensive materials list.

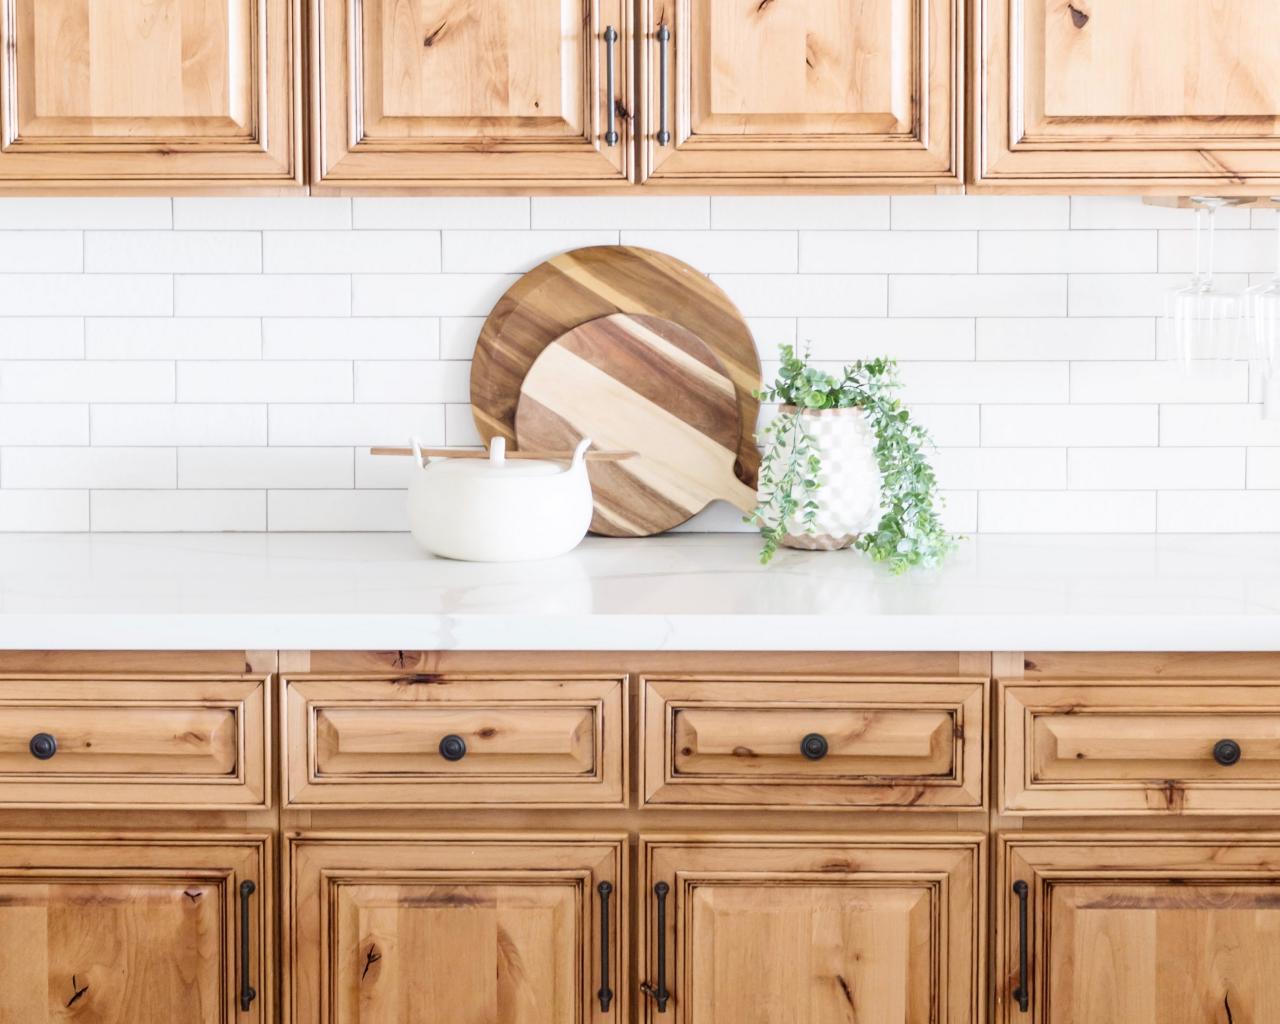
Rustic Kitchen Cabinetry
This rustic, modern kitchen pairs warm wooden cabinets with iron finish, metal hardware for a no fuss look. Crisp quartz countertops flow seamlessly to the white, brick-inspired backsplash.

Photo by: Stephanie Studer @lifecreated
Stephanie Studer @lifecreated

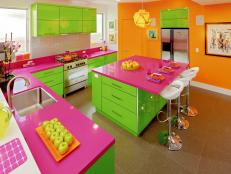
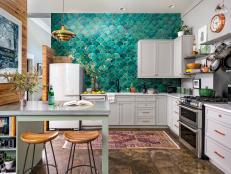
Itching to upgrade your kitchen without breaking the bank? We hear you! Updating your tile backsplash with a fresh coat of paint (after 1-2 coats of primer, of course!) will do wonders to update and transform your space in a weekend or less. This DIY home improvement project is budget-friendly, beginner-friendly and allows you to let your design style shine in your home. Go bold with a moody, unexpected paint color that pops against your kitchen cabinets, or keep it classic and airy with trusty white paint, instead.
Ahead, find our must-have tools and materials, plus tips on how to prepare your kitchen. Oh, and be sure to save this page and follow our in-depth, step-by-step instructions while working on this project at home.
Materials Needed

1. Prep Your Kitchen
We know you’re eager to give your kitchen a much-needed makeover, but resist the urge to pop open your paint pail just yet. The key to achieving long-lasting, pro-quality painted kitchen backsplash tiles? Diligent preparation. Take the extra time to shield your countertops, cupboards and floors from accidental paint splatter with plastic or canvas drop cloths. Use painter’s tape to frame the backsplash border and remove switch plates included within your work area.
2. Clean Your Tile
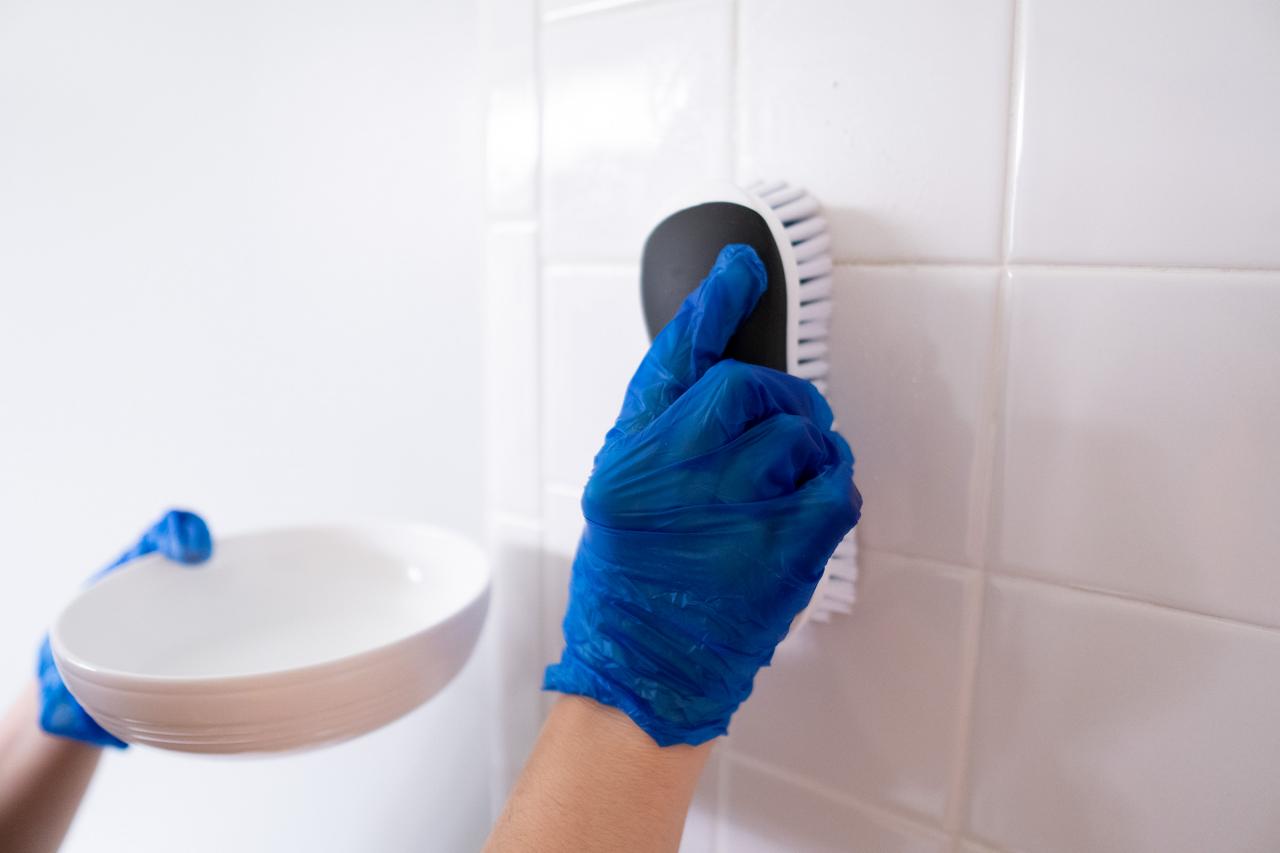
Once your kitchen is draped and taped, it’s time to roll up your sleeves and clean your tile backsplash. It may be tempting to skip this step because paint hides a multitude of sins, but trust us, cleaning is a crucial component for yielding the best results possible. Our suggestion: Slip on rubber gloves and scrub your ceramic tile backsplash with a trisodium phosphate degreaser cleaner. This heavy-duty cleaning agent strips tile of smoke, grease, oil and mildew stains to provide a blank slate for your paint project.

Ryan Reed
Don't skip cleaning your tile backsplash. Cleaning is a crucial component for yielding the best results possible when painting a tile backsplash.
3. Repair Damaged Tile
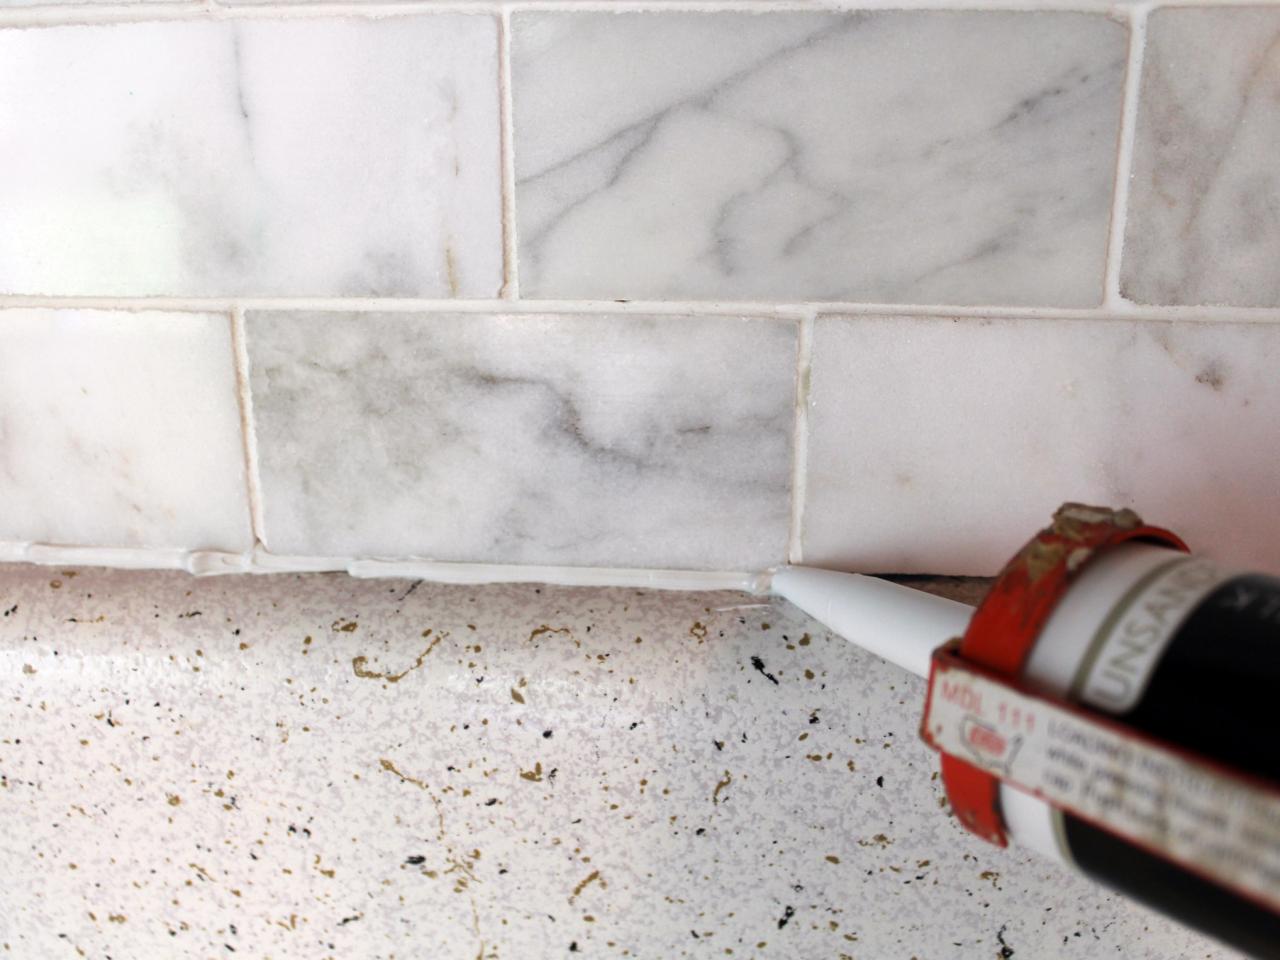
Chances are, you are painting your tile backsplash because it is dated, damaged or both. For this step, assess your tile for hairline cracks or corner chips accumulated over the years. Use a putty knife and apply acrylic caulk to repair imperfections. Acrylic (latex) caulk is our suggestion for tile backsplash repair, because it’s easy to paint and manipulate for repairs. Pro tip: Avoid silicone-based caulks because, although they are water-resistant, they are not paint-friendly and require far more effort (and money) to yield the same results as their acrylic counterpart. Allow the caulk to dry before moving on to the next step.

To repair imperfections in your backsplash before painting, use a putty knife and apply acrylic caulk.
4. Sand Tile
Next on the agenda? Get down to the nitty-gritty of the project — literally — by sanding the backsplash tile surface area. Use 220-grit paper to lightly sand by hand or machine, based on your preference. This step smooths out excess caulk from repairs and removes the existing tile glaze to create a paint-gripping surface. Once sanding is complete, use a wet cloth to remove dust and clean the tile surface before proceeding to prime.
5. Apply Primer
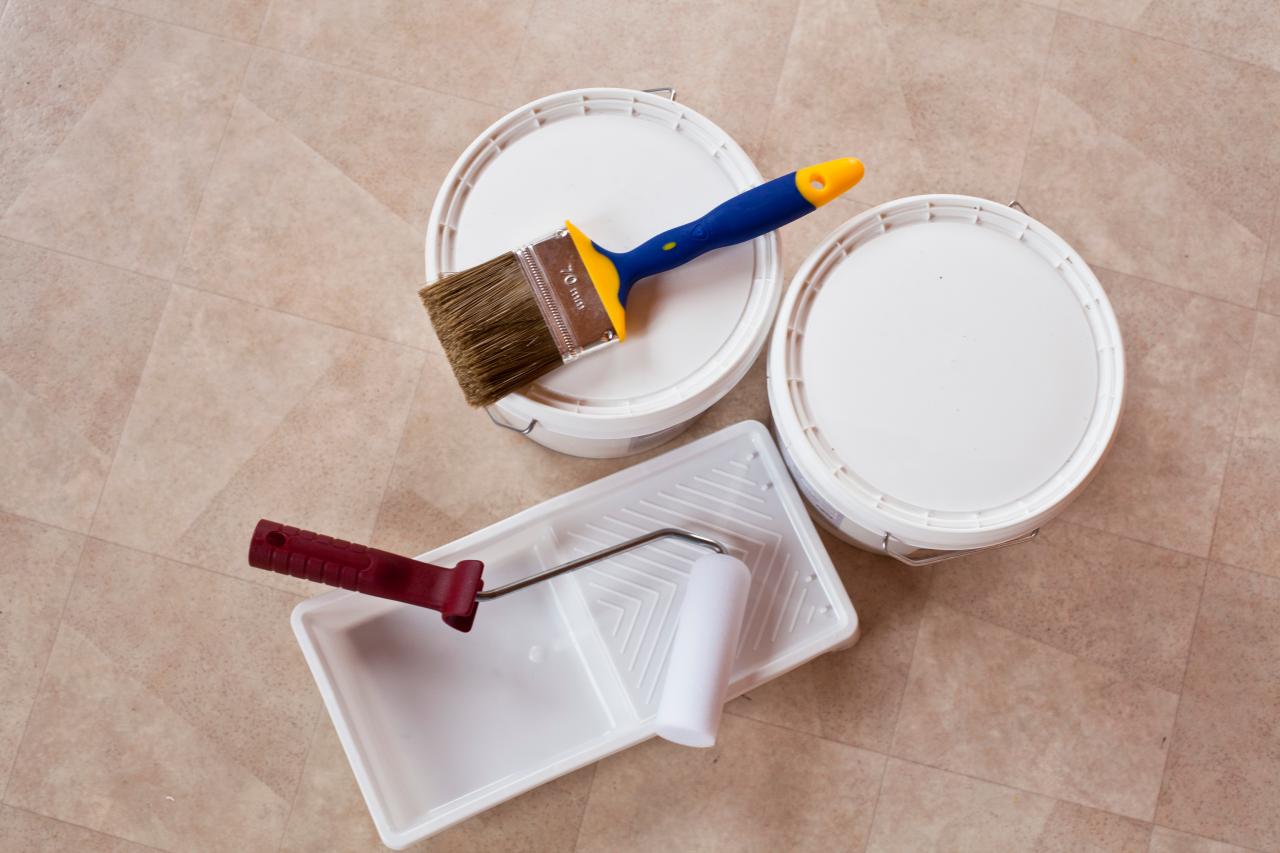
With all your prepping, cleaning and sanding complete, you can finally crack open a pail of paint. Primer paint, to be specific. Use a foam roller or flat paintbrush to apply two or more thin, even layers of white primer to the tile backsplash. Be sure to wait for each layer to dry completely before adding the next coat, as this ensures a uniform canvas for your final step.
6. Apply Epoxy Paint
Now, the final step to your kitchen backsplash makeover: coating your tiles with epoxy paint! The keyword here: epoxy. You must use a tile-specific paint formula to prevent your backsplash from chipping and having uneven results. Tile paints are created to withstand wear and tear and are easier to clean than a traditional wall or furniture paints. Apply the paint in even layers with a foam roller, allowing dry time between each coat until you achieve your desired finish. Our advice? Roll right over the grout. Doing so will save you time and sanity, with equally eye-catching results.

Katja Kircher
Use a tile-specific paint to repaint your tile backsplash as the paints are created to withstand wear and tear, and arr easier to clean than traditional wall or furniture paints.


