


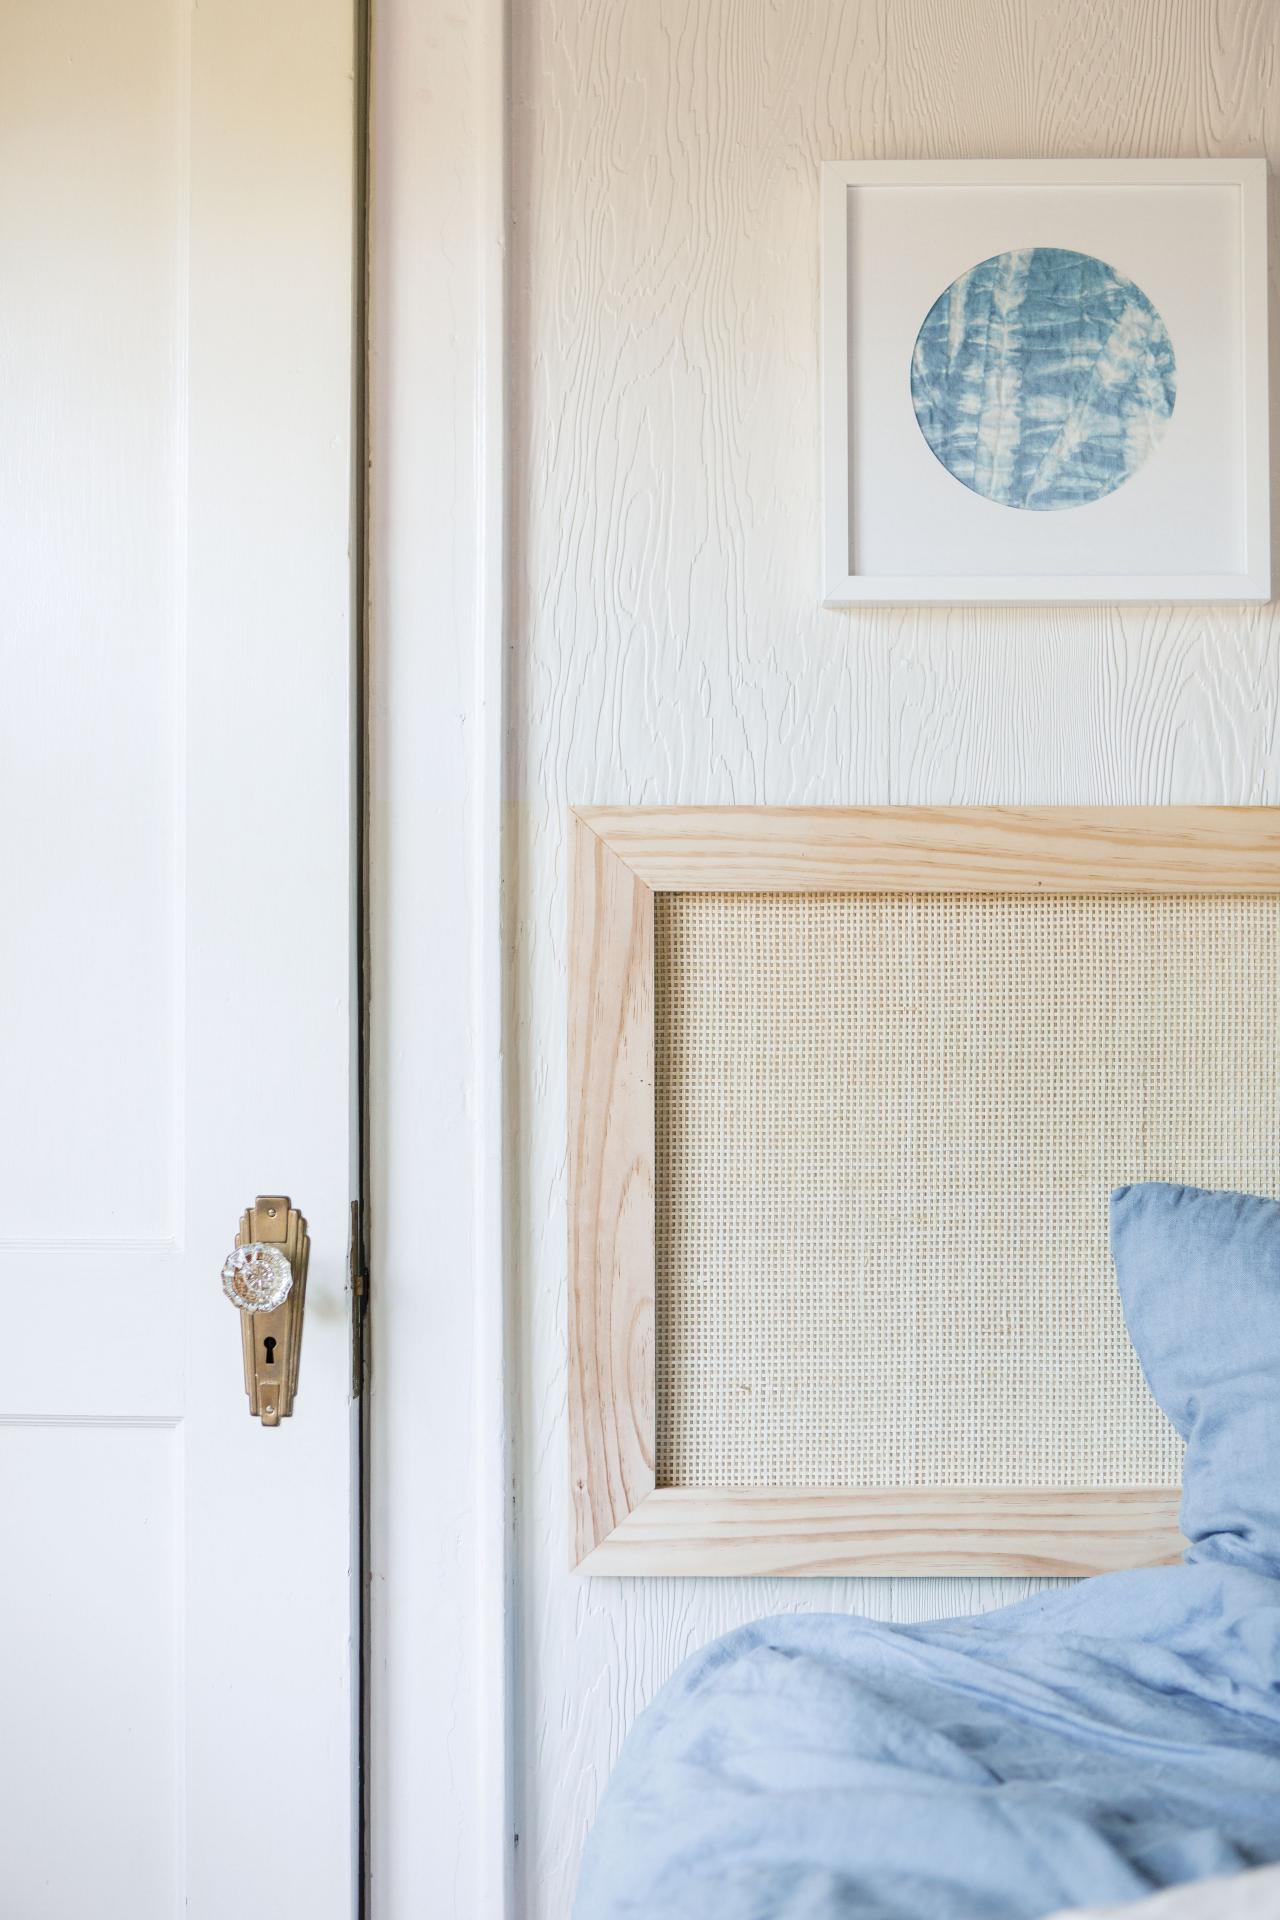
How to Build a Framed Cane Headboard
Breathe freshness into your bedroom with this lightweight, polished headboard project from A Well-Crafted Home by Janet Crowther.

Reprinted from A Well-Crafted Home. Copyright © 2017 by Janet Crowther. Photography by Julia Wade. Published by Clarkson Potter/Publishers, an imprint of Penguin Random House, LLC.
Tightly ready-woven cane, surrounded by a simple wood frame, will breathe freshness into your bedroom. Whip up this lightweight headboard in a weekend and easily mount it to the wall with screws or a couple metal brackets. This design is sized for a queen-size mattress. Depending on your existing mattress, you can adjust the length of the top and bottom frame boards to make this headboard shorter or longer. I liked the look of keeping the wood and cane in its natural color. You can easily transform the feeling of this piece with a coat of spray paint or a brush of wood stain.
Skill Level: Intermediate
Finished Size: 62 × 22 × 3/4 inches
Supplies
- 2 1/2 x 3/4-inch pine board, cut to the following lengths: (2) 22-inch pieces; (2) 62-inch pieces
- 6 feet of fine radio-weave cane webbing, 18 inches wide
Tools
- pencil
- electric miter box or clamping miter box with handsaw
- wood glue
- nail gun with 1-inch nails
- sheet of 120-grit sandpaper
- staple gun with 1/2-inch staples
- scissors
- screws or picture-hanging hardware
Instructions
1: Lay the boards down on the floor in a rectangle — long pieces at the top and bottom, short pieces at the left and right. To build this frame you will need to join 2 boards together to create right angles at the corners. The best way to do this is to cut 45-degree angles at the end of each board, also known as a miter cut.
2: With a pencil, lightly mark an X at all the bottom corners, at the bottom frame. This will help you remember which part of the board is getting cut off when you miter cut. On each board, miter in a 45-degree cut, making sure to reverse the angle from one end of the board to the other.
3: Once all corners have been cut, join them together. Lay the boards flat on the floor again, lined up as a frame. Work from the top left corner and go clockwise. Place a small amount of wood glue on the inside of the cuts, press the 2 miter-cut boards together, and make sure they are evenly lined up on all outward-facing surfaces.
4: With a nail gun, shoot a nail at the outside edges twice, 1 nail on each side of the miter joints, to hold the frame in place. Continue adding glue and nailing all 4 miter joints. Let the frame dry overnight.
5: Sand down any rough edges or glue that seeped out of the joints. Turn the frame over so that the front of the headboard is facing down. You can protect the wood from getting scratched by adding a blanket or towel under the frame.
6: Line up the cane at the left side. Have a friend help you hold and pull the cane in place. Make sure that the cane will stretch evenly down the entire length of the frame.
7: Once the cane is straight, staple the first edge of cane to the back of the frame, 1/2 inch from the inner edge, using a staple gun. Add staples to secure the cane about every inch and at least 1/2 inch from all 4 edges to prevent splintering of the wood. There will be fringe down the length of the cane, past the sewn edge. Leave this fringe to keep the cane from unraveling. Work your way down 1 whole length of the frame. Make sure to keep the cane taut as you go.
8: When you get to the other short end, pull tightly to staple in the final length. Trim off excess cane with scissors, leaving an extra inch of cane webbing past the staples.
9: Mount the headboard to the wall with screws or attach picture hardware to the wall and/or the headboard for easy mounting.


