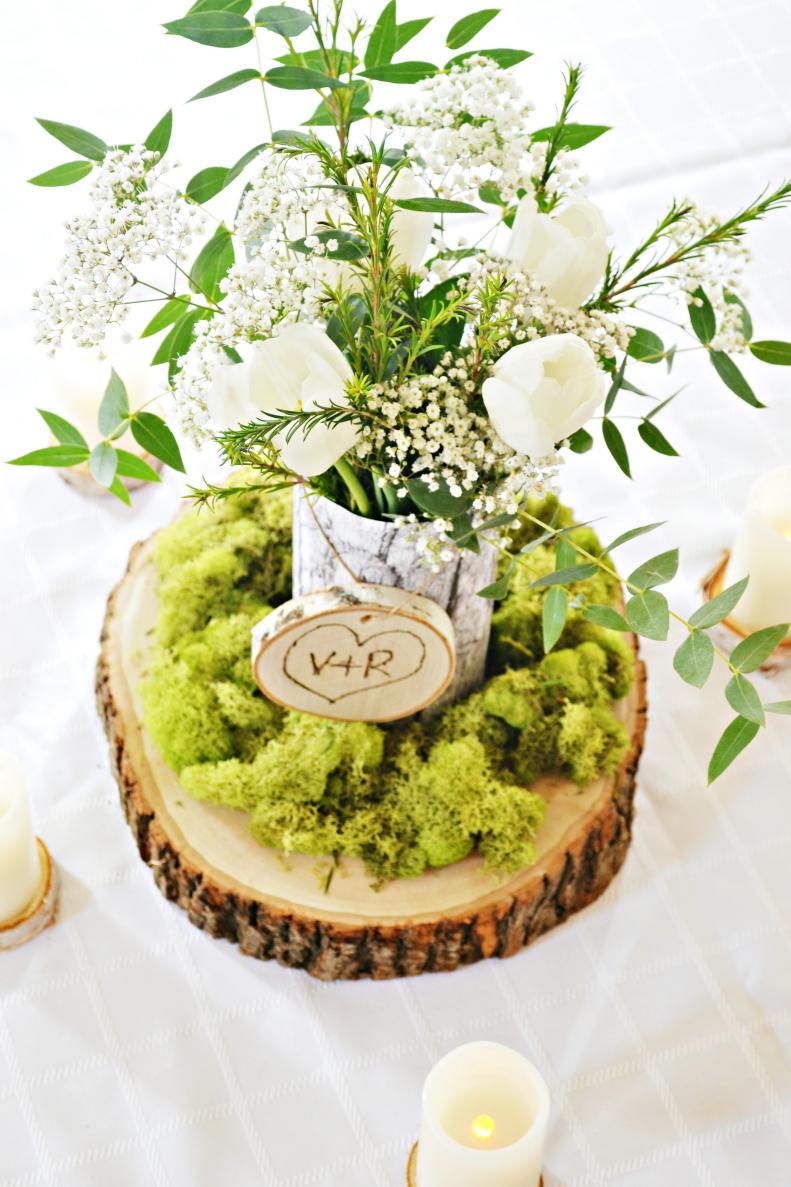
Make a Rustic Wedding Centerpiece
Turn a wood round into a beautiful, personalized centerpiece for your wedding reception.
DIY Rustic Wedding Centerpiece
Add some rustic charm to your wedding with this simple, personalized centerpiece. It's natural, elegant and budget-friendly.
How to Make an Engraved Wood Tag
Wood rounds can now be purchased at your local craft store and with the help of a soldering kit the possibilities are endless.
Step 1: Draw Your Design
Using a pencil, draw the design you would like on your wood tag.
Step 2: Engrave
Following instructions for using the soldering tool, engrave over the pencil design.
Step 3: Drill and Thread
Drill a hole through the top of the wood and thread string through to attach to the centerpiece.
Faux Log Vase
Make your own faux log vase simply by wrapping scrapbook paper with a bark or wood image on it around a glass vase or jar. Use double stick tape to secure the ends.
Build Your Centerpiece
Place the vase in the middle of a large wood round which can be purchased at craft stores. Piling moss around the base adds color and texture.
Adding Flowers
A soft and natural looking flower arrangement helps to offset the rustic tones and adds an elegant touch to the centerpiece.
Personalize Your Centerpiece
Using a piece of twine, tie the wood tag around the centerpiece.
Add a Table Number
Your centerpiece becomes functional with the addition of a painted wooden number which will help your guests find their seating during the reception.
Creating Ambiance
Battery operated candles placed on small birch wood rounds bring a soft glow to the centerpiece.
Finishing Touches
Place the wood round in the center of your table, cluster the candles around the centerpiece and enjoy your rustic elegant look for a lot less!