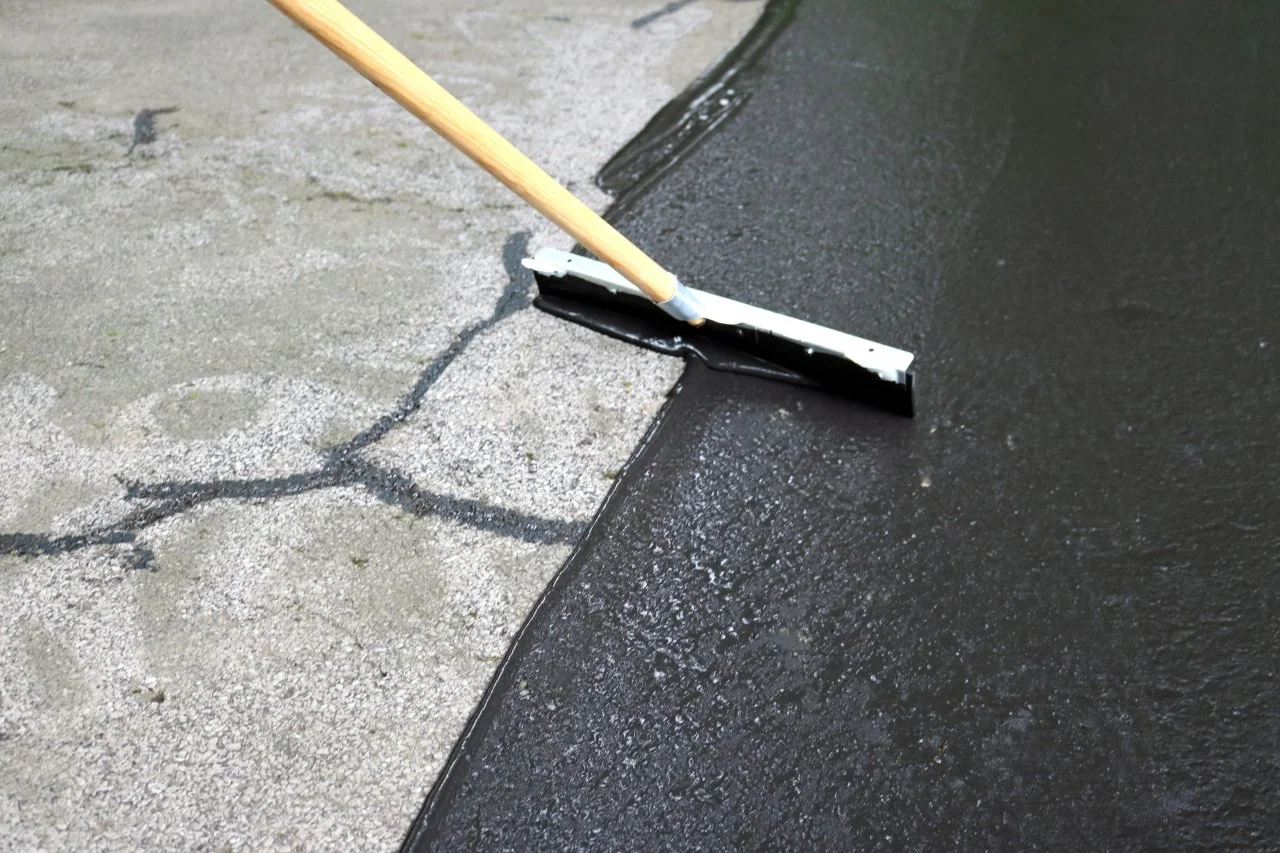
How to Repair and Reseal an Asphalt Driveway or Walkway
Keep your curb appeal looking sharp by performing regular maintenance to your driveway and walkways. Follow these instructions for repairing cracks and applying a fresh coat of sealant to asphalt or blacktop surfaces.

Resealing a driveway is an easy project and if it’s done right, can improve the surface for years and help your driveway to last longer. Check the weather forecast before you begin this project, if you have 24 to 48 hours of clear skies and temperatures above 50 degrees Fahrenheit, go for it. Avoid doing this project if there is rain in the forecast.

Tools and Materials
- driveway sealant
- driveway patch
- crack filler
- bleach
- squeegee
- paintbrush
- broom or leaf blower
- metal paint scraper
- pressure washer (optional)
Step 1: Clean Driveway
Use a leaf blower or broom to sweep leaves, acorns and dust from the surface of the driveway. If you have oil stains, a degreaser or primer can be used to help clean and disguise the stains prior to sealing. Pluck all visible weeds between cracks. If your driveway is shady and prone to growing moss, use a pressure washer to remove it. Use bleach in a spray bottle to target and kill moss and a scraper to lift it off the surface. Use a 15-degree, general-cleaning tip on your pressure washer to completely clean the surface.
You will need to let the driveway dry completely before filling cracks and sealing, but having a clean surface to work upon will ensure a long-lasting treatment.


Emily Fazio


Pressure-Wash Like a Boss With Our Ultimate Beginner's Guide 21 Photos
If you love a good before and after, then prepare to fall in love with pressure washing. Here's how to get it done quickly, safely and efficiently.
Step 2: Patch Cracks and Holes
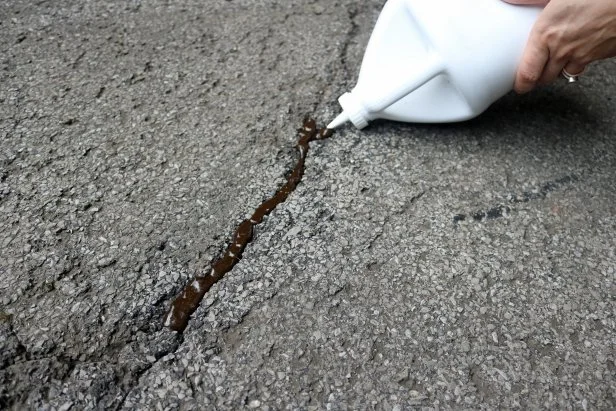
You’ll get the best results if you take the time to repair cracks in the surface of the driveway before applying a final coat of sealant. For cracks less than 1/2 inch, use a bottle of crack filler. The product has some self-leveling qualities (it’s very fluid) but avoid overfilling the cracks so the patch won’t be visible beneath the finished sealed coat. If you do accidentally overfill the crack, use a scraper to level out and spread the filler. Allow the filler to dry for 4-8 hours before you seal over the top.
For holes or cracks greater than 1/2 inch and with a definitive boundary (e.g., a hole in the middle of your driveway, not on the edge), use driveway patch and a tamper or the back of a shovel to make repairs. If you are using driveway patch, it’s recommended that you do not seal over the top of it until it has cured for 4-6 weeks.

Step 3: Clean Driveway and Mix the Sealant
Again, if you have 24 to 48 hours of clear skies, this is your time to make the driveway shine. Clean the surface of the driveway once more using a broom or a leaf blower.
Mix the sealant buckets one at a time prior to pouring them by tipping them upside down before opening the product.
Step 4: Seal Edge by Hand
Avoid backing yourself into a corner by working from the top of your driveway down towards the end. If the top of your driveway meets a structure, like a garage or a sidewalk, use an old paintbrush to cut in around the edge. A squeegee will be good for covering the main area, but the edges look nicely finished when brushed with precision.

Step 5: Pour Sealant Along Edge
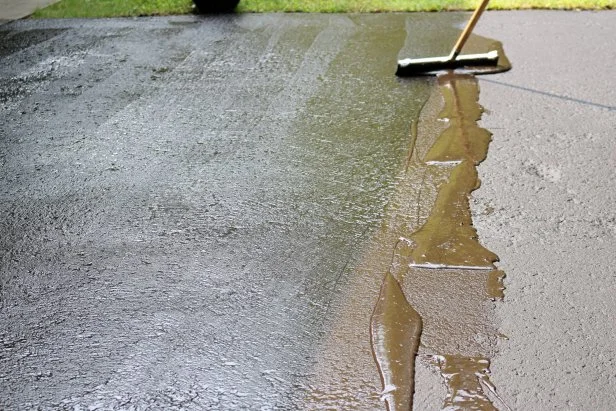
Begin sealing the rest of the asphalt by pouring a line of sealant along the width of your driveway. Those sealant buckets are heavy, so do your best not to spill excess.
Using the squeegee held at a 45-degree angle, pull and compress the sealant into the surface of the driveway. The sealant, like the crack filler, has self-leveling qualities, but work diligently and pay attention to how much pressure you’re putting on the squeegee to keep the layer of sealant as even as possible. If you’re pushing too hard, you’ll see sealant squeezing over the top of the squeegee. If you’re not pushing hard enough, your coverage will end up being too thick.
Work back and forth across the width of the driveway. Continue to pause periodically and use the paintbrush to manually paint in edges that meet structures for a finished look.
Allow the finished driveway to cure for 24 hours.


Step 6: Apply a Second Coat
When you look over the dry sealed surface, you may notice that some areas could benefit from a second coat, especially with an older driveway. A second layer will create a stronger seal to protect the surface.
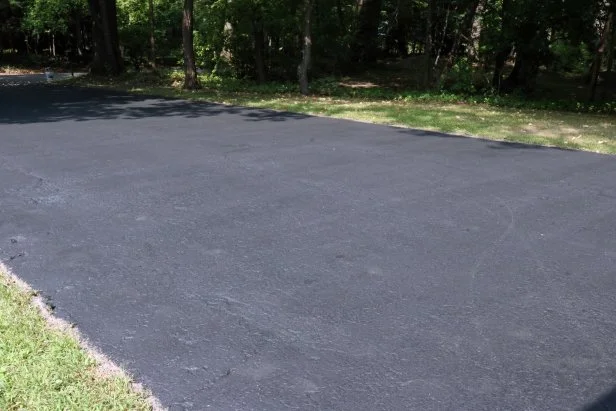
Apply the second coat the same as the first, block off the end of the driveway with the empty sealant containers, and allow the surface to dry for 24 hours before walking on it and 48 to 72 hours before driving on it.


Jetcoat Premium Driveway Filler and Sealer is designed to enhance and protect asphalt pavement surfaces. This asphalt driveway filler is polymer-modified and emulsion-based for ultimate sealing power.





.jpg.rend.hgtvcom.231.174.85.suffix/1738869872256.webp)