Make an Herb Drying Rack

Follow these easy steps and you'll be drying your own garden herbs in no time with this DIY herb drying rack.

DIY herb drying rack

Hang your herb drying rack in the kitchen for easy access to home grown herbs long after the growing season ends.

Hang your herb drying rack in the kitchen for easy access to home grown herbs long after the growing season ends.

Having fresh herbs available through the summer months is a wonderful thing. However, as the cooler months arrive, they limit what you can grow outside. How can you preserve the bounty that exists in your garden today? Consider drying some of your favorite herbs for use later in the year.

This herb drying rack is perfect for stringing up all sorts of herbs and giving them plenty of space for air to circulate around them and do its drying magic. Best of all, we have used an old lampshade frame that — stripped of its covering — makes an interesting addition to your pantry or kitchen.

Herb Drying Rack
Loading Video...

Supplies

  • old lampshade
  • scissors
  • razor blade
  • sandpaper
  • twine
  • sisal rope
  • herbs
  • hook (optional)

Remove Lampshade Fabric

Use scissors to remove any lampshade fabric that exists. Use the razor blade or craft knife to scrape away any glue. Finally, give the inside and outside of the frame a good sanding with sandpaper. Dust off the frame.

Make a Knot

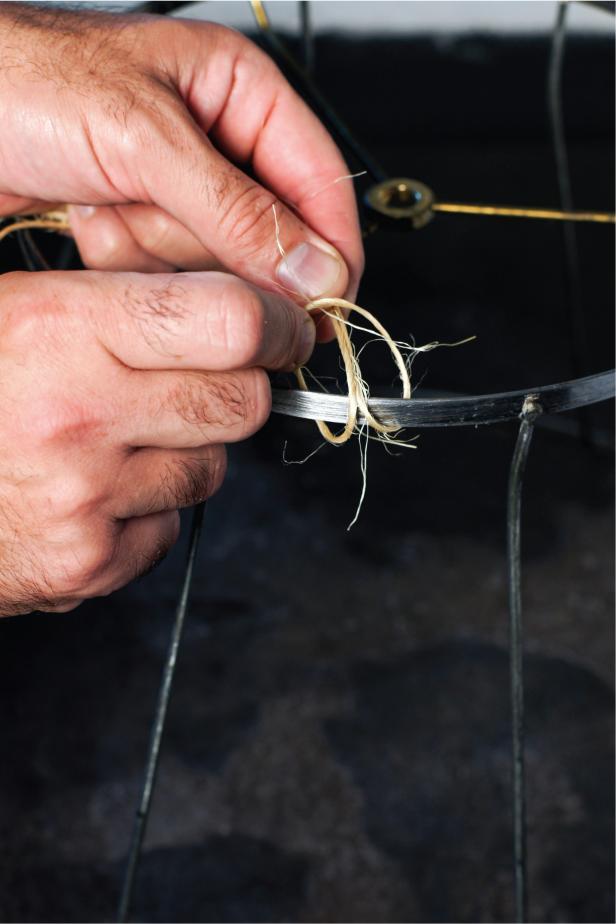
Cut a length of twine twice the distance from the top to the bottom of the frame. Fold the length of twine in half and loop it over the top of the frame.

Gather together a bunch of herbs with the stems about the same length. Tie a knot around the bunch of herbs close to the spot where the leaves begin.

herb-rack-2.jpg

Tie a knot with the loose ends of the twine close to the leaves.

Tie a knot with the loose ends of the twine close to the leaves.

Wrap It Up

With the herbs upside down, begin wrapping the twine around the stems and the part of the twine that leads to the top of the frame. At the end of the stems, tie another knot. Cut away any excess twine with scissors.

herb-rack-3.jpg

Wrap the twine around the stems and the twine that goes from the knot to the frame.

Wrap the twine around the stems and the twine that goes from the knot to the frame.

Tie One On

Loop the twine around the top of your stripped and cleaned lampshade frame.
herb-rack-1.jpg

Loop the twine around the top of your stripped and cleaned lampshade frame.

Loop the twine around the top of your stripped and cleaned lampshade frame.

Hang Time

To hang the herb drying rack, simply cut a piece of sisal rope long enough to reach the ceiling from the top of where you want the rack to hang plus 6 inches. Insert one end through the top of the lampshade frame (where a finial would go) and tie a knot below. Screw a hook into the ceiling and tie a knot with the other end over the hook.

herb-rack-6.jpg

If you would like to hang your rack, insert sisal or other rope through the top of the frame and make a knot below.

If you would like to hang your rack, insert sisal or other rope through the top of the frame and make a knot below.

Or Set On Counter

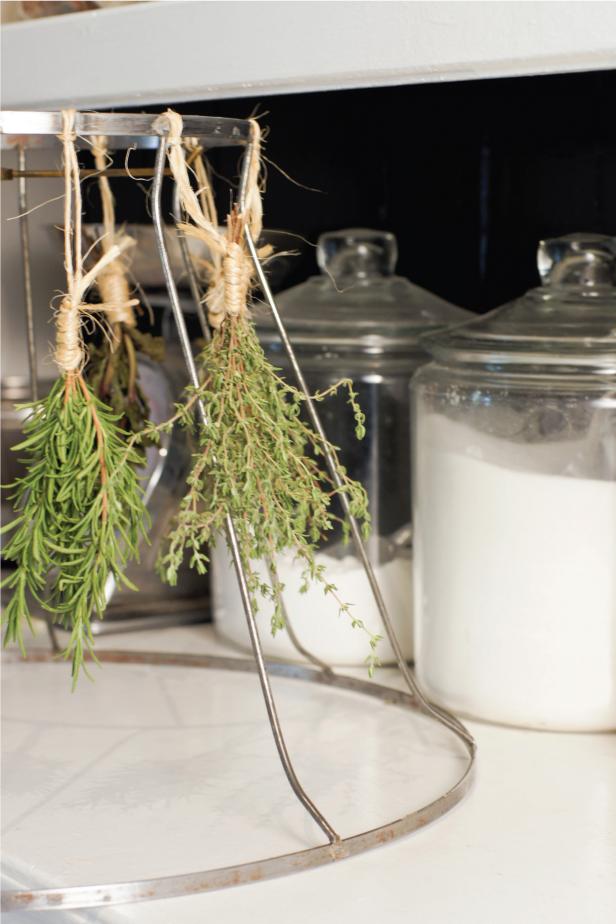
If you have the counter space, you may wish to set the shade directly on the counter. By hanging it, you can use the bottom of the shade for more herb bundles, if you wish.
herb-rack-5.jpg

If you have space, place your drying rack on a countertop to have dried herbs well into fall and winter.

If you have space, place your drying rack on a countertop to have dried herbs well into fall and winter.

Next Up

Make Microwave Pressed Flowers in Minutes + Four Easy Crafts to Display Them

Gussy up a gift tag, craft some colorful coasters or dress up a phone case with a handful of basic supplies.

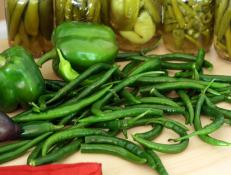
Canning Peppers DIY

It's easy to pack a pint of pickled peppers.

Make Clay Pinch Pot Hanging Planters to Display Your Fave Succulents

Learn how to make clay pinch pot hanging planters, perfect for mini succulents, with just a few materials and this easy, step-by-step tutorial.

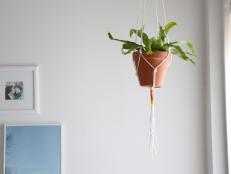
How to Make a Macrame Plant Hanger

By using basic supplies from the hardware store, you can make this easy DIY macrame hanger to display your favorite houseplant. This project can be adjusted to fit any planter, and since the rope is polyester, you can also hang this project outdoors.

Make 3 Infused Simple Syrup Recipes To Gift + Enjoy

Level up your at-home bartending skills and craft these syrups in minutes. Then bottle them as cute gifts because sharing is caring.

Make This Mother's Day Cocktail Gift Basket

Whip up a floral-inspired gift basket that’s as easy to assemble as it is to enjoy. Plus, this blackberry simple syrup recipe will easily become your seasonal go-to.

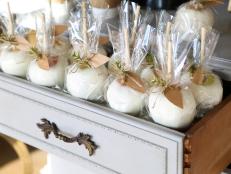
How to Make Dipped Candy Apple Party Favors

Rustic yet refined embellishments like a sprig of gilded greenery and a leaf-shaped kraft paper tag make these candy-coated apples a casually elegant, yet affordable DIY favor. Give them out as take-home treats at your next gathering or package them up as pretty, edible holiday gifts.

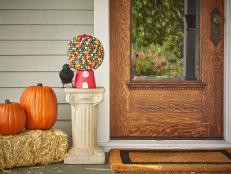
How to Make a Gumball Machine Pumpkin

With a little patience (and a whole lot of gumballs), you can create a one-of-a-kind decor piece that trick-or-treaters will flock to this Halloween.

How to Make a Fresh Boxwood Garland for the Holidays

Learn how to make a beautiful garland made from fresh boxwood and pine, sourced straight from your backyard or local garden center, to adorn any space in your home this holiday. Not only will it add a festive touch to your holiday decor, but the process of making it is certain to get you into the Christmas spirit.

Make a Mini Blooming Garden Table to Showcase Your Favorite Succulents

Indoor garden tables are trending big time right now, but if you don’t have the space for one, you can make a tabletop version in just a few easy steps. Waterproof a display case for the base and fill it with your favorite plants. You’ll be surprised just how charming a mini blooming table can be.

What's New in Handmade

On TV

Follow Us Everywhere

Join the party! Don't miss HGTV in your favorite social media feeds.