


How to Make an Ornate Framed Chalkboard

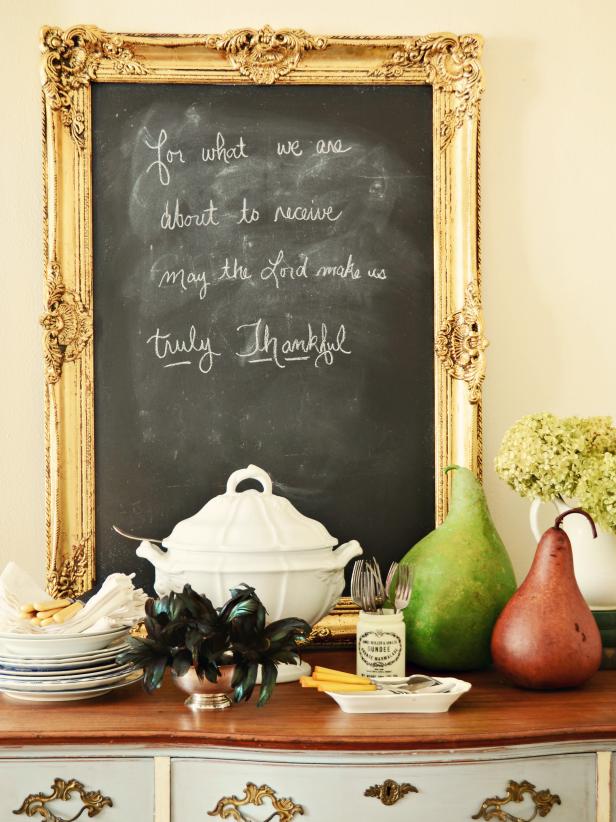
Menu On Gold Framed Chalkboard
Elegant meets humble when a sophisticated gilt frame surrounds an inexpensive DIY chalkboard. Place it in the dining room with a thoughtful greeting for dinner guests, or use it to announce the evening's festivities.

Photo by: Marian Parsons
Marian Parsons
Materials Needed:
- large wooden frame
- 1/4" hard board cut to fit in frame (Tip: You can have it cut at your local hardware store)
- gold leaf (2-3 packages for large frame)
- leaf sizing
- 1" artist brush
- soft mophead brush
- 1" sponge brush
- latex gloves
- clean rag
- dark walnut oil-based wood stain
- spray primer
- chalkboard paint
- foam roller
- paint tray
- small nails
- hammer
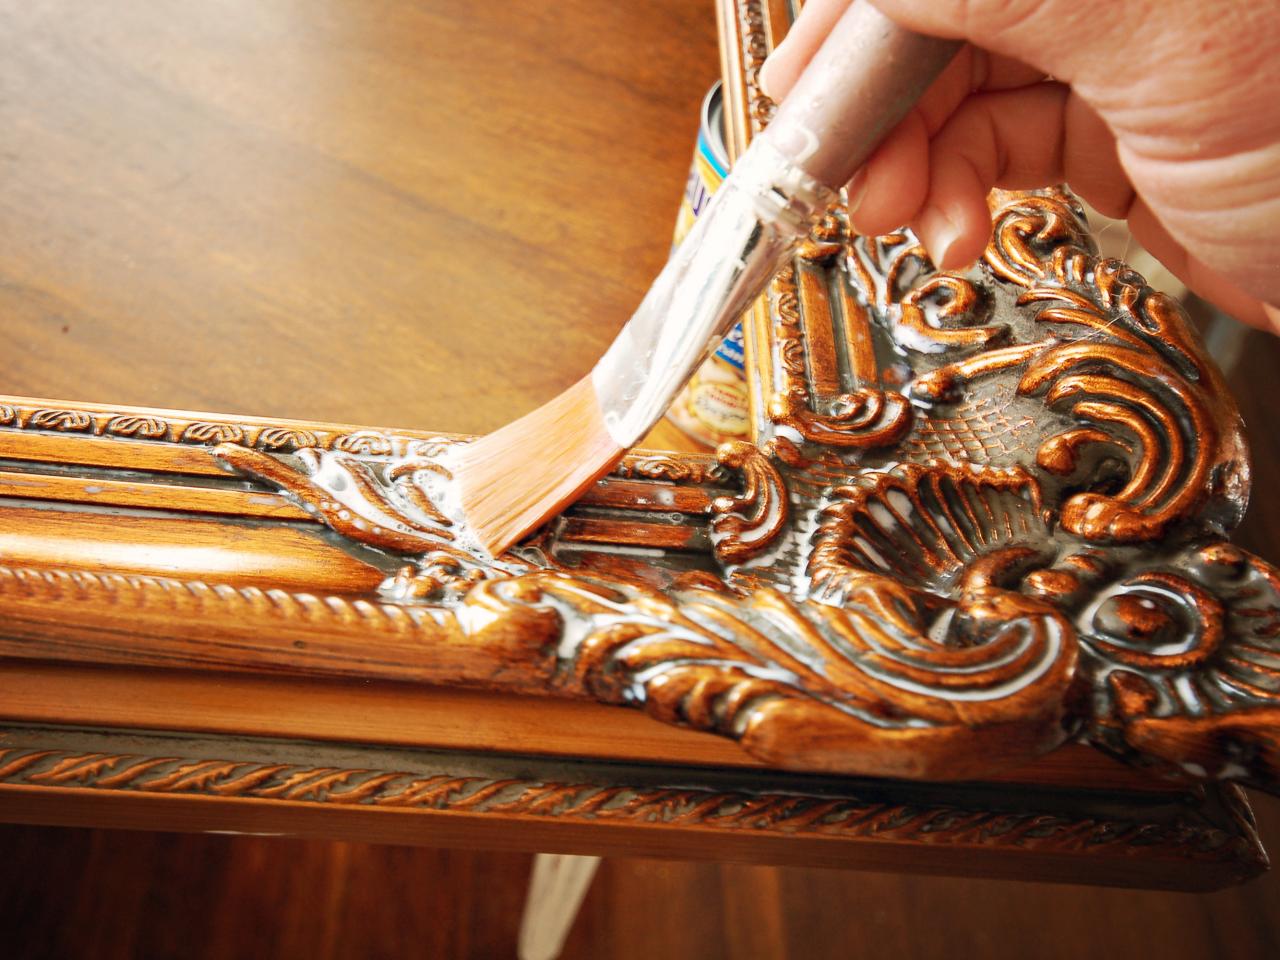
Apply Sizing
Use a one-inch artist brush to apply leaf sizing to entire frame. Allow to dry for approximately 30 minutes, or until sizing turns from milky-white to clear. Sizing should feel tacky to the touch.

Applying Leaf Sizing to Wooden Frame
Use a one-inch artist brush to apply leaf sizing to entire frame. Allow to dry for approximately 30 minutes, or until sizing turns from milky-white to clear. Sizing should feel tacky to the touch.
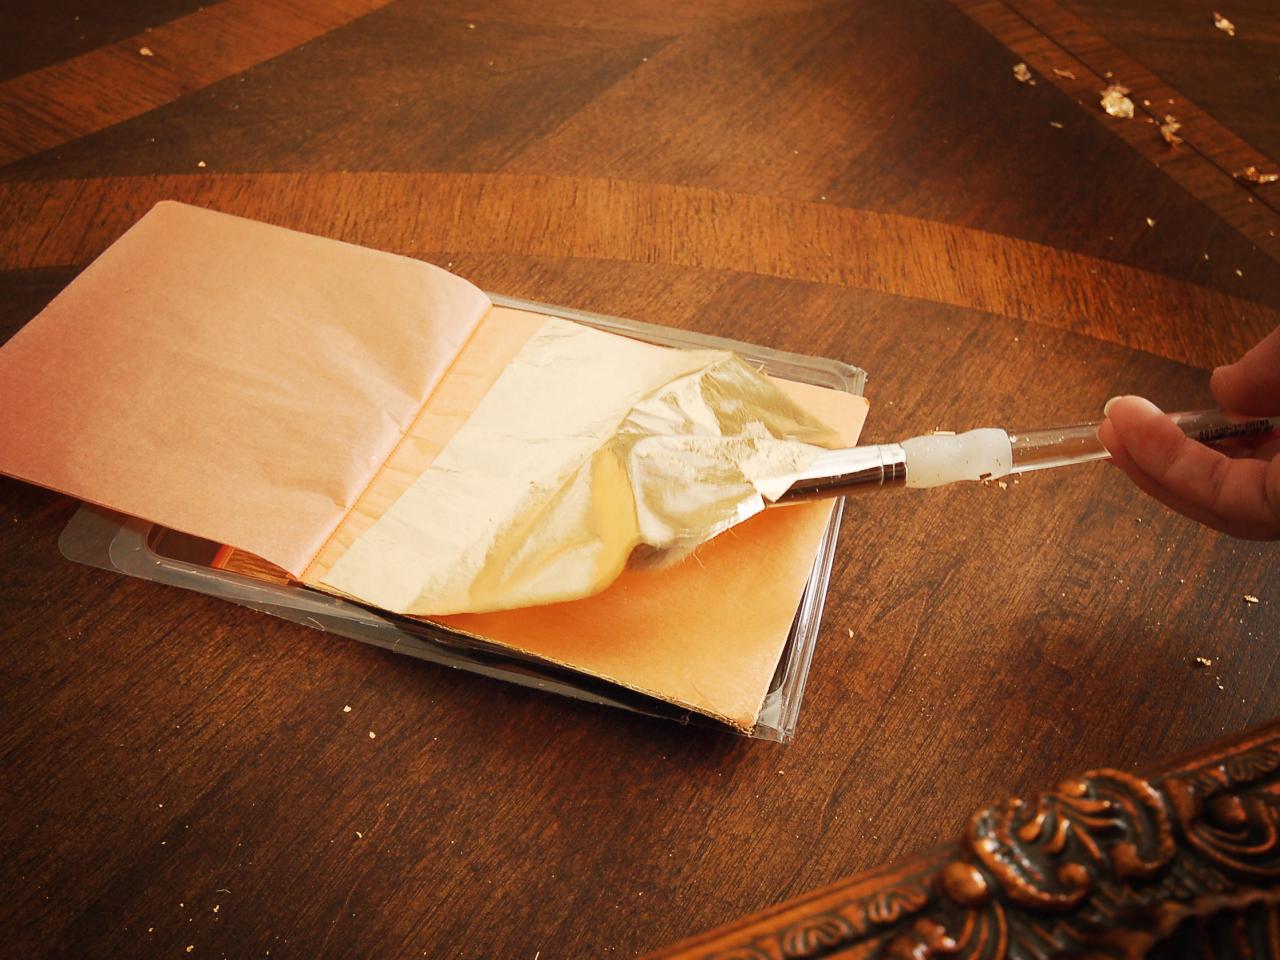
Apply Gold Leaf
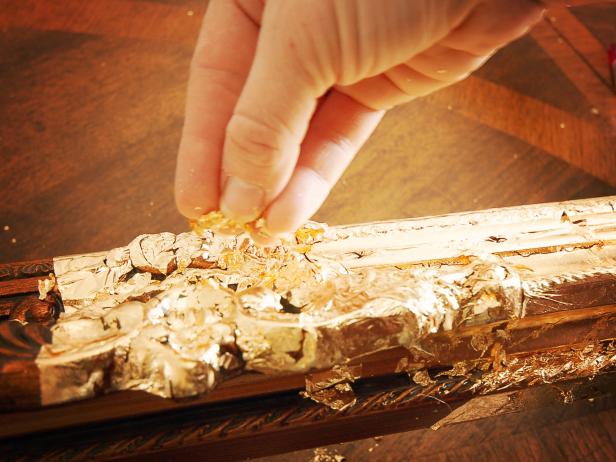
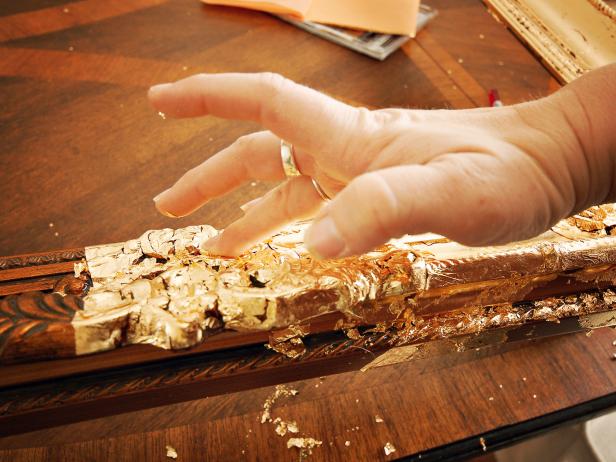
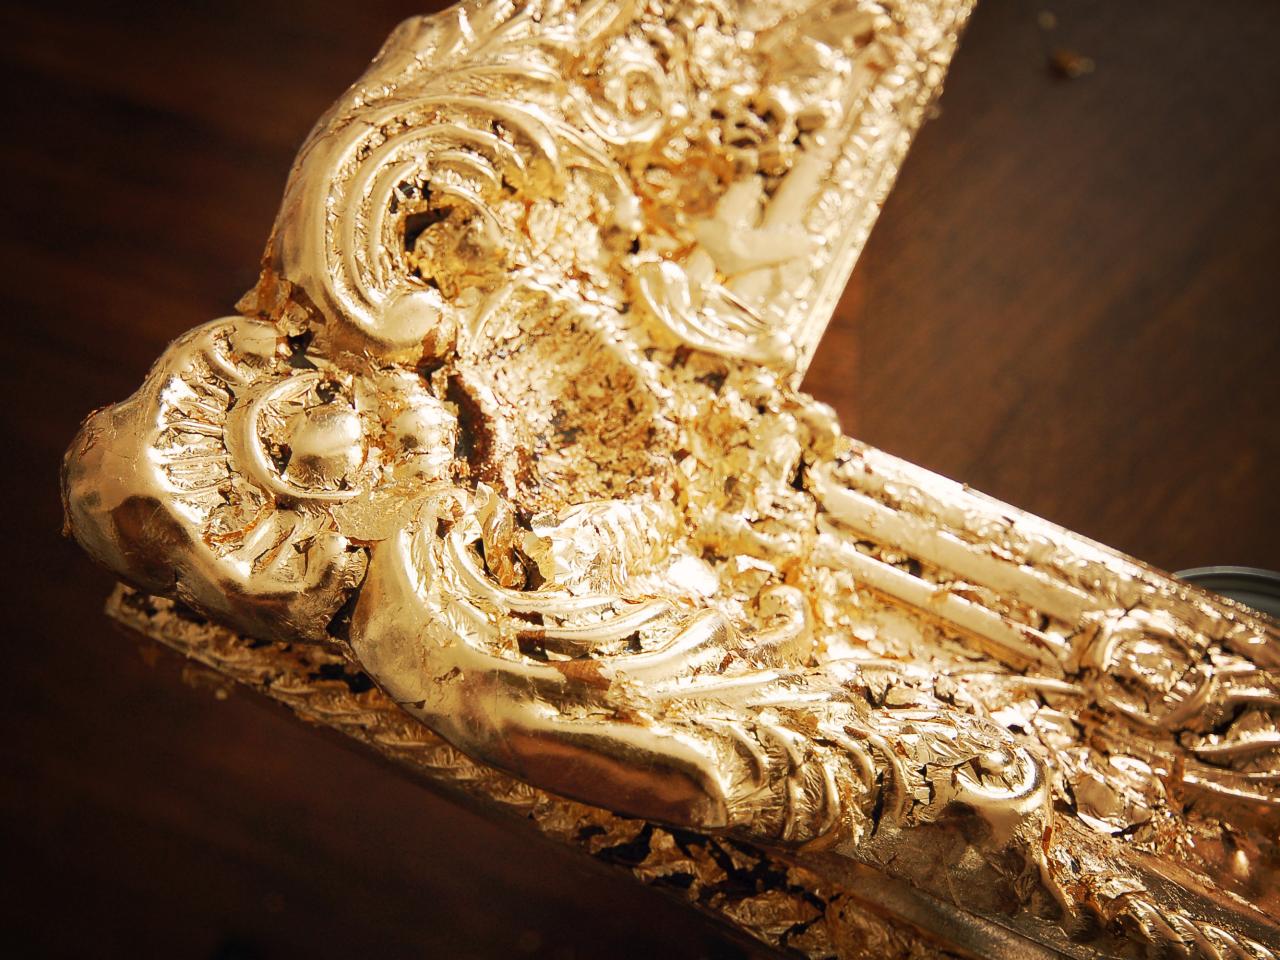
Use a soft brush to gently lift gold leaf sheet and apply to frame (Image 1). Brush gold leaf down onto sizing. Pieces will flake off while brushing (Image 2). Pick up these flakes and use them to fill in small gaps in leaf (Images 3 and 4). Continue this process until frame is fully covered in gold leaf. It will look rough and a little "shaggy."

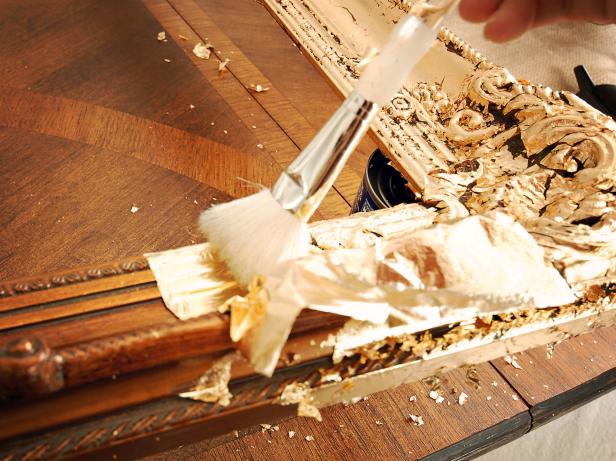
Applying Gold Leaf to Wooden Frame
Pick up these flakes and use them to fill in small gaps in leaf. Continue this process until frame is fully covered in gold leaf. It will look rough and a little "shaggy."
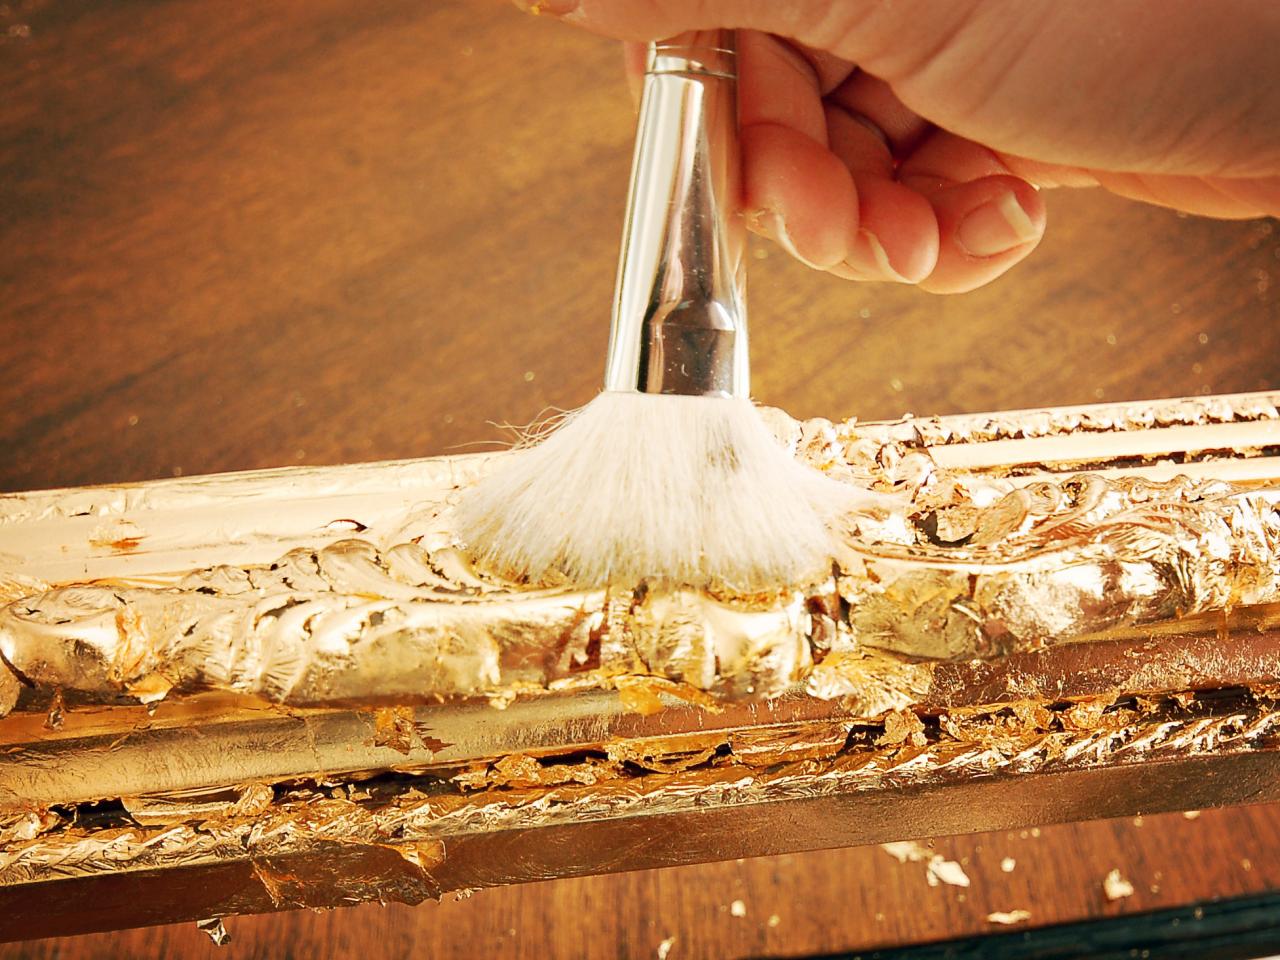
Buff Gold Leaf
Gently rub mophead brush over gold leaf to buff surface (Image 1) and remove excess leaf (Image 2).


Antique Frame
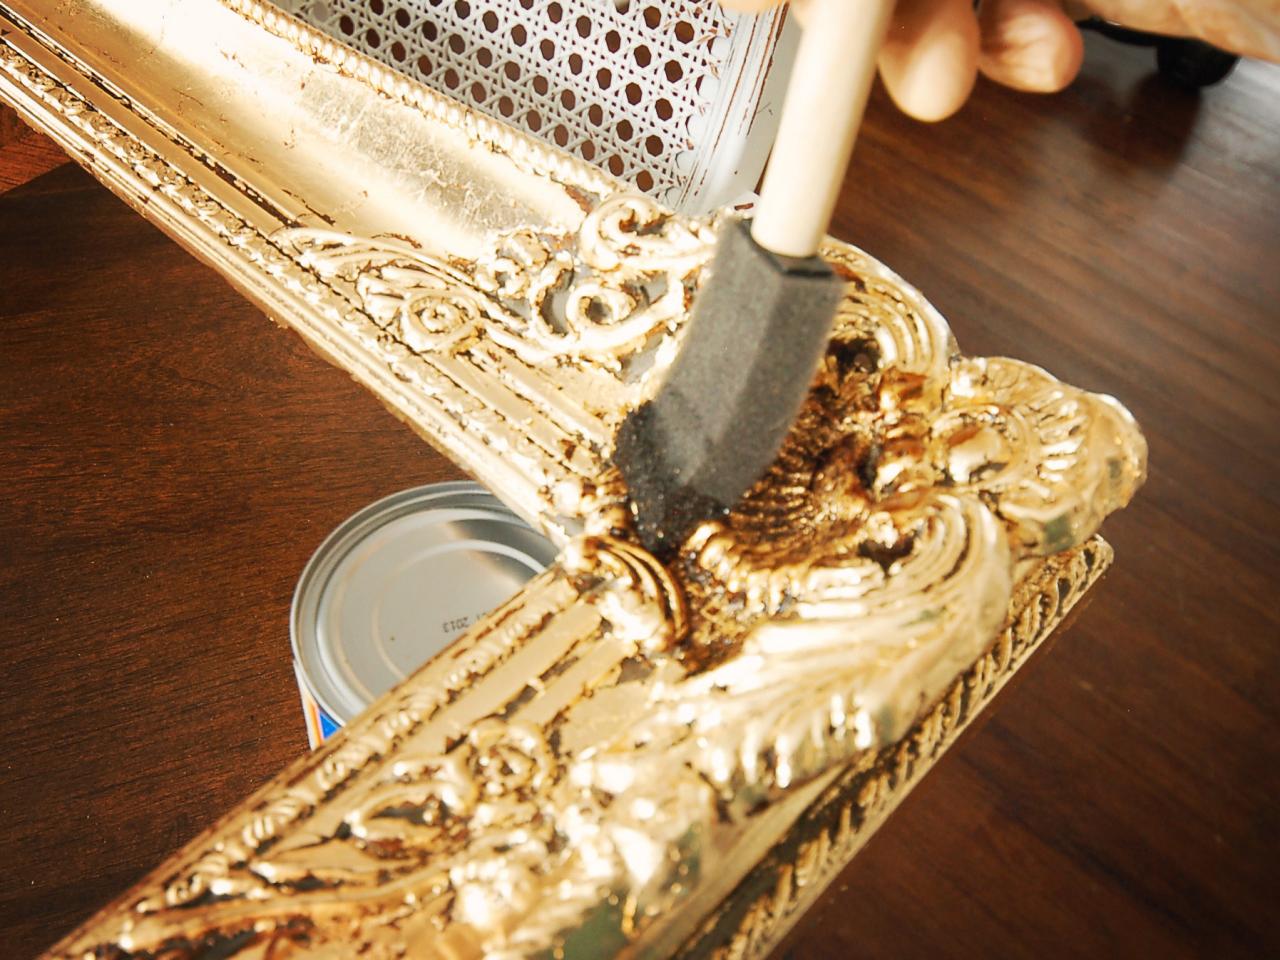
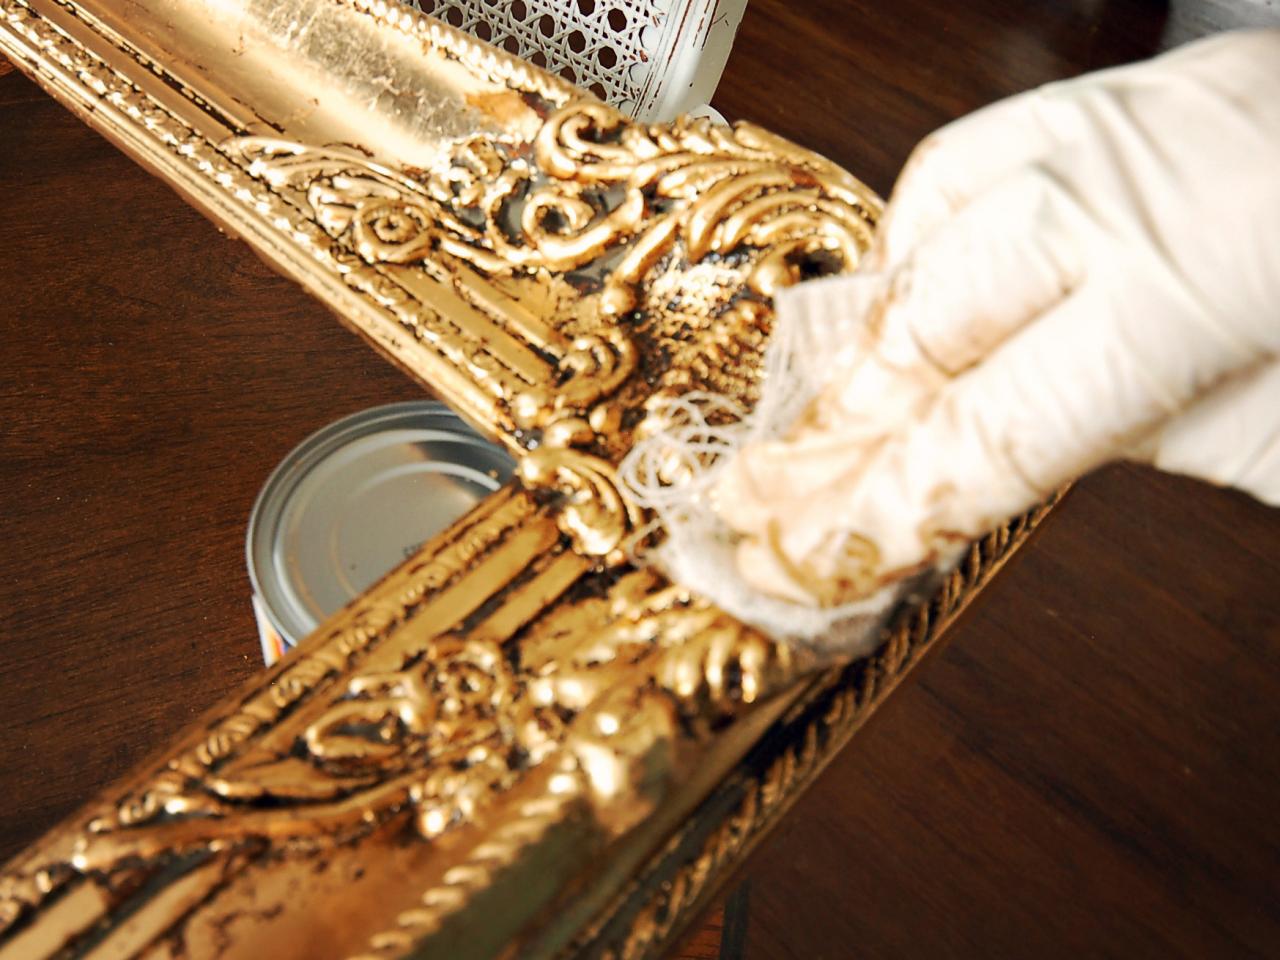
In a well-ventilated area, apply dark walnut wood stain to a small section of frame using a one-inch foam brush, working the stain into molded details (Image 1). Gently rub off excess with a clean rag (Image 2). Repeat process around entire frame. Wood stain will stain skin, so wear latex gloves. Tip: Stain will remain tacky for about 24 hours, so allow plenty of dry time after this step.


Antiquing Gold Leaf Frame
In a well-ventilated area, apply dark walnut wood stain to a small section of frame using a one-inch foam brush, working the stain into molded details.
Rubbing Off Excess Stain
Gently rub off excess with a clean rag. Repeat process around entire frame. Wood stain will stain skin, so wear latex gloves. Tip: Stain will remain tacky for about 24 hours, so allow plenty of dry time after this step.
Make Chalkboard
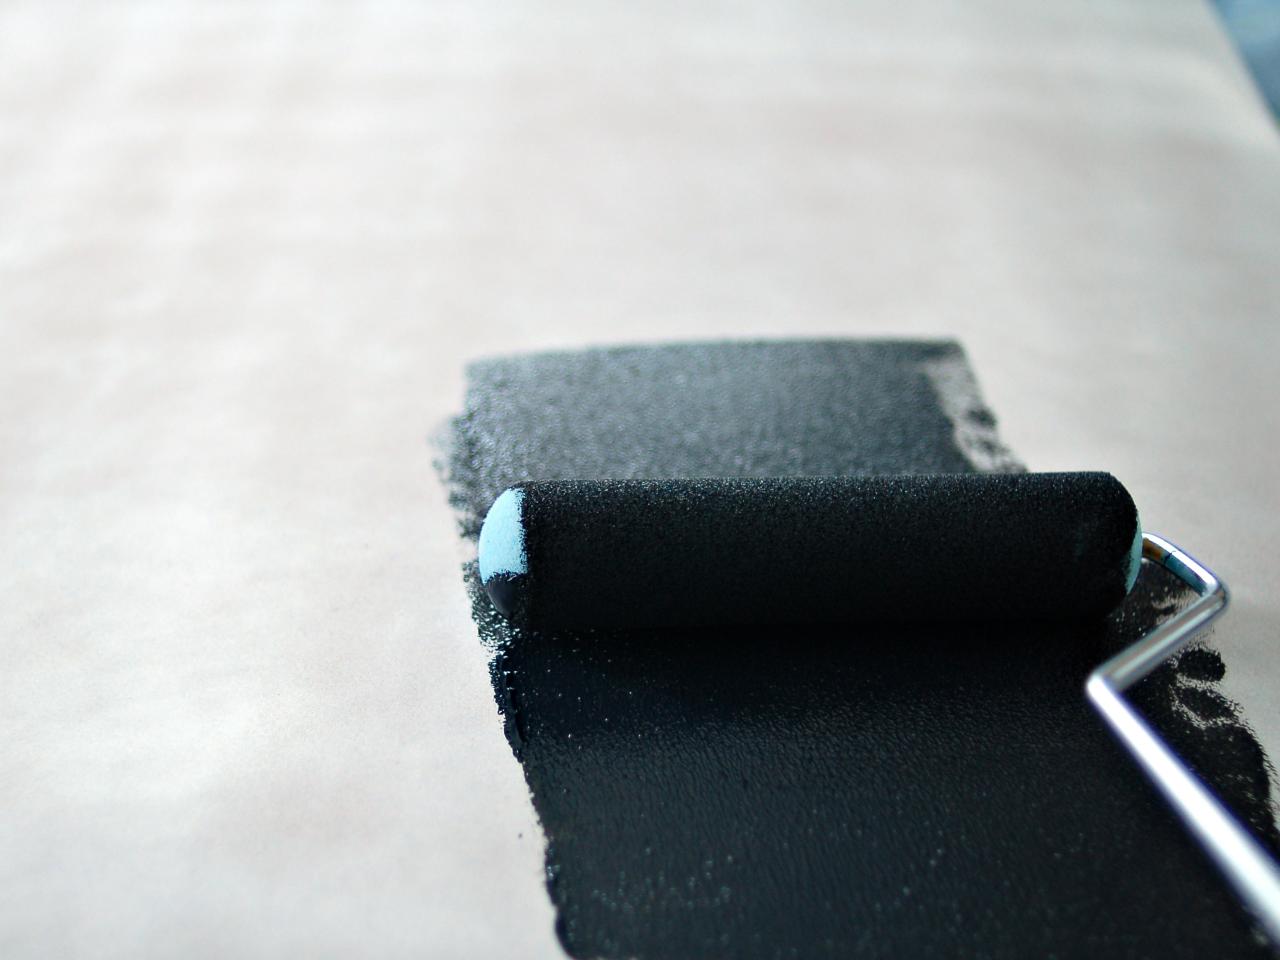
Cut a piece of 1/4" hard board to fit inside frame. Spray surface of hard board with primer and allow to dry. Apply two coats of chalkboard paint with foam roller, allowing ample dry time between coats. Tip: Cover paint tray and roller in cling wrap between coats so they only need to be washed once.

Applying Chalkboard Paint With Foam Roller
Cut a piece of 1/4" hard board to fit inside frame. Spray surface of hard board with primer and allow to dry. Apply two coats of chalkboard paint with foam roller, allowing ample dry time between coats. Tip: Cover paint tray and roller in cling wrap between coats so they only need to be washed once.
Insert Chalkboard
Once dry, insert chalkboard into frame using small nails hammered into sides of frame to secure it.

Inserting Chalkboard Into Wood Frame
Once dry, insert chalkboard into frame using small nails hammered into sides of frame to secure it.
Season Chalkboard
Rub entire chalkboard with the side of a piece of chalk (Image 1). This will season the chalkboard and prevent writing from being burned into the surface. Erase chalkboard with a wet paper towel for a clean look or with a dry one for a smeared, vintage look. Use chalk or grease pen (chalk ink) to write poems, verses, song lyrics, menus, event details or memos (Image 2).
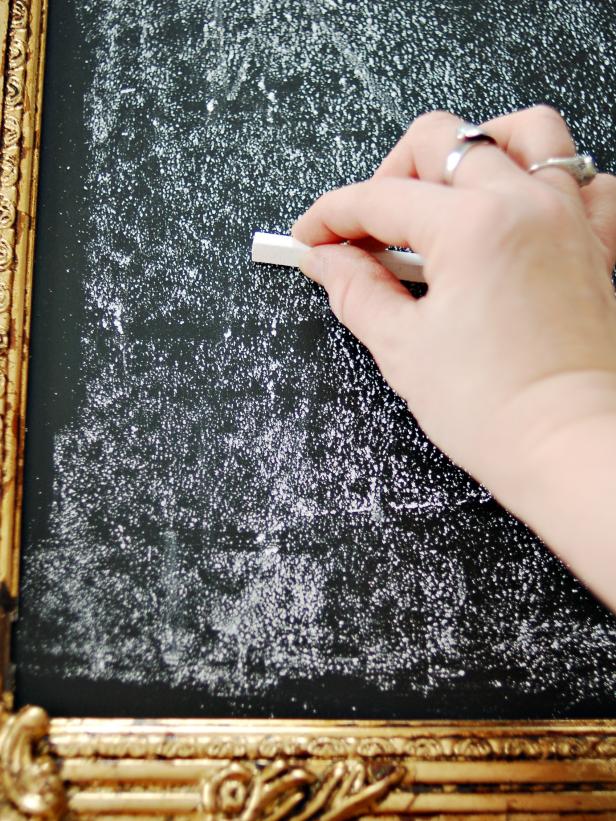
Seasoning Chalkboard
Rub entire chalkboard with the side of a piece of chalk. This will season the chalkboard and prevent writing from being burned into the surface. Erase chalkboard with a wet paper towel for a clean look or with a dry one for a smeared, vintage look.
Gold Leaf Chalkboard on Buffet Table
Use chalk or grease pen (chalk ink) to write poems, verses, song lyrics, menus, event details or memos.


