


How to Make a Life-Sized Wreath Snowman

Materials Needed:
- 1 small evergreen or flocked wreath
- 1 medium evergreen or flocked wreath
- 1 large evergreen or flocked wreath
- fallen branches at least 3' in length
- 1x2 pressure-treated lumber
- hammer or rubber mallet
- shovel or garden trowel
- 1/2" exterior wood screws
- drill
- measuring tape
- galvanized wire
- accessories (scarf, top hat, branches) (optional)
Determine Proper Location
Before starting the project, it's important to choose a location in the yard which will properly showcase your three-wreath snowman. If you're using green wreaths, try to avoid placement directly in front of other greenery such as trees, bushes or tall plants. When using white flocked wreaths, aim to place the three-wreath snowman in front of a backdrop with dark contrast.

Brian Patrick Flynn
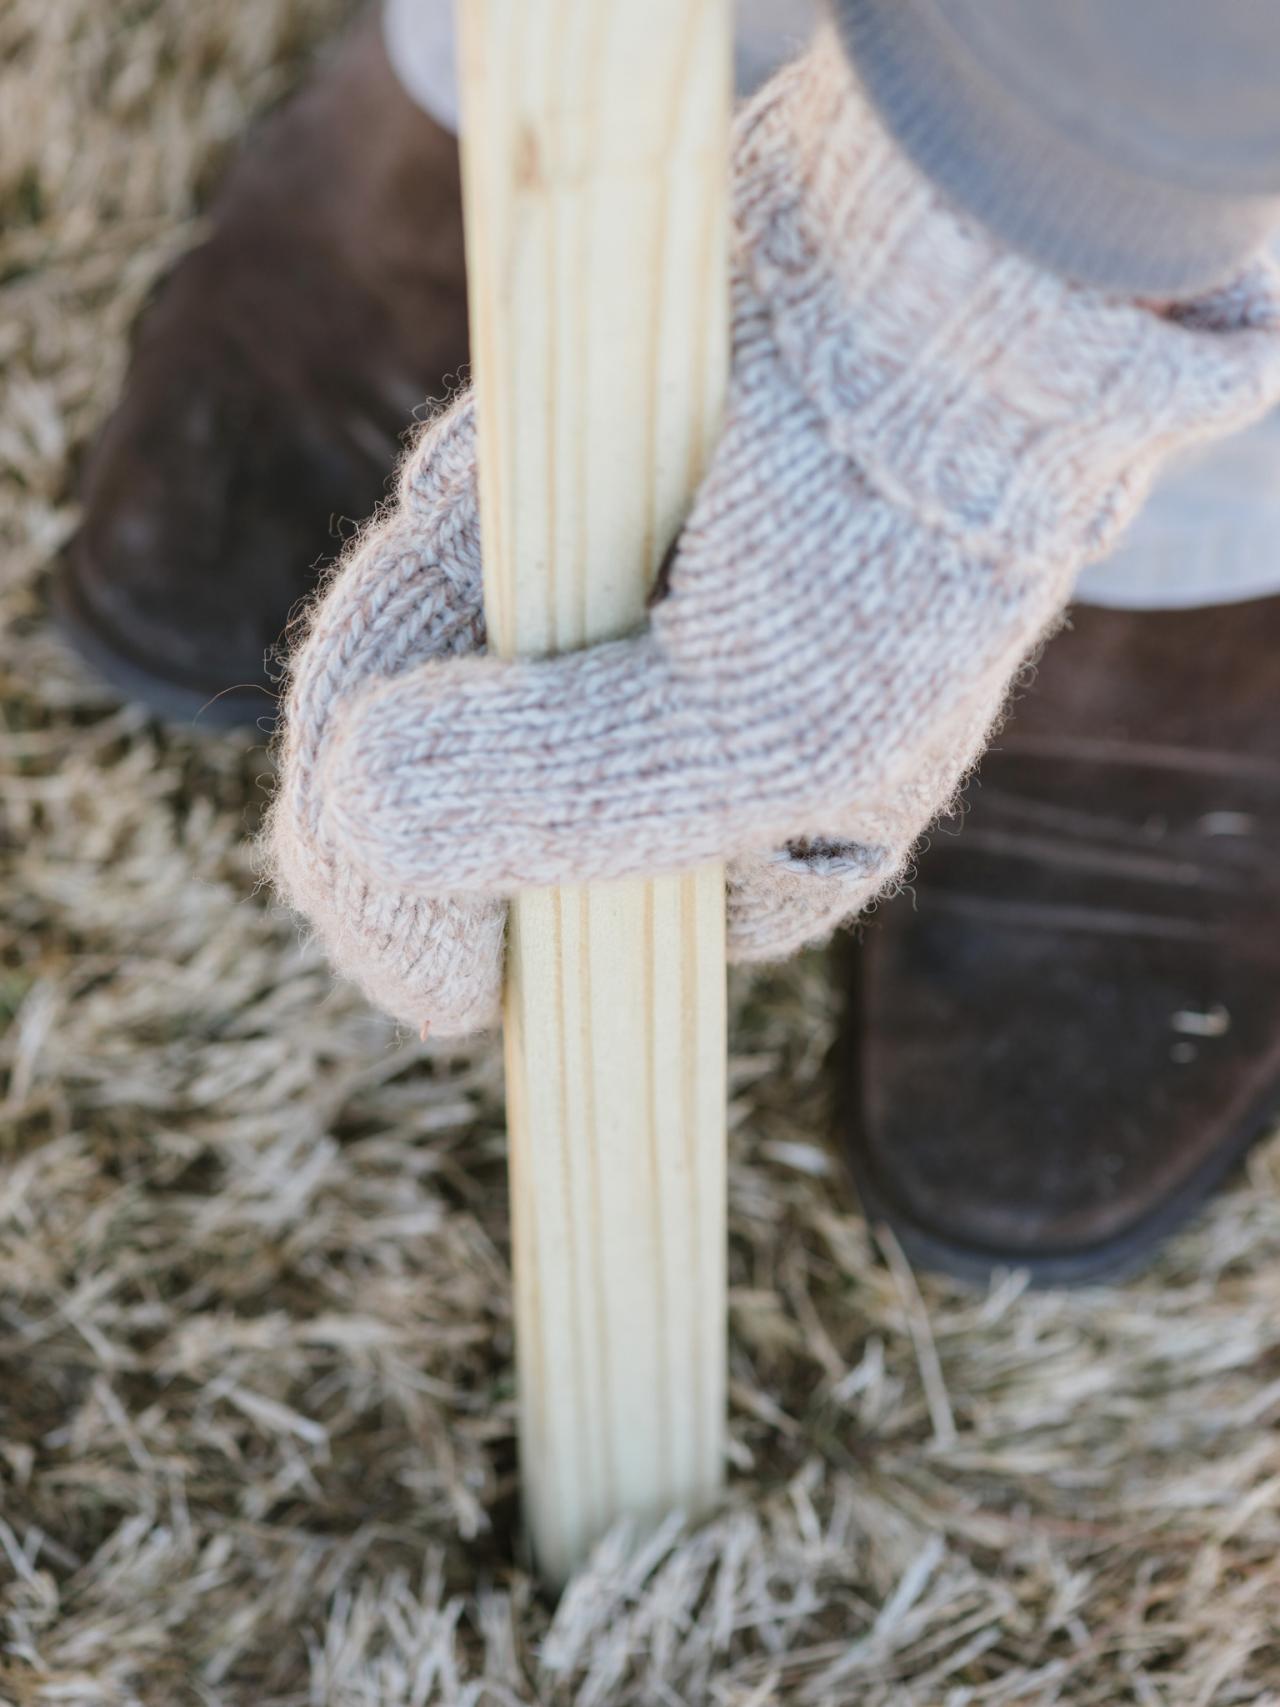
Stake Lumber Into Ground
Once proper location is decided on, add 1X2 pressure-treated lumber into ground as a stake on which to secure three-wreath snowman in yard. Yards with soft soil will only require pushing the stake approximately 6 inches into the ground. If the yard is made with hard soil or clay, a shovel or garden trowel may be needed to properly sink 1X2 pressure-treated lumber into ground. Once slightly worked into the ground, use hammer or rubber mallet to sink lumber to approximately 6 inches below surface.

Brian Patrick Flynn
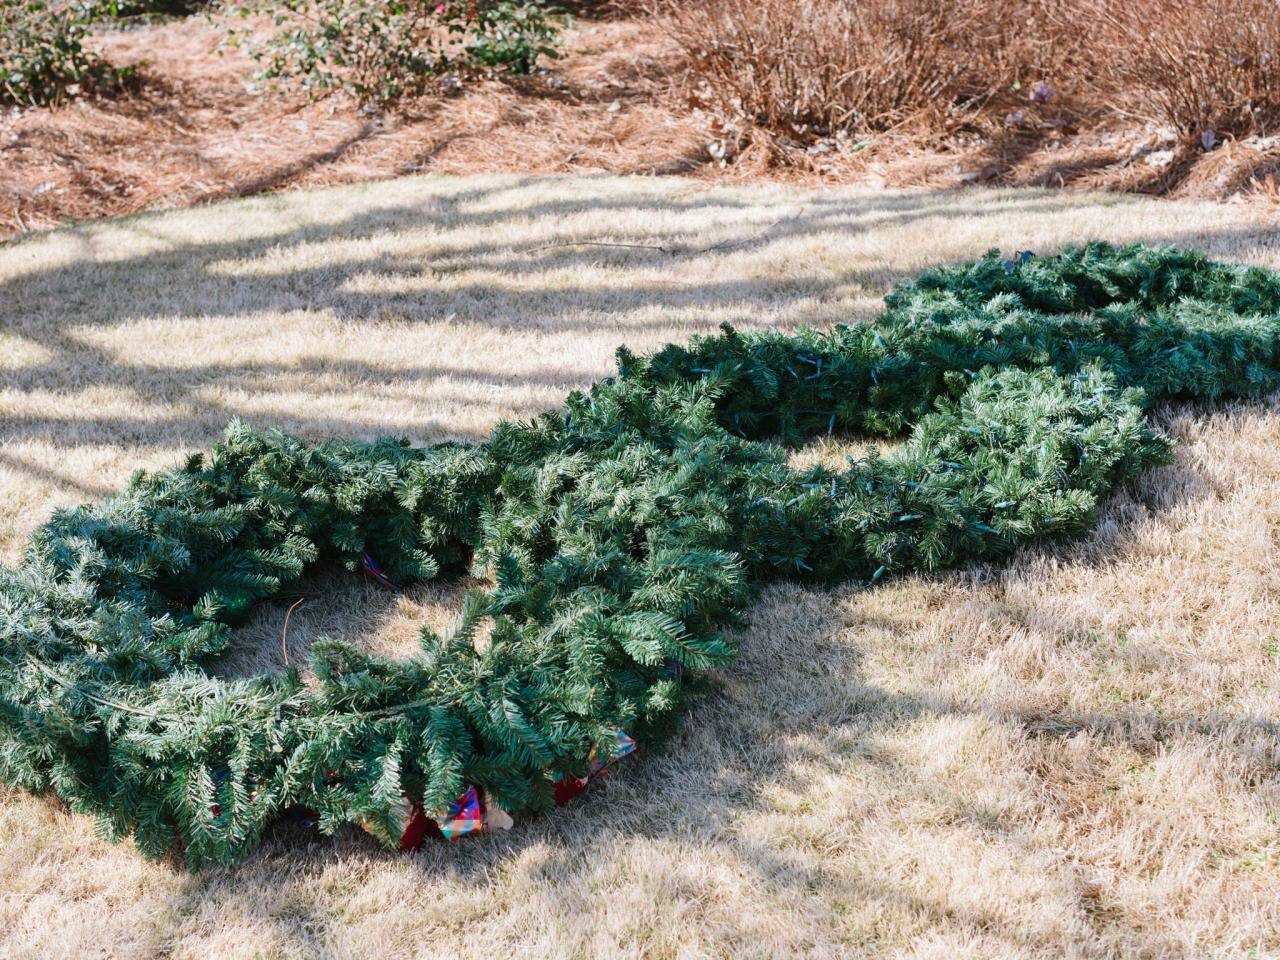
Lay Out Wreaths
In order to ensure the proper scale and proportion between the three wreaths, first lay them out on the ground. If the circumference of each wreath slowly and evenly becomes smaller from the ground up, the proper balance will be achieved. Note: If any of the wreaths appear too similar in size, the entire look can be thrown off. If that's the case, it's best to pick up a different wreath with a much more obvious change in size.

Brian Patrick Flynn
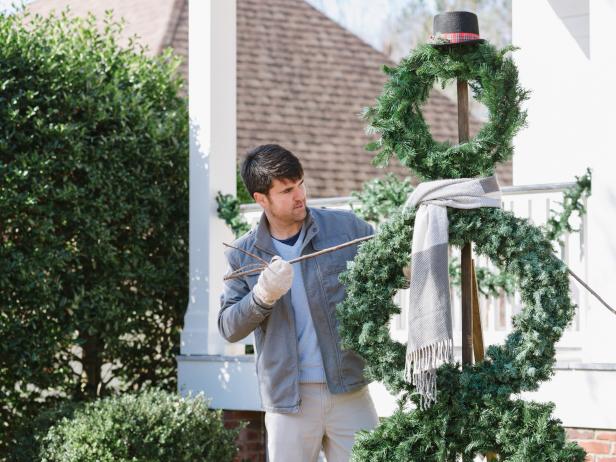
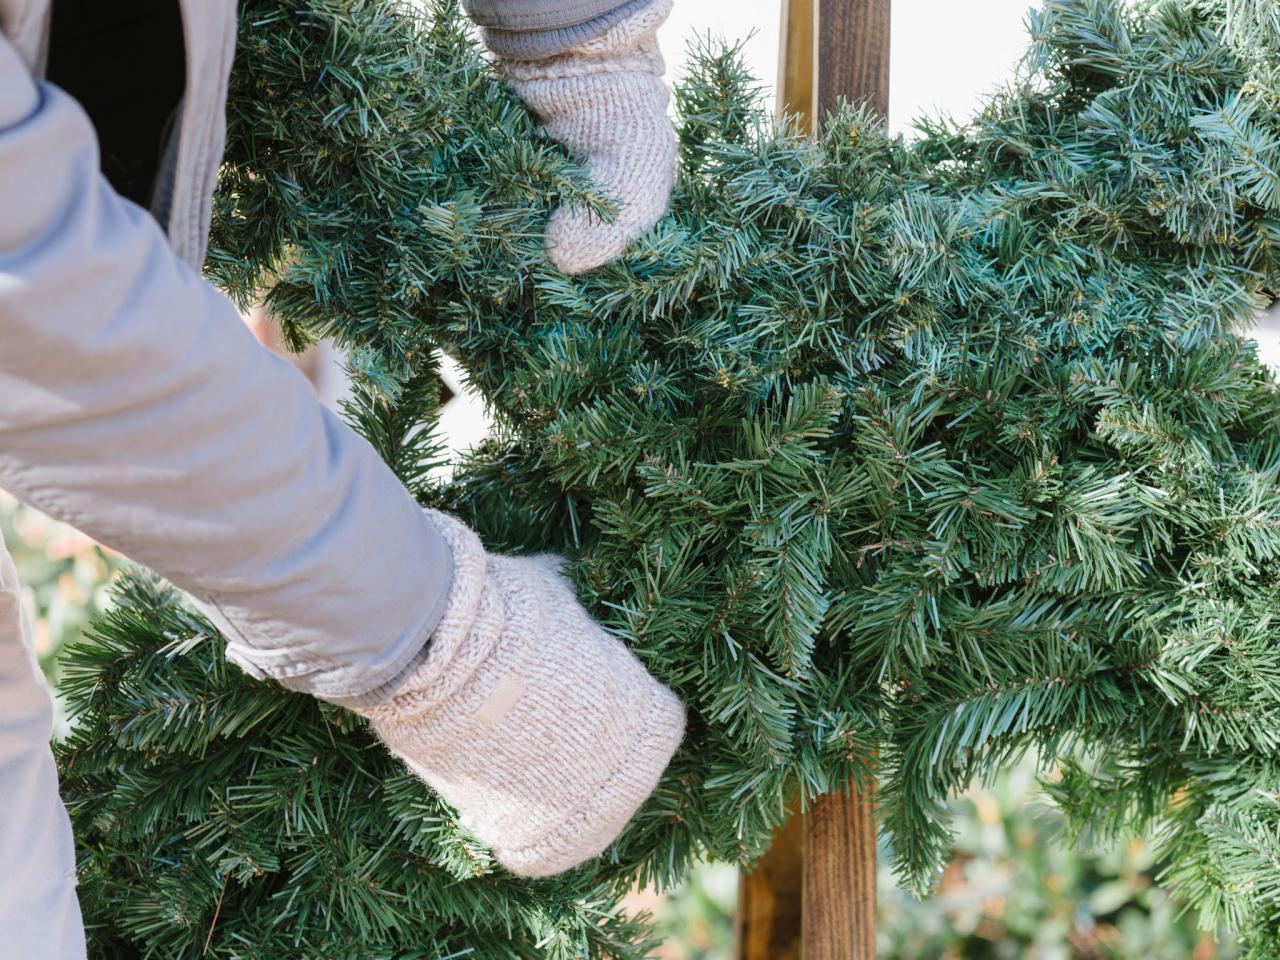
Add Screws and Dry-Fit Wreaths
Starting from the bottom third portion of the 2X4 pressure-treated lumber stake, add 1/2" exterior wood screws into the front of the stake with drill. Next use measuring tape to determine the proper distance from the bottom screw to where the center wreath will hang as well as the proper distance from the center wreath to the top wreath. Note: To get this measurement, place measuring tape on top of outer edge of recently hung wreath, holding the next wreath up on stake above it with no space between. Use measuring tape to determine measurement from outer top surface of the existing wreath to the inner top edge of the wreath above it. Use this measurement to add each of the last two screws to their proper places.

Brian Patrick Flynn
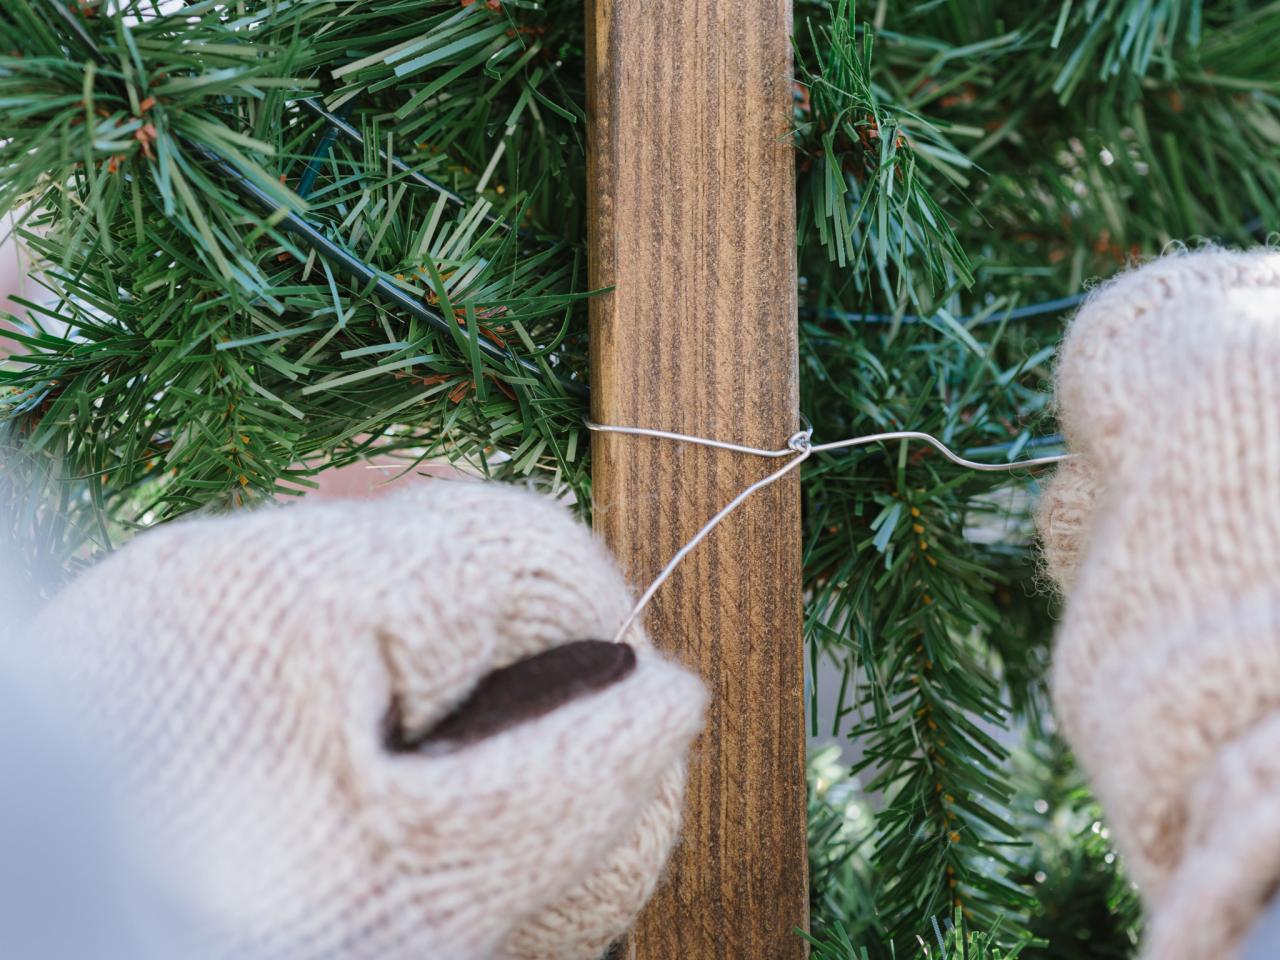
Secure With Wire
Once each of the three wreaths are added to screws, secure them to the 2X4 pressure-treated stake with galvanized wire wrapped around the top of the wreath and around the screw. This will ensure wreaths remain in place in the event of strong winds.

Brian Patrick Flynn
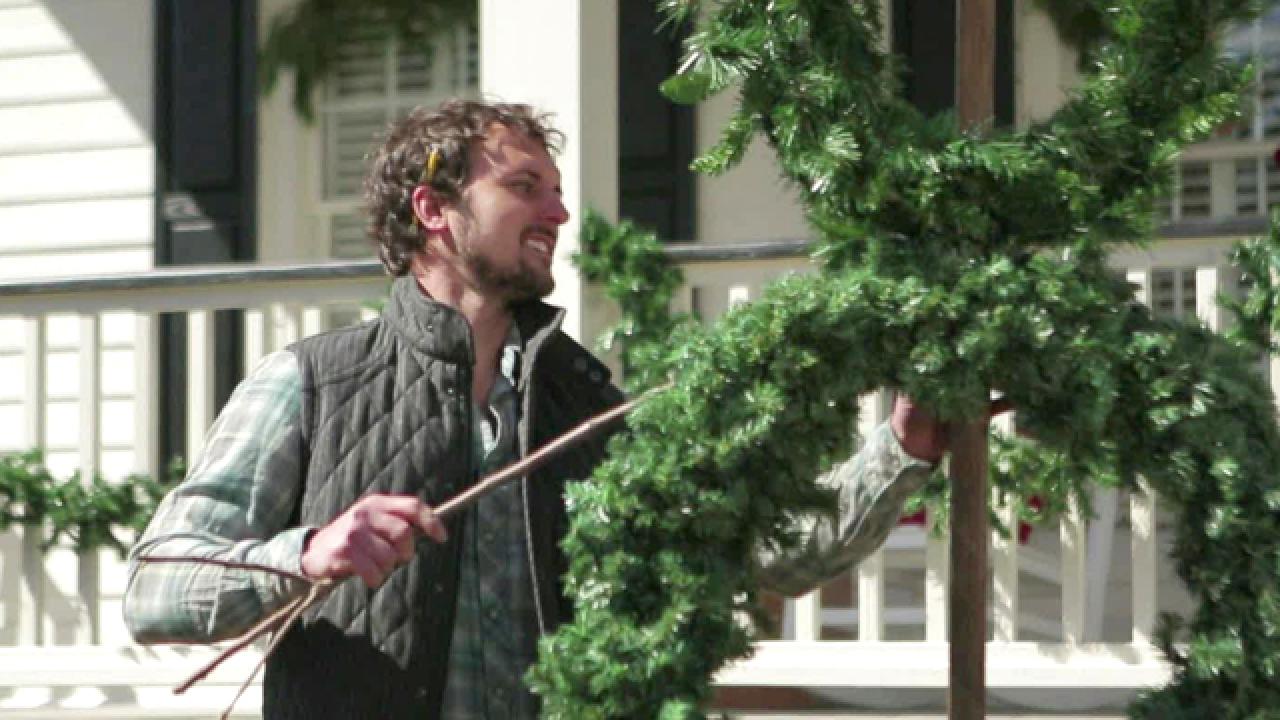
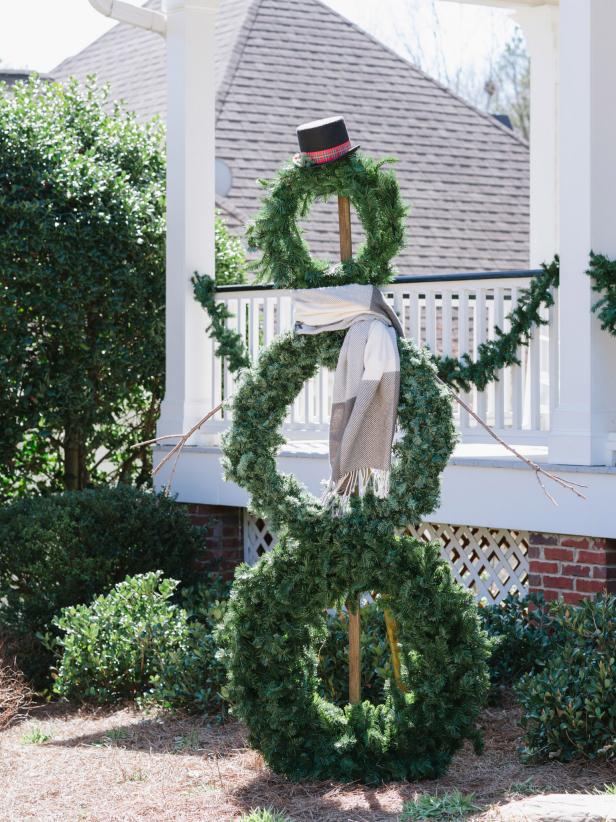
Add Embellishments
Add branches, scarf and top hat to bring personality and charm to your three-wreath snowman.
Brian Patrick Flynn
Brian Patrick Flynn


