


How to Install a Planked Wood Ceiling

Wood Plank Ceiling After

Photo by: Marian Parsons
Marian Parsons
Materials Needed:
- tongue-and-groove wood planks, enough to cover entire ceiling
- paint tray and plastic paint tray liner
- 6" paint roller bar and foam cover
- 1 gallon paint in desired finish (quart size for smaller rooms)
- 1 gallon primer (quart size for smaller rooms)
- step ladder
- finishing nailer
- 16 gauge 1-1/2" nails (made for the nail gun)
- construction adhesive
- caulk gun
- stud finder (optional)
- pencil
- jig saw
- chop saw
- protective eyewear
- lightweight spackle
- 2" angled sash paintbrush
- white paintable trim caulk (optional)
Measure Ceiling and Select Planks
Use a tape measure to determine width and length of room. Multiply width and length measurements to figure square footage of ceiling. Buy enough planks to cover square footage plus 10 percent for waste and mistakes. When looking for planks to apply to a ceiling, it's best to use thin, lightweight planks, preferably tongue and groove. This type of plank can generally be found in the paneling section of hardware stores. Allow planks to acclimate to the space for about a week prior to painting and installation. Tip: Custom "planks" can also be made out of 1/4- 1/2" MDF sheets cut to desired size.
Prime and Paint Planks
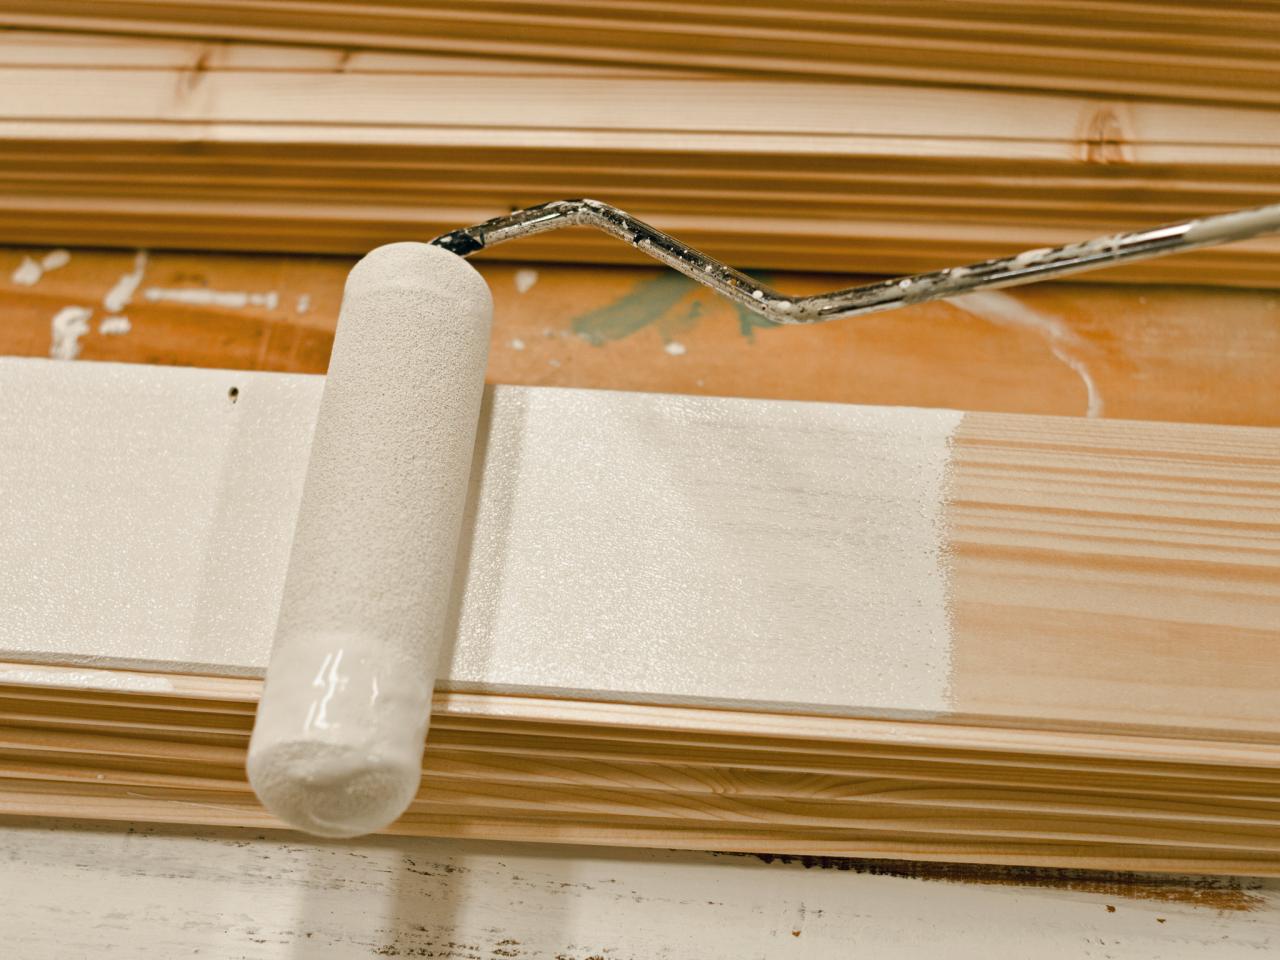
Pour primer into lined paint try and apply to planks with a 6" foam roller. Drips in the groove or off the tongue will interfere with how they fit together, so wipe away any drips with a paint brush and apply primer in a thin coat. Once primer has dried, repeat process with paint. Tip: Stain and polyurethane may be applied instead of paint for a different look.

Painting Wood Plank
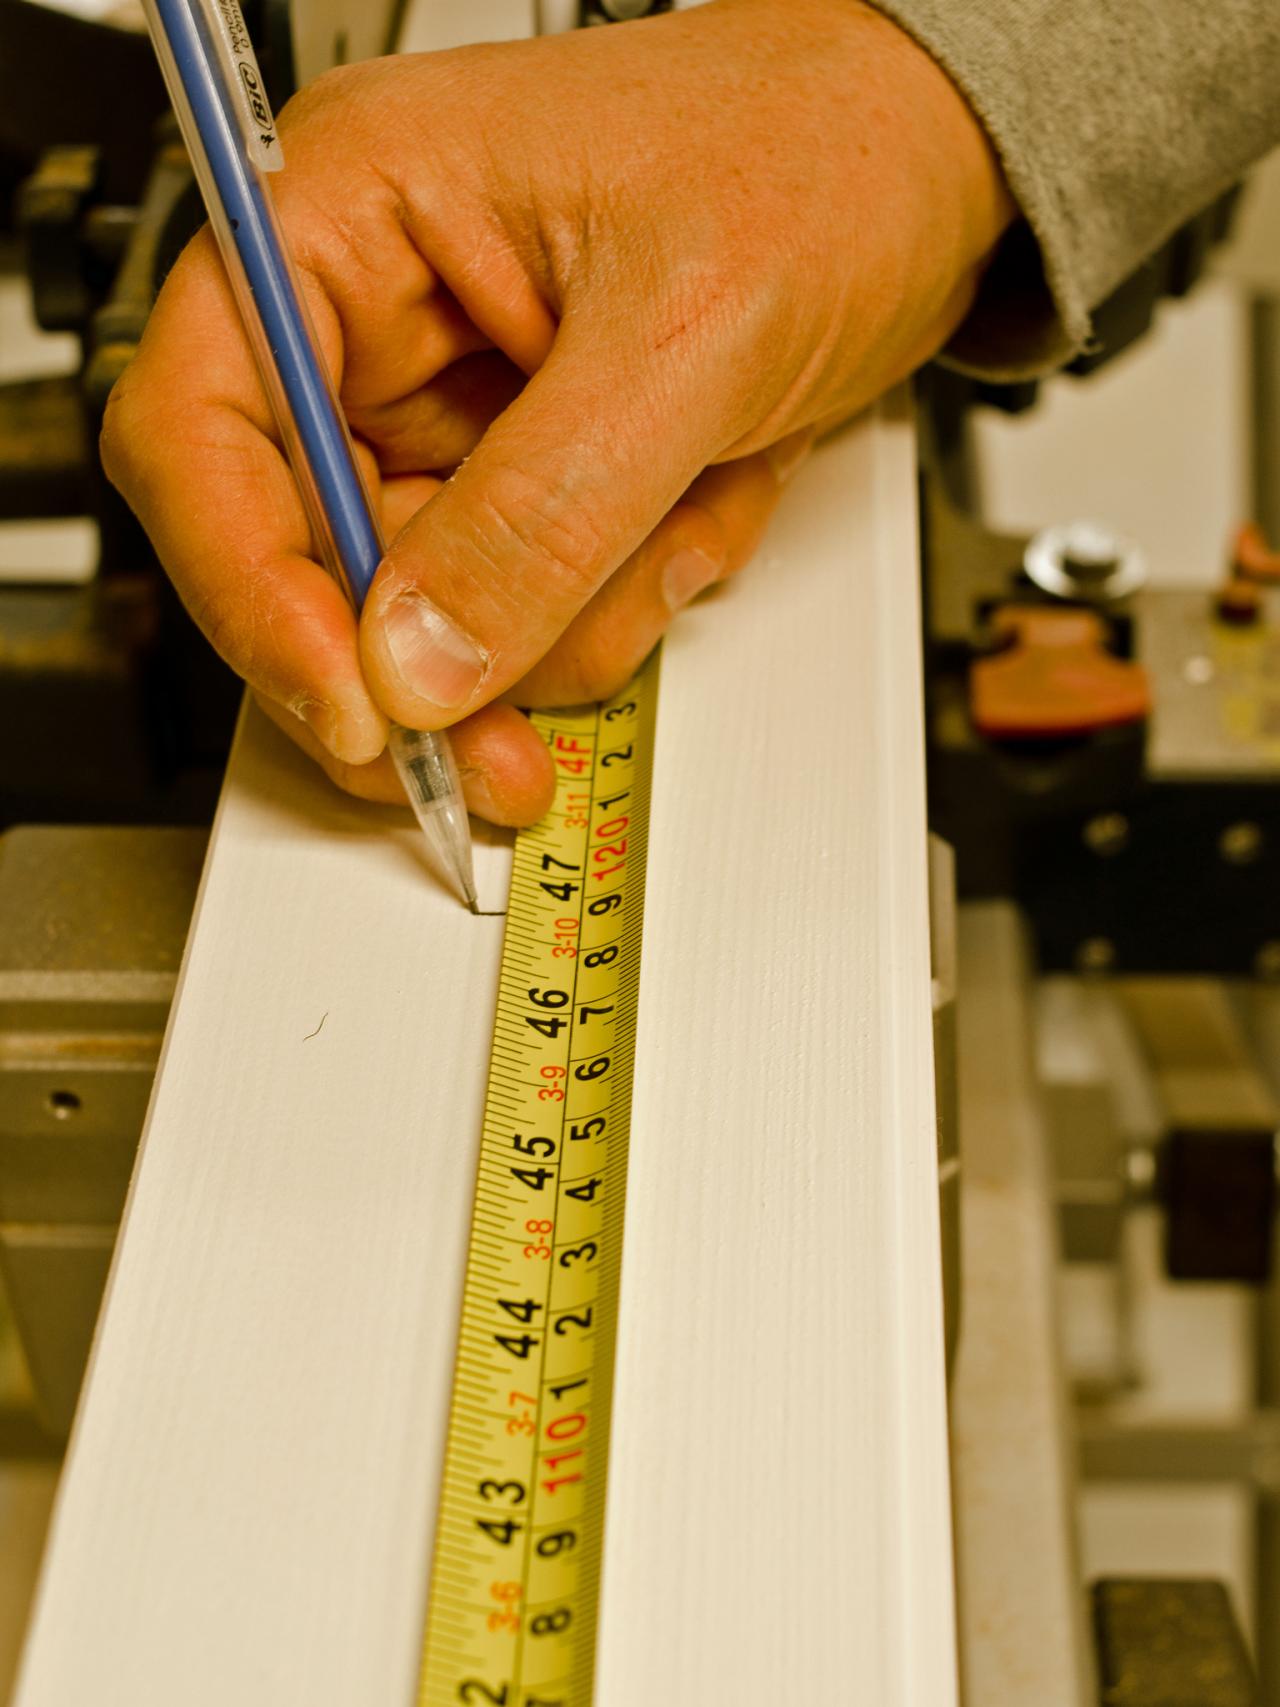
Measure and Cut Planks
Determine which direction ceiling planks will run in the room. It's ideal to have planks run perpendicular to ceiling joists, so they can be nailed into joists. Planks can be nailed directly into drywall if running parallel to joists as long as the planks are lightweight. Determine how planks will fit on ceiling and make any necessary cuts on a chop saw. For example, if planks are running width-wise in a 12' wide room and 8' long planks are being used, cut several planks to 4' long. If installing crown molding, cut pieces slightly short of wall width. If molding or trim isn't being installed, cut pieces to fit perfectly. Cut as many planks as required to cover ceiling. Tip: Always wear protective eyewear when using power tools.


Marking Board
Cutting Board
Install Planks
This step is best completed with two people. Start on side of room that is most visible. Place first plank flush against wall and nail into ceiling with a finishing nailer. If nailing into the drywall, insert nails at a slight angle and apply a small amount of construction adhesive to back of each plank with a caulk gun. If shooting into ceiling trusses, use a stud finder and mark location of trusses with pencil. Nail straight into ceiling trusses to secure. Construction adhesive may also be applied to back of planks for additional hold. When applying second plank to complete first row, make sure tongues are lined up and planks form a straight, continuous line. Most homes do not have perfectly square walls, so planks may not fit perfectly flush against wall. Install second row of planks, staggering joints. Tip: Tongue and grooves may not always fit together perfectly and adjustments may need to be made to warped boards. Imperfections in the wood might cause some gaps. These can simply be filled with caulk if desired or left alone for a more rustic look.

Installing Wood Plank Ceiling
Cutting Around Light Fixtures
When ceiling treatment reaches a light fixture, shut off electricity to room at the breaker box. Remove light fixture. (A drill or additional tools may be required for this step, depending on the fixture.) Hold plank up to ceiling outlet and mark width and depth with a pencil (Image 1). Cut out marked area with a jig saw (Image 2). Hold plank up to outlet to make sure cut is in proper place. Repeat with other planks around outlets. Reinstall fixtures and turn power to room back on. Continue installing planks until entire ceiling is covered (Image 3). Tip: Find an object that's the same size and shape of outlet to use as a template.


Marking Around a Light Box
Cutting Board
Nail Holes in Wood Plank Ceiling
Fill Nail Holes and Touch Up Paint
Apply lightweight spackle with a fingertip to fill nail holes (Image 1). If a cleaner look is desired, caulk gaps and edges of ceiling. Touchup marks left by finishing nailer with ceiling paint and 2-1/2" angled sash brush (Image 2).


Marian Parsons
Spackling Holes in Wood Plank Ceiling
Painting a Wood Plank Ceiling
Wood Plank Ceiling After
Photo By: Marian Parsons


