


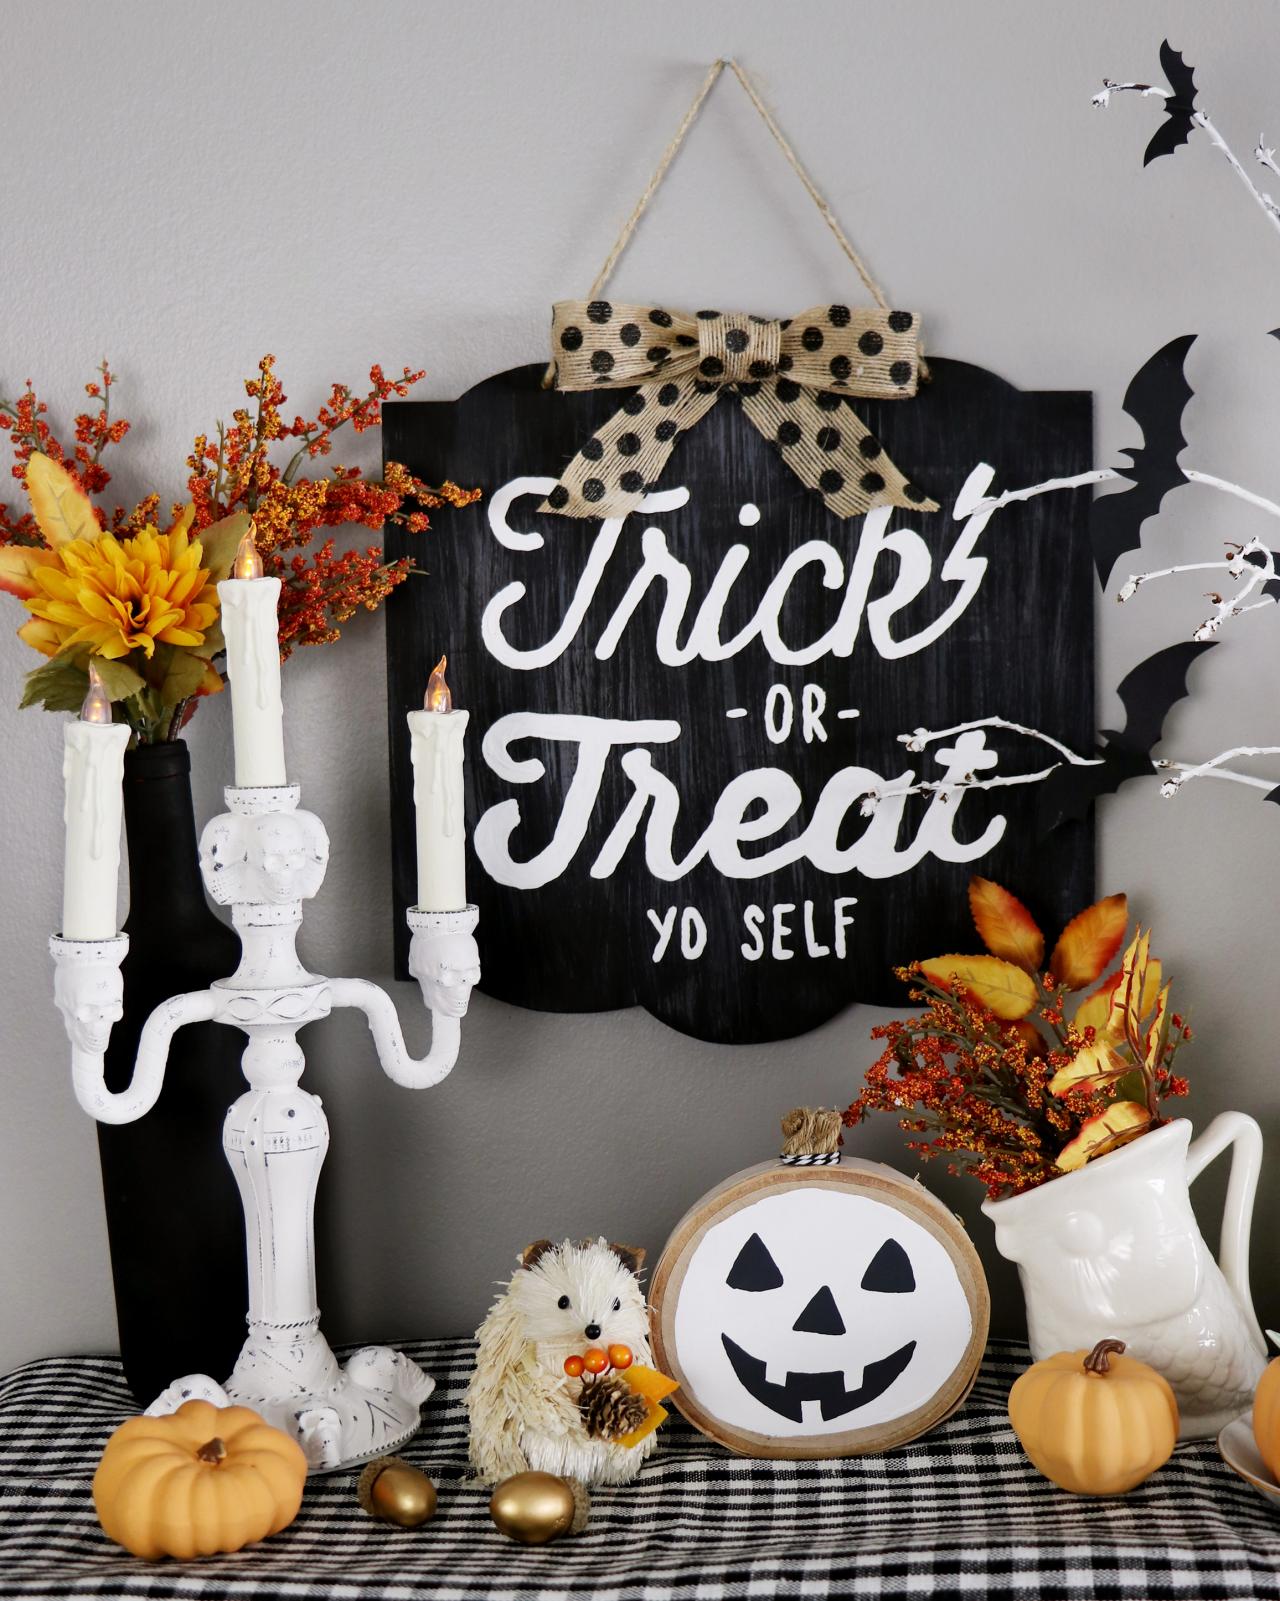
5 Farmhouse Halloween Decorating DIYs
Turn your tired Halloween decor into the farmhouse display of your dreams. We transformed dollar store decor into Halloween-chic accessories with a few creative coats of paint.

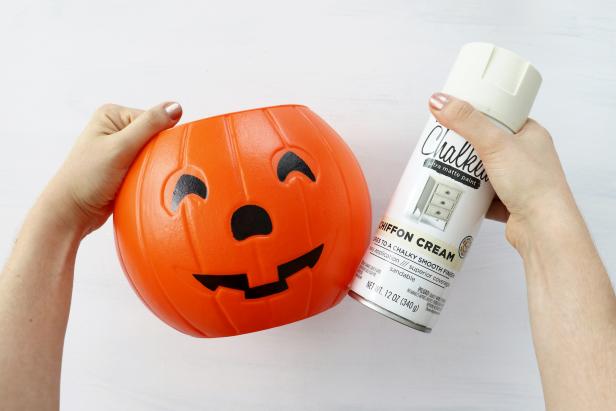
PUMPKIN PLANTER

Karen Kavett
Materials + Tools
- jack-o'-lantern trick-or-treat bucket
- off-white spray paint
- rope
- hot glue gun
- jar fillers
- silk flowers
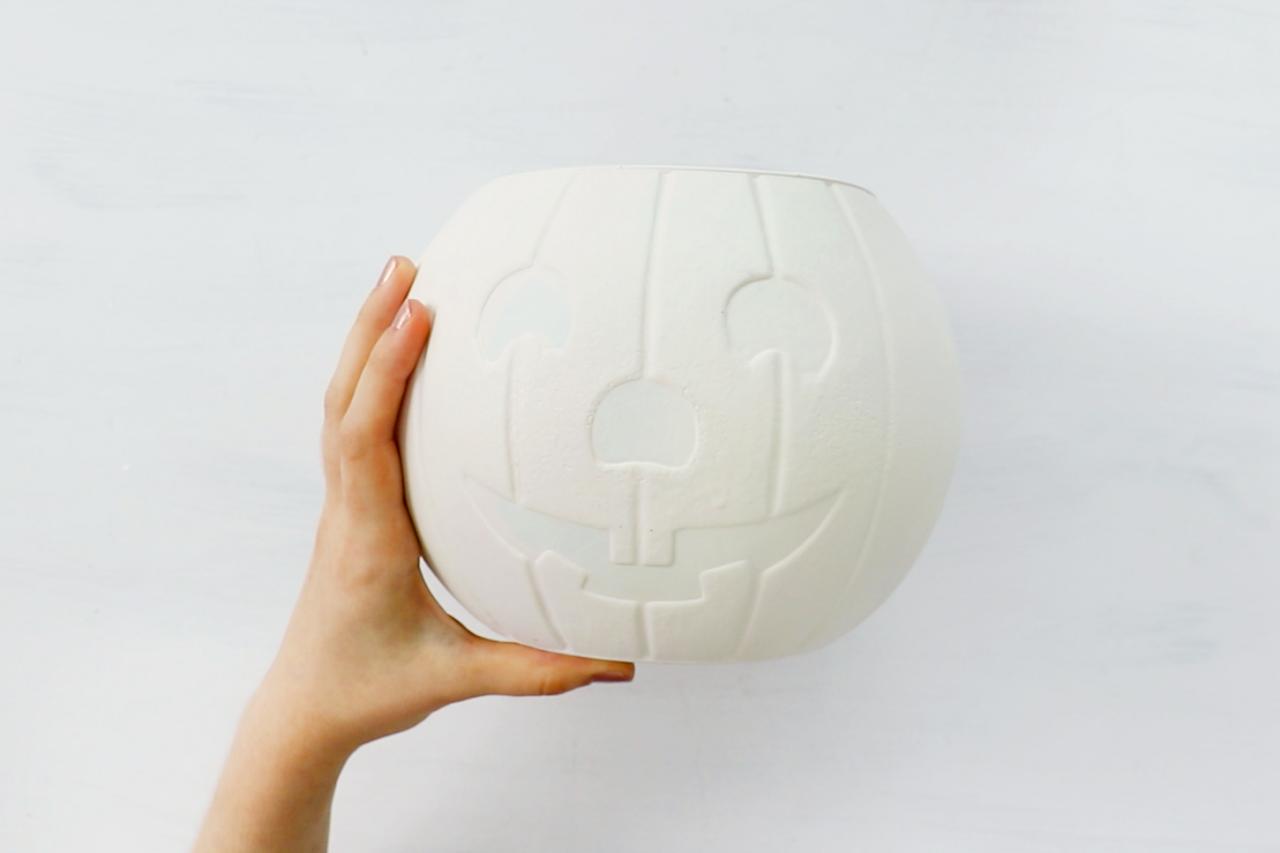
Paint the Trick-or-Treat Bucket
Karen Kavett

Karen Kavett
Remove the handle from a jack-o'-lantern trick-or-treat bucket, then spray paint it white. We used an off-white shade.
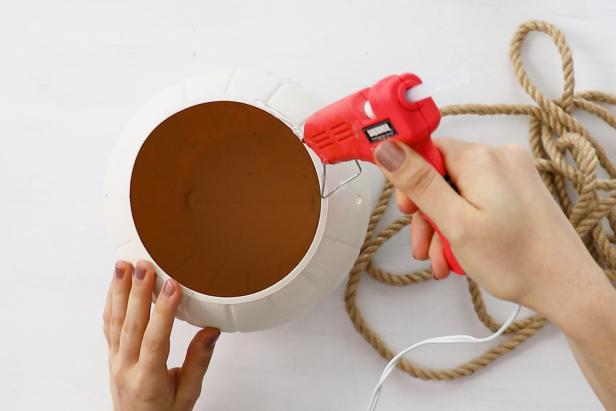
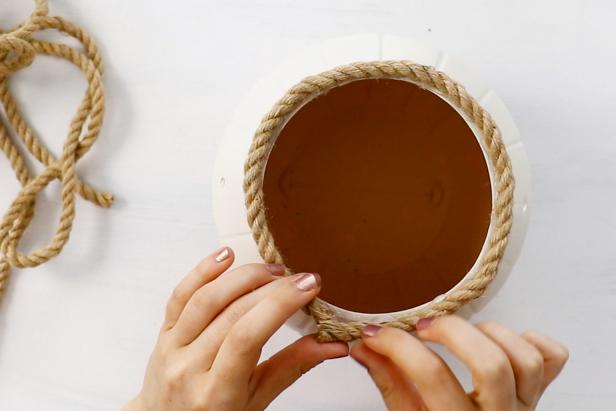
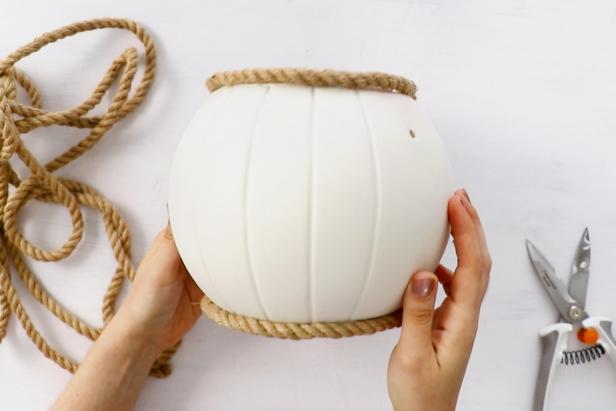
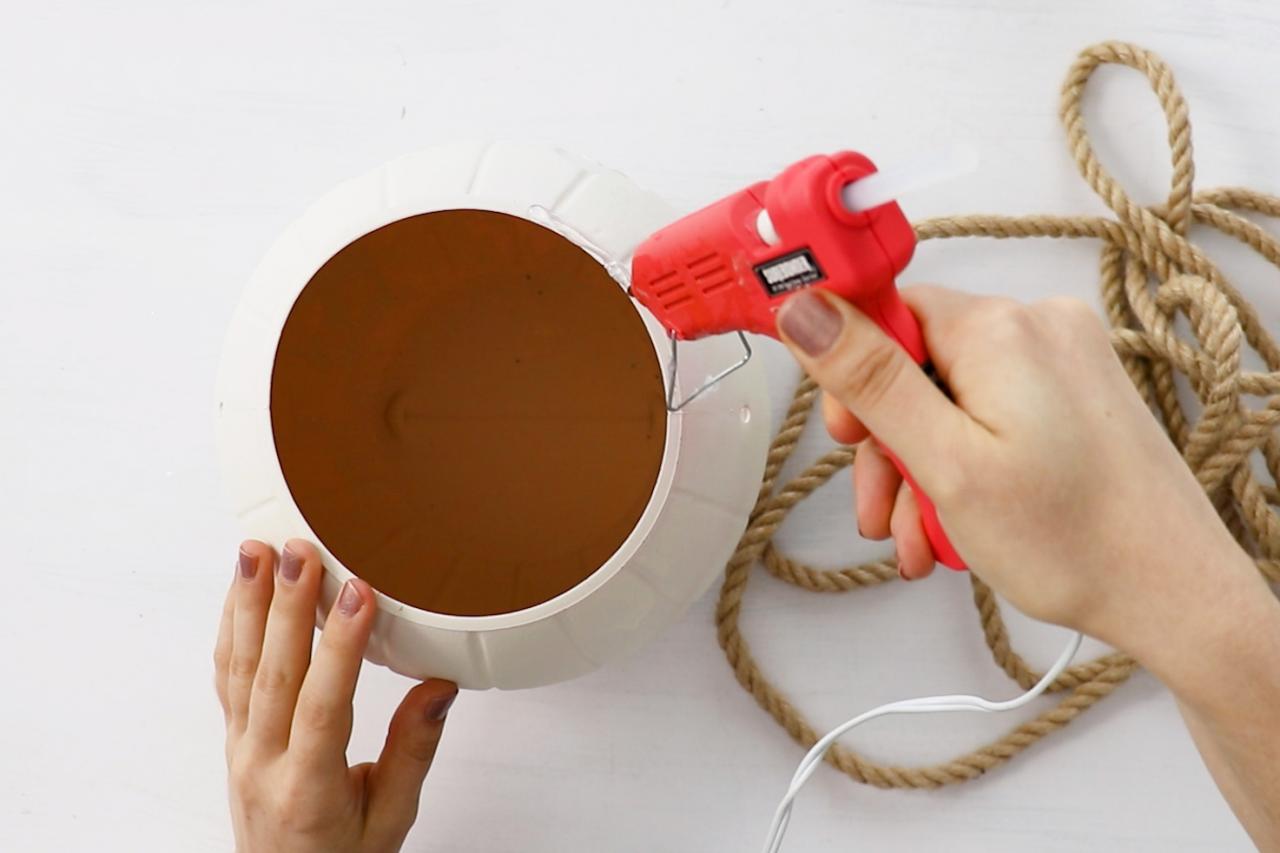
Attach Rope
Karen Kavett
Karen Kavett
Karen Kavett
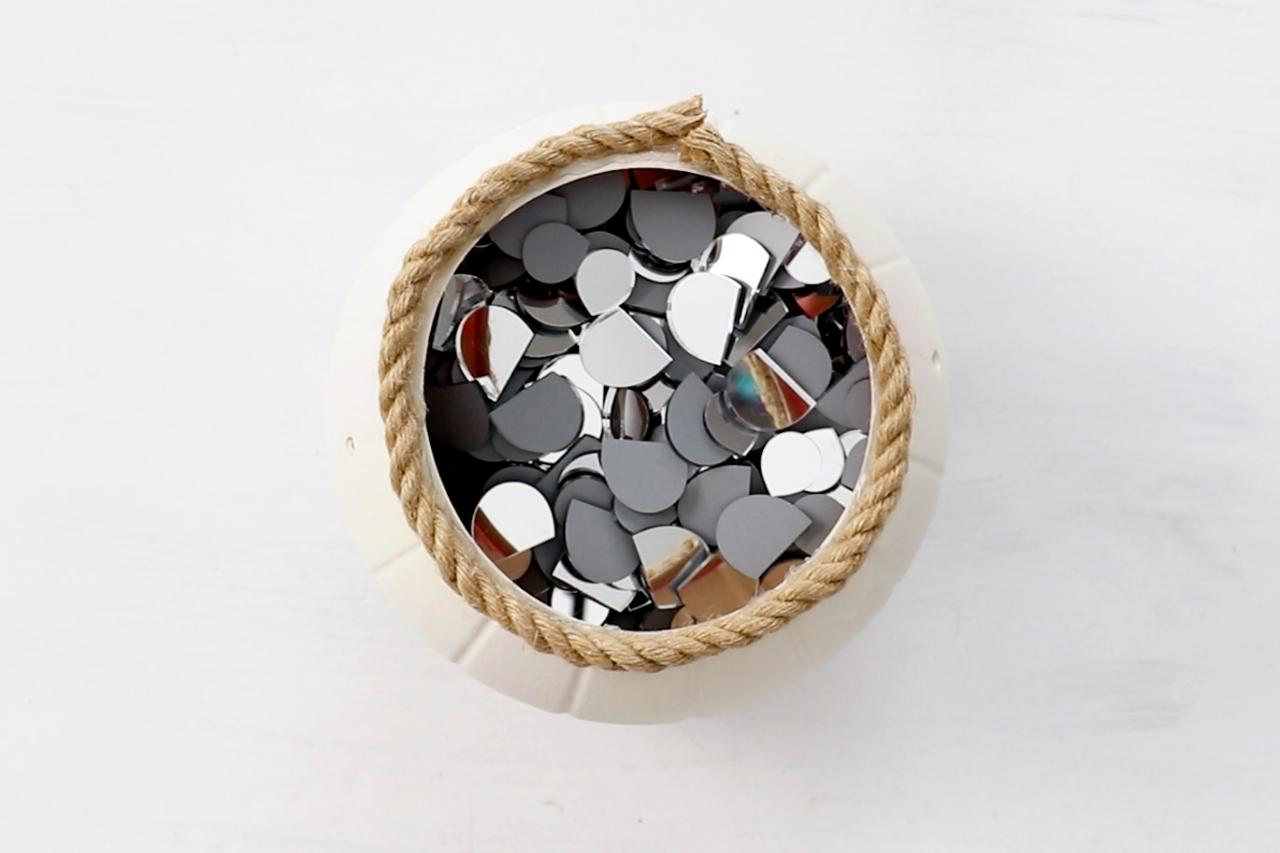
Use hot glue to attach rope around the top and bottom edges.
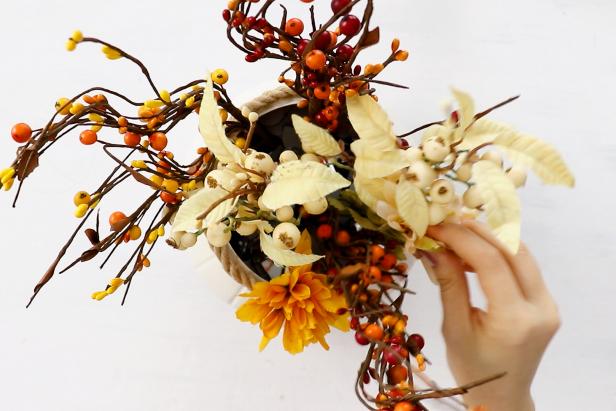
Fill and Arrange

Karen Kavett
Karen Kavett
Karen Kavett
Fill with jar fillers like marbles or beads. Arrange faux flowers in autumnal colors.
RUSTIC BAT DECOR

Karen Kavett
Materials + Tools
- small branches or sticks
- white acrylic paint
- paintbrush
- black paper or cardstock
- pencil
- scissors
- hot glue gun
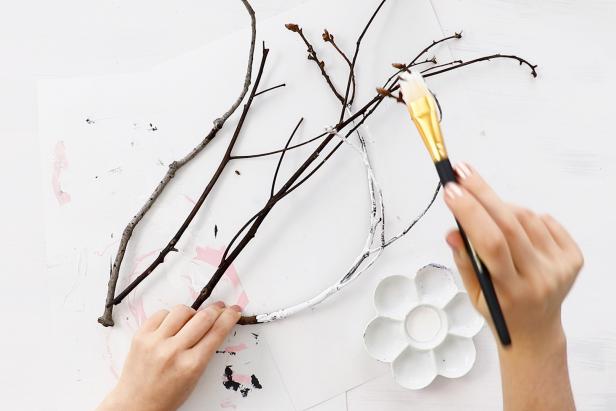
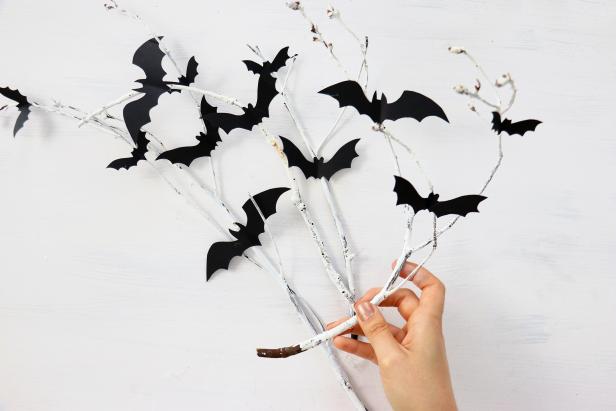
Paint the Branches
Karen Kavett
Paint sticks with white paint, letting some of the bark show through. You can also lightly sand the branches after they dry to enhance the rustic, weathered look.
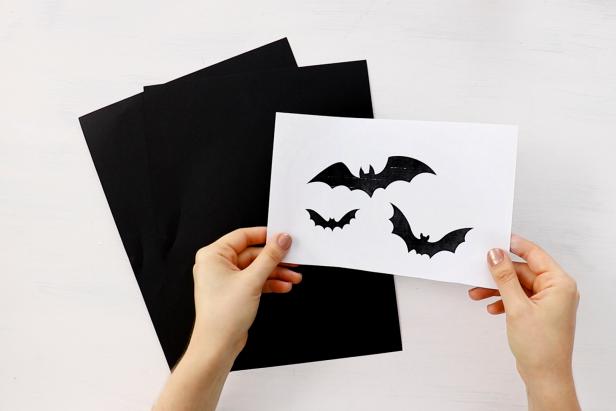
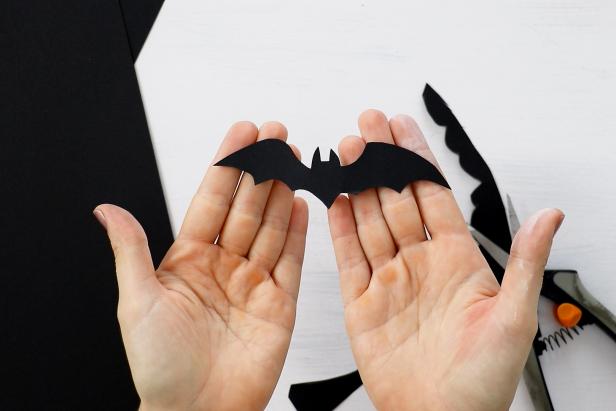
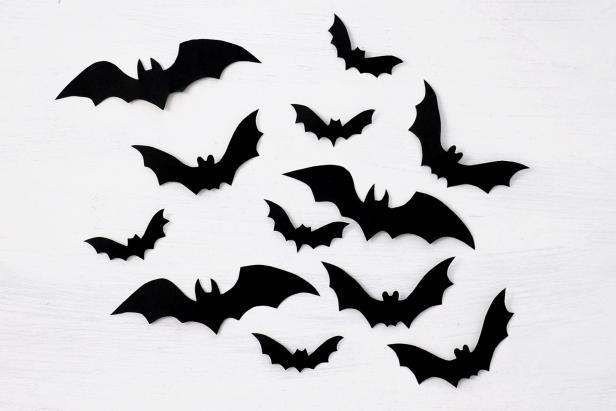
Cut Out Bat Shapes
Karen Kavett

Karen Kavett
Karen Kavett
Karen Kavett
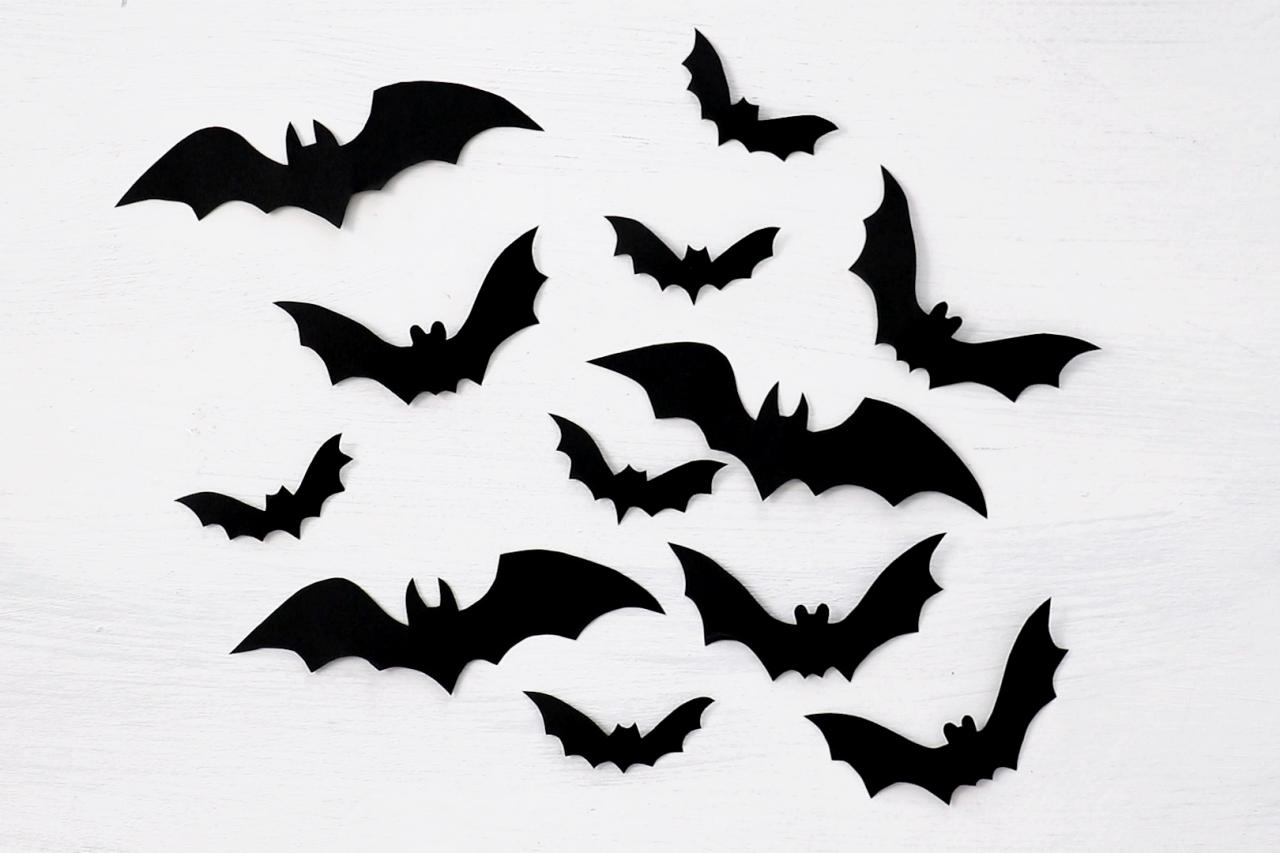
Find bat shapes online, then print and cut them out. Trace them onto black paper and cut out as many as you like.
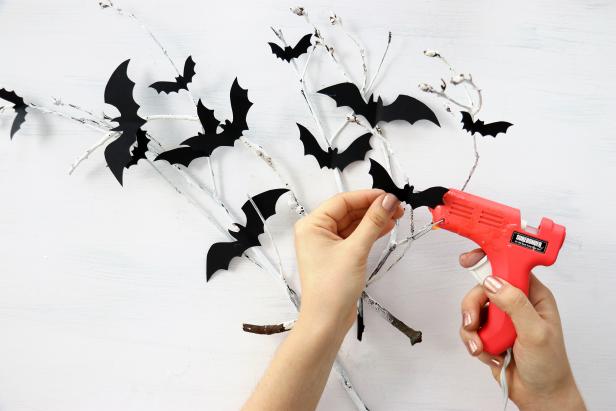
Attach Paper Bats to Branches
Karen Kavett
Karen Kavett
Karen Kavett
Gently fold the bat shapes in half and hot glue them onto the branches.
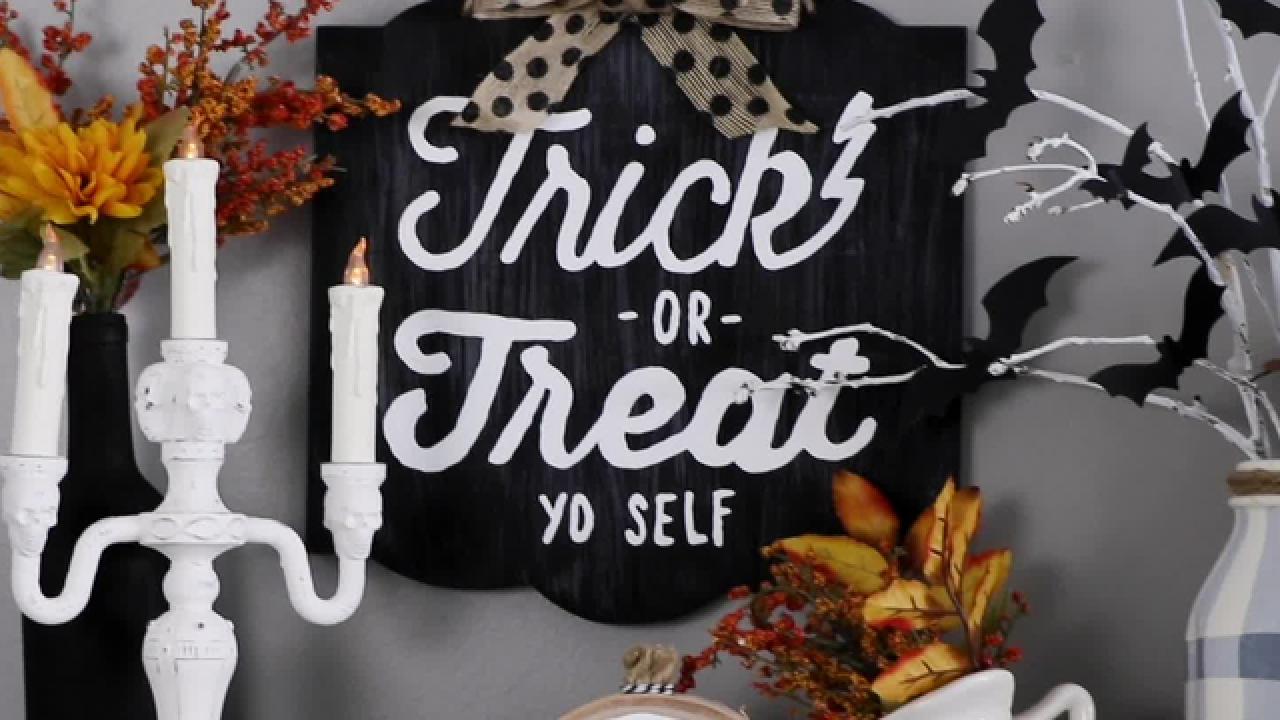
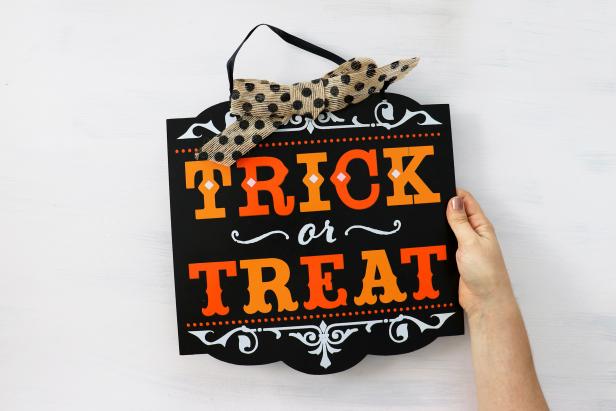
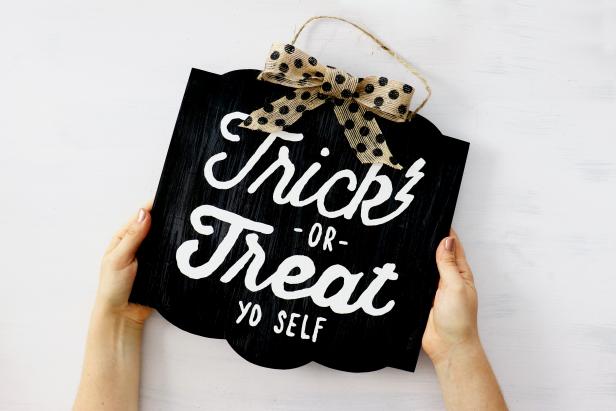
"TRICK-OR-TREAT YO SELF" SIGN

Karen Kavett
Materials + Tools
- Halloween sign
- black and white acrylic paint
- paintbrush
- "Trick-or-Treat Yo Self" pattern
- pencil
- twine
- hair straightener
- hot glue gun
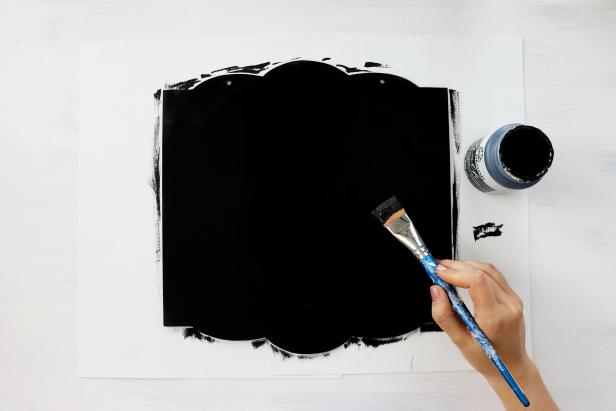
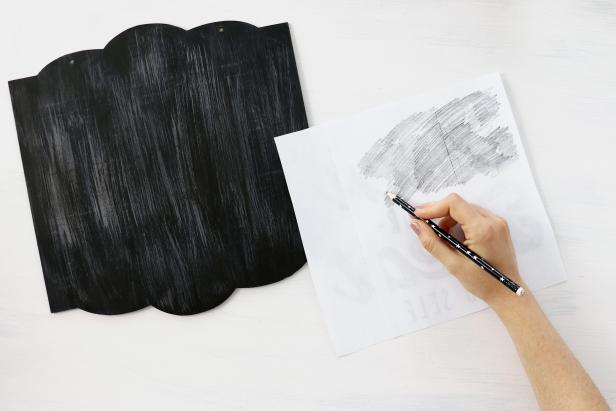
Paint the Sign
Karen Kavett
Karen Kavett
Remove all embellishments from the original Halloween sign and paint it black. Let dry completely.
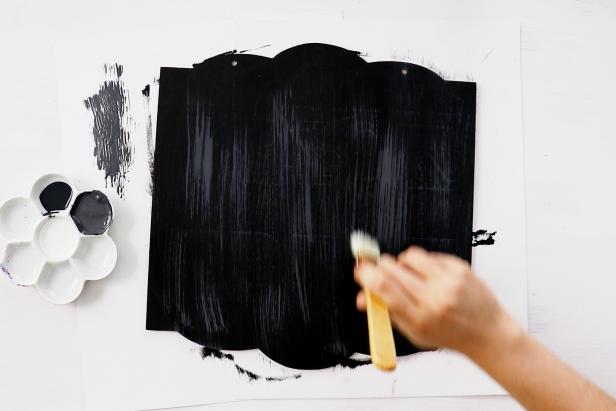
Create Texture
Karen Kavett
Mix white and black paint to create a light gray hue. Use a dry brush to subtly add a wood grain texture.
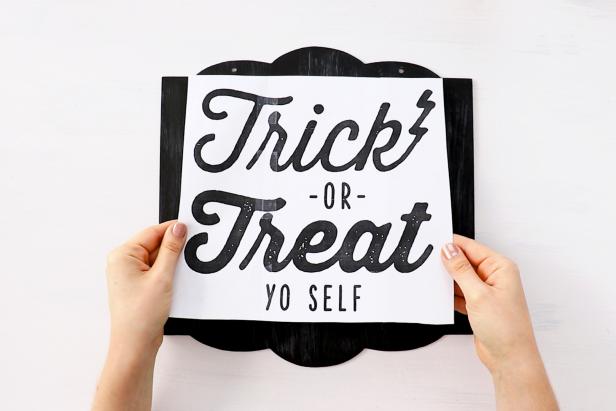
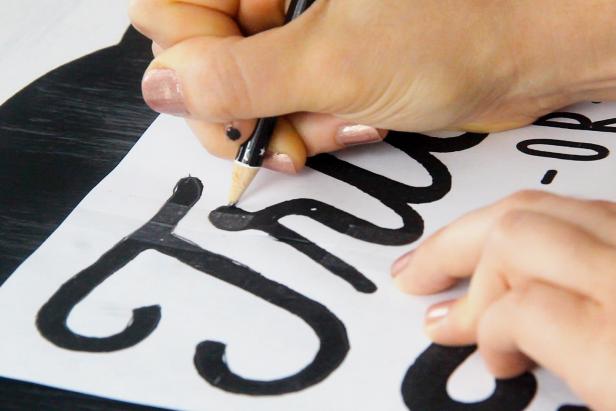
Choose and Transfer Design
Karen Kavett
Karen Kavett
Karen Kavett
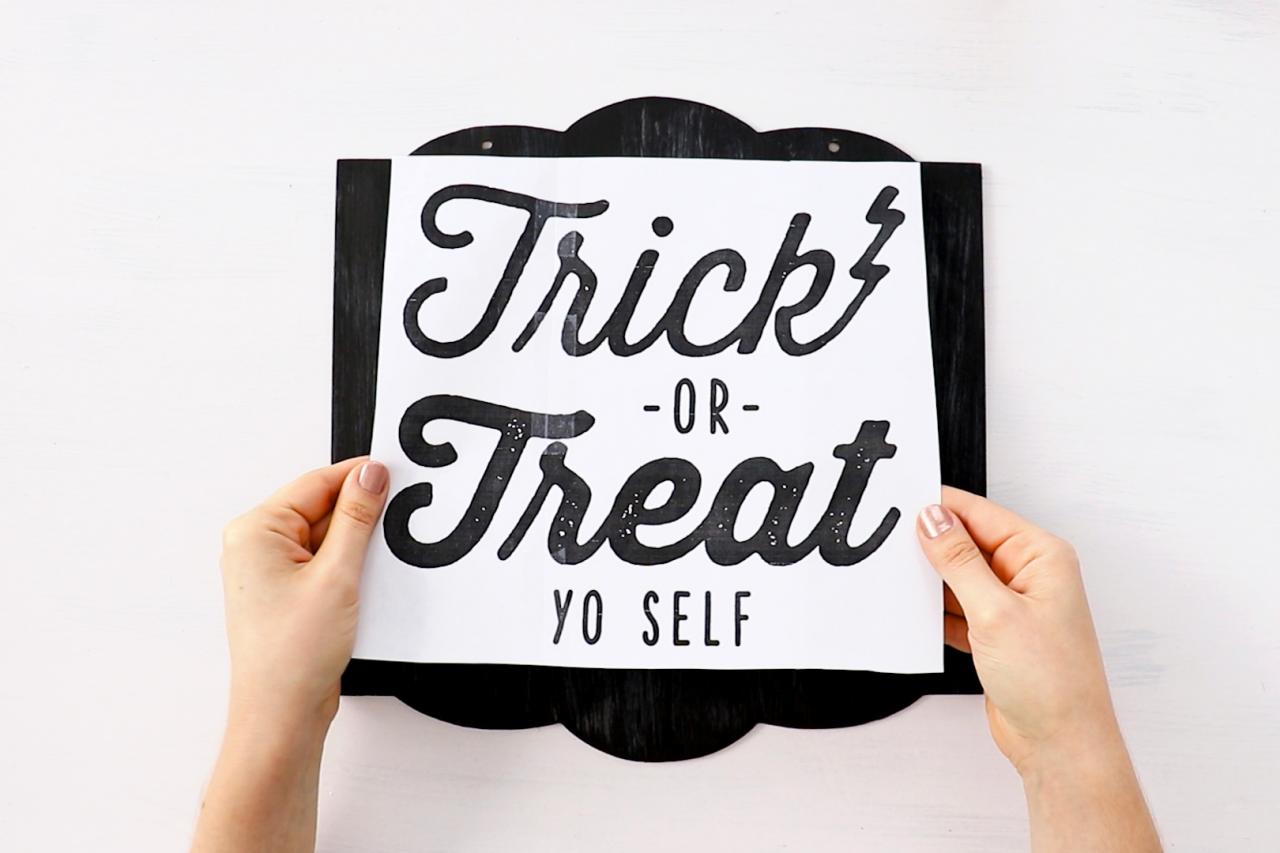
Freehand your design directly onto the sign or print out the pattern. To transfer a pattern, color the back of the printout with a pencil, then tape into place and trace the outlines with your pencil.
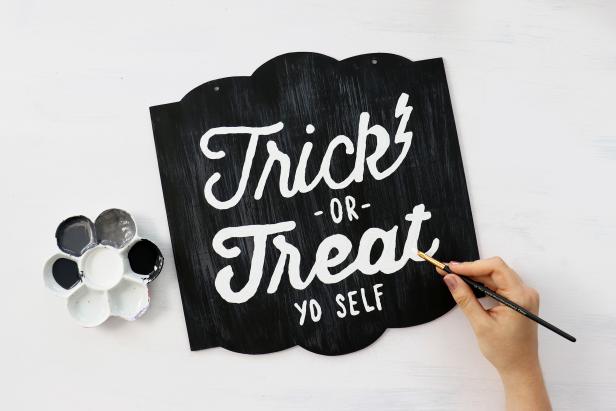
Paint the Design
Karen Kavett
Fill in the design with white paint.
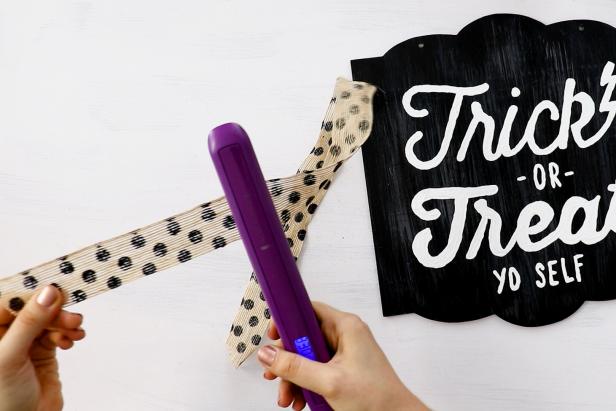
Add Embellishments
Karen Kavett

Karen Kavett
Karen Kavett

Karen Kavett
Optionally, run the original bow through a hair straightener to smooth out the ribbon. Reshape and glue it back together, then glue it back onto the sign. Tie on a length of twine to hang it up.
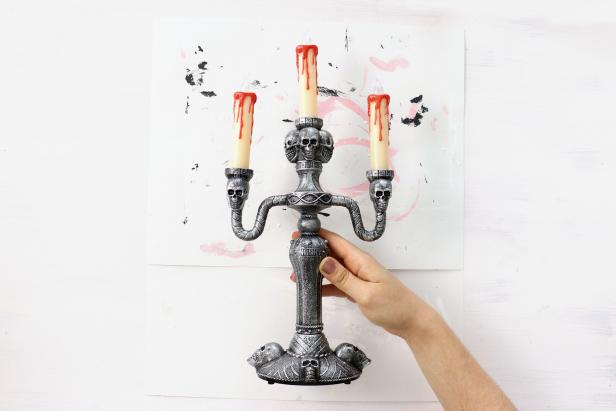
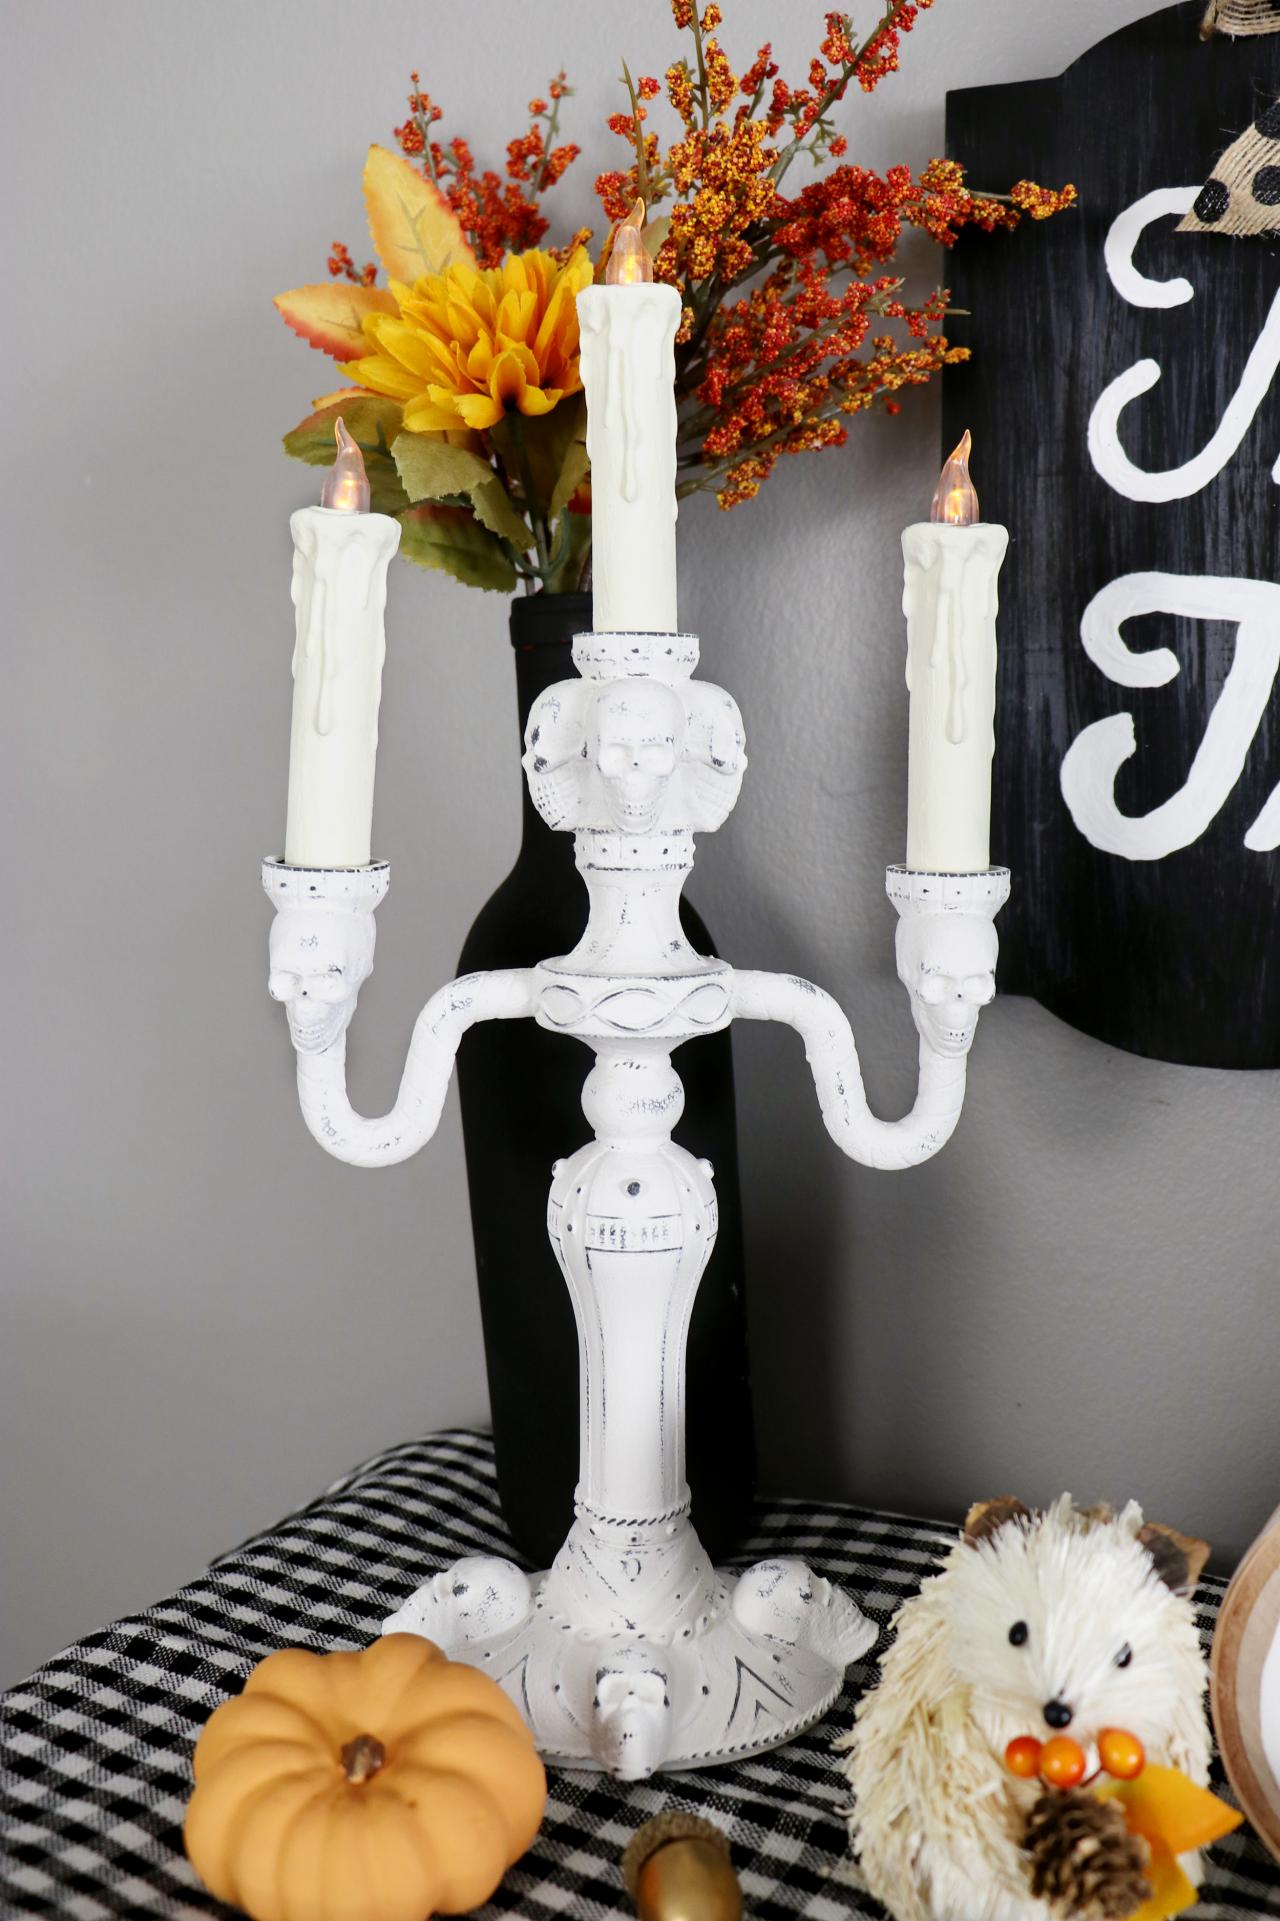
PAINTED CANDELABRA

Karen Kavett
Materials + Tools
- Halloween candelabra
- black acrylic paint
- white acrylic paint
- off-white acrylic paint
- paintbrush
- sandpaper
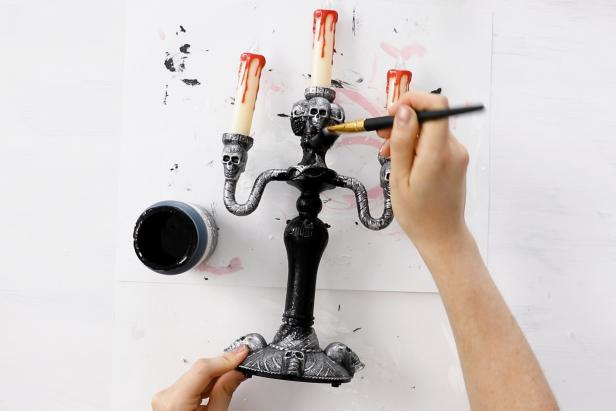
Paint
Karen Kavett
Karen Kavett
Karen Kavett
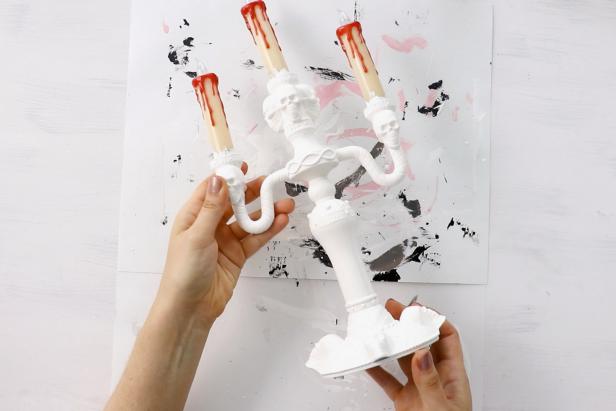
Paint a Halloween candelabra black. Once it's dry, paint two coats of white paint over the black paint, allowing it to dry between coats.
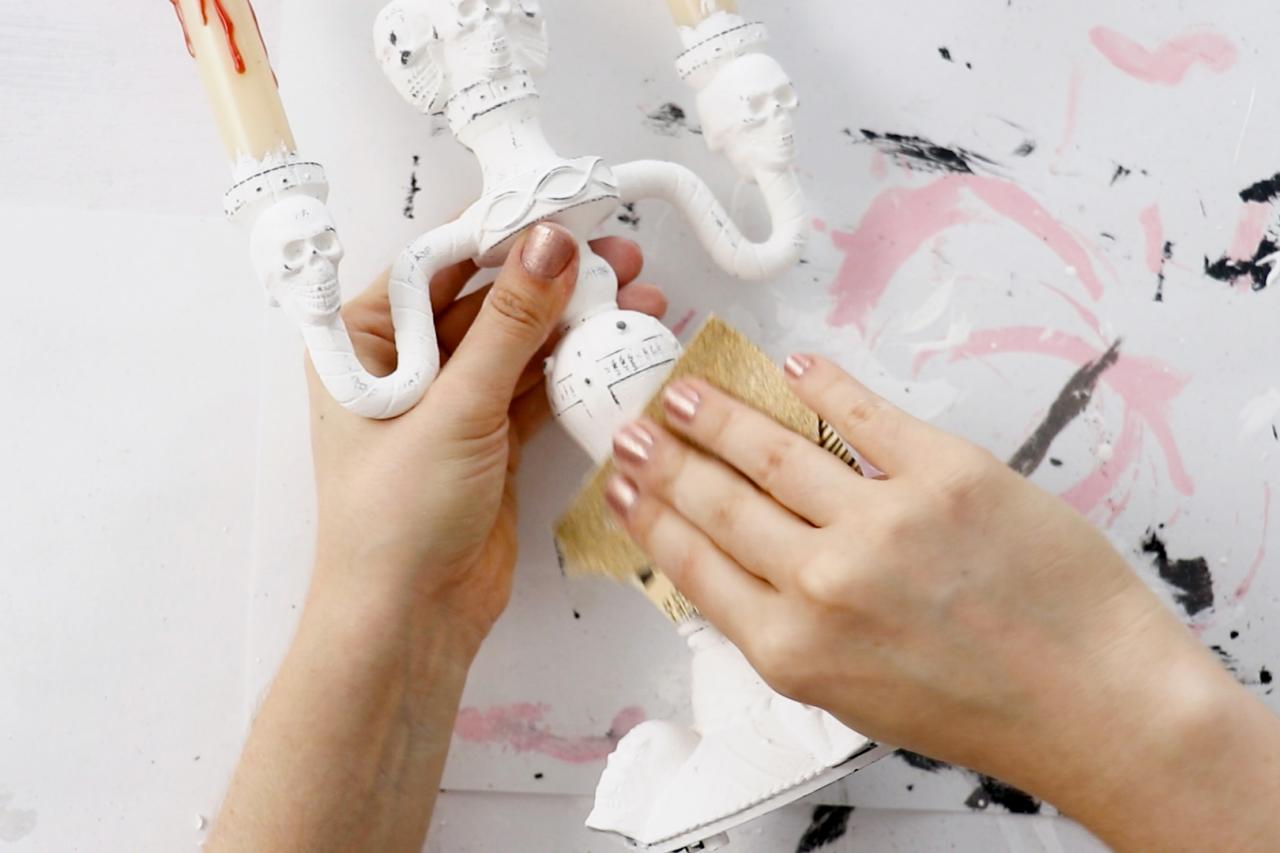
Sand

Karen Kavett
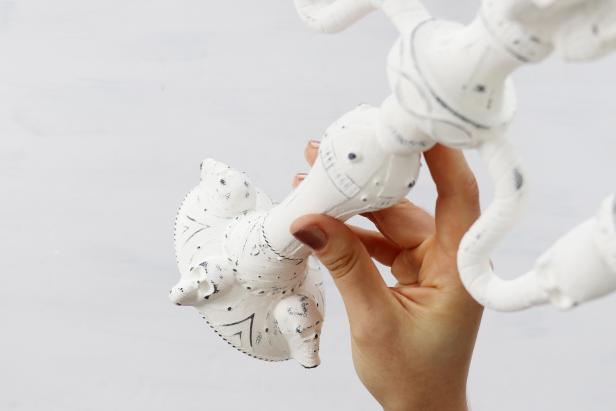
Karen Kavett
Use sandpaper to remove some of the white paint, giving the candelabra a rustic, vintage look.
Paint the Candles

Karen Kavett
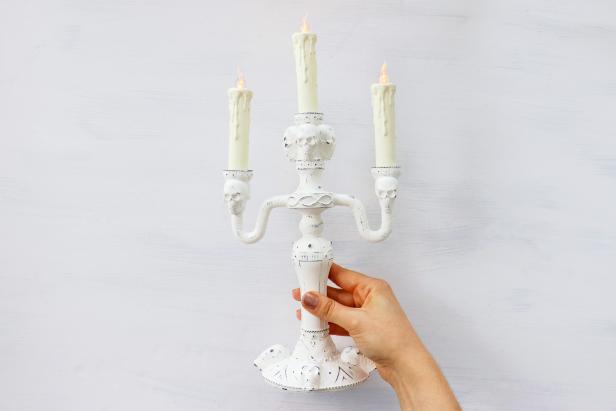
Karen Kavett
To finish, paint the candles in an off-white shade and let dry.
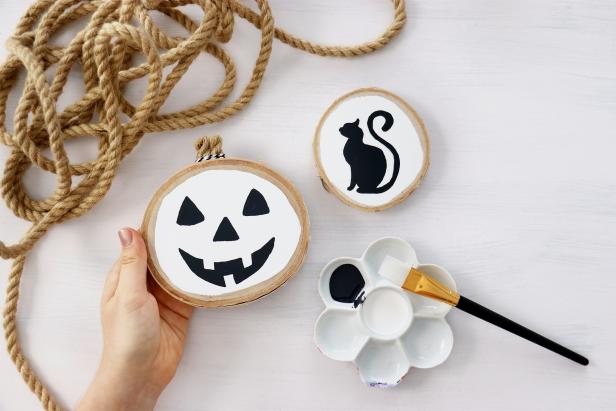
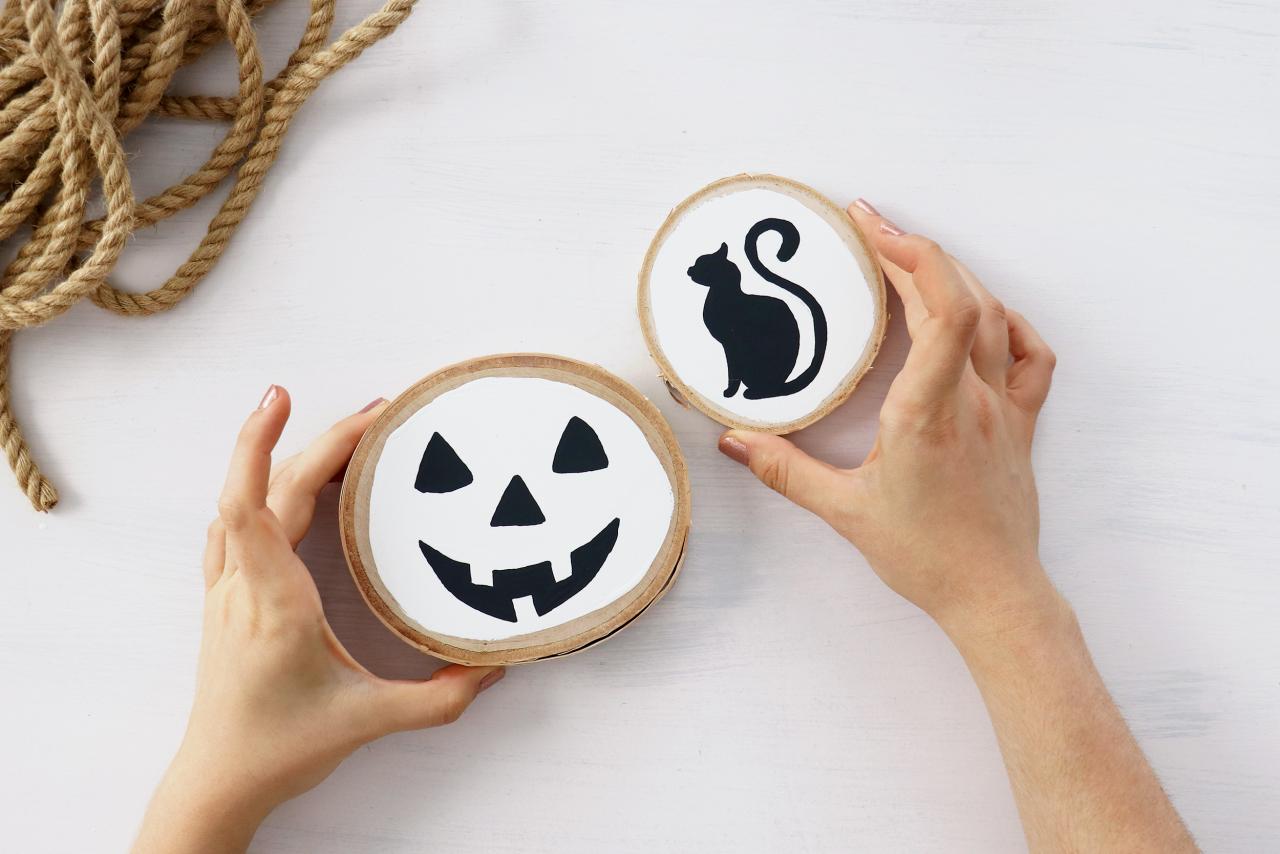
WOOD ROUND PUMPKINS

Karen Kavett
Materials + Tools
- wood rounds
- black and white paint
- paintbrush
- pencil
- rope
- string or baker's twine
- hot glue gun
Paint
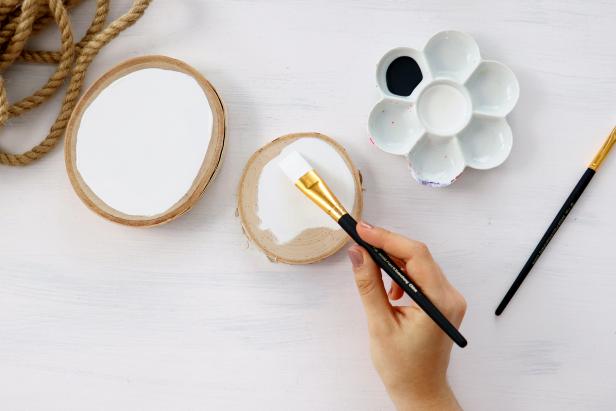
Karen Kavett
Paint the center of a wood round white, keeping the edges loose and organic.
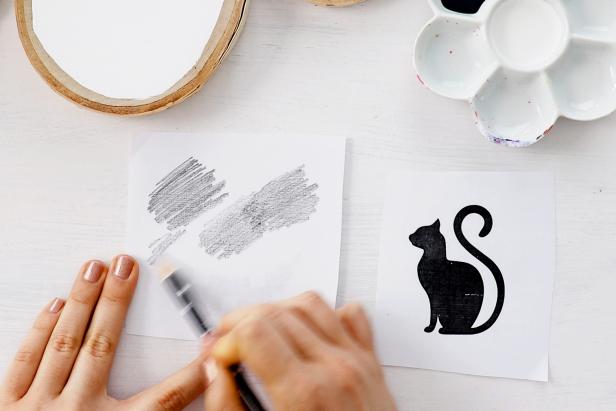
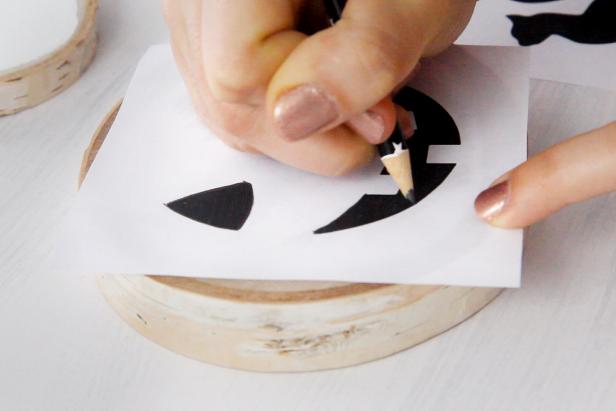
Choose and Transfer Design

Karen Kavett
Karen Kavett
Karen Kavett
Freehand your design onto the wood round or find a pattern online and print it out. To transfer it, color the back of the printout with a pencil, tape it into place and trace the outlines.
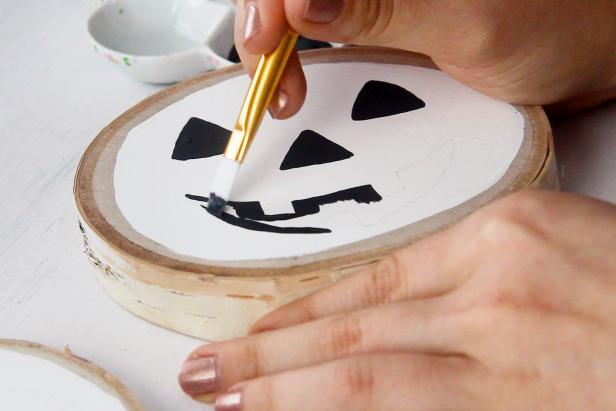
Paint the Design
Karen Kavett

Karen Kavett
Fill in the design with black paint.
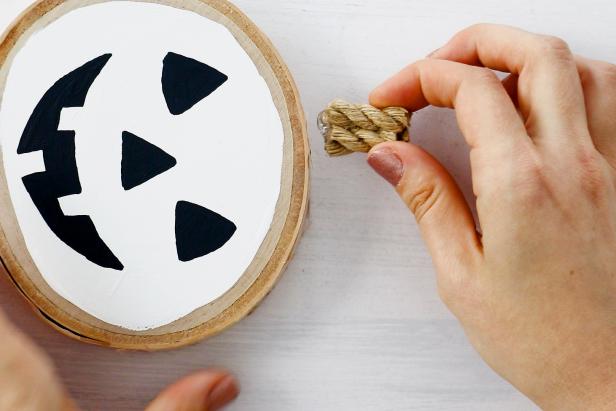
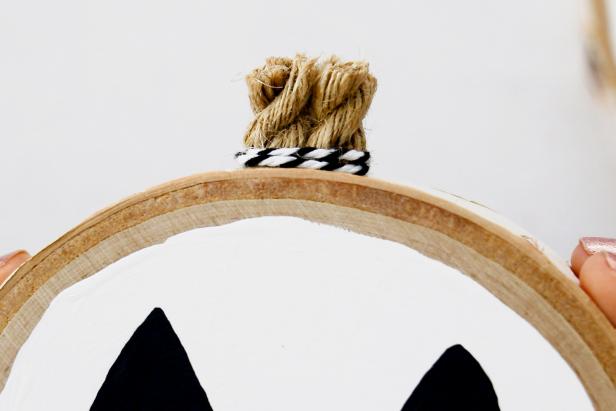
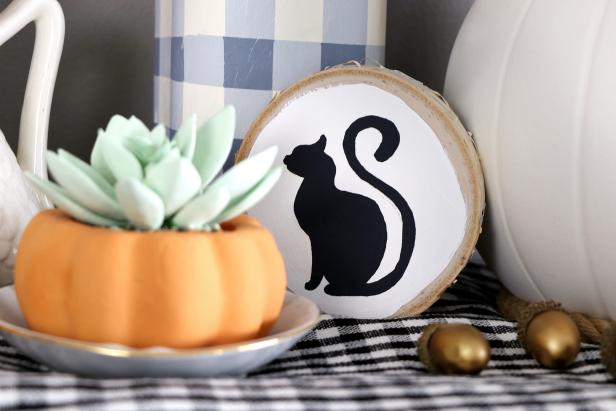
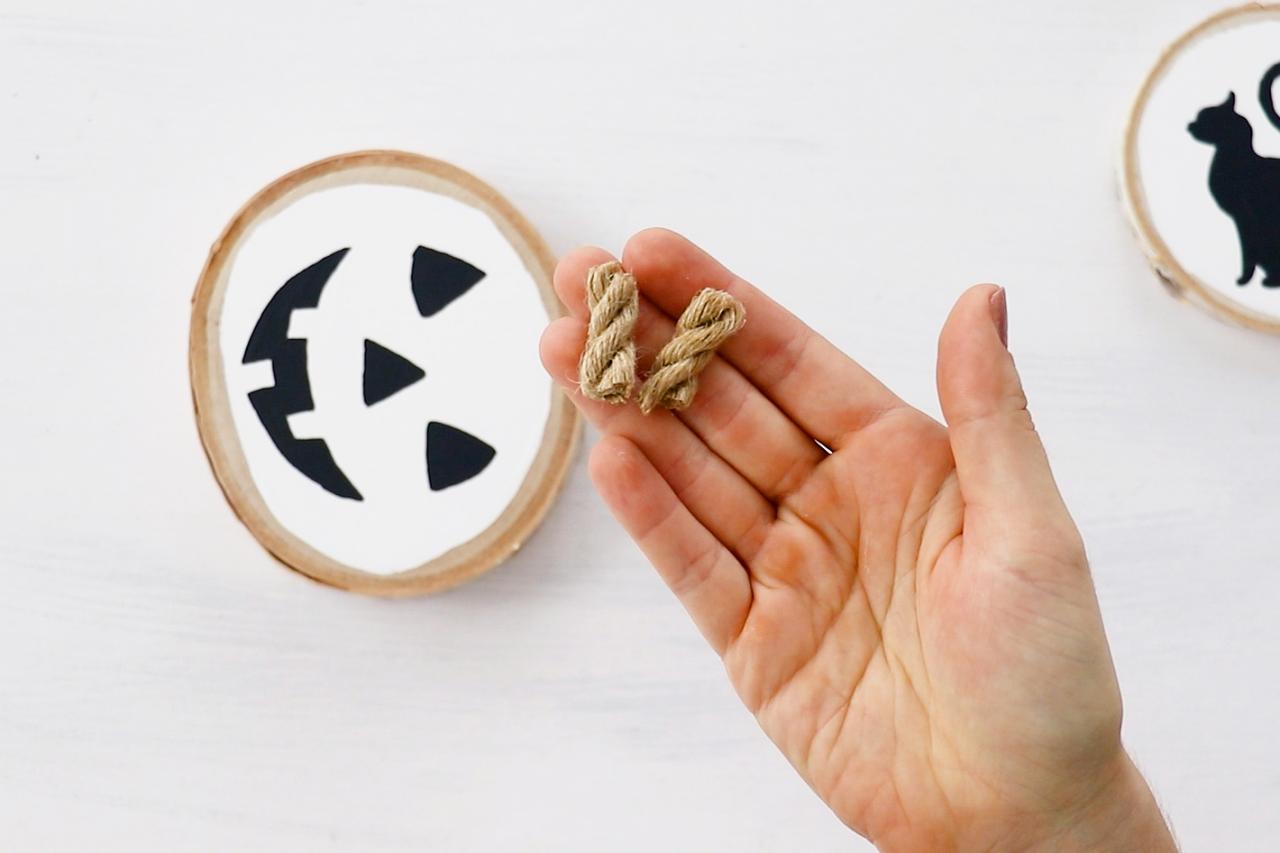
Create a Stem

Karen Kavett
Karen Kavett
Karen Kavett
Karen Kavett
Karen Kavett
If you’re making a pumpkin, cut two small pieces of rope and glue them together. Glue them to the top of the wood round to make a stem, and cover the seam with a piece of string or baker's twine.


