


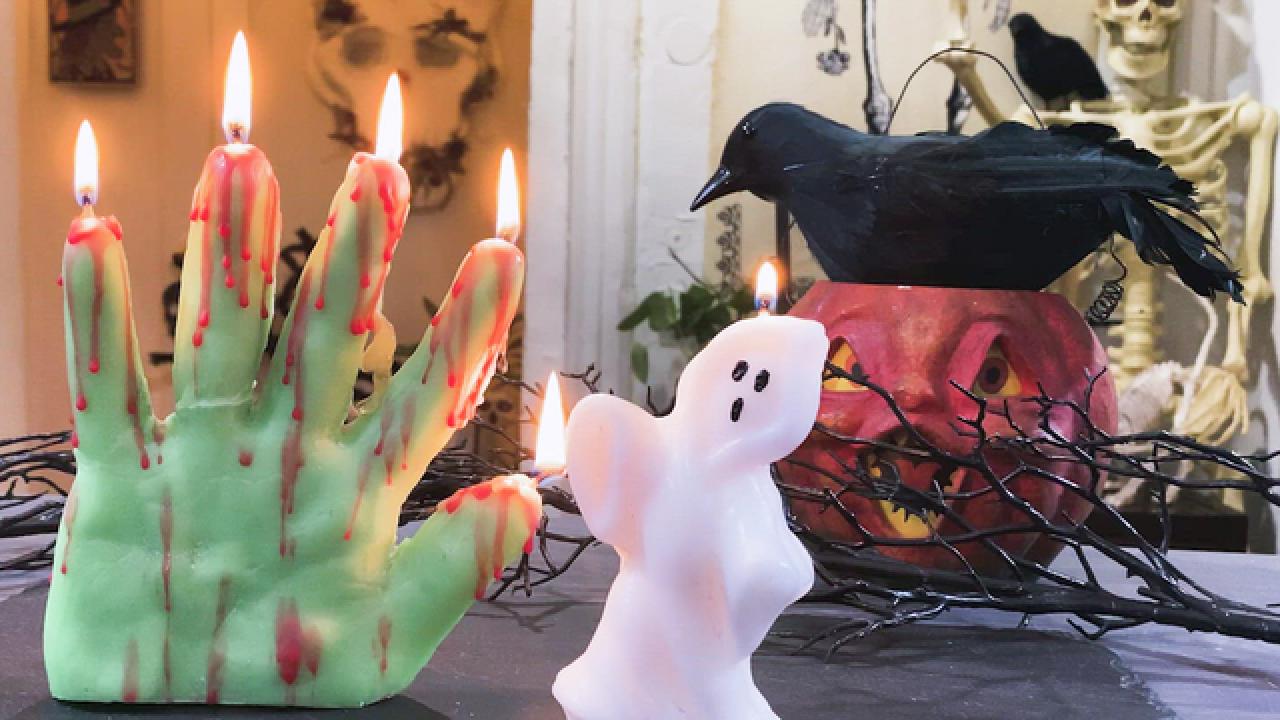
Make Custom Halloween Candles With Moldable Sand
Chilling nights are ahead. Use moldable sand to turn Halloween decorations you already own into glowing candles.

Crafty Lumberjacks

Disclaimer: For your safety, never leave burning or smoldering objects unattended. Always burn candles on a fire-resistant tray and keep other items away from open flames. Use extreme caution when handling hot wax and wear appropriate clothing and protection for candle making.
Create your own custom candle perfect for the creepiest time of year or switch it up for any season. With moldable sand and a little creativity you can “boo-it-yourself” to create any festive candle you can think of using objects found around your house.
Materials + Tools
- moldable sand
- paraffin wax
- candle wax dye
- candle wicks
- candle making thermometer
- wax pen
- household objects or decorations (to create the mold)
- pouring pitcher
- bowl or ramekin
- wire rack or trivet
- pot or saucepan
- knife
- wooden skewer
- paintbrush
Prep Materials
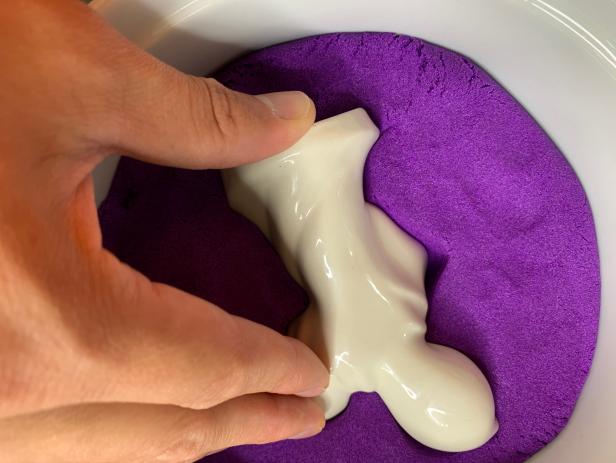
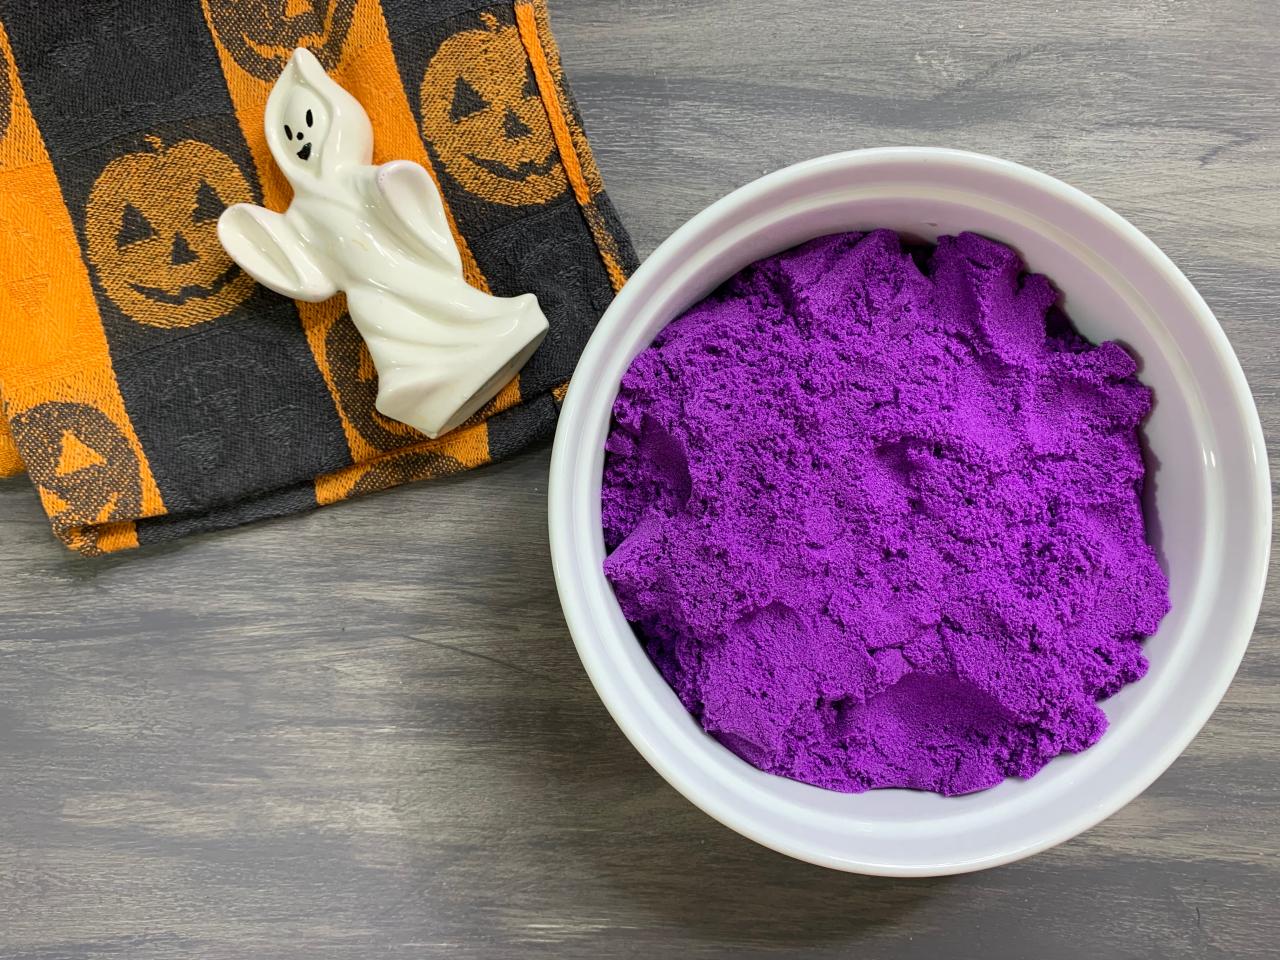
Find an object to mold with simple, recognizable shapes like a pumpkin, ghost or skull. You can even make a mold of your own hand! Fill up a deep bowl with moldable sand, pressing and packing the sand in tightly (Image 1). Tip: It is important to use a bowl or dish that is wide and deep enough for your object.

Crafty Lumberjacks
Create Candle Mold
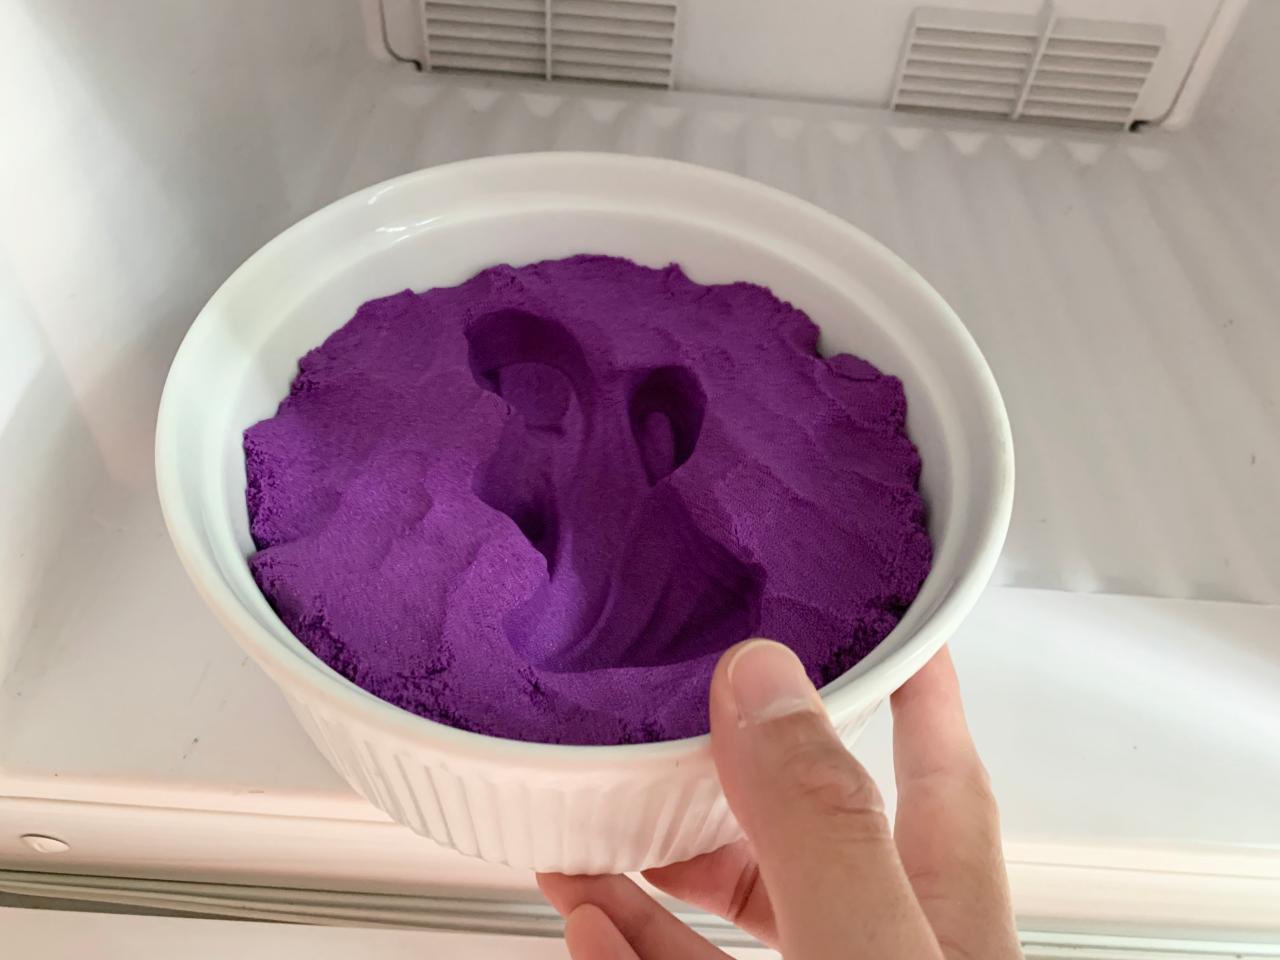
Slowly and firmly press the object (or your hand) in the middle of the bowl, taking care not to disturb the surrounding sand (Image 1 + 2). Then slowly remove the object from the sand. Take your time with this step — any wiggling or shifting will distort the details. Place the bowl into the freezer for 30 minutes, allowing the sand to chill and harden (Image 3).
Crafty Lumberjacks

Crafty Lumberjacks

Crafty Lumberjacks
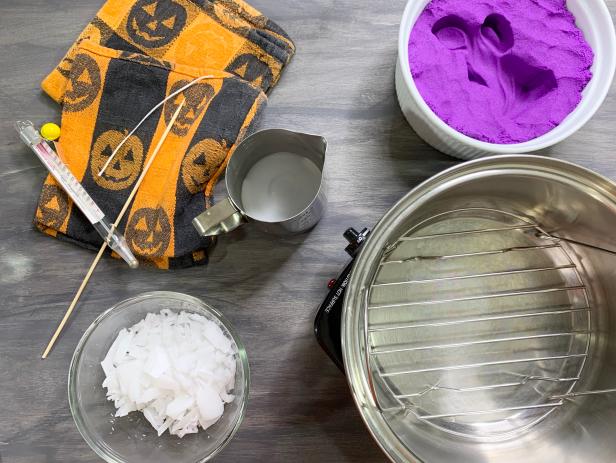
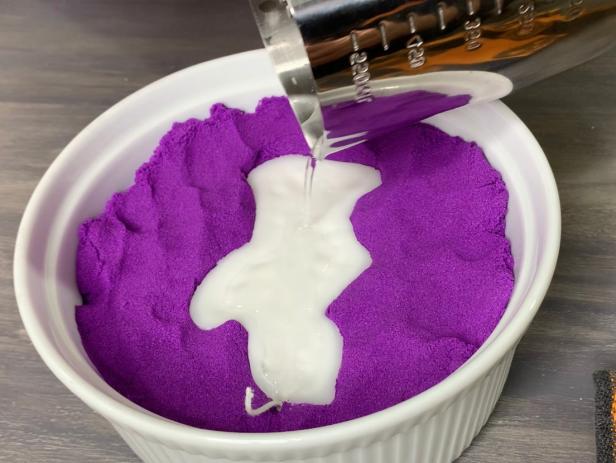
Heat Wax
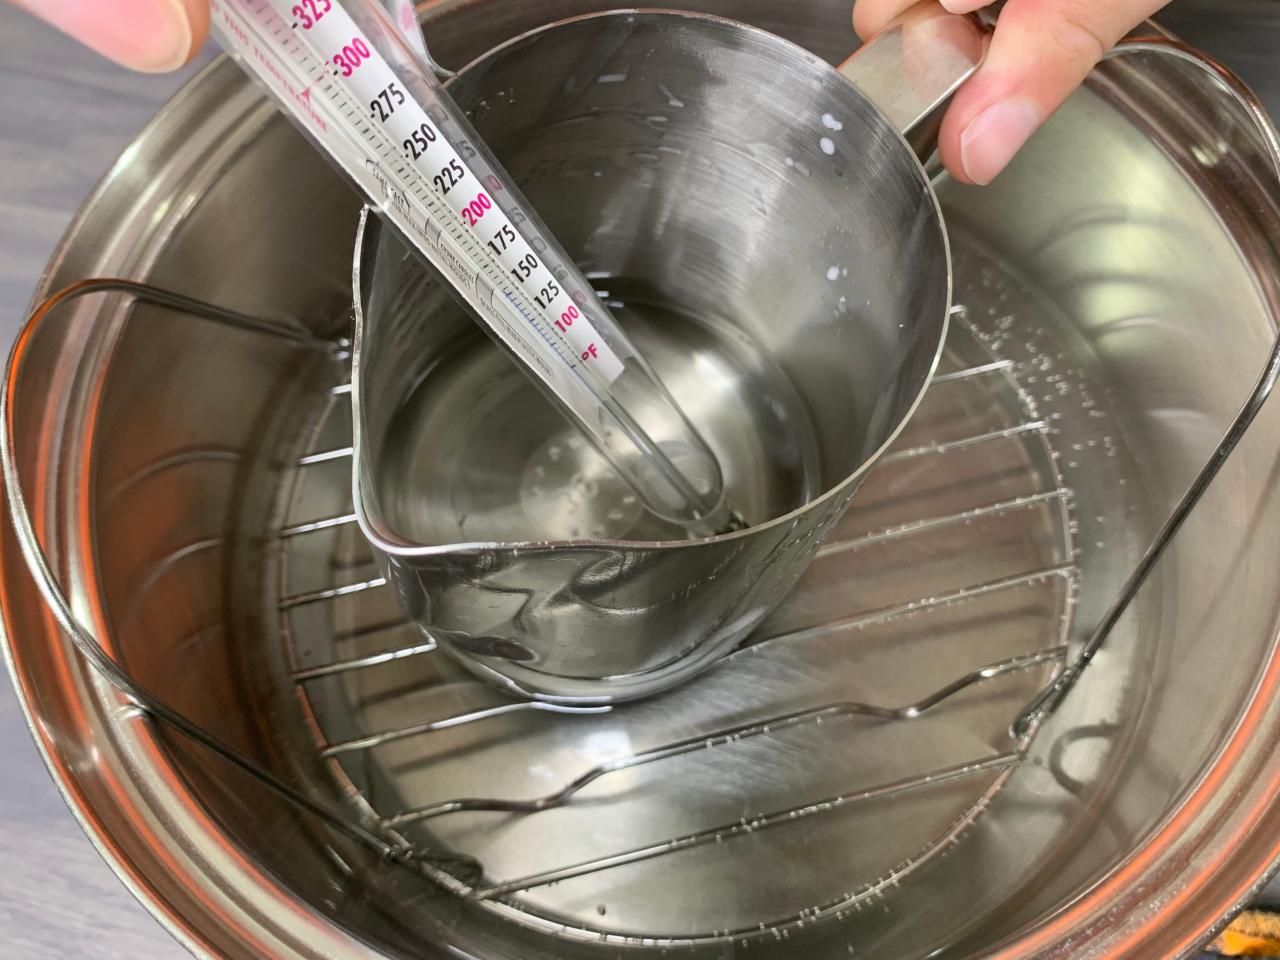
Fill a small pot or saucepan a quarter of the way with water. Place a wire rack or trivet at the bottom of the pot; this prevents the pouring pitcher from directly touching the heat (Image 1). Add to a stovetop over low to medium heat and melt down the paraffin wax, stirring continuously with a wooden skewer. Check the temperature with a candle making thermometer and remove when the temperature reaches 150 degrees F (Image 2). Tip: Do not let the ingredients come to a boil.
Optionally, after the wax has melted, add candle wax dye and stir well until you reach the desired color.
Crafty Lumberjacks

Crafty Lumberjacks
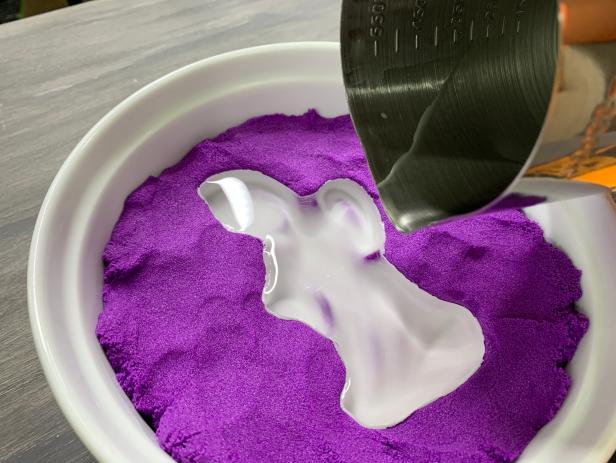
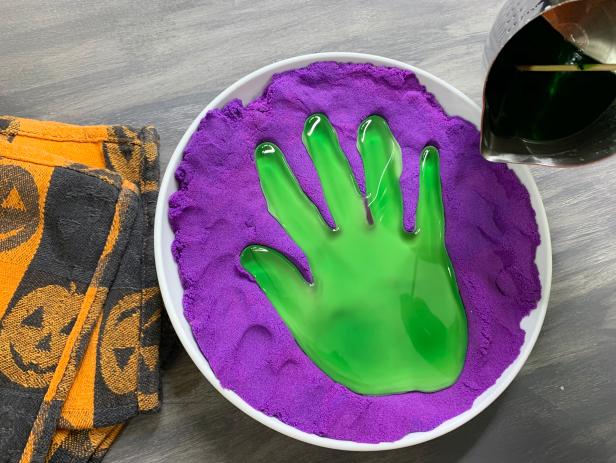
Pour Into Mold
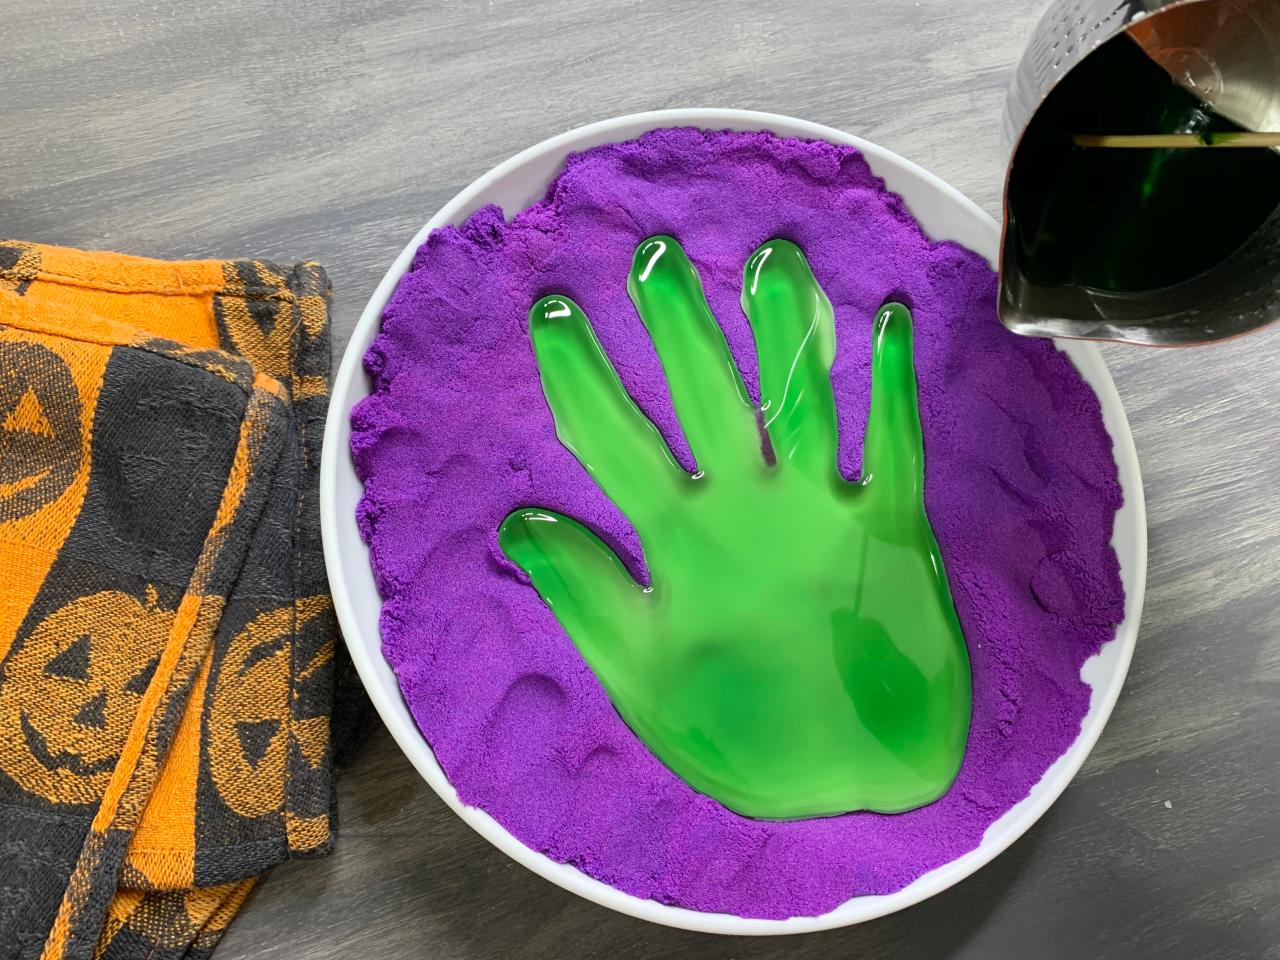
Take the mold out the freezer. Slowly pour the melted wax into the mold. (Image 1 + 2). Tip: Pour the wax close to the mold so the wax doesn’t create an indent in the moldable sand.
Crafty Lumberjacks
Crafty Lumberjacks
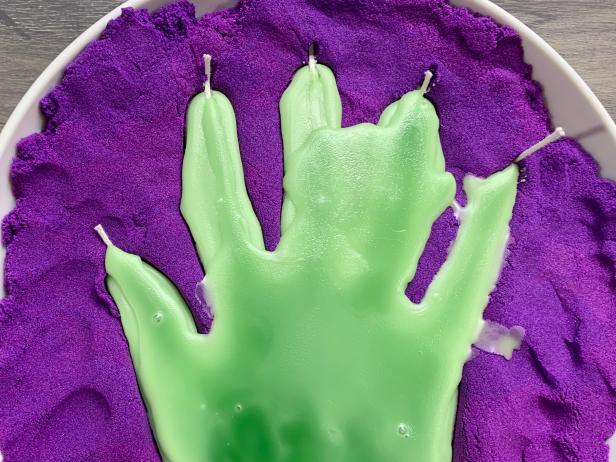
Add Wick
As the wax begins to cool, carefully lay the candle wick in the center of the mold (Image 1). Use a wooden skewer to help push the wick into the middle of the wax. If needed, pour melted wax over the wick to make sure the wick is fully immersed. Tip: Don’t worry if the wax spills over and around the edges (Image 2); it is easy to chip off those pieces once dry.
Crafty Lumberjacks
Crafty Lumberjacks
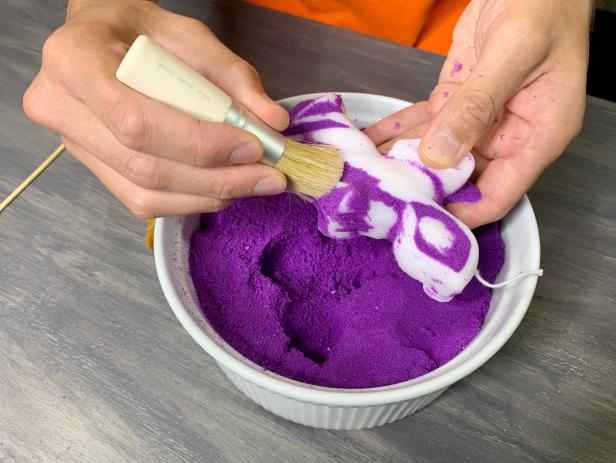
Remove Candle From Mold
Allow the wax to fully harden for at least two hours. The timing on this will depend on the size of your mold. The paraffin wax will slightly shrink as it cools, causing it to separate from the sand.
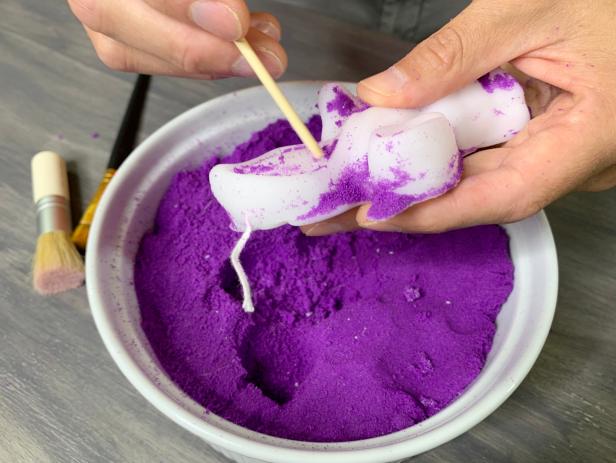
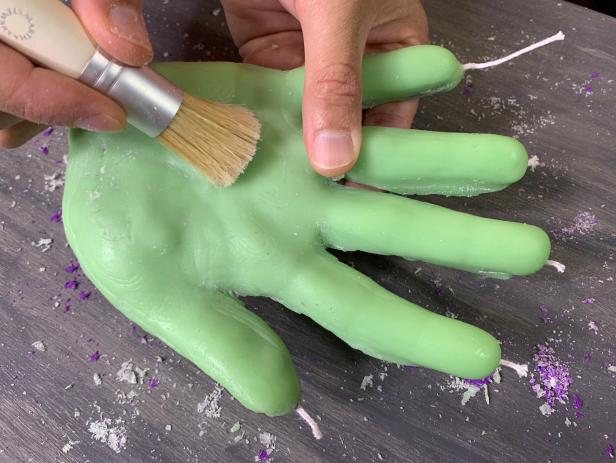
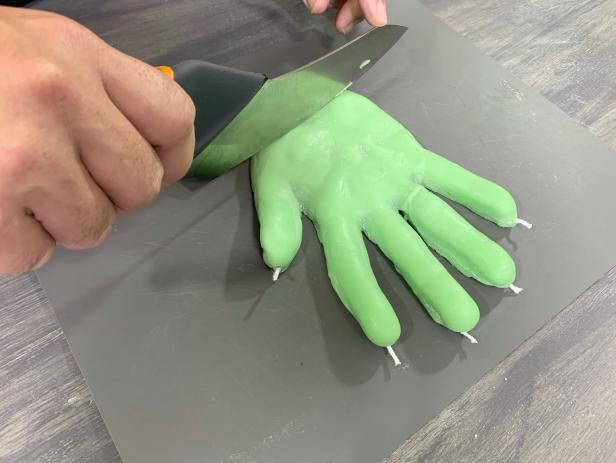
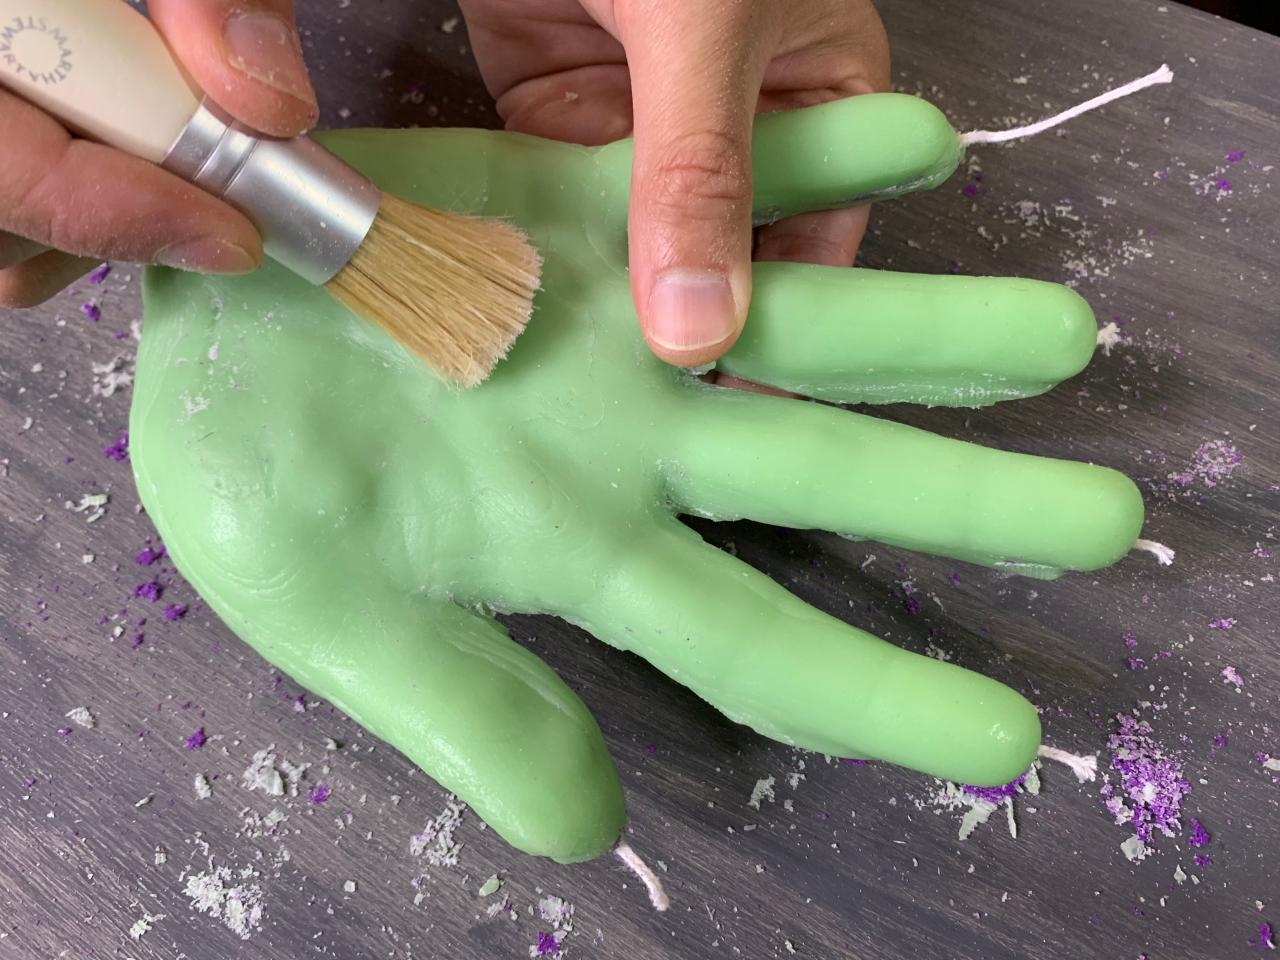
Once hardened, carefully remove the candle from the mold. Use a paintbrush with stiff bristles to gently brush off leftover, stubborn sand that is stuck to the candle (Image 1 + 3). Use the wooden skewer to help remove sand from any detailed areas and crevices (Image 2). Carefully break away any undesired wax that spilled over while pouring the mold. If your candle doesn’t stand, use a sharp knife to carefully cut a straight edge for the base (Image 4).
Crafty Lumberjacks
Crafty Lumberjacks
Crafty Lumberjacks
Crafty Lumberjacks
Finishing Touches
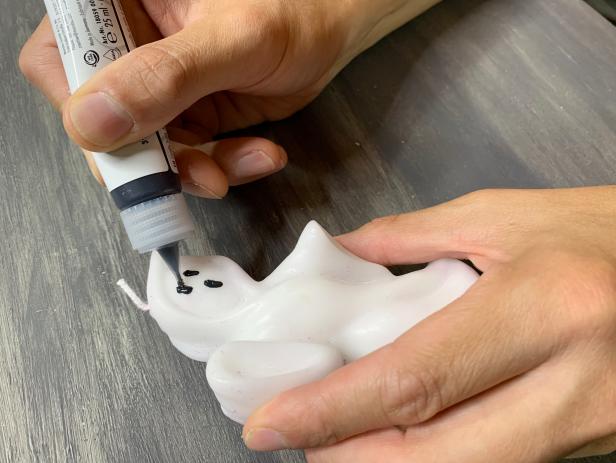
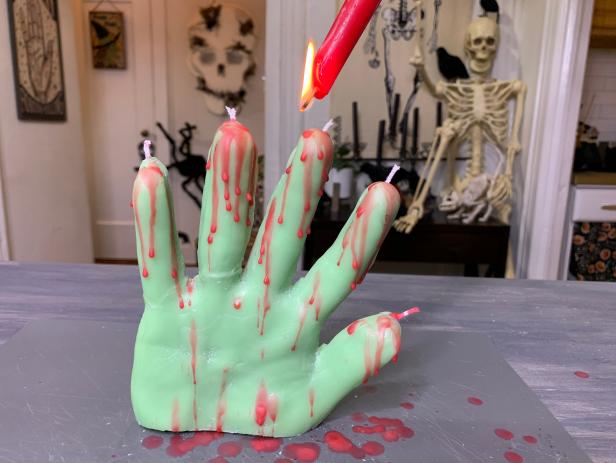
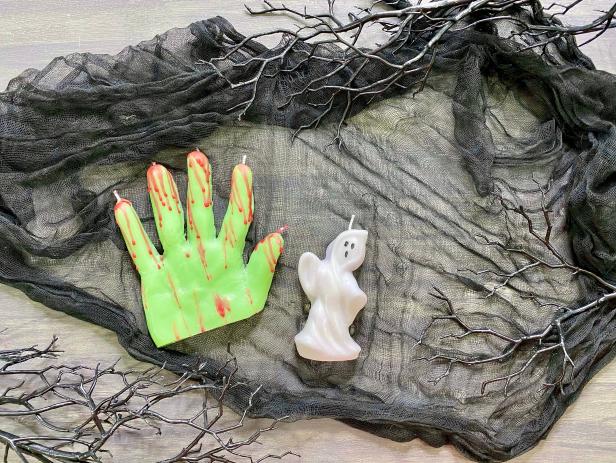
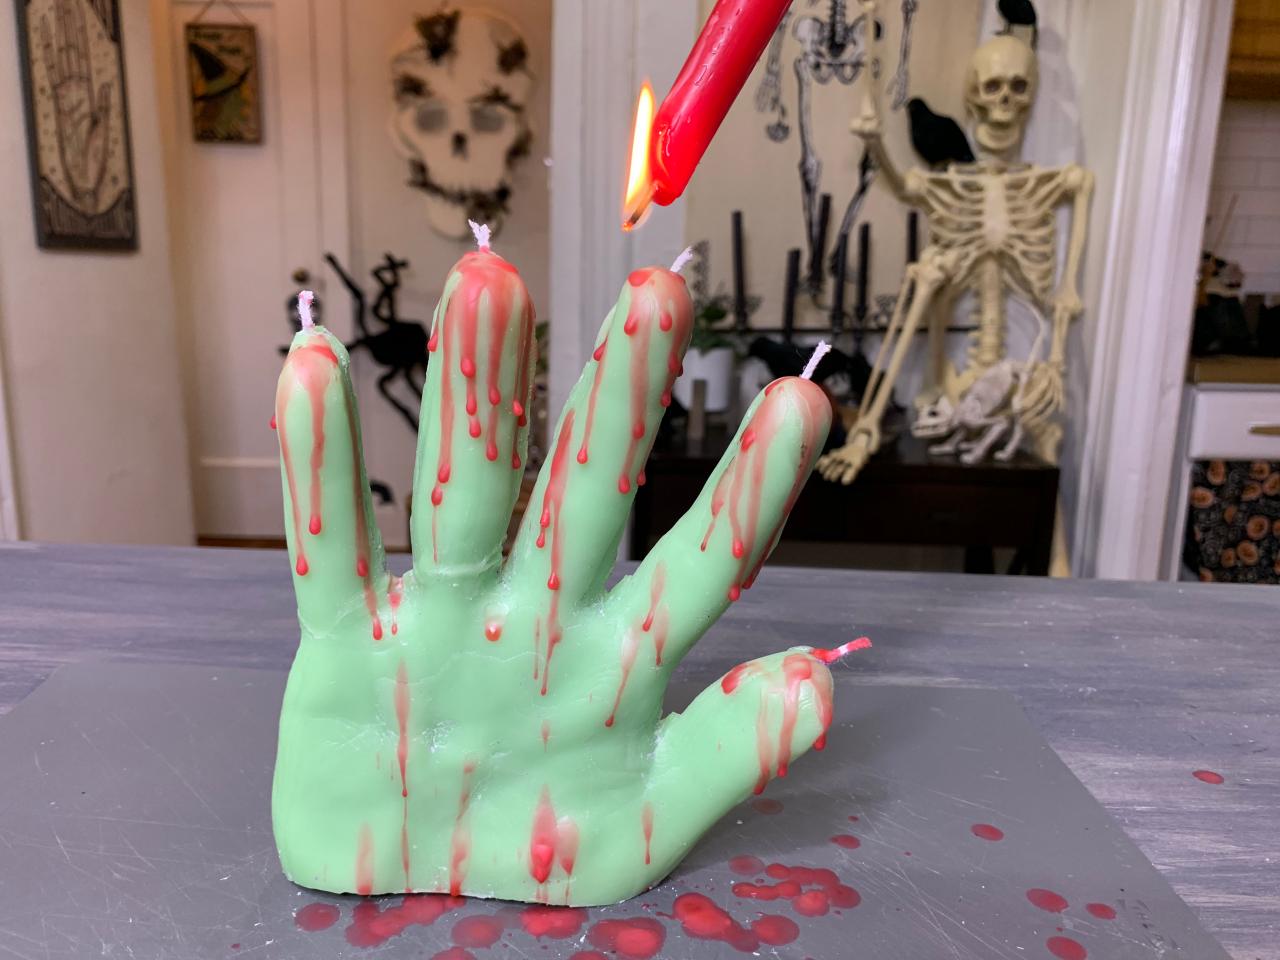
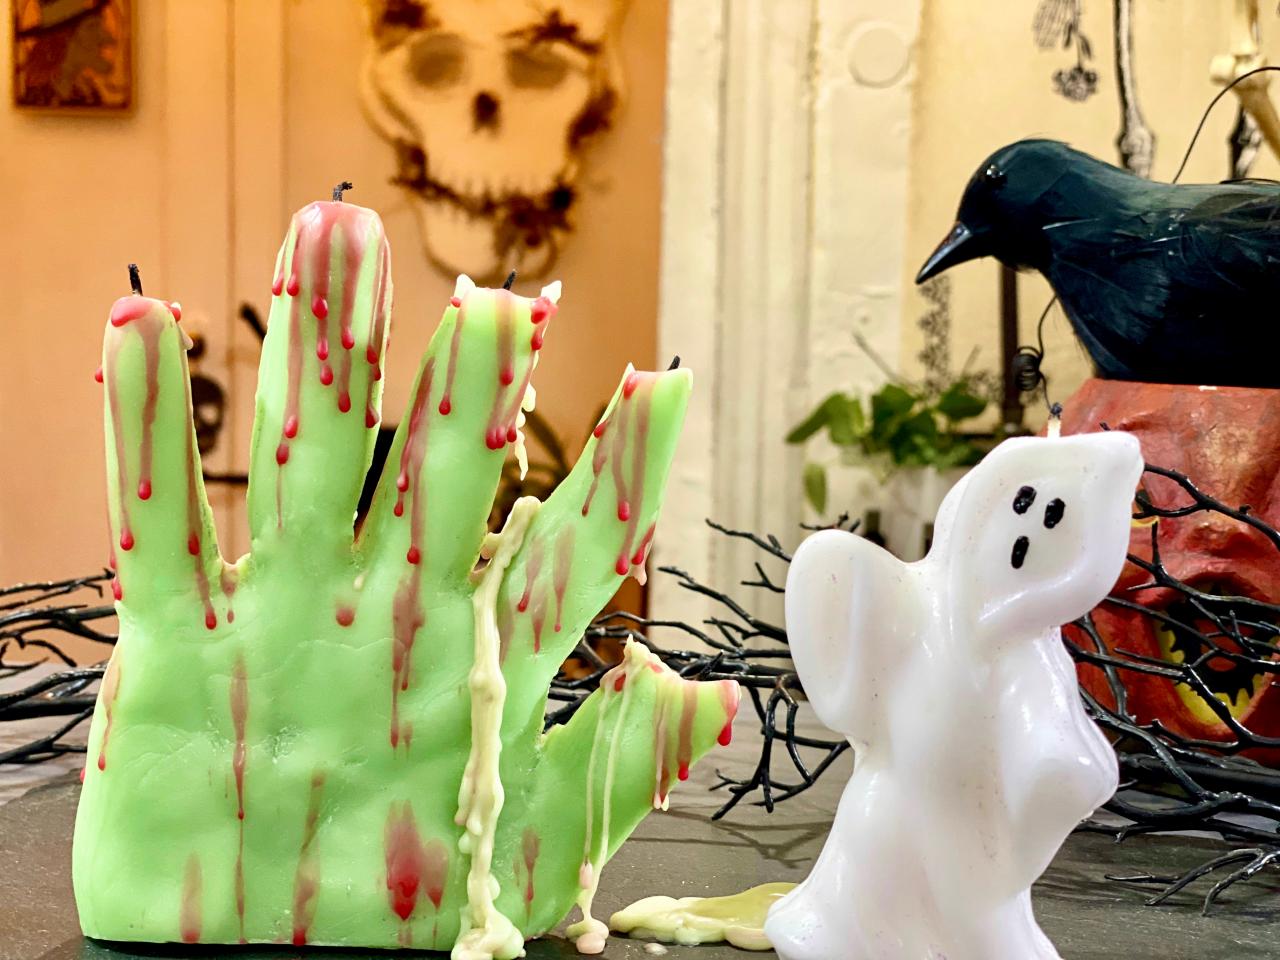
Use a wax pen to draw on details for your candle (Image 1). We drew eerie facial features onto our ghost; we also added a bloody drip effect by lighting a red candle and dripping the wax over our hand candle (Image 2).
Crafty Lumberjacks
Crafty Lumberjacks
Crafty Lumberjacks
Light
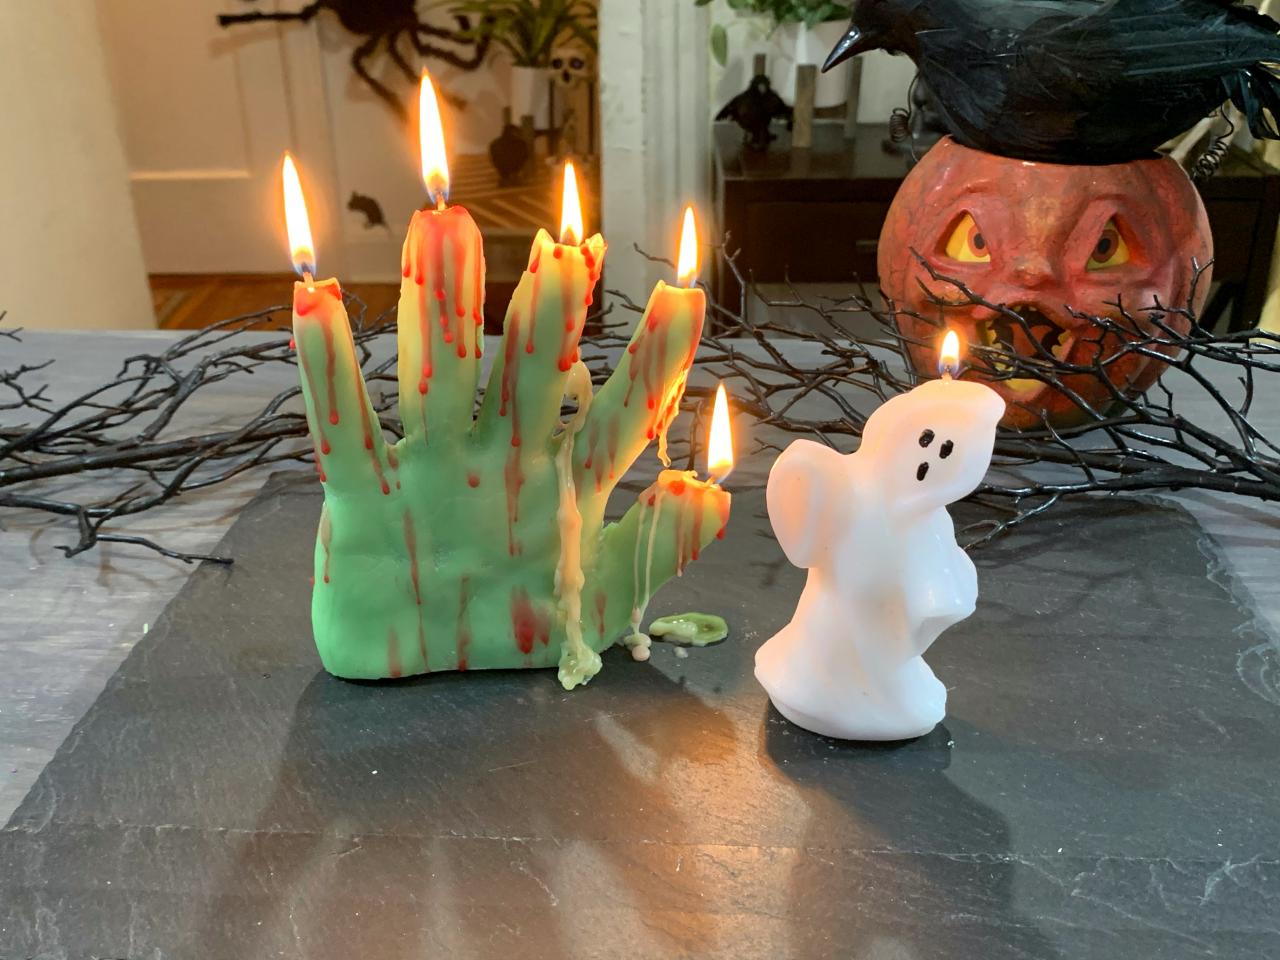
Trim down the wicks and place the candle on a heat-resistant surface before lighting. Trim down wicks by 1/3 before each burn. Keep burning candles in sight at all times.
Crafty Lumberjacks

Crafty Lumberjacks
Halloween Decorating Ideas

The Crafty Lumberjacks' NYC Apartment Is Spooky Perfection 24 Photos
Join Dennis and Andrew Boza on a tour of their Queens, New York, apartment all decked out for Halloween.

DIY Cat Costumes Inspired by Iconic Halloween Movie Villains
You only need a handful of supplies to craft up these classic costumes.

Upcycled Floral Skull Wreath
Round up some shipping Styrofoam, basic crafting supplies and DIY this spooky, larger-than-life decor for your front door.


