


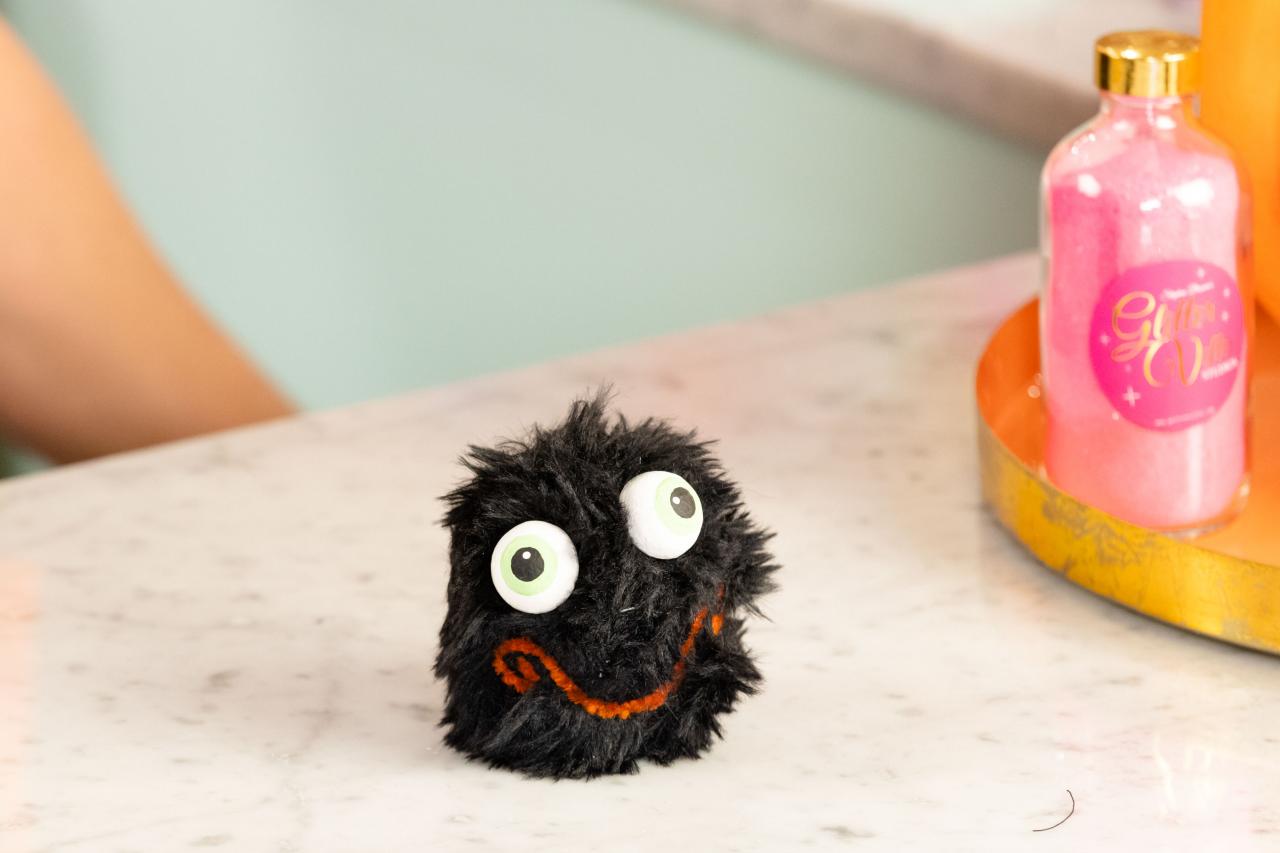
Make This Easy-to-Sew Spider Hand Puppet for Halloween
No sewing machine is required for this darling spider hand puppet!

Emilee Ramsier

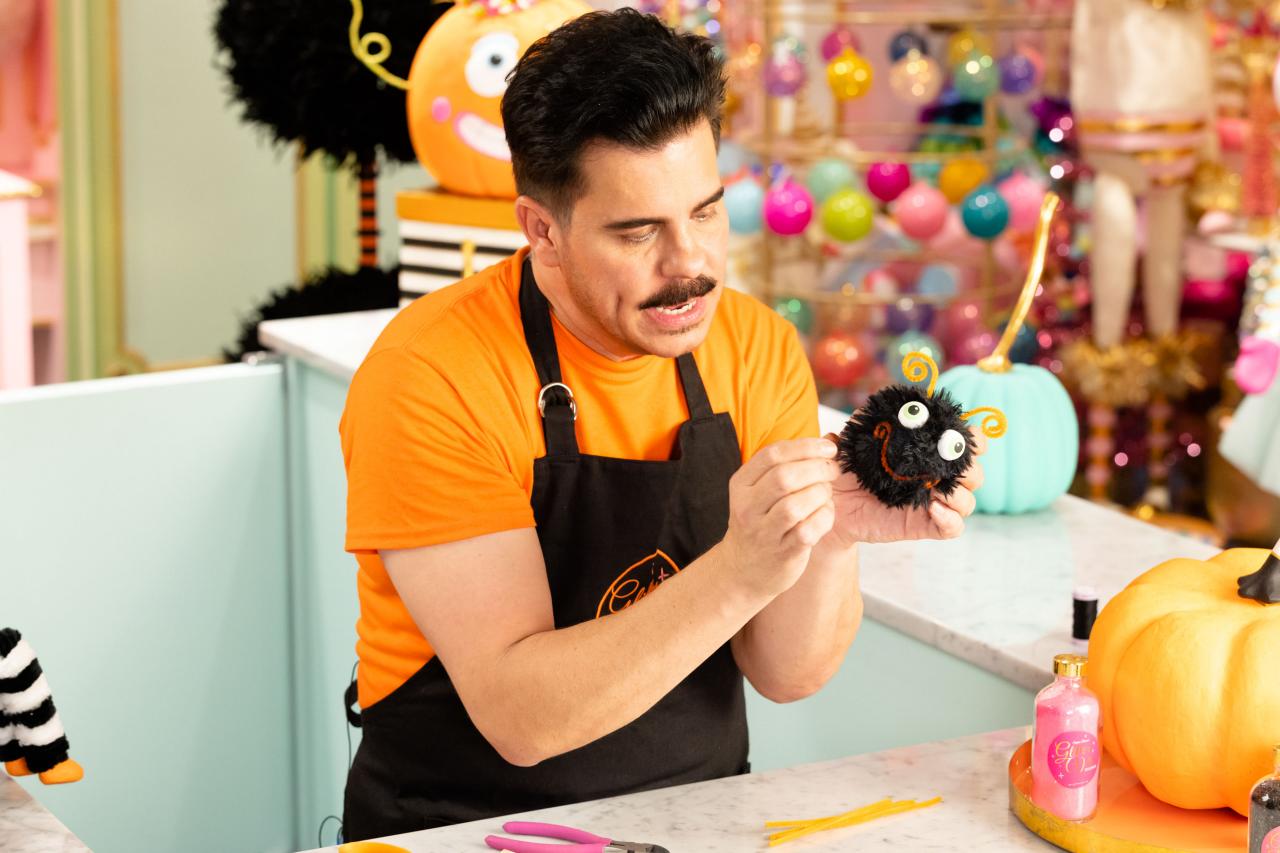
This hand-sewn spider hand puppet by Glitterville's Stephen Brown takes a bit of time, but the payoff is so worth it. Using your own hand as a template, this spider puppet is great for puppet shows or Halloween costume accessories. Watch Stephen show you how to create your own spider puppet in the video below, and then keep reading for the step-by-step instructions.
Materials + Tools
- pencil
- card stock
- very sharp scissors
- 1/2 yard black fur fabric
- embroidery needle
- buttonhole thread in black, orange and white
- straight pins
- kitchen skewer
- 2.5-inch styrofoam ball
- floral pin
- black marabou
- orange chenille stems
- orange felt
- pink felt
- 1-inch smooth styrofoam ball
- craft knife
- toothpicks
- white glue
- acrylic paint
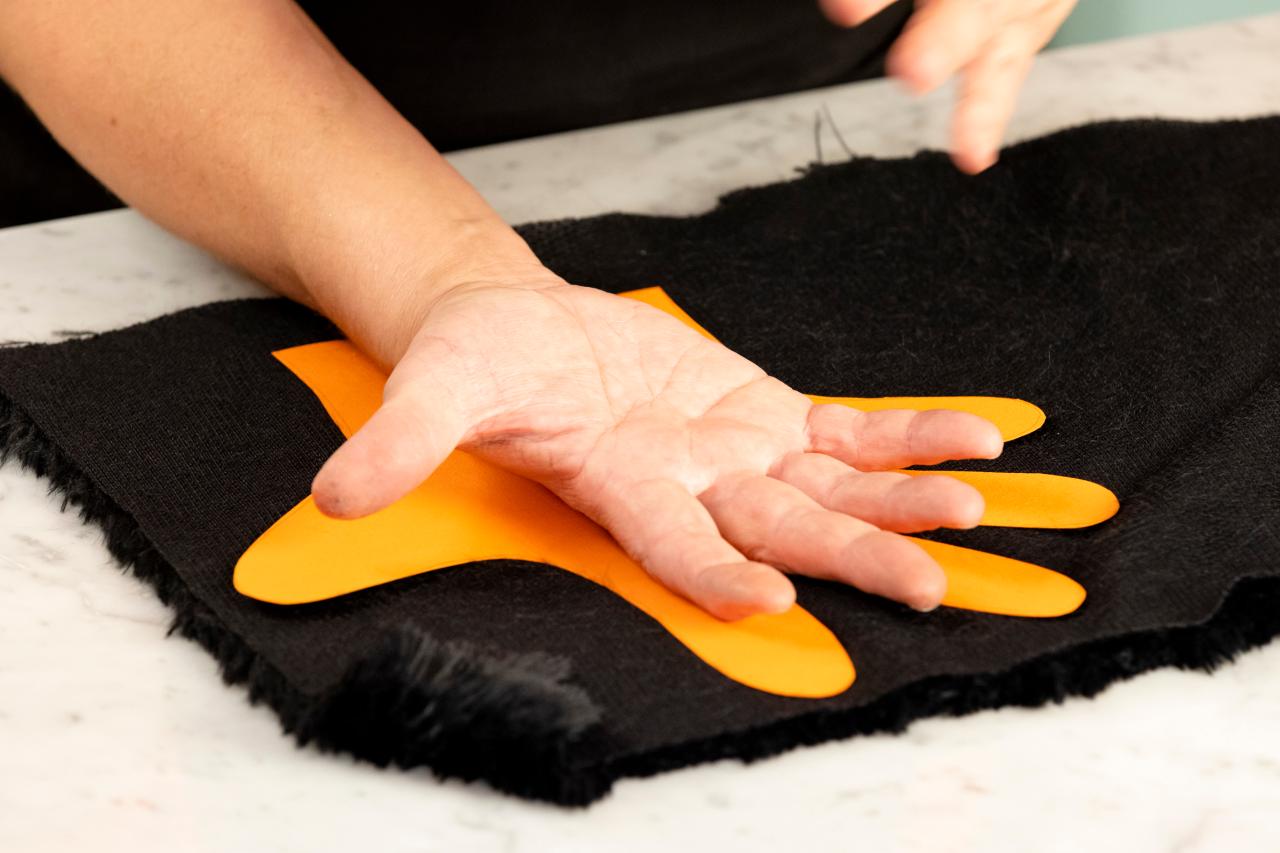
1. Trace Your Hand and Cut It Out
Emilee Ramsier

Emilee Ramsier
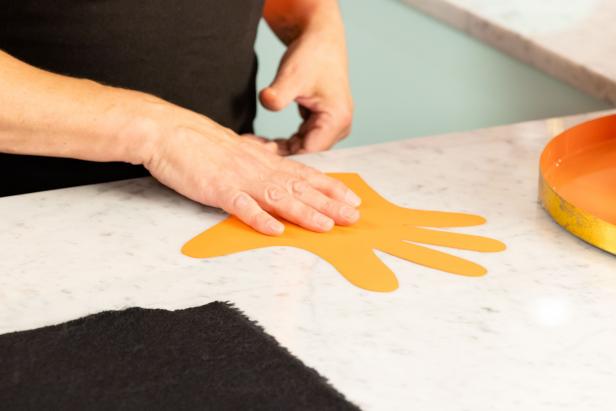
On card stock, make a cutting template by tracing around the hand you want to wear the puppet on. Be sure to spread your fingers wide to make sure there is plenty of space, so the glove isn’t too small after the pieces are sewn together (Image 1). Trace around your hand so that your template has fingers long enough to allow for sewing a seam in a few more steps (Image 2).
2. Cut Out Your First Glove Piece
Emilee Ramsier

Emilee Ramsier

Emilee Ramsier
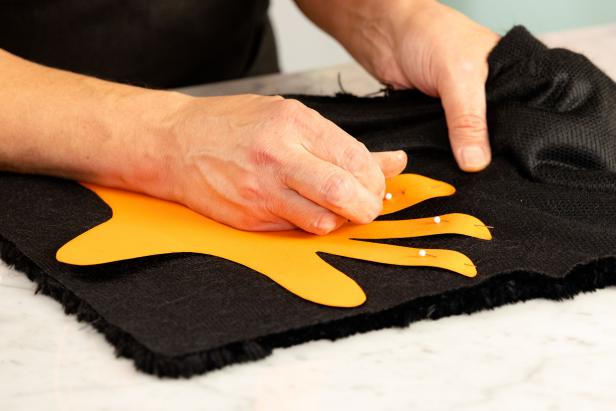
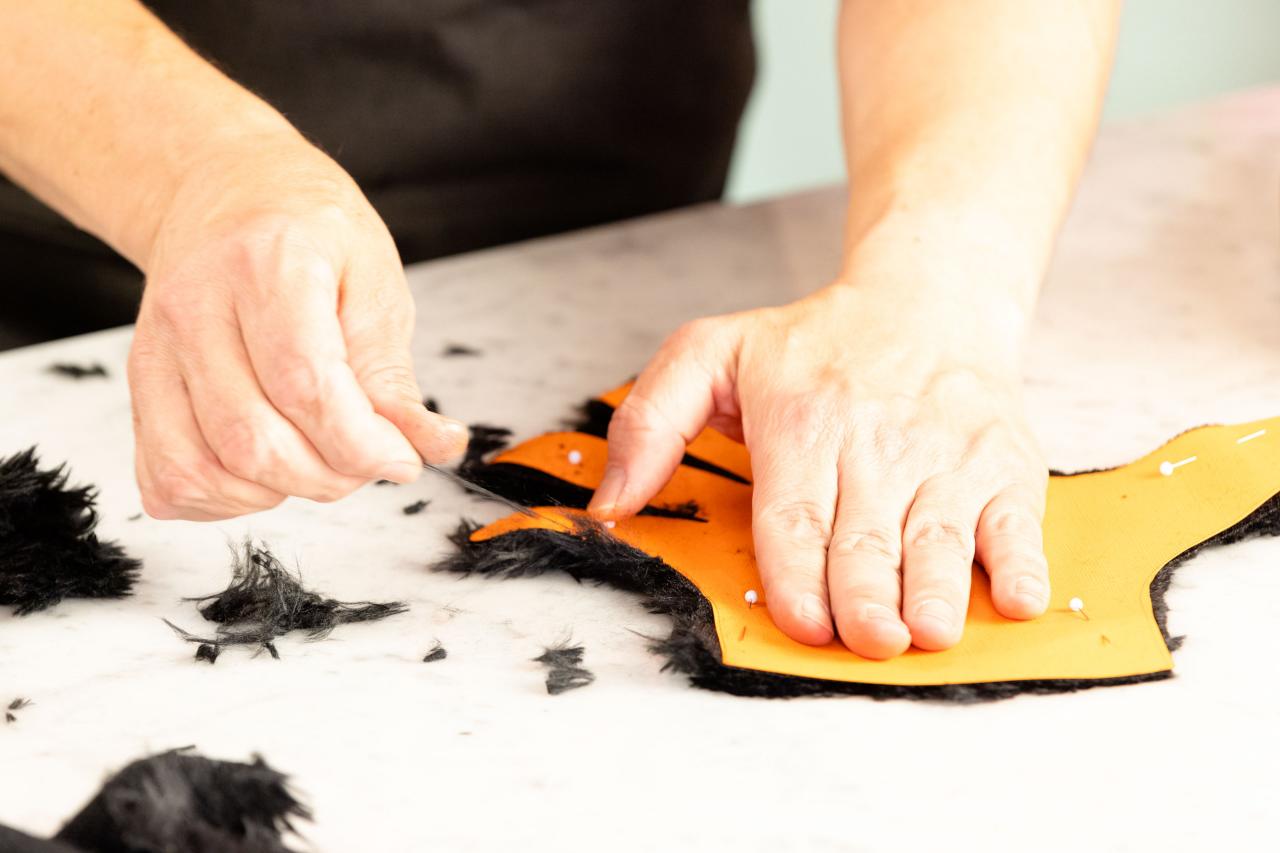
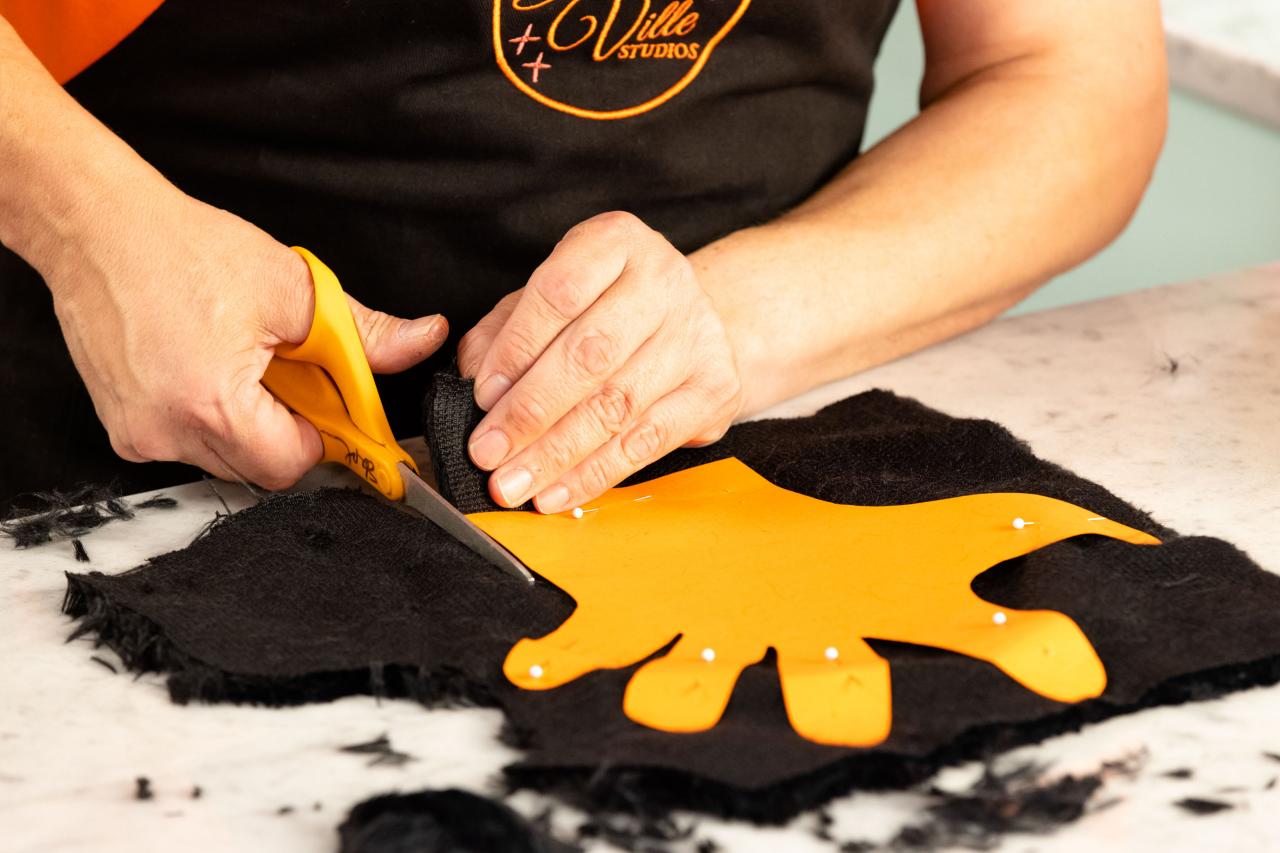
Lay your fabric furry side down and pin your cutting template to it, ensuring that the fabric grain (the ends) points toward the fingertips. Orienting the grain toward the fingertips means the fur will lay appropriately once the glove portion of the puppet is complete (Image 1). Carefully cut around the template to make the first furry glove piece (Image 2). Before you remove the template from the glove piece, pull away any loose fur around the edges of the piece and trim as necessary (Image 3).
3. Cut Out Your Second Glove Piece

Emilee Ramsier

Emilee Ramsier

Emilee Ramsier
Remove the template from your first glove piece and turn it over. Pin it to the fur fabric and cut around it. This gives you two mirror-image glove pieces (Image 1+2). Before you remove the template from the second glove piece, pull away any loose fur around the edges of the piece and trim if necessary (Image 3).
4. Prepare The Glove Pieces for Sewing

Emilee Ramsier
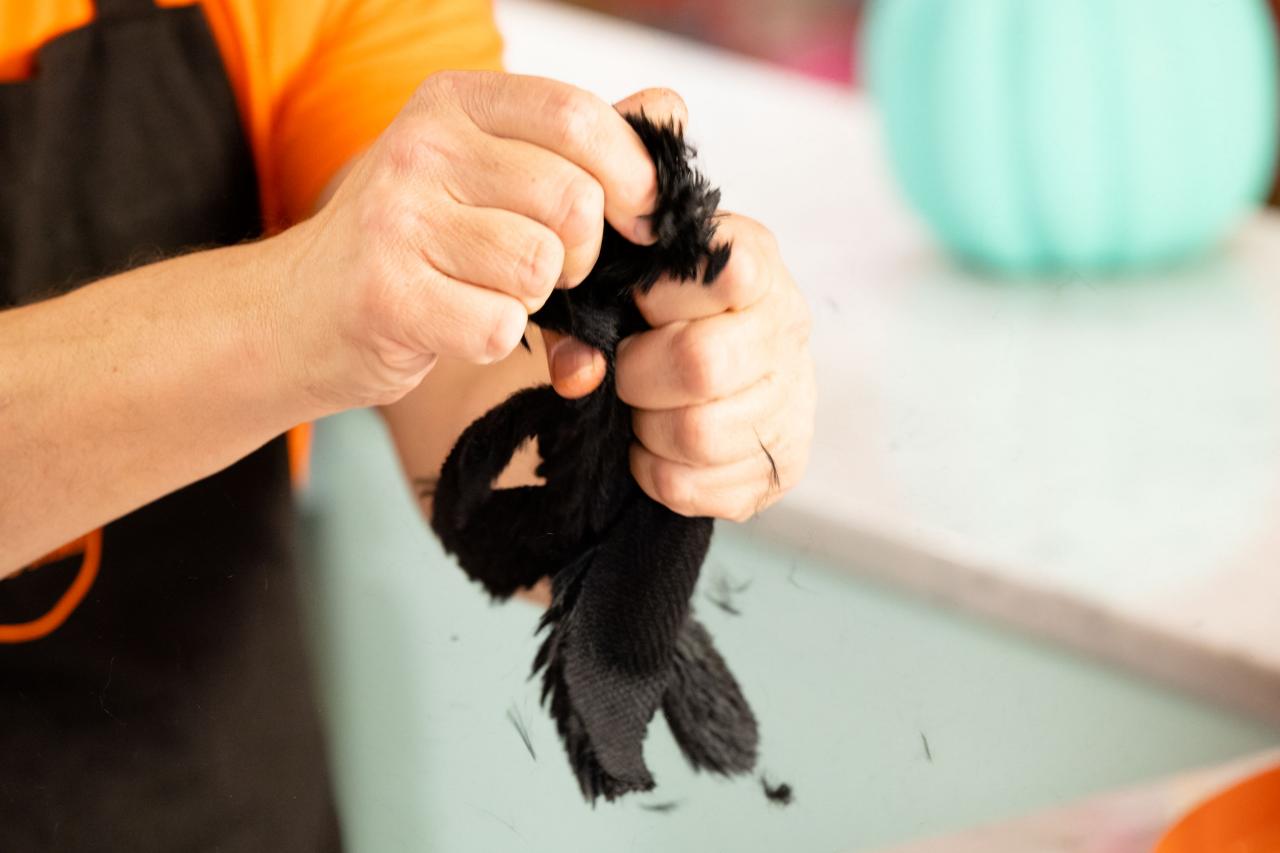
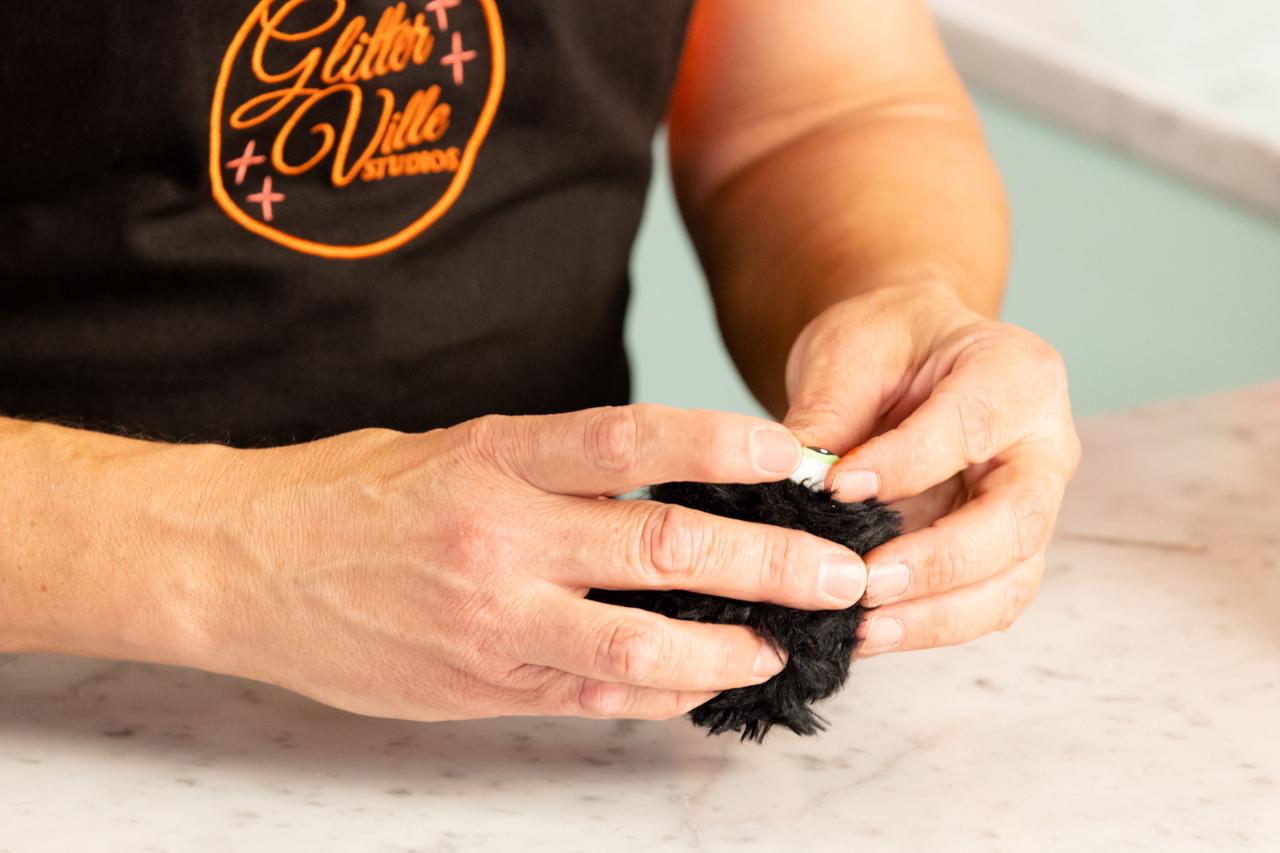
Fur fabric sheds, so be sure that you get all the loose fur pieces off before you pin them to sew together. Do this by holding the glove piece in one hand and pulling it through the fist of your opposite hand (Image 1).
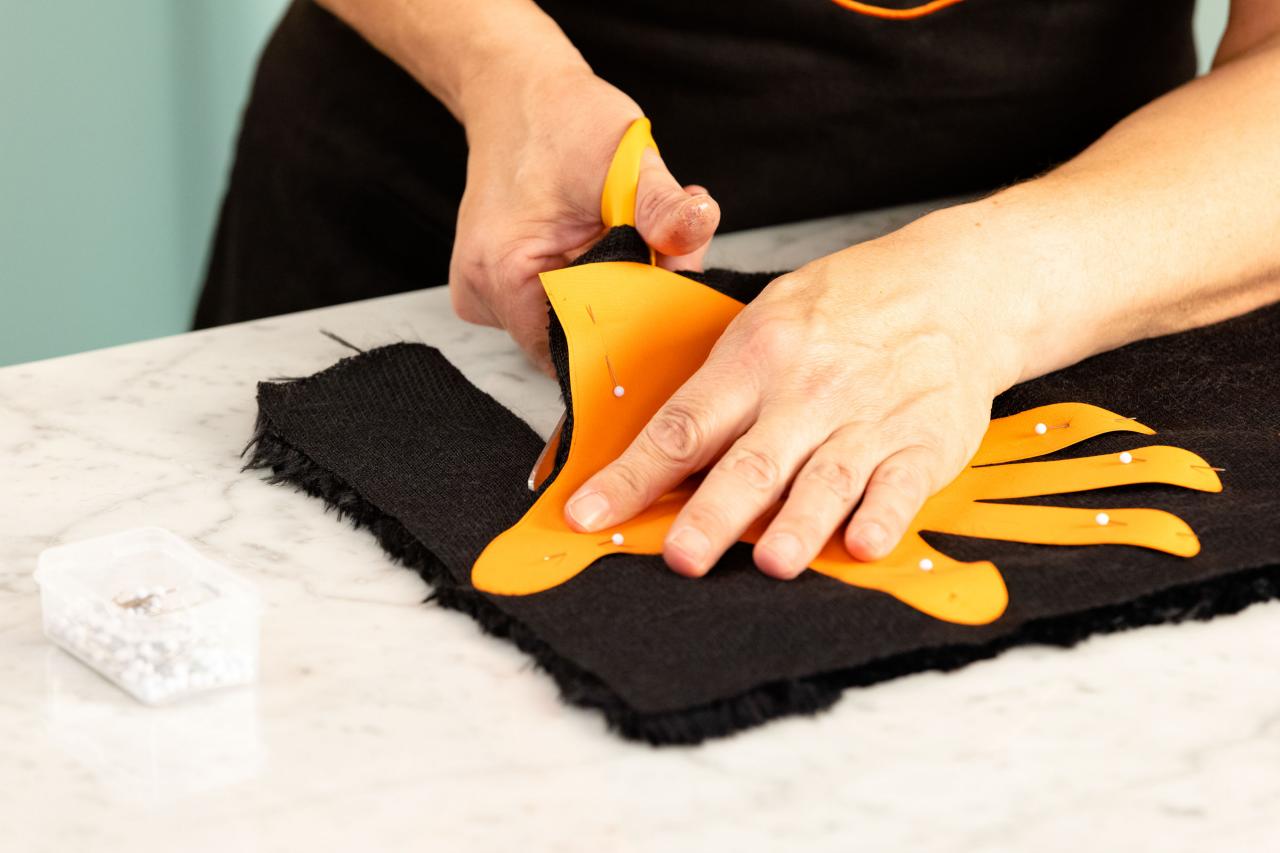
5. Pin and Sew
Emilee Ramsier
Emilee Ramsier

Emilee Ramsier

Emilee Ramsier

Emilee Ramsier
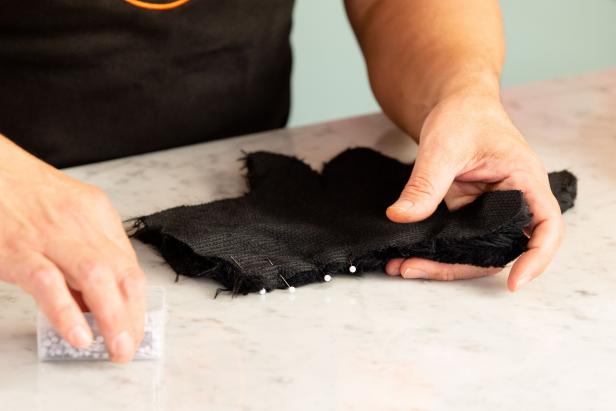
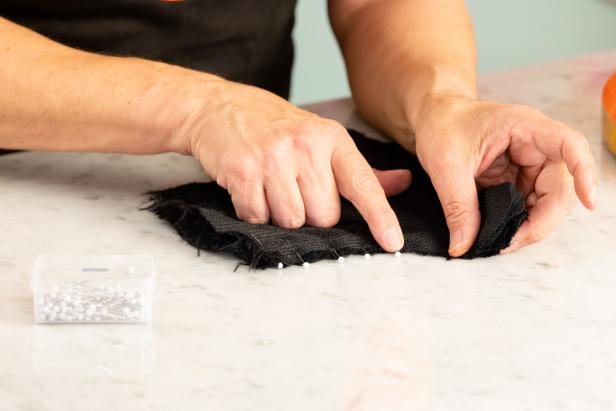
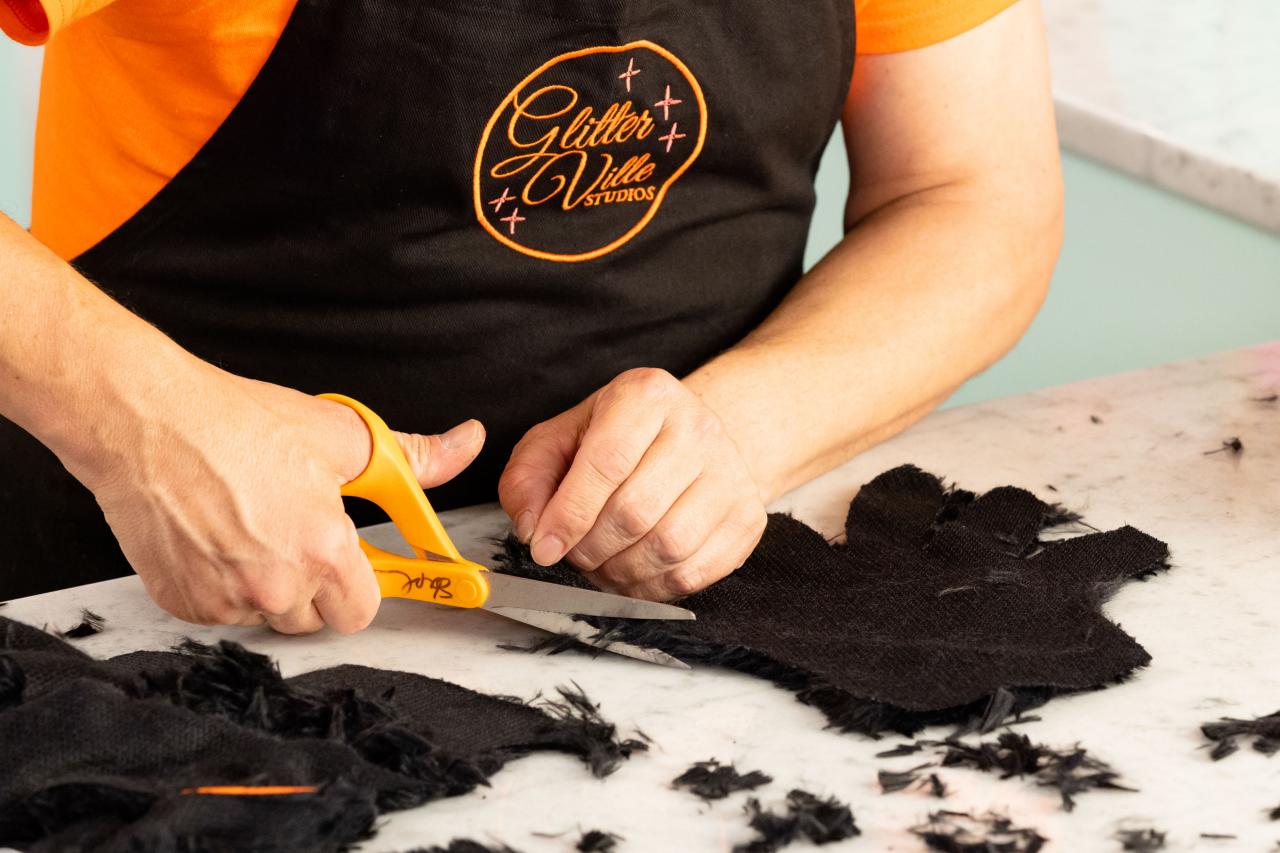
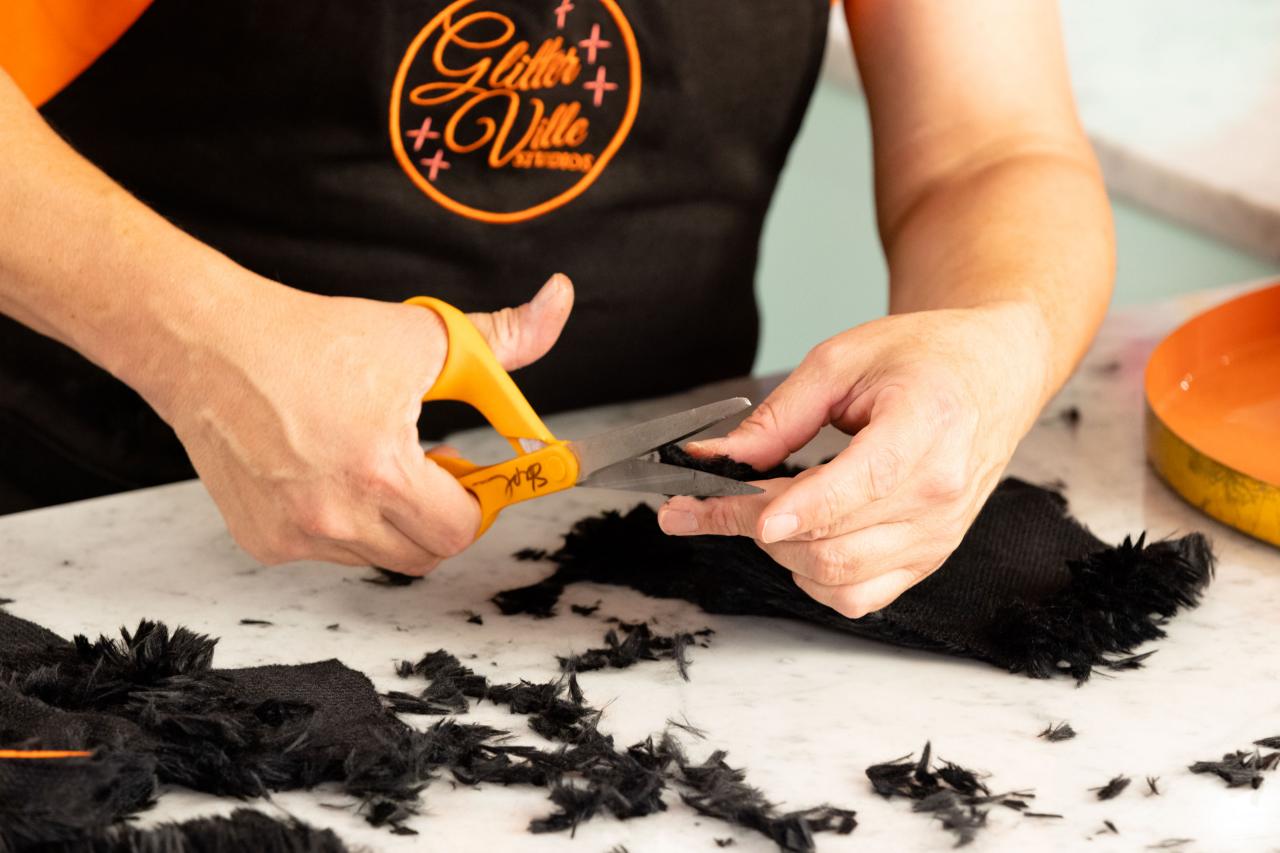
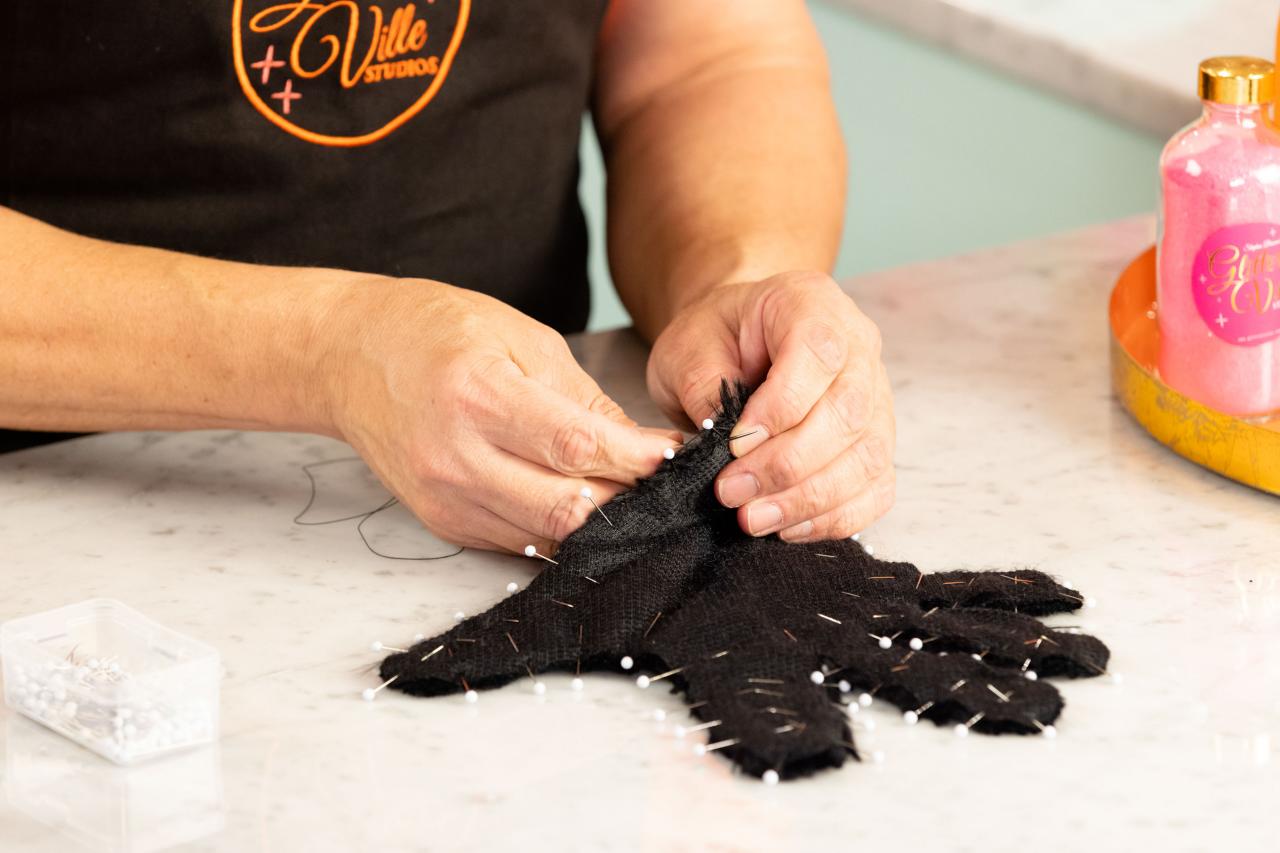
Put the fur sides of the glove together and trim off the fur right around the edges, so you have clean lines to sew along. Pin the pieces together with a generous amount of straight pins — especially along the fingers (Images 1-3). Use your embroidery needle and a double strand of buttonhole thread to stitch around the edge of the glove with an overstitch, being sure to sew a securing stitch at the beginning and end (Image 4). Leave the bottom of the glove open, so your hand will fit inside (Image 5).
6. Turn the Glove Right Side Out

Emilee Ramsier
Turn the glove right side out, using a kitchen skewer to poke the fingers all the way out (Image 1).
7. Make the Spider Head

Emilee Ramsier
Emilee Ramsier

Emilee Ramsier

Emilee Ramsier
Emilee Ramsier
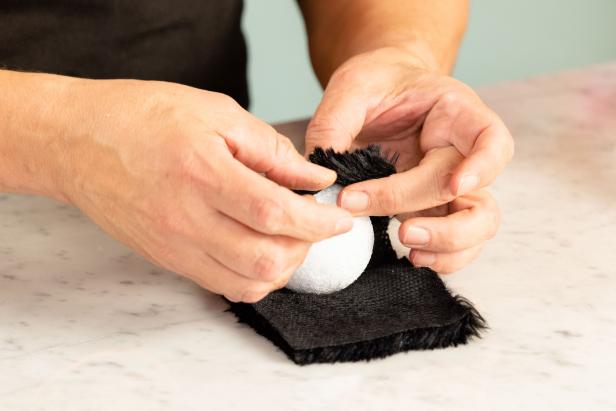
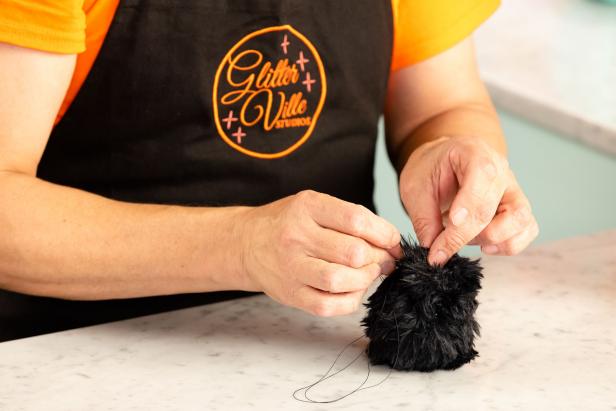
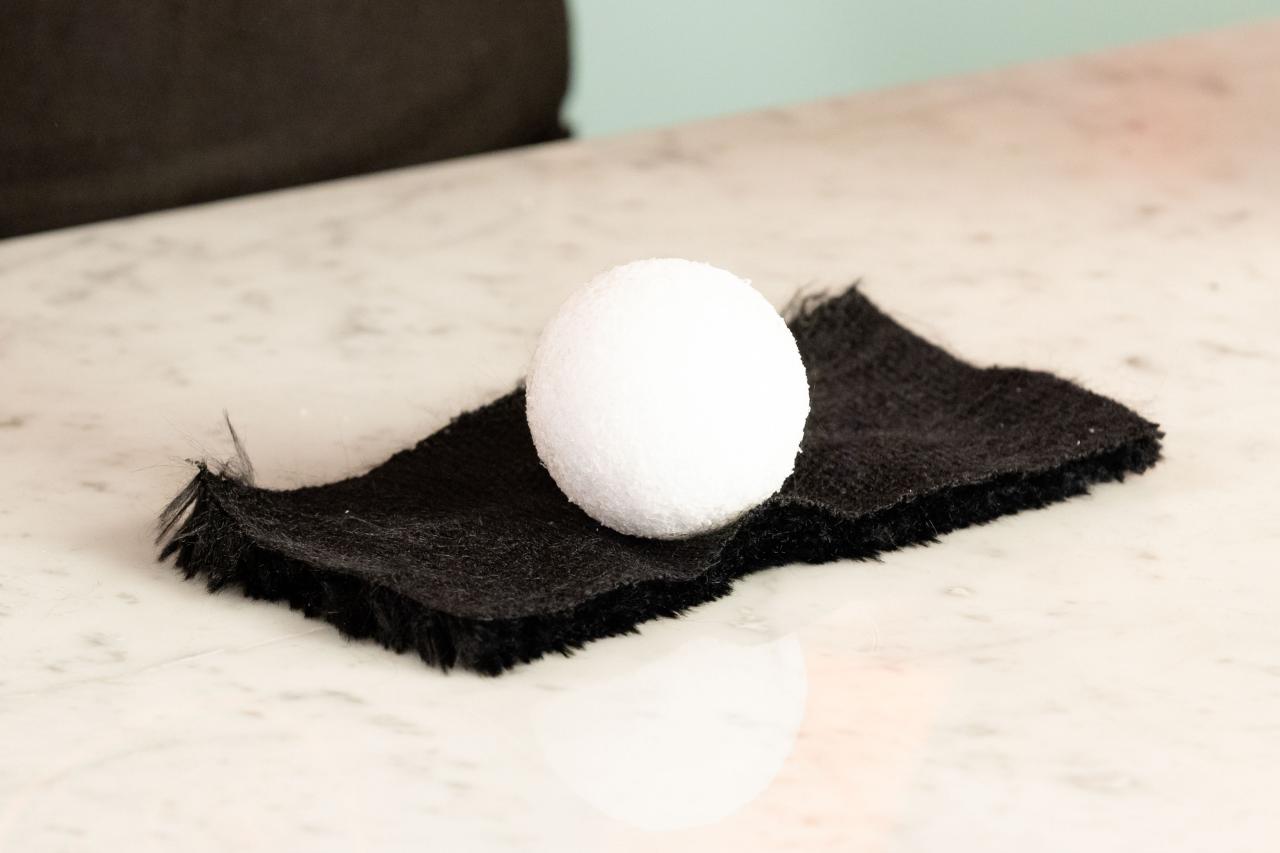
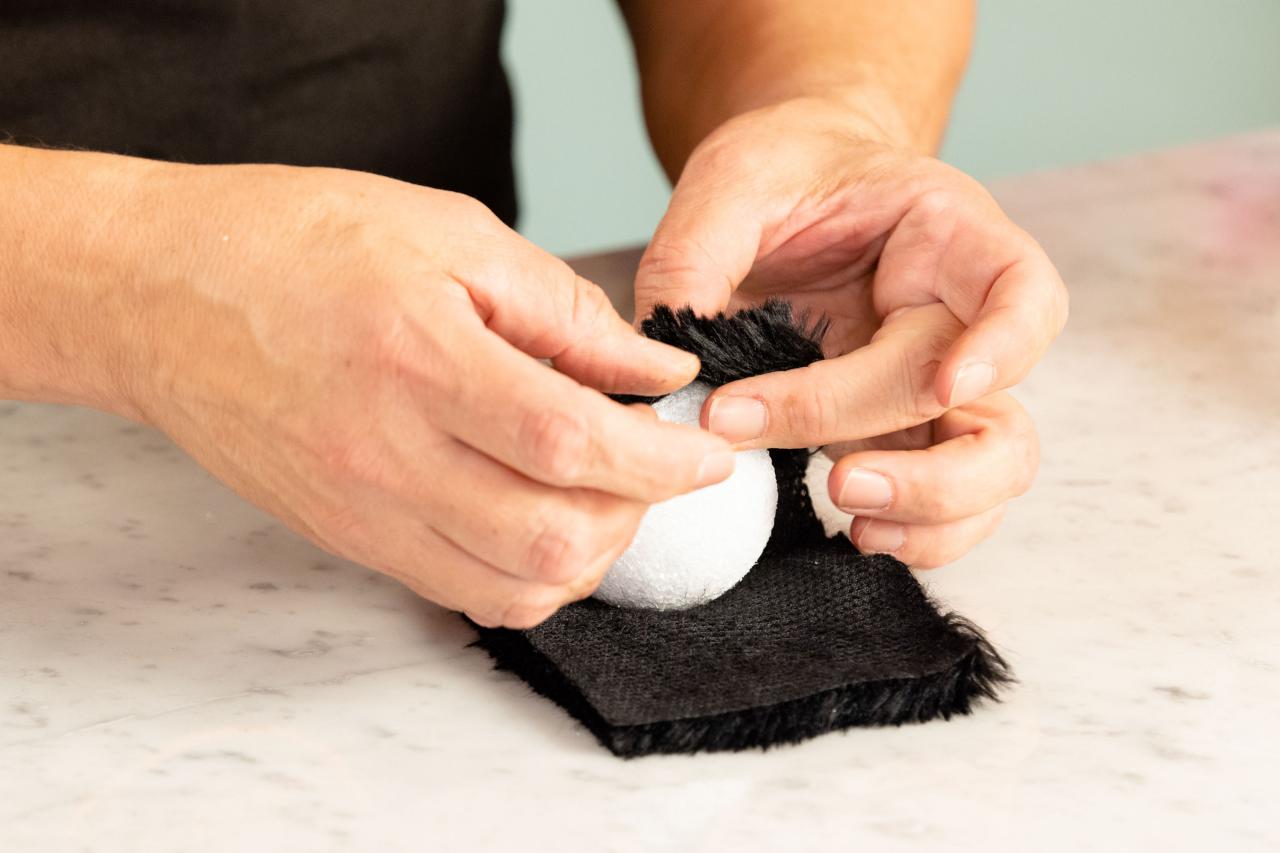
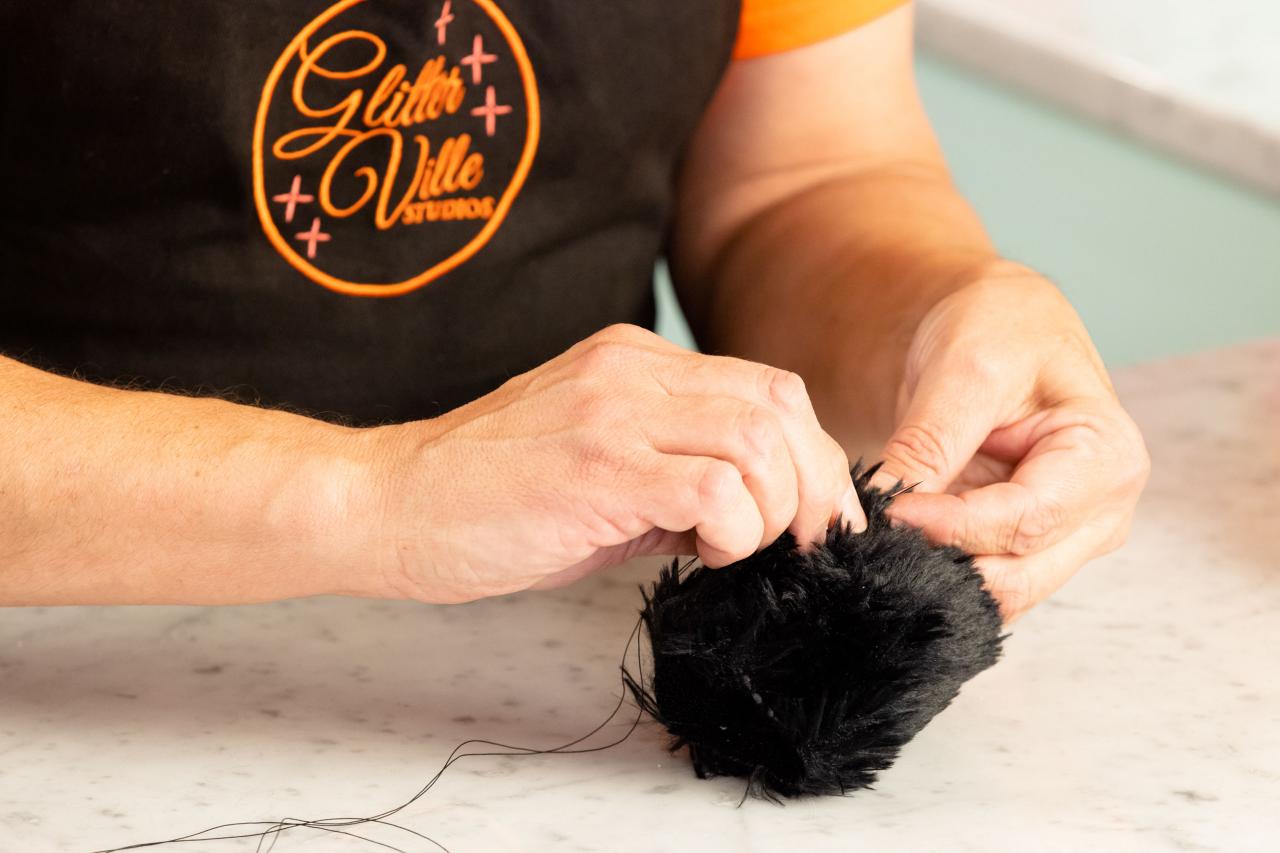
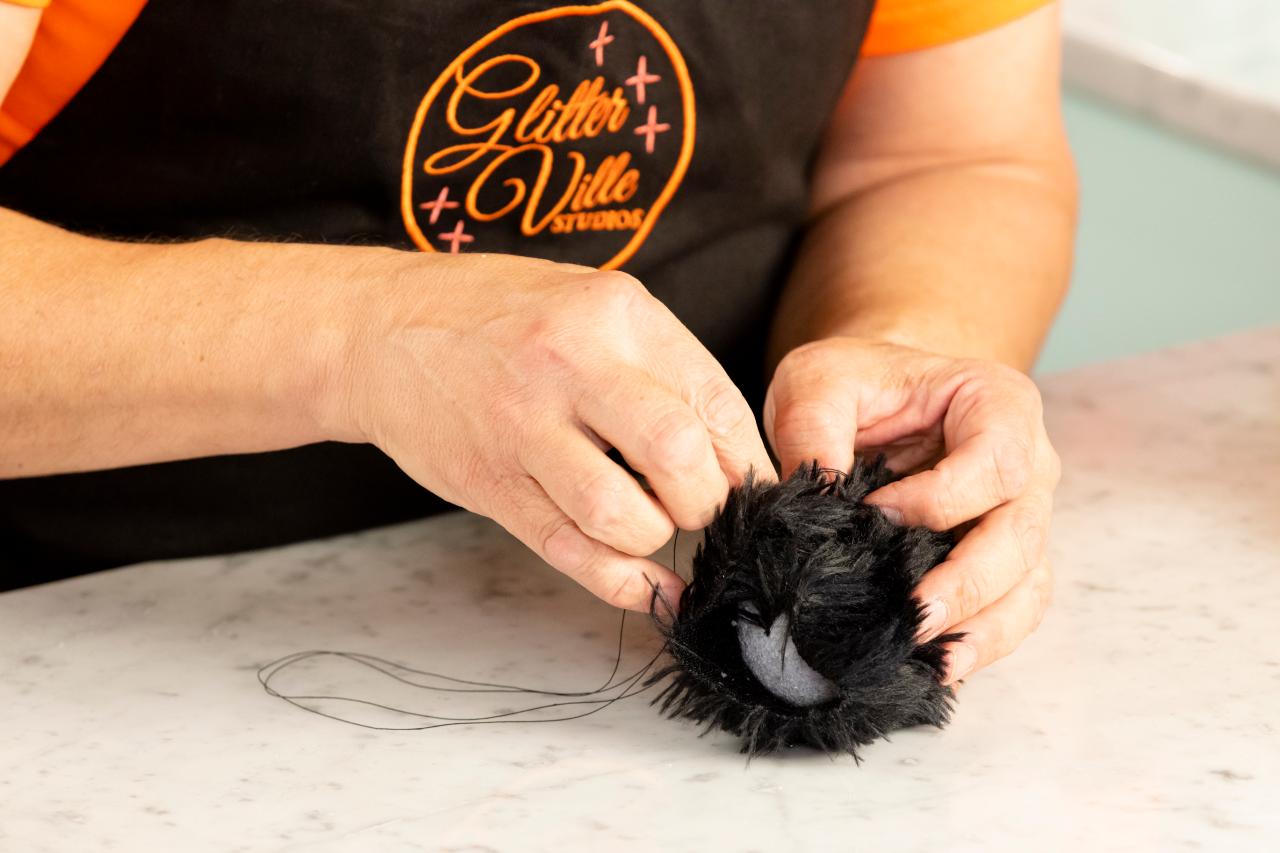
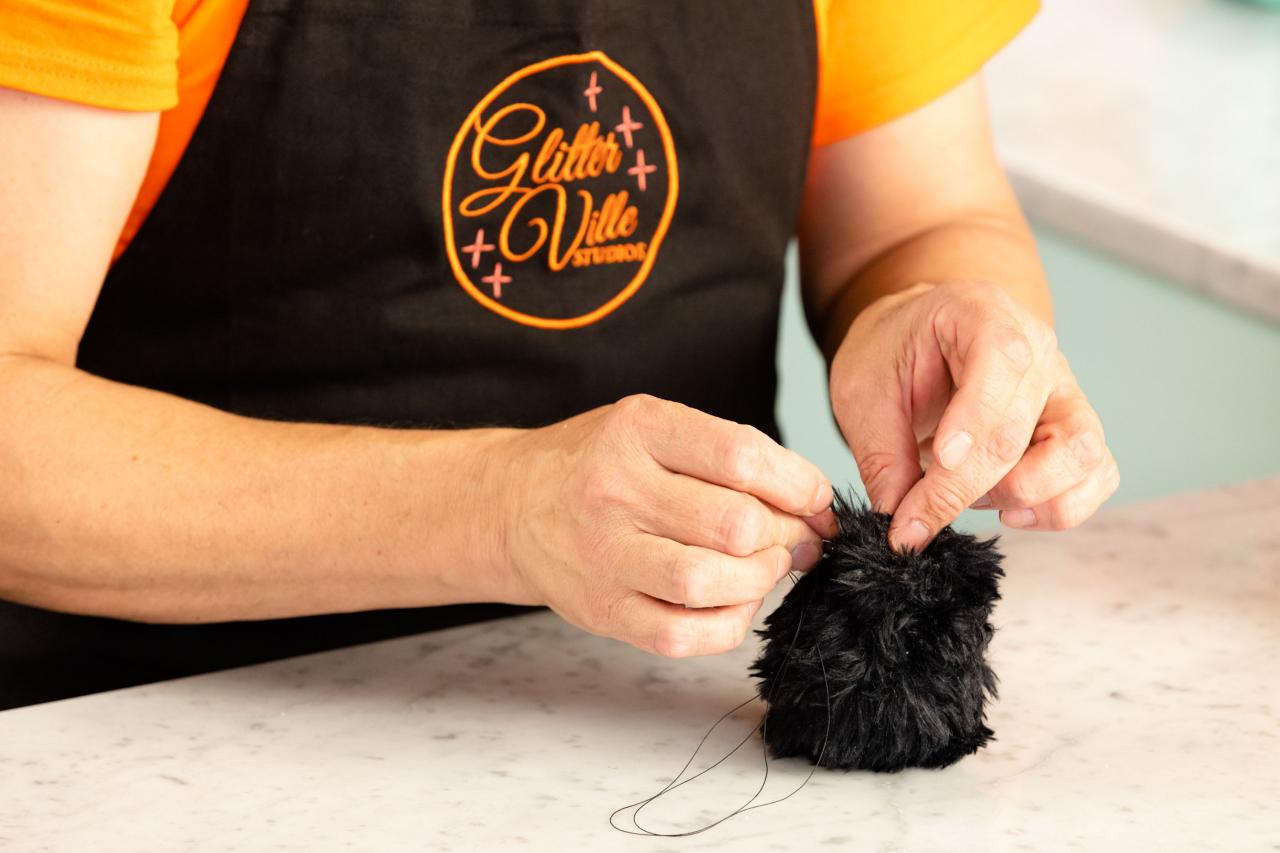
Cut an 8-1/4" by 4-1/2" piece of fur fabric. Wrap it around the 2-1/2" styrofoam ball and push a straight pin through both layers of fabric and into the styrofoam to hold the fabric (Image 1+2). Sew the fabric piece to itself along the short side of the rectangle and remove the pin (Image 3+4). To close the edge, run a gathering stitch around one of the open ends of the fabric, pull it tight to close, and then knot the fabric, so it stays shut. Repeat that process for the other open side (Image 5).
8. Make The Spider Mouth

Emilee Ramsier
Emilee Ramsier
Emilee Ramsier

Emilee Ramsier
Emilee Ramsier
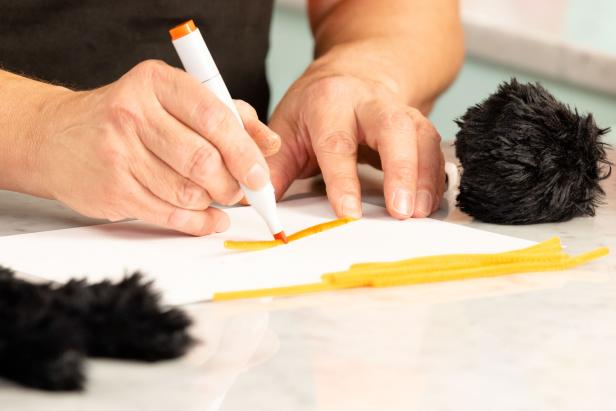
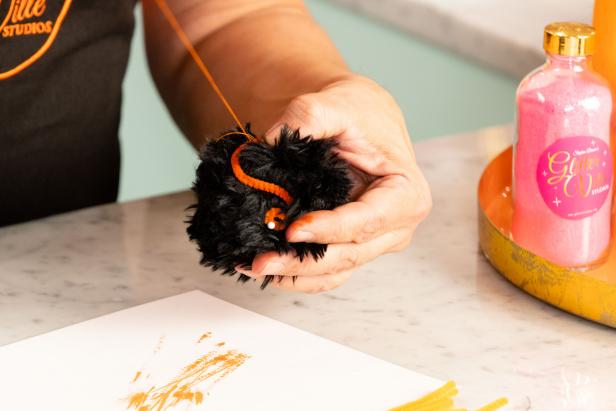
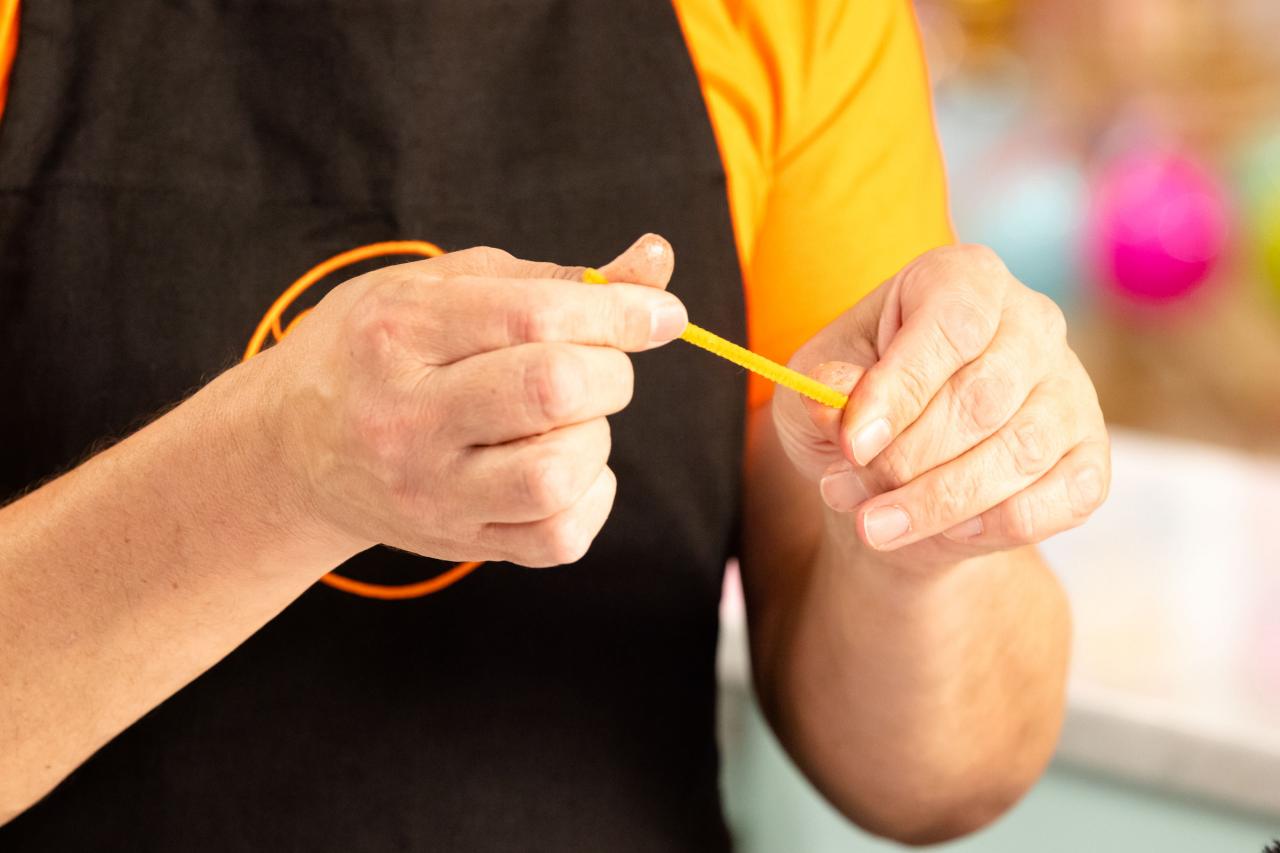
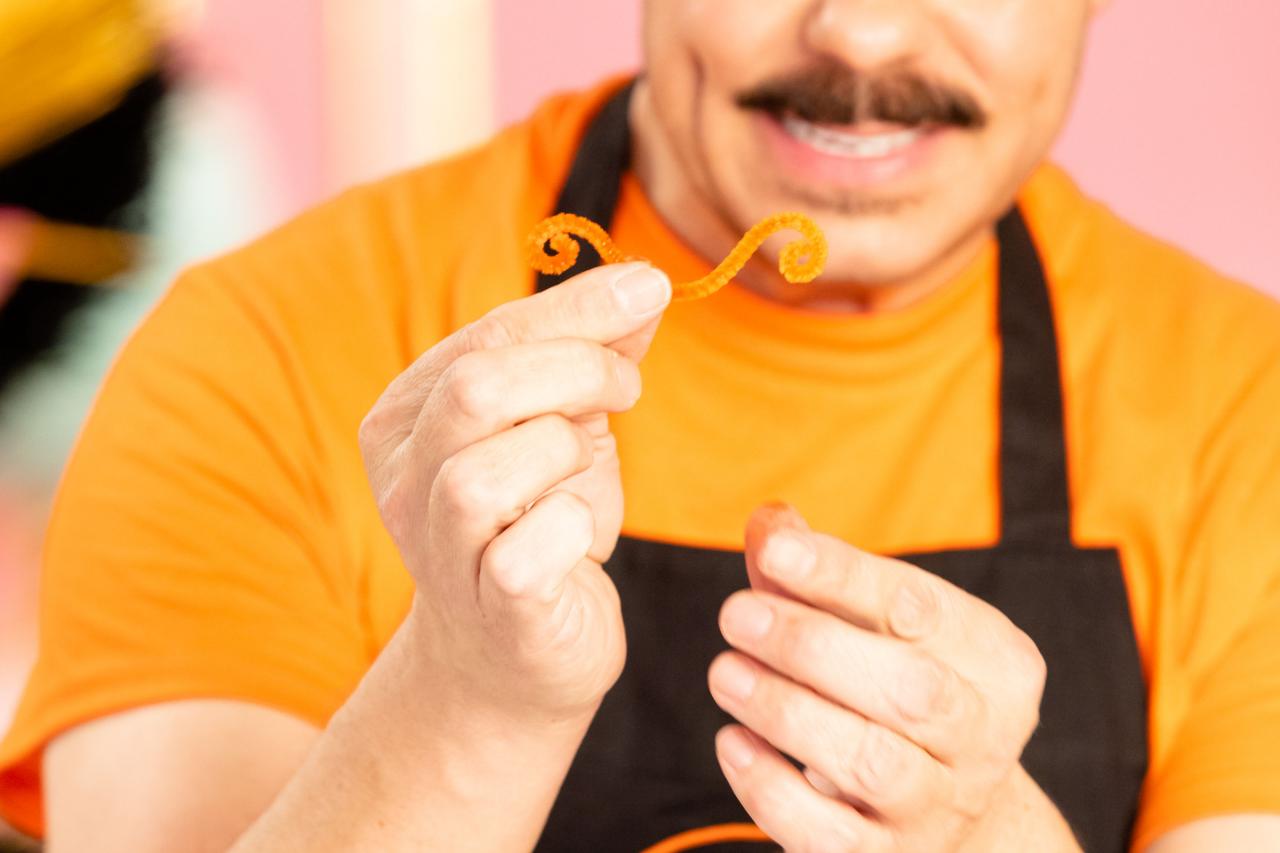
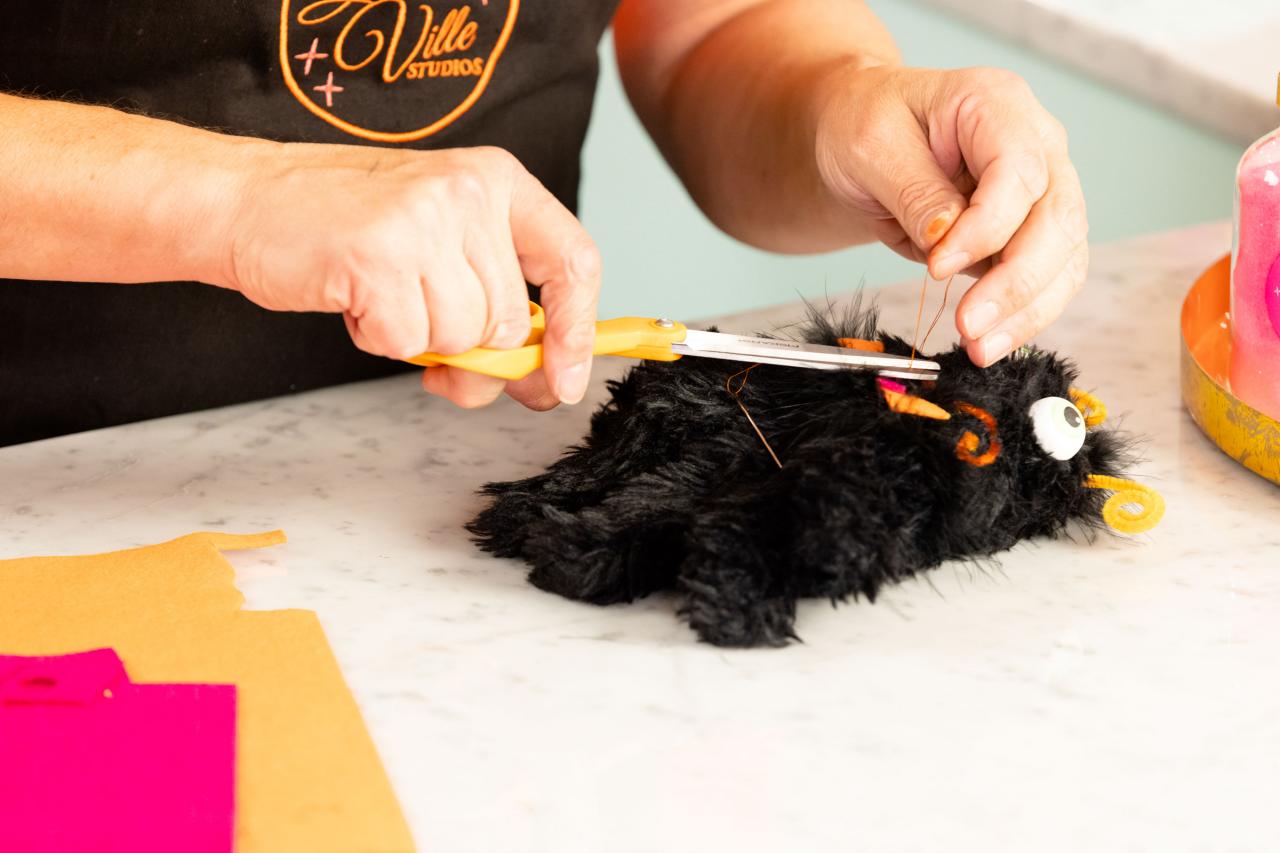
Use a 6" piece of orange chenille stem for the spider’s mouth. (If you don't have an orange chenille stem, you can always use a marker to color a white one.) (Image 1+2). Curl each end of the stem and fashion the entire piece into a smile (Image 3+4). Secure it to the head with straight pins and stitch in place with orange buttonhole thread. Remove the pins. If the fur is hiding the mouth, feel free to use the tips of your scissors to trim the fur away from the chenille stem (Image 5).
9. Make the Eyes

Emilee Ramsier

Emilee Ramsier

Emilee Ramsier
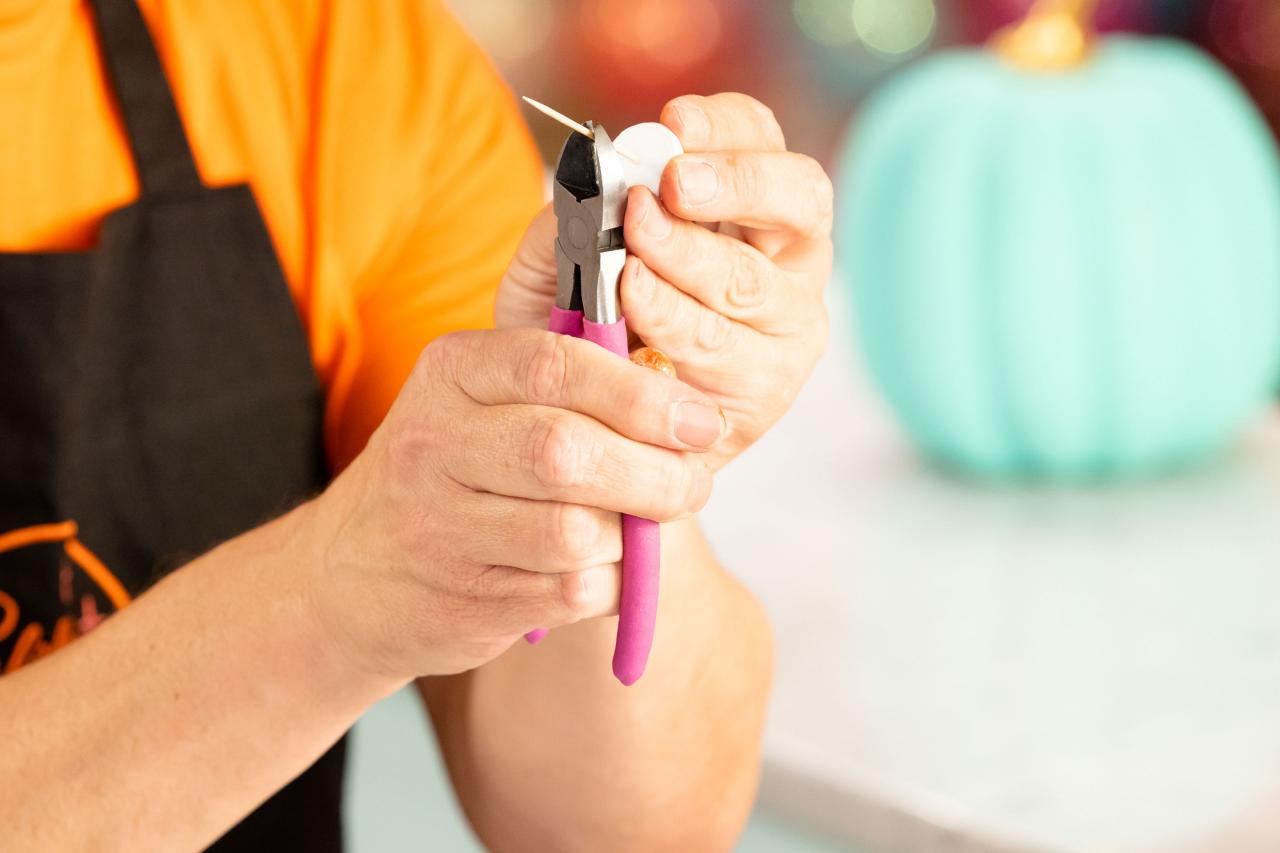
Cut a 1" smooth foam ball in half with a craft knife to create two eyes. Use acrylic paint to paint the iris and pupil onto each eye (Image 1). Push a toothpick into each eye and secure it with white glue. Toothpicks will help hold the eyes to the head, but toothpicks are a bit long, so cut half the toothpick off at an angle, so it still has a point (Image 2+3).
10. Attach the Eyes

Emilee Ramsier

Emilee Ramsier
Emilee Ramsier
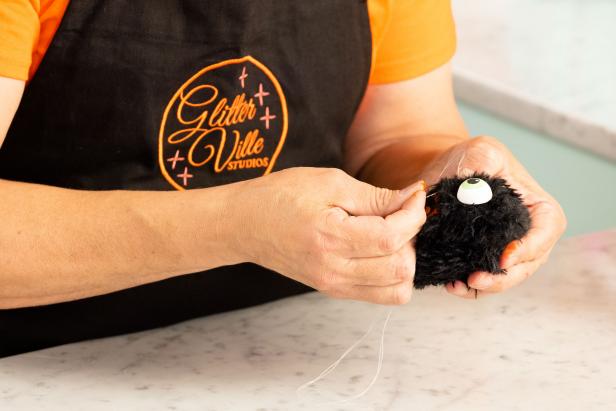
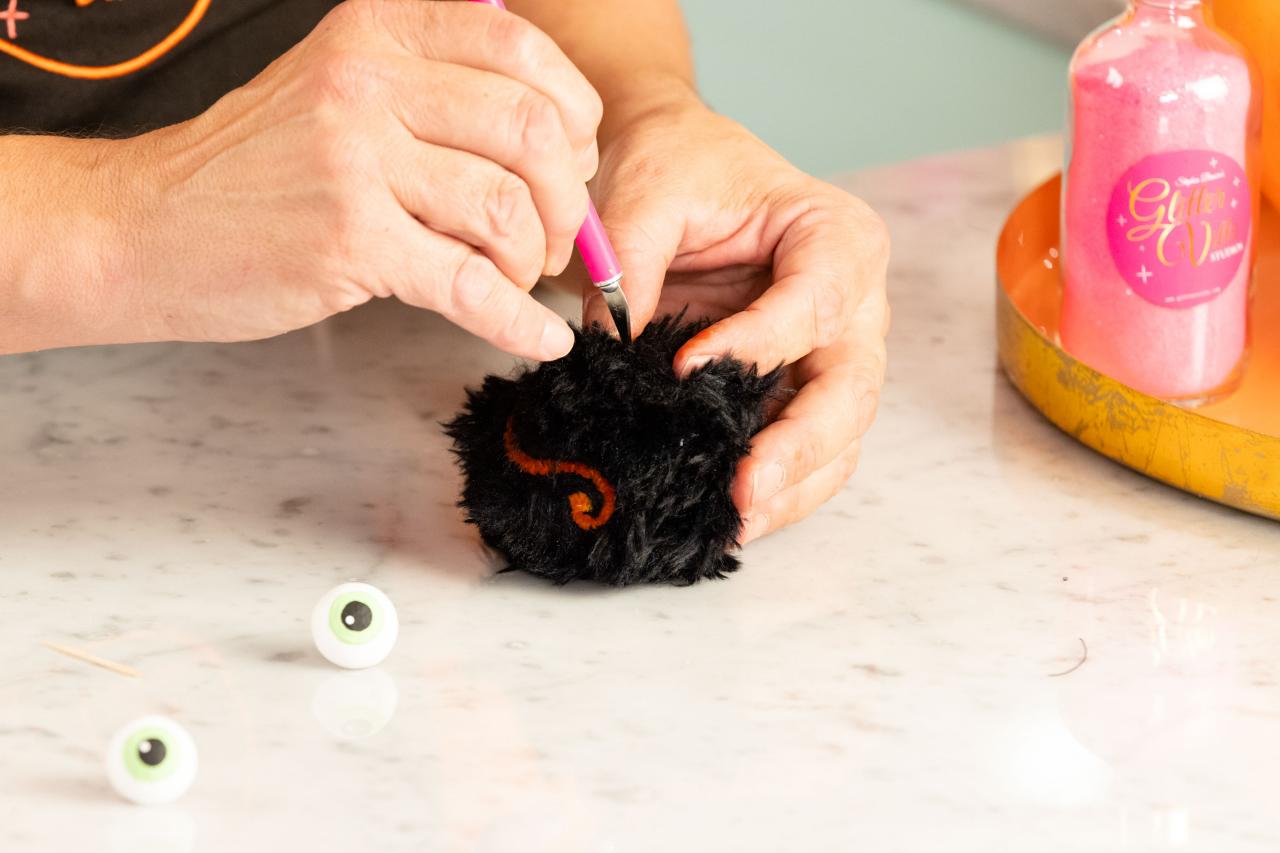
Use the sharp end of another toothpick to make a shallow guide hole for the eyes (Image 1). Insert the eyes into the guide holes and press them the rest of the way into place (Image 2+3).
11. Sew the Spider Nose
Emilee Ramsier

Emilee Ramsier
Using white buttonhole thread, sew a few stitches in the center of the spider’s face to make the nose (Image 1). Remember you may need to trim some of the fur back to show the nose (Image 2).
12. Create and Attach the Antennae
Emilee Ramsier
Emilee Ramsier
Emilee Ramsier
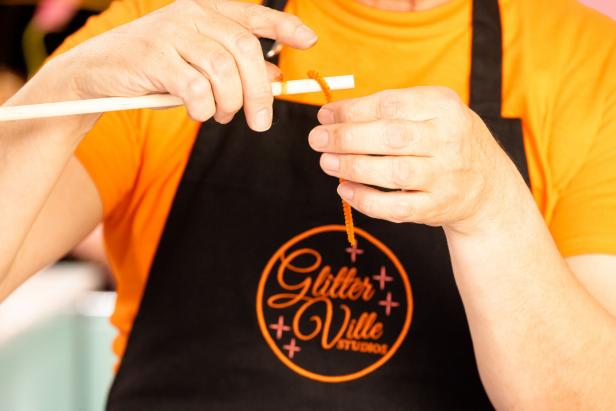
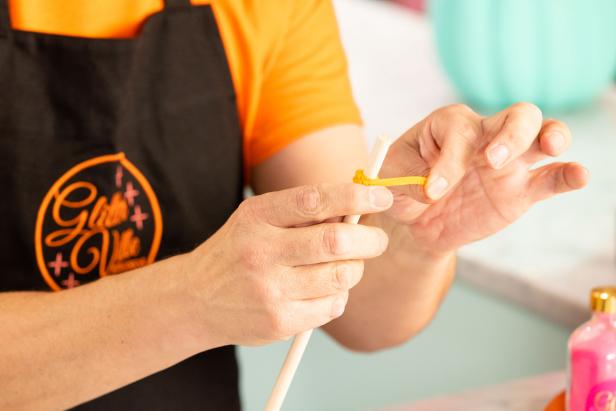
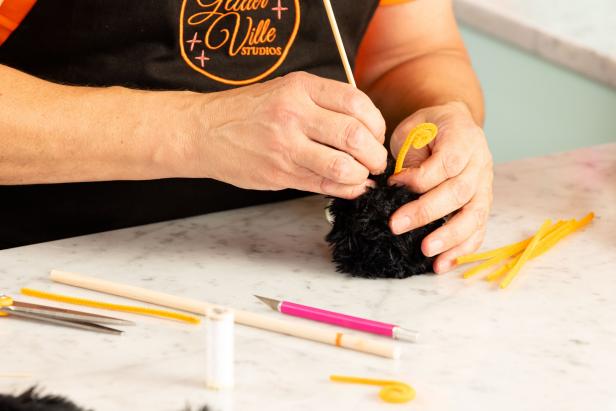
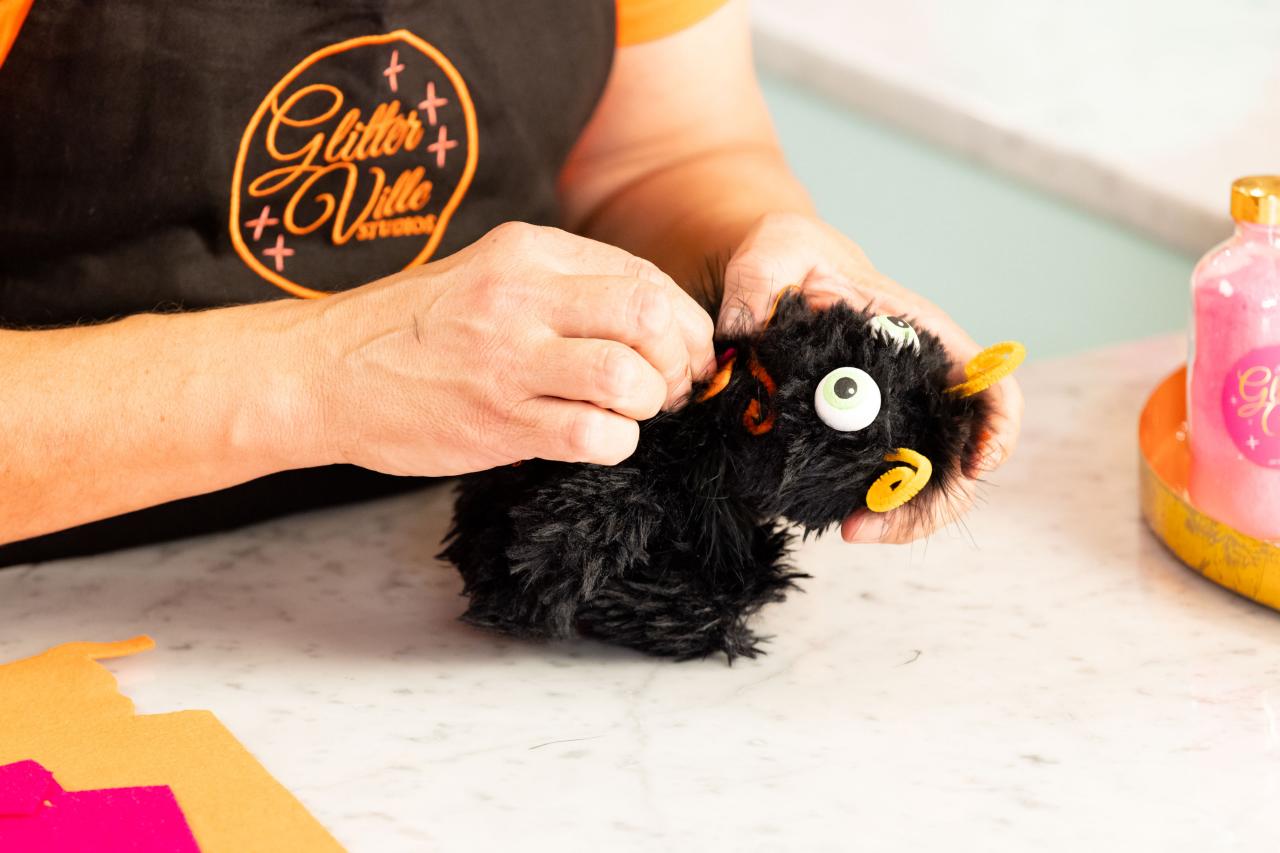
Using two 6" pieces of orange chenille stems to create the spider’s antennae. Curl one end of each stem (Image 1). To attach the antennae, use a kitchen skewer to poke guide holes into the head through the fabric and into the foam (Image 2). Remove the skewer and push the antennae into place (Image 3).
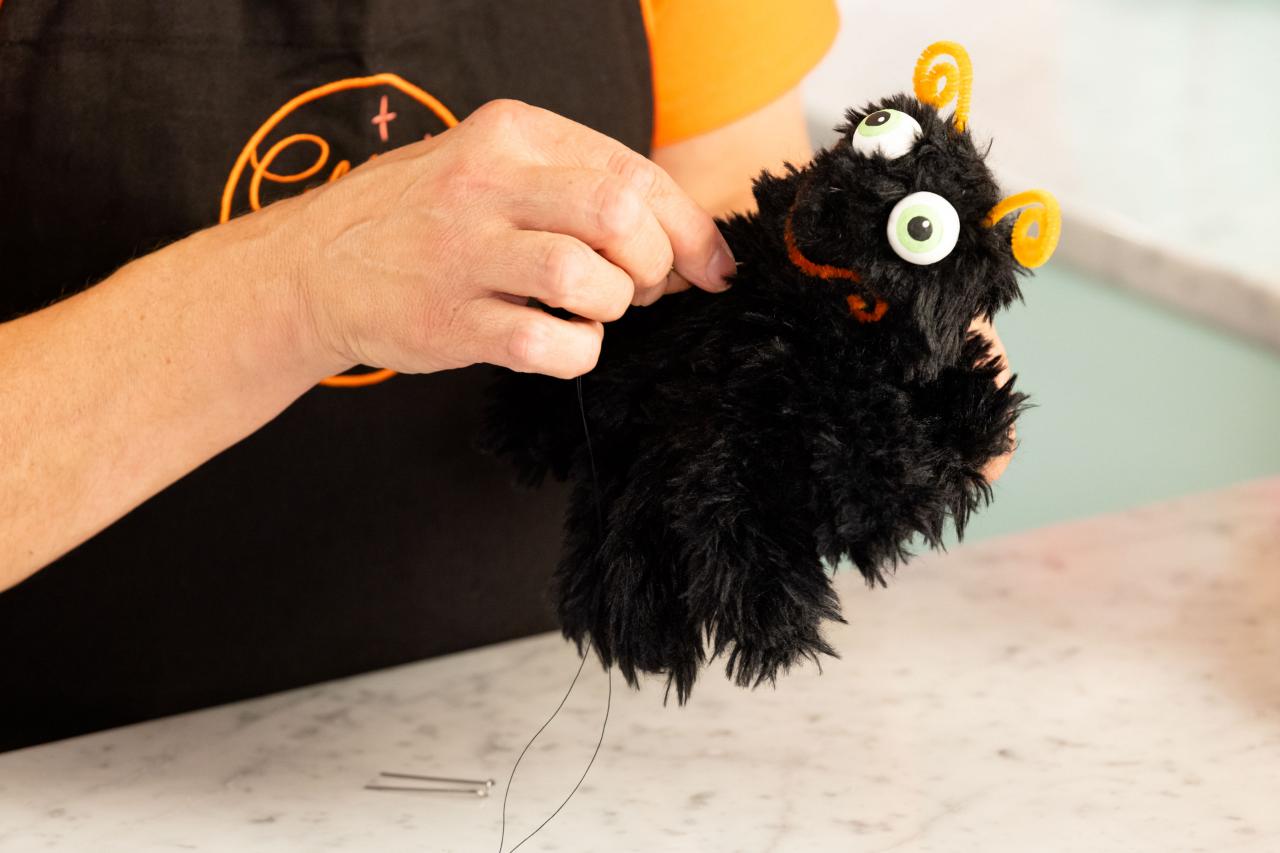
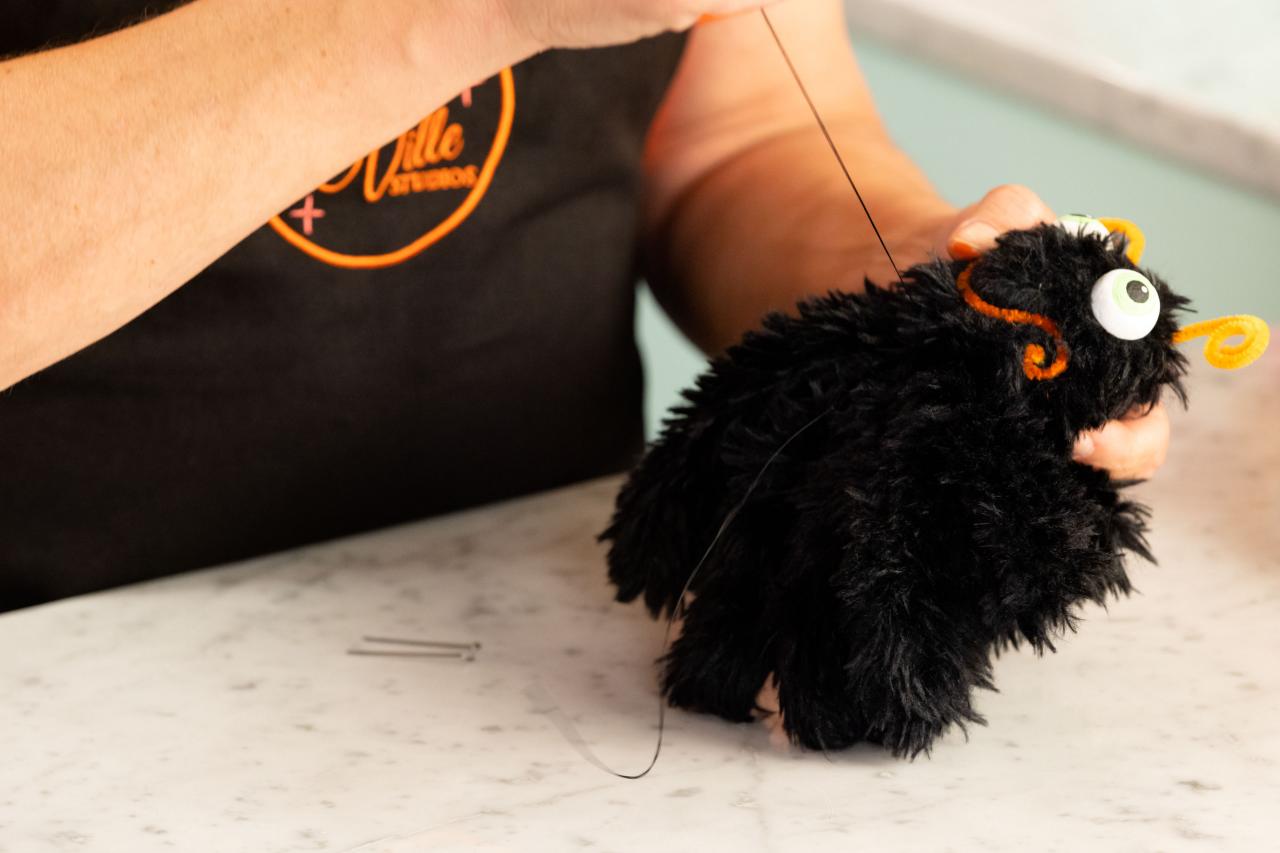
13. Attach the Spider Head to the Glove

Emilee Ramsier

Emilee Ramsier
Emilee Ramsier
Emilee Ramsier
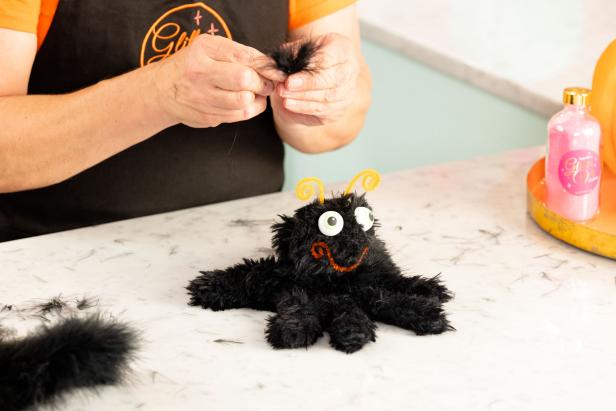
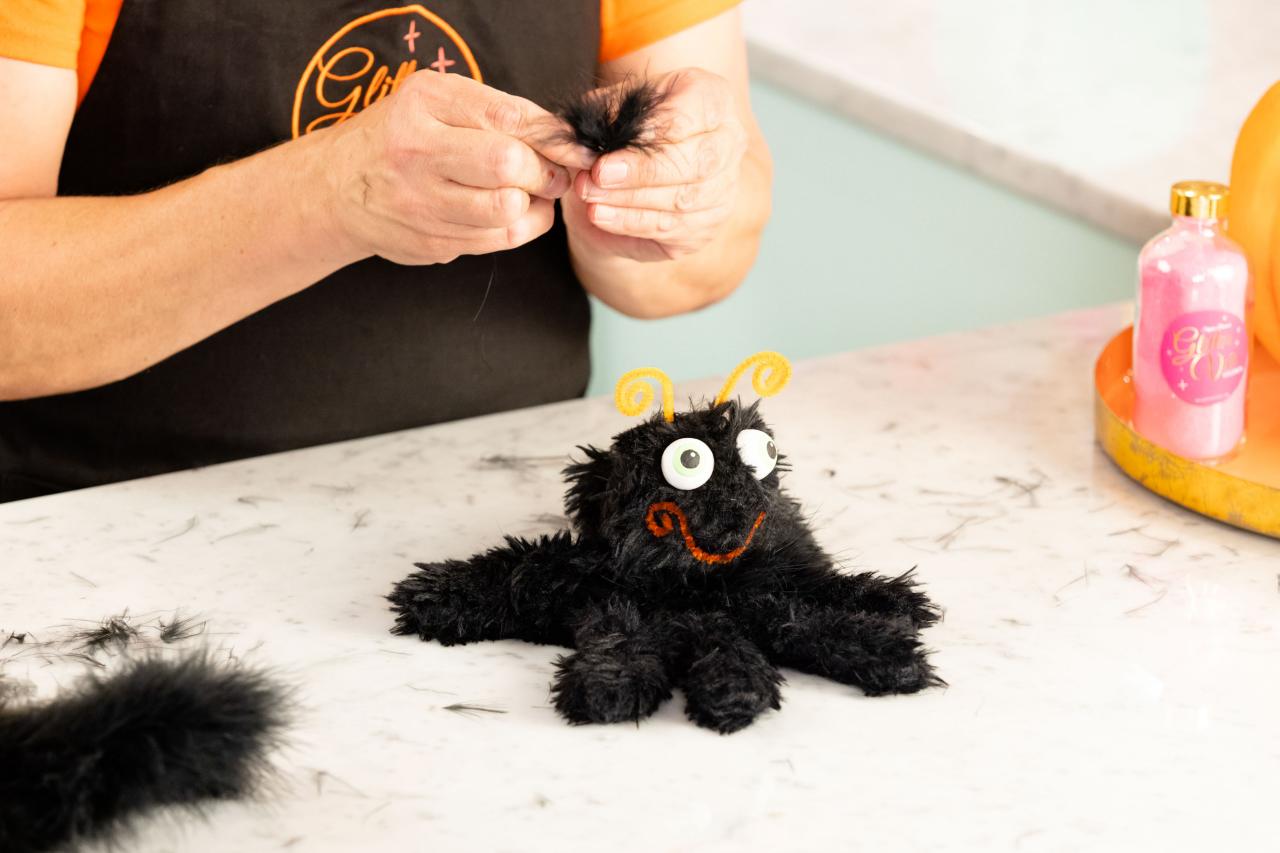
Secure the spider head to the top of the glove by pushing a U-shaped floral pin from the inside of the glove through the top and into the bottom of the head (Image 1). Hand stitch the head to the glove and remove the floral pin (Image 2). Finish the head by securing a piece of black marabou around the base of the spider’s head (Image 3+4).
14. Create and Attach a Felt Bow Tie

Emilee Ramsier

Emilee Ramsier

Emilee Ramsier
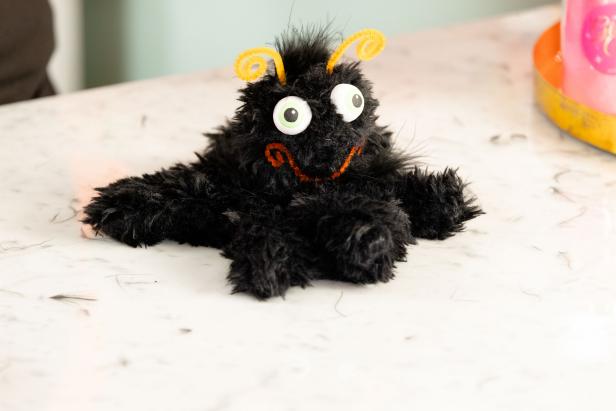
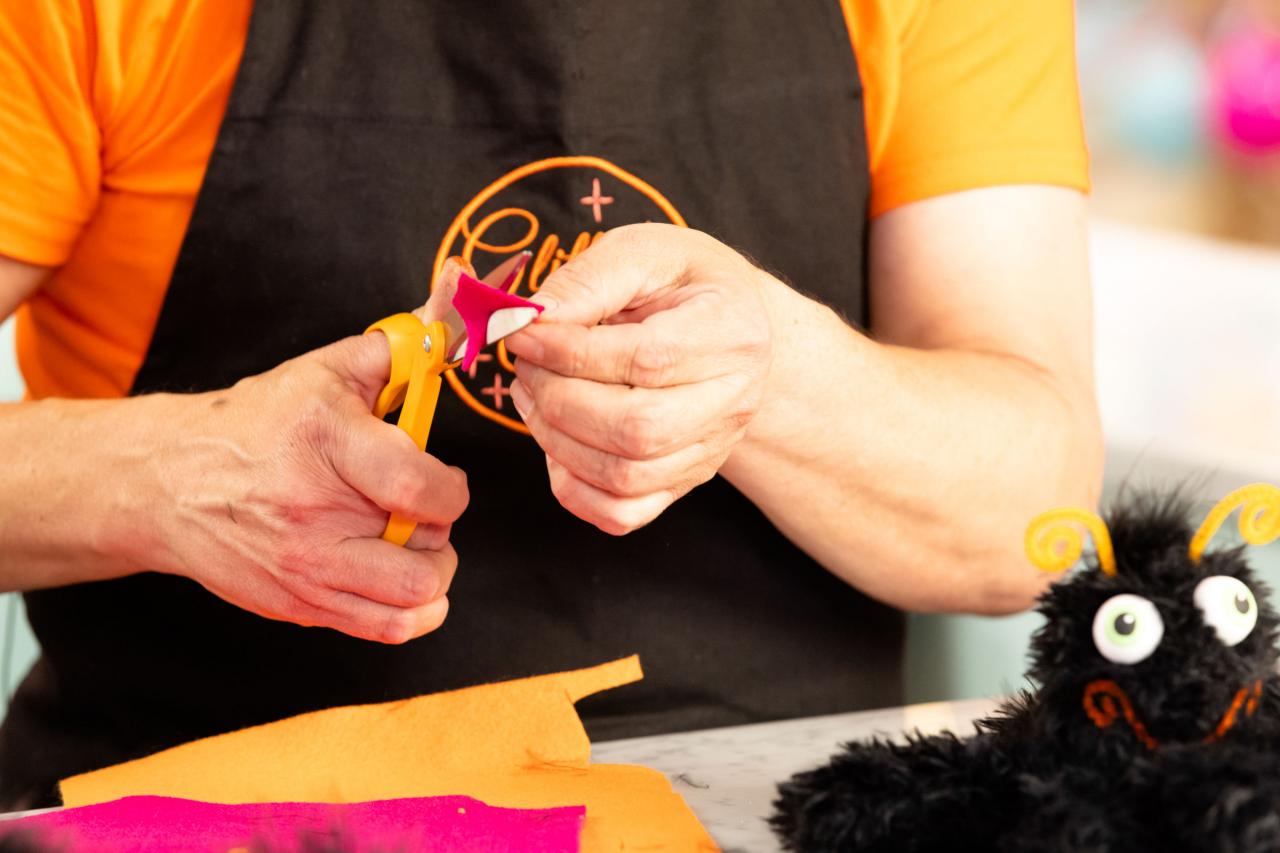
Cut a bow-tie shape out of orange felt and a knot shape from the pink felt (Image 1). Stitch them together and then stitch them onto the spider between the head and body (Image 2). Trim up any spots of fur that don’t look quite right (Image 3).
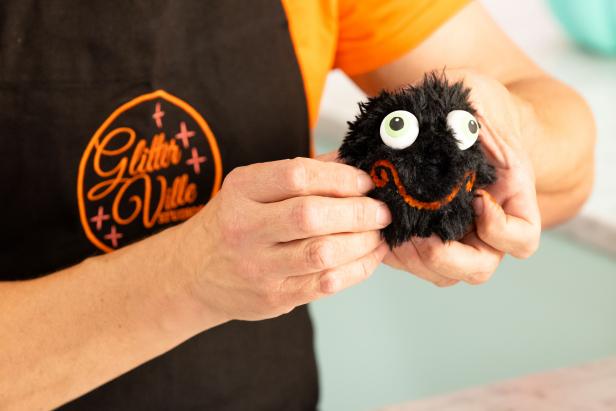
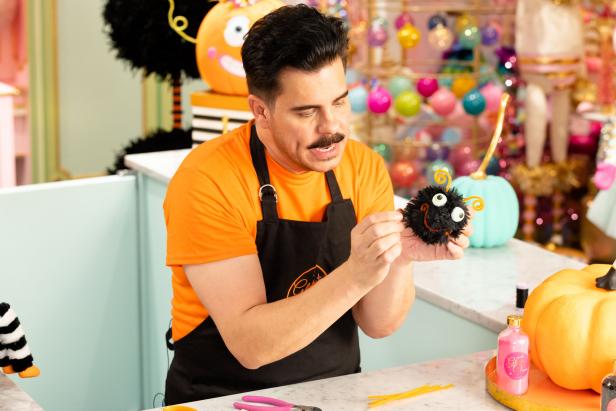
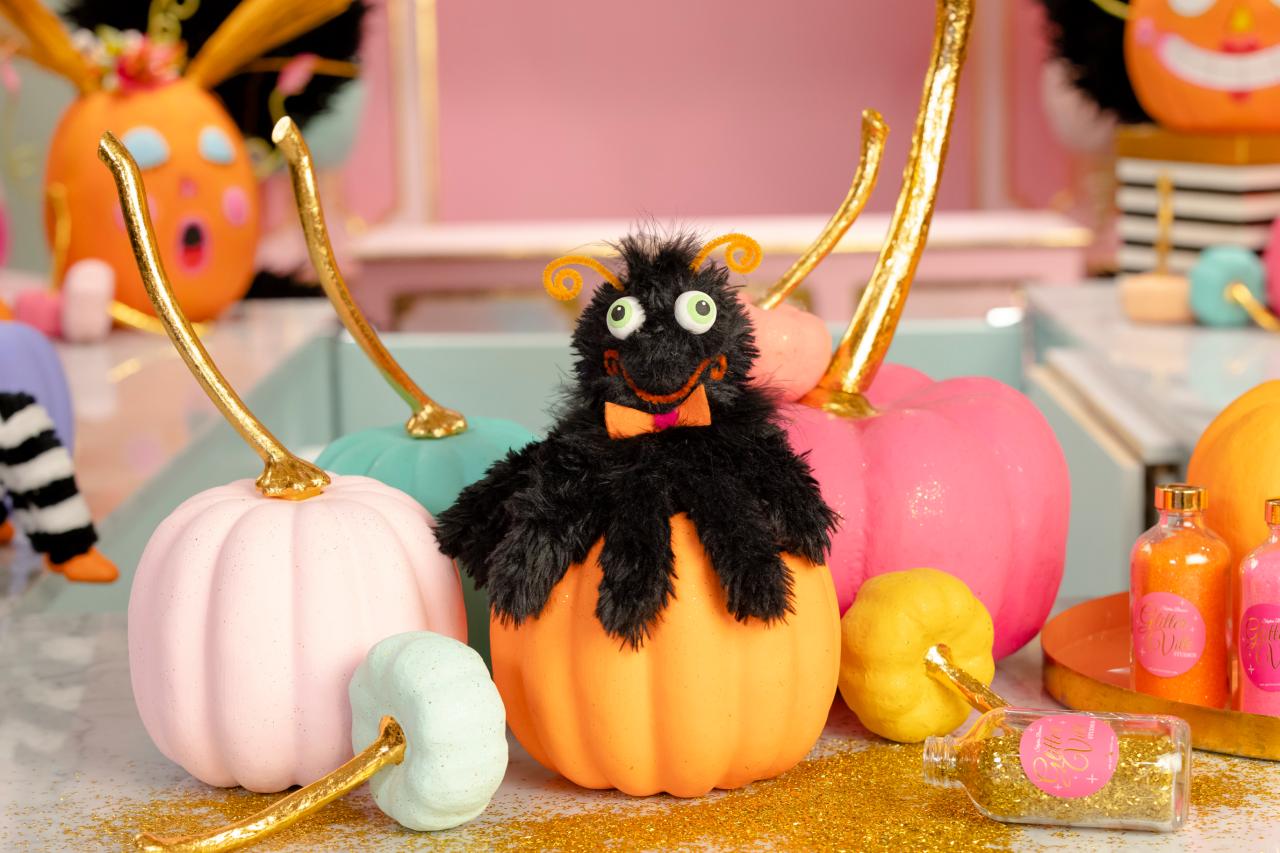
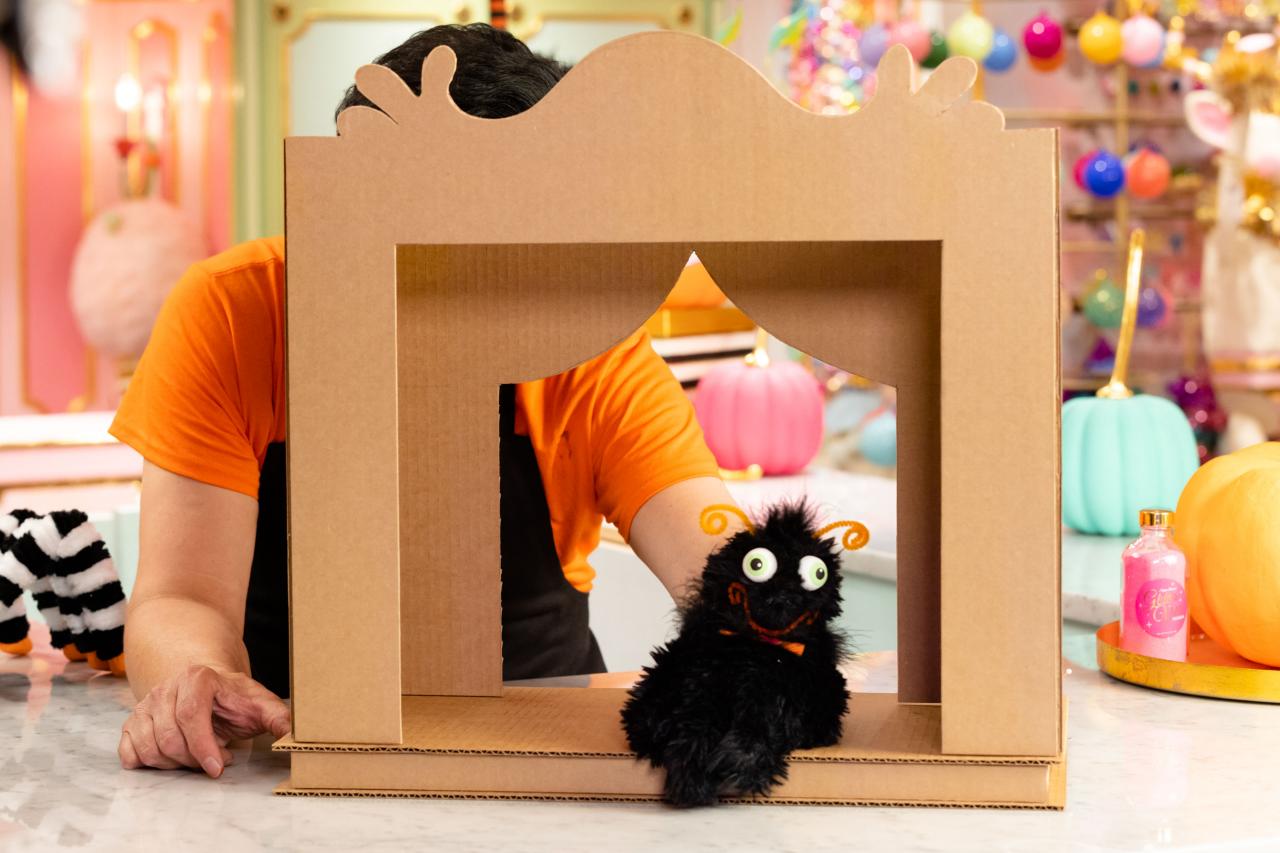
15. Host a Puppet Show or Pretend Your Halloween Costume Has a Sidekick

Emilee Ramsier
Enjoy all the silly and spooky uses for this adorable spider puppet.

Tour Glitterville Studios 33 Photos
Every day is a holiday in Stephen Brown’s Glitterville Studios, a brand specializing in home and holiday decor including sparkling ornaments, tableware and everything in between. See how Stephen turns his original art and handmade creations into products for the holiday masses, plus shop product collections and get craft projects to bring a little Glitterville home.


