


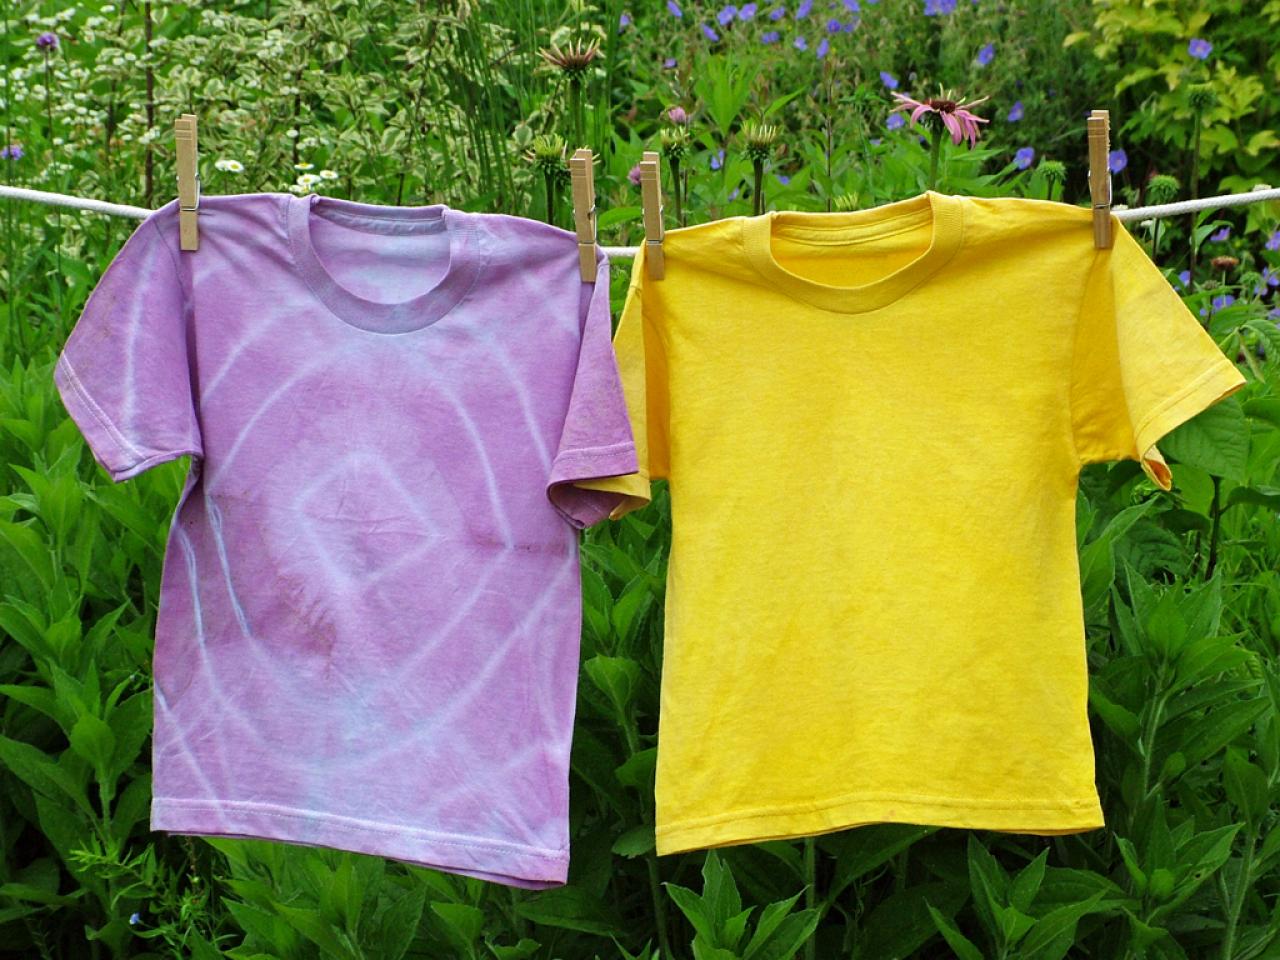
Dye a Shirt With Veggies and Fruits

Creating your own "food shirt" is a ton of fun, and you'll be amazed at how beautiful the dyes are.
Materials Needed:
- measuring spoons and/or cups
- water
- stainless steel or enamel cooking pot (6- to 10-quart) or large microwave-safe bowl
- edible plant material
- sieve or colander
- 100% cotton T-shirt
- large spoon
- rubber bands (for tie-dyeing)
- mug or small heavy bowl (optional)
Getting Started
About 10 cups of prepared dye is enough to color an adult small T-shirt. A toddler-sized shirt takes about 8 cups; an adult extra-large shirt takes about 12 cups. Note: It's a good idea to use a shirt one size larger then you usually wear if you're dyeing with vegetables or herbs because exposure to heat during the dyeing process tends to shrink the fabric.
Since you're working with edible materials, it's fine to use the same pots and utensils you use for cooking, and you can handle the cooled dyes and fabrics directly with your hands, if you wish. You might choose to wear gloves and old clothes, and to cover your counters with plastic, though, to avoid unwanted stains.
Plant-based dyes tend to produce softer colors than chemical dyes, but there are a couple of tricks you can try to get and keep the richest hues possible:
1. Use 100-percent cotton fabric (it will take the dye better than blends that include synthetic fibers), and wash it before dyeing.
2. Be patient. It's tempting to take the fabric out of the dye quickly, but letting it soak longer usually produces the best results.
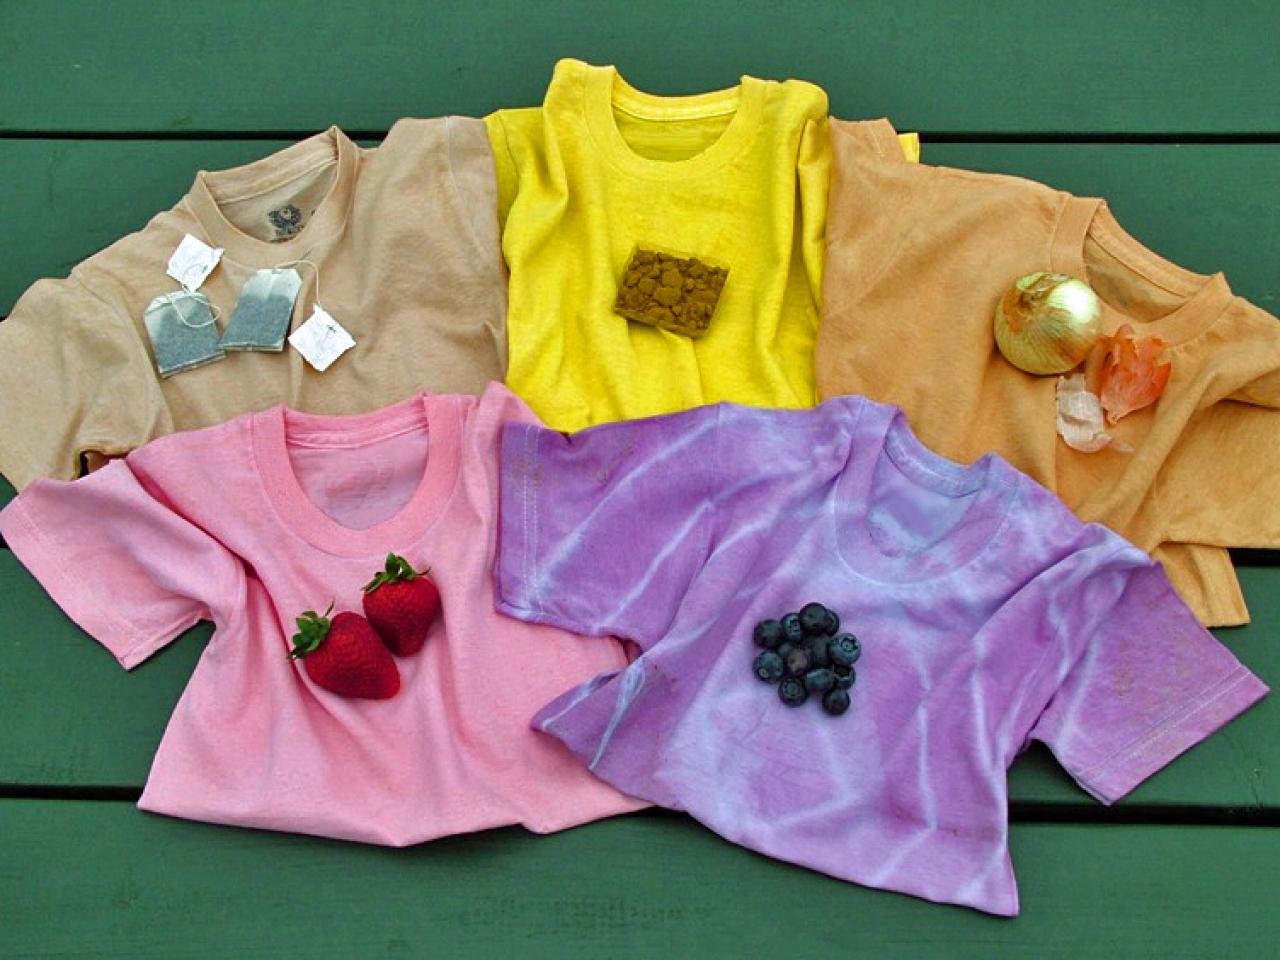
Color Guide
Yellow: try turmeric, mints, thymes or celery leaves.
Pink: try strawberries, cherries, cranberries or tomatoes.
Blues and purples: try blueberries, blackberries, black currants, mulberries or plum skins.
Brown to orange: try tea, coffee grounds, carrots or yellow onion skins.
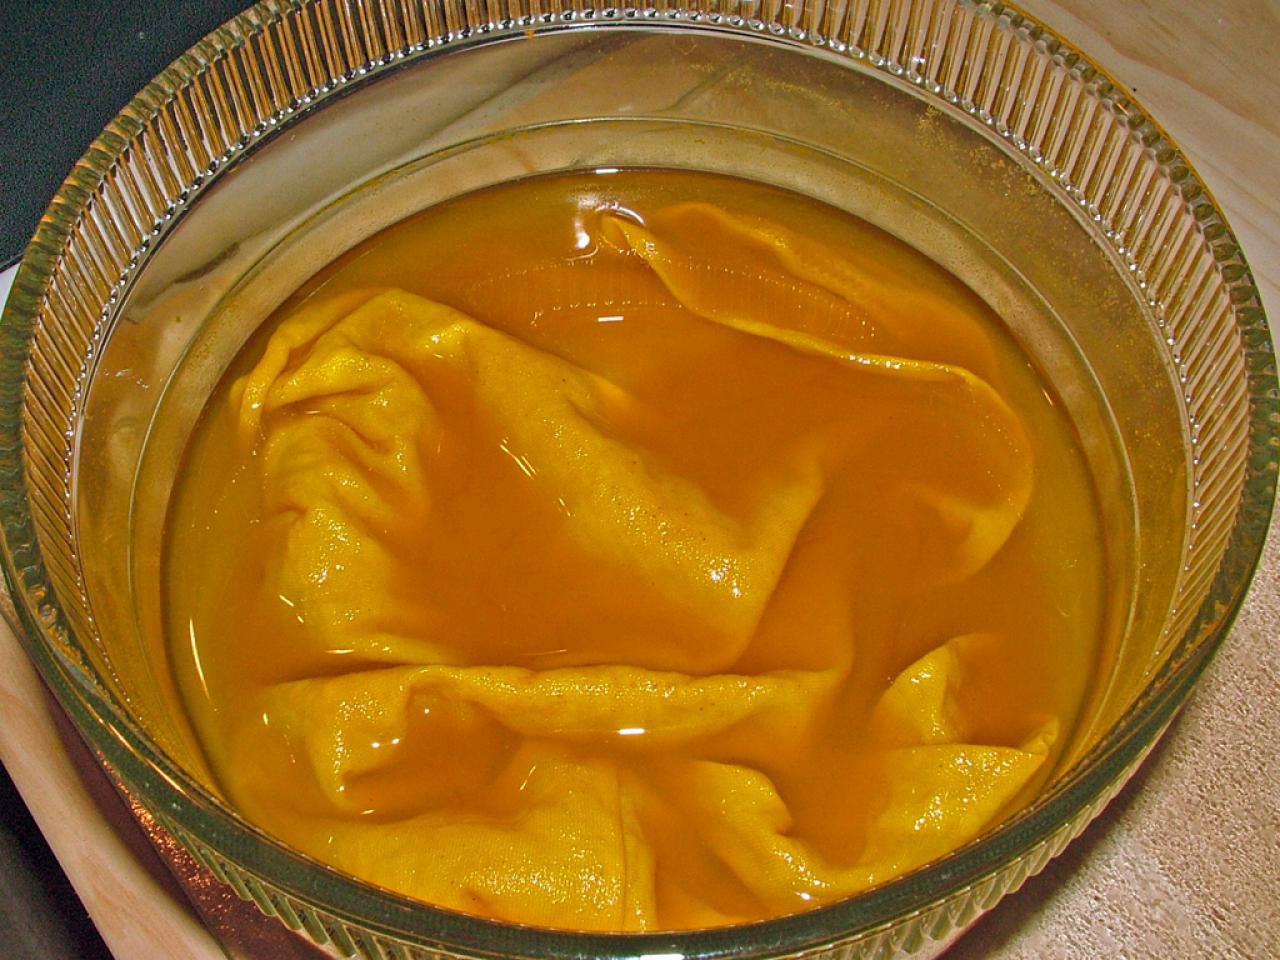
1. Spicing Up a Shirt
If you're looking for quick results and bright color, turmeric is tough to beat as a natural dye. Don't have plain turmeric on hand? You could substitute curry powder, which contains turmeric, or yellow mustard. They all produce shades of yellow.
To prepare the dye bath, use 1 tablespoon of turmeric for every 4 cups of water. (For an adult small shirt, that's 2 1/2 tablespoons in 10 cups of water; use more or less spice and water for larger or smaller shirts.) Put the spice and water in a stainless steel cooking pot, stir, bring it to a boil, let it simmer for about 5 minutes, then turn off the heat. Or, put the spice and water in a large microwave-safe bowl, stir, microwave it on high for about 10 minutes, then carefully remove it from the oven.
Stir the liquid again, then gently lower the fabric into the dye bath. Press it down with a spoon so all of the fabric is covered. If needed, set a mug or small heavy bowl on the shirt to keep it submerged. Let it sit for about an hour, then remove the shirt from the dye. Rinse it thoroughly in cold water until the water runs clear, then hang the shirt to dry or toss it in the dryer.

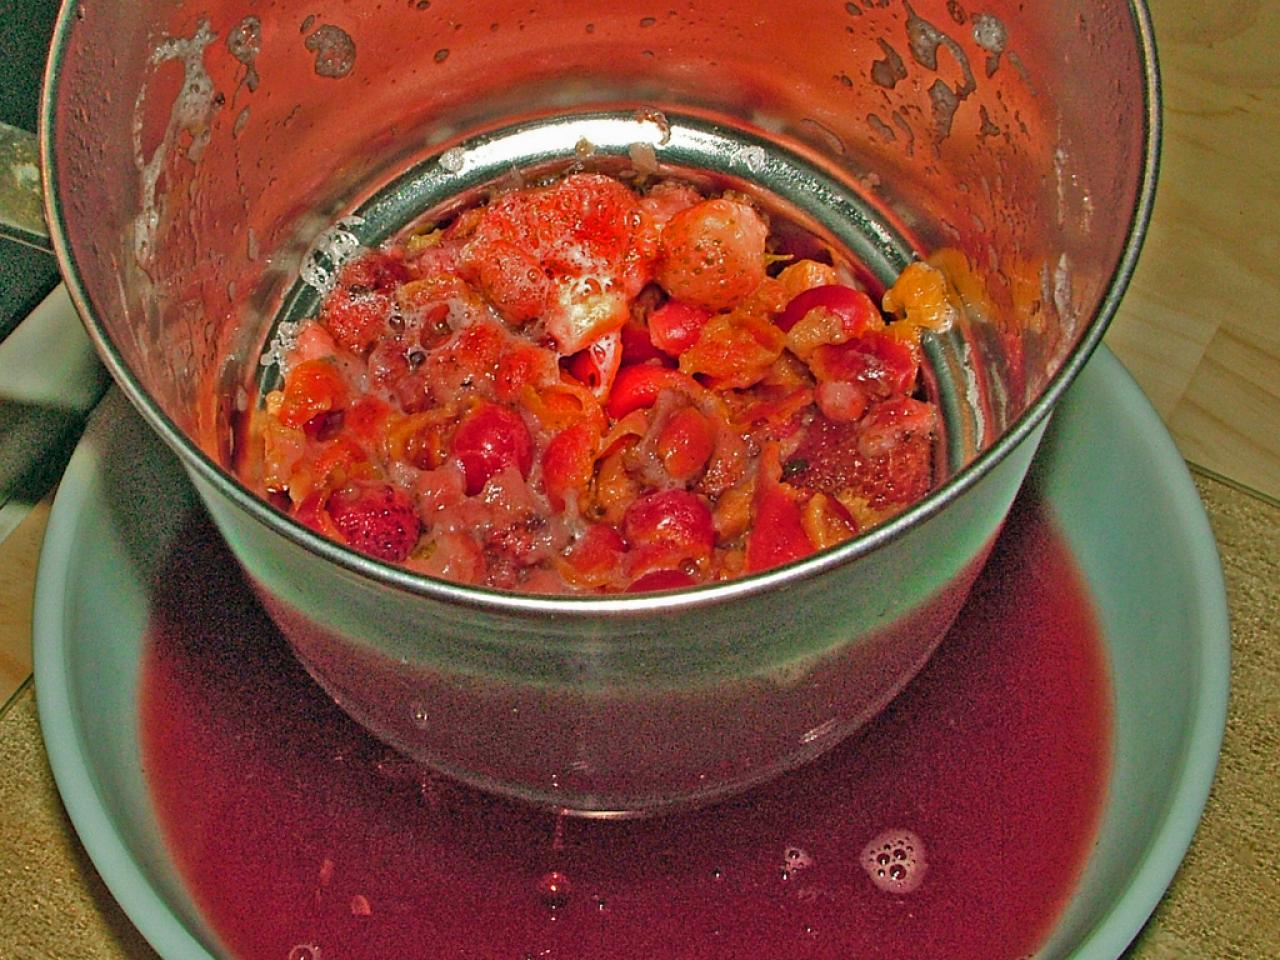
2. Berry-Easy Dyeing
Red fruits, such as strawberries, cherries and cranberries, produce beautiful pink dyes. Blueberries, blackberries, black currants, mulberries, black plum skins and other dark fruits generally produce shades of blue to purple. You don't need perfect fruit for dyeing: It's fine to use berries that are damaged, deformed or overripe, as long as they're not obviously blackened or rotted. Or, you can use frozen fruit, fruit juice or juice concentrate.
Use about 1 cup of crushed berries for every 3 cups of water. (For an adult small shirt, that's a little more than 3 cups of fruit in 10 cups of water; use more or less fruit and water for larger or smaller shirts.) Put the fruit and water in a stainless steel cooking pot, stir, bring to a boil, let simmer for about 5 minutes, then turn off the heat. Or, put the fruit and water in a large microwave-safe bowl, stir, microwave on high for about 10 minutes, then carefully remove it from the oven.
Let the liquid sit until it is cool enough to handle, then strain out the fruit and return the liquid to the pot or bowl. Lower the fabric into the dye bath and press it down with a spoon so all of the fabric is covered. (If needed, set a mug or small heavy bowl on the shirt to keep it submerged.) Let it soak for 8 to 24 hours (the longer the soak, the richer the final color), then remove the shirt from the dye. Rinse it thoroughly in cold water until the water runs clear, then hang it to dry or toss it in the dryer.

3. Dyeing With Vegetables and Herbs
It takes more time to coax color out of veggies and herbs, and their dyes tend to be very subtle, but it's worth experimenting with them. The results can be very surprising: Beet roots, for instance, produce a bright pink dye, but the color nearly disappears when you rinse and dry the fabric. You probably wouldn't expect much from the skins of yellow onions, but they yield lovely shades of orange as a dye, even though the dye bath looks rosy pink. Tomato fruits produce a very pale pink, carrot roots produce light orange and celery leaves yield a light yellow. Spearmint, peppermint and thyme also produce shades of yellow.
Use about 1 cup of chopped vegetables or herbs for every 2 cups of water. (For an adult small shirt, that's 5 cups of chopped material in 10 cups of water; use more or less plant material and water for larger or smaller shirts.) Put the chopped material and water in a stainless steel cooking pot and bring to a boil, then turn down the heat. Let simmer for about 1 hour, stirring occasionally, then turn off the heat.
Let the liquid sit until it is cool enough to handle, then strain out the plant material and return the liquid to the pot. Lower the fabric into the dye and press it down with a spoon so all of the fabric is covered. Bring the liquid to a boil again, then turn down the heat and let the dye bath simmer for about an hour, stirring occasionally. Turn off the heat and let the fabric soak for 12 to 24 hours. (If needed, set a mug or small heavy bowl on the shirt to keep it submerged.) Remove the shirt from the dye, rinse it thoroughly in cold water until the water runs clear, then hang it to dry or toss it in the dryer.

4. Color From Coffee and Tea
As you might expect, coffee- and tea-based dyes produce pretty shades of brown. Used coffee grounds work fine. Different kinds of tea produce a range of results: Green and white teas produce much lighter shades of brown than black tea.
Use 1/2 cup of coffee grounds or one tea bag for every cup of water. (For an adult small shirt, that's 5 cups of coffee grounds or 10 tea bags in 10 cups of water; use more or less ingredients and water for larger or smaller shirts.) Put the coffee grounds or tea bags and water in a stainless steel cooking pot, bring to a boil, let simmer for about 15 minutes, then turn off the heat.
Lower the fabric into the dye bath and press it down with a spoon so all of the fabric is covered. (If needed, set a mug or small heavy bowl on the shirt to keep it submerged.) Let the shirt soak for 12 to 24 hours. Remove it from the dye, rinse it thoroughly in cold water until the water runs clear, then hang it to dry or toss it in the dryer.
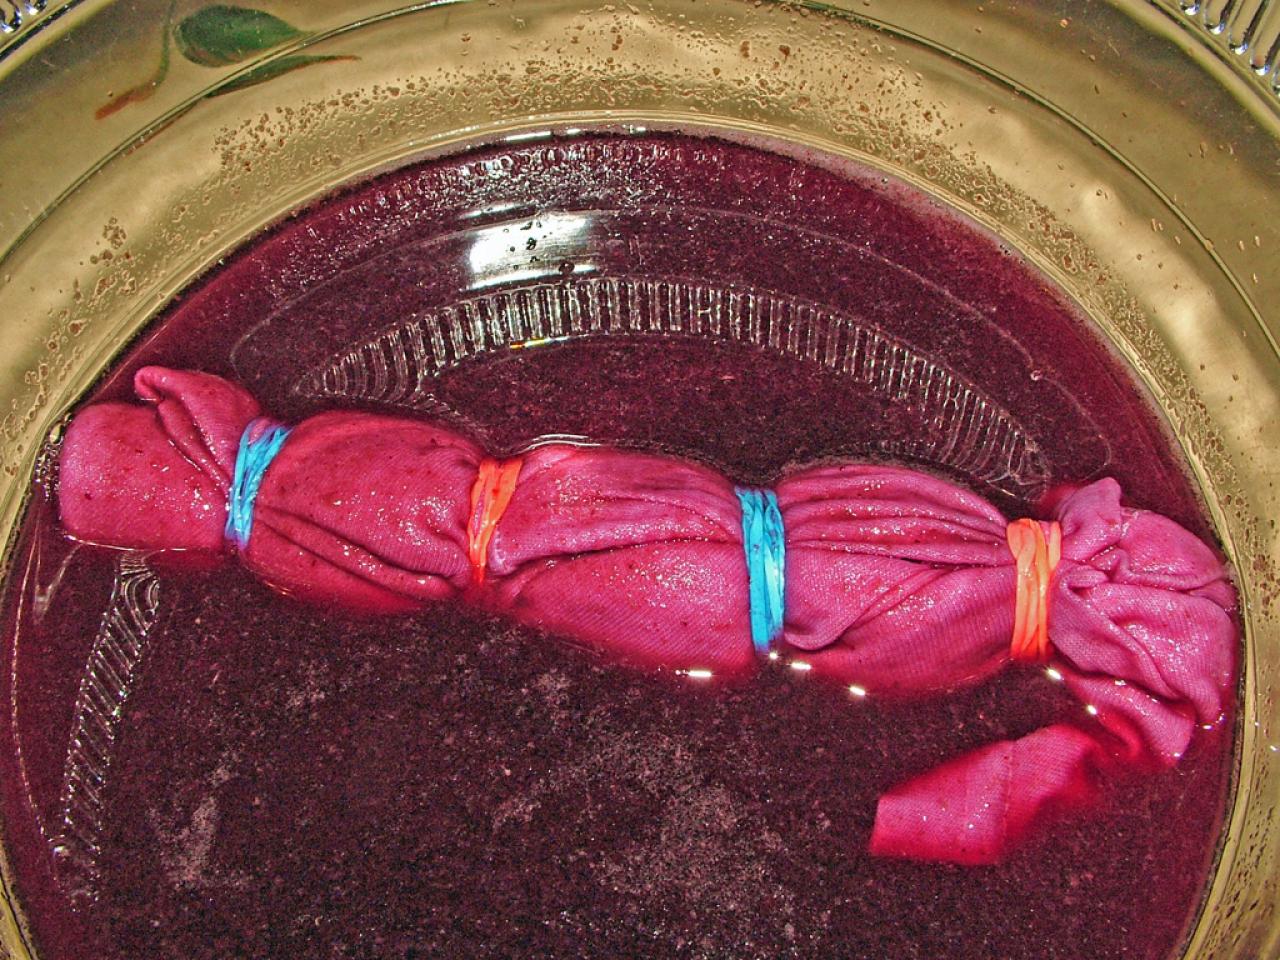
Try a Unique Twist
Add extra interest to your natural dyeing project by using a tie-dye technique. Fold and/or roll your shirt, then wrap it tightly with rubber bands every inch or two along its length. Thick rubber bands, like those used for produce, are best, but thin ones can work, too. The parts of the shirt covered by the rubber bands will absorb little or no dye, so for the clearest pattern on your finished shirt, wrap the rubber bands as closely as possible (even overlap them, if you can). If there's printing on the rubber bands, try to keep the printed side out, so the ink doesn't rub off on the fabric.
Add the rubber-banded shirt to the dye bath and make sure it's completely covered. In a strong dye, such as turmeric or any berry, a 15- to 30-minute soak should be enough to create a pattern; in weaker dyes, let it sit anywhere from an hour to overnight. Remove the shirt and squeeze out the excess liquid. Take off the rubber bands, shake out the shirt and let it dry. Rinse it thoroughly in cold water until the water runs clear, then hang the shirt to dry or toss it in the dryer.

Wash With Care
Treat your finished shirts gently: Wash them individually in cold water, with a mild detergent, and don't hang them in direct sun to dry.


