


Faux It 'Til You Make It: A DIY Barnwood Headboard
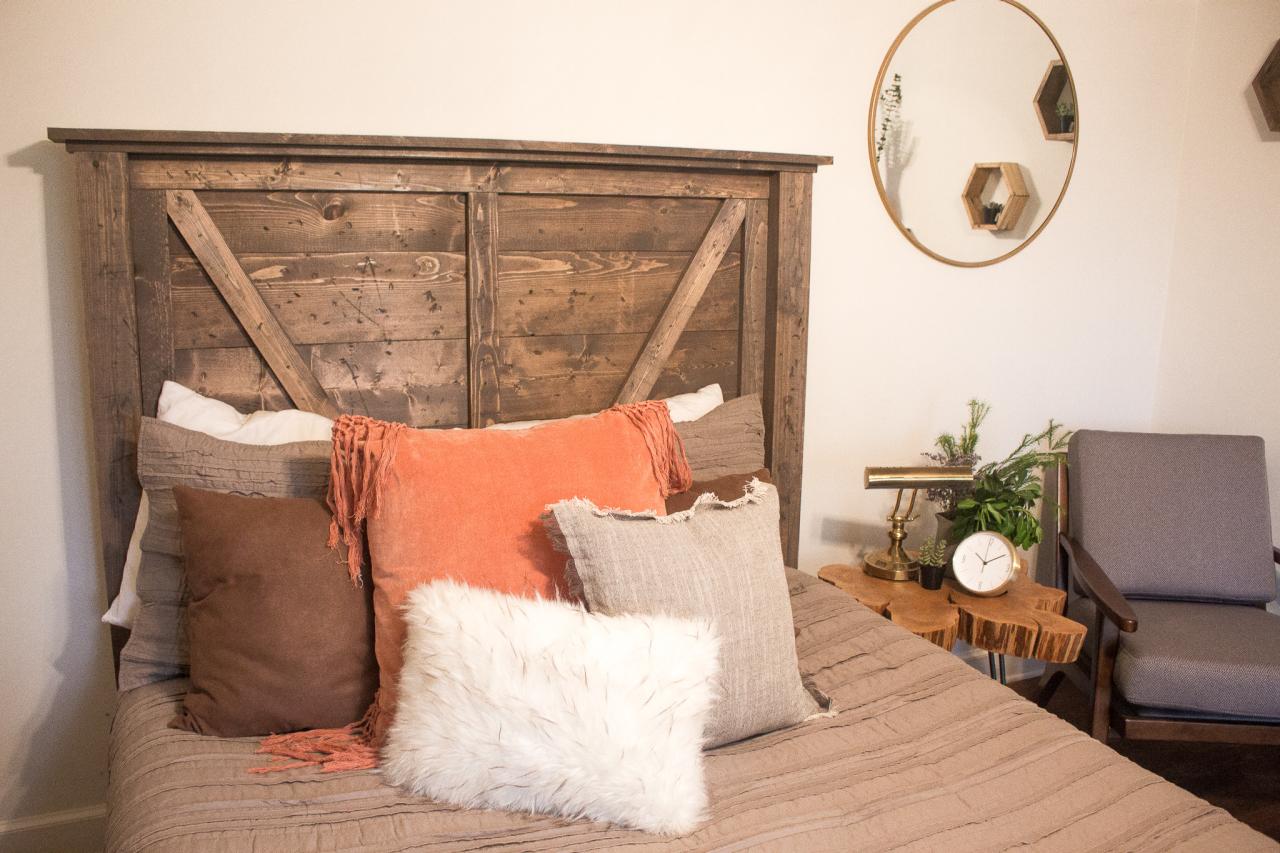
In need of an inexpensive bedroom refresh? A faux barnwood headboard is the perfect piece to turn any room into a relaxing getaway.

Real barnwood can be hard to come by and expensive when you do. But creating faux barnwood is easier than you might think, and turning a sturdy wooden headboard into a stunning work of barnwood art can be done simply in an afternoon. Whether you are all about the rustic chic, or you prefer a more polished aesthetic, this headboard can fit seamlessly with any style or look and will quickly become a favorite piece in your home.

Kamron and Ellie Sanders
Materials Needed
- tape measure
- combo square
- pencil
- table saw
- miter saw
- drill
- 1-1/2" screws + bit
- staple gun + staples
- wood glue
- distressing tools (hammer, screwdriver, large bolt, etc.)
- walnut stain
- gray stain
- staining brush
- drill bit
- (2) 4” bolts with nuts and washers
- (2) 4x4 x 6' pine boards
- (6) 1x8 x 6' pine boards
- (4) 1x3 x 8' pine boards
- 1x4 x 6' pine board
- 1x6 x 6' pine board
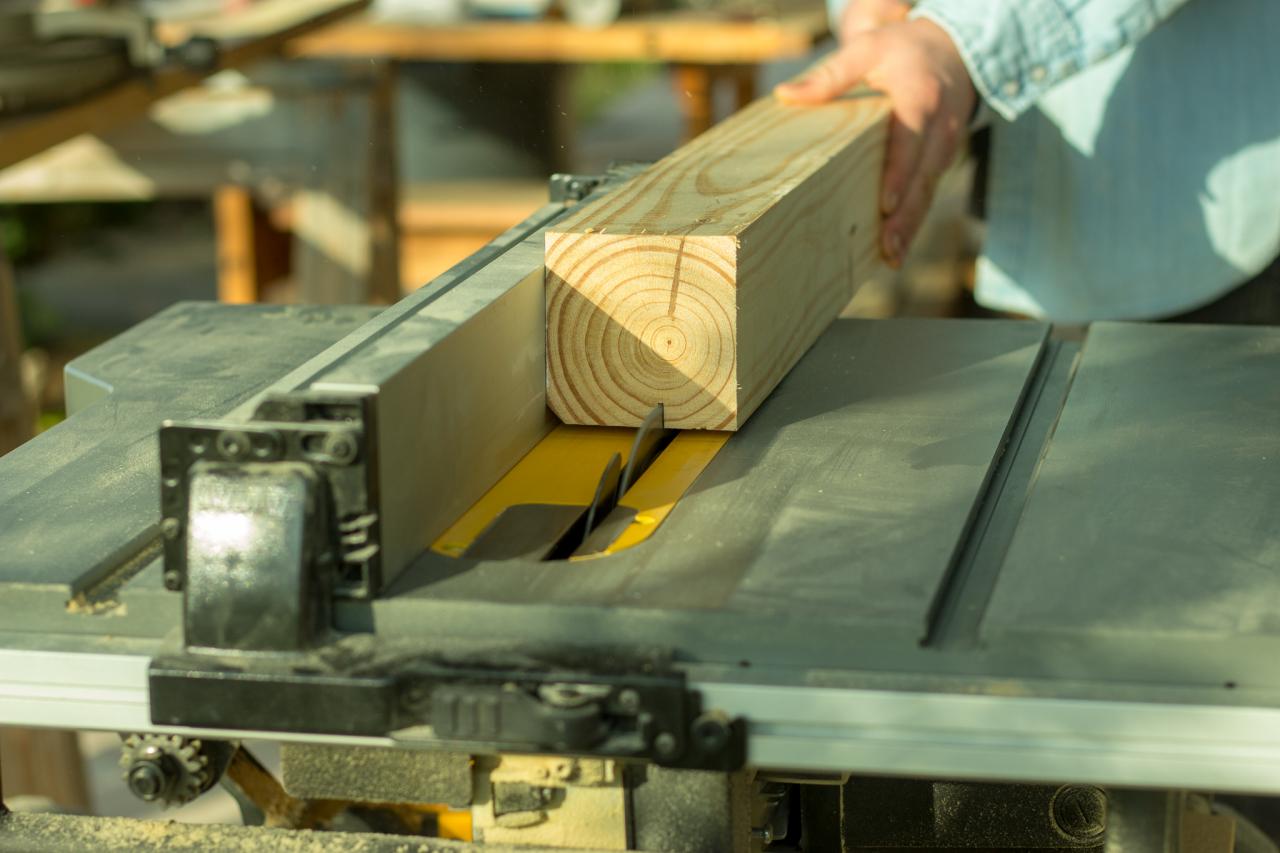
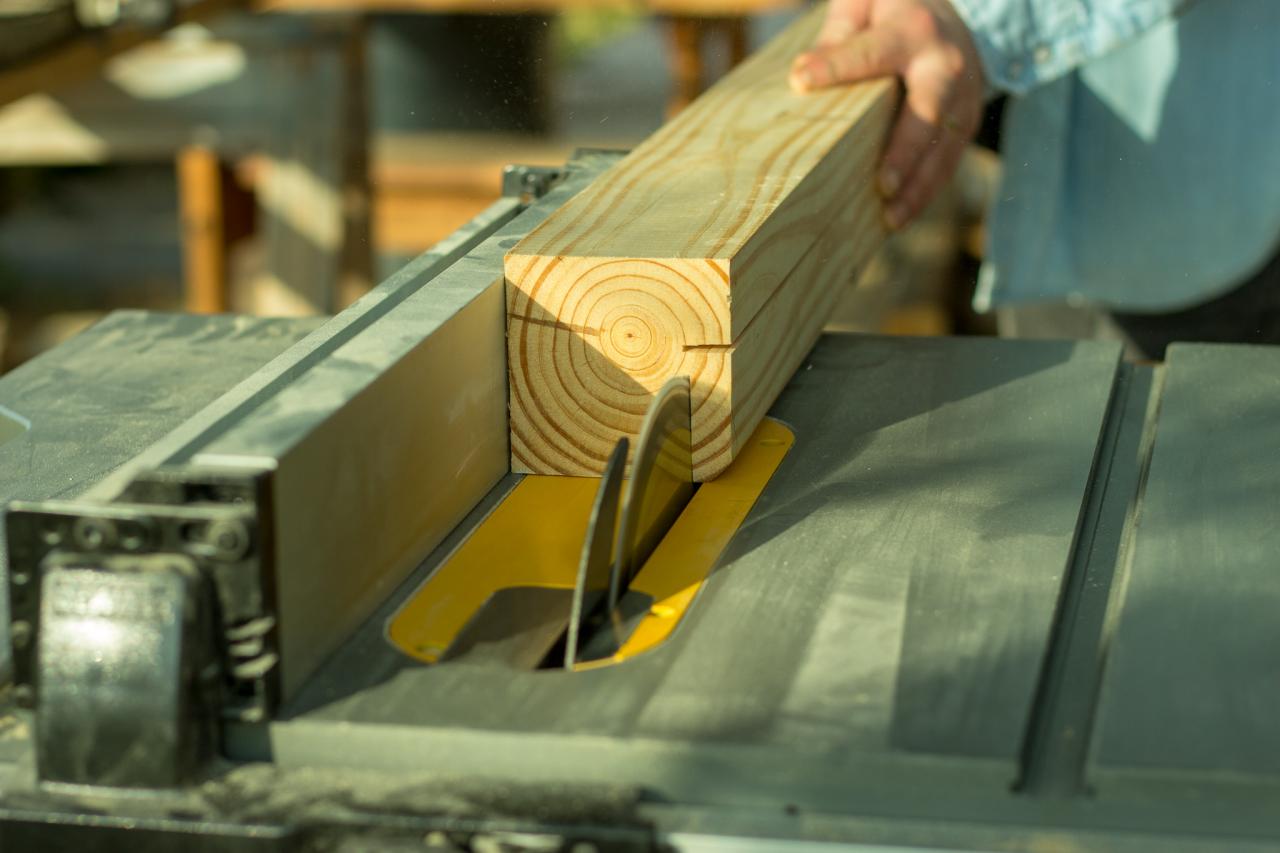
Cut Rabbet On Posts

Kamron and Ellie Sanders

Kamron and Ellie Sanders
Kamron and Ellie Sanders

Kamron and Ellie Sanders
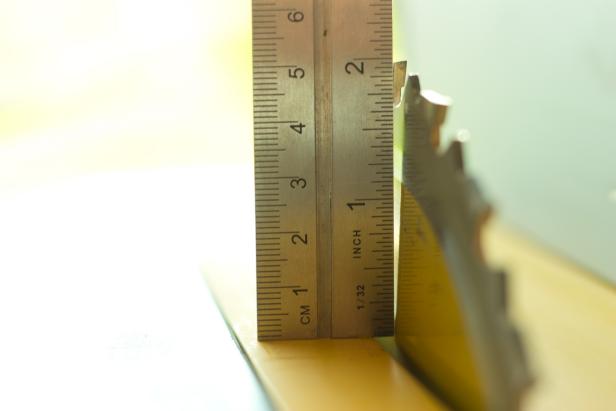
Measure and cut two 4x4 posts to a length of 60 inches. With a table saw, cut a rabbet measuring 3/4 inch by 2 inches in one corner of each post. Set the blade to 3/4 inch and the fence 2 inches to ensure accuracy with the cuts. Once cut, adjust the blade to 2 inches and position the fence at 2-3/4 inches.
Cut And Attach Cross Boards
Kamron and Ellie Sanders
Kamron and Ellie Sanders

Kamron and Ellie Sanders

Kamron and Ellie Sanders
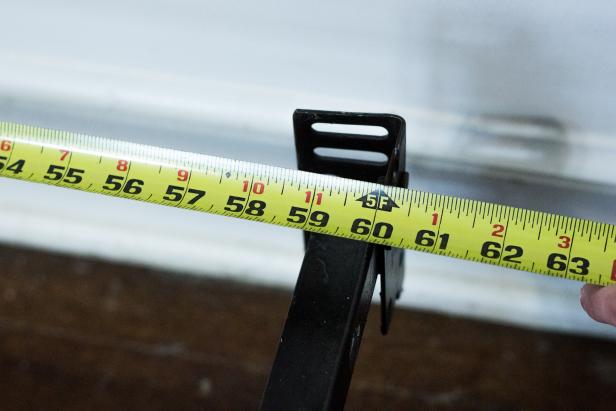
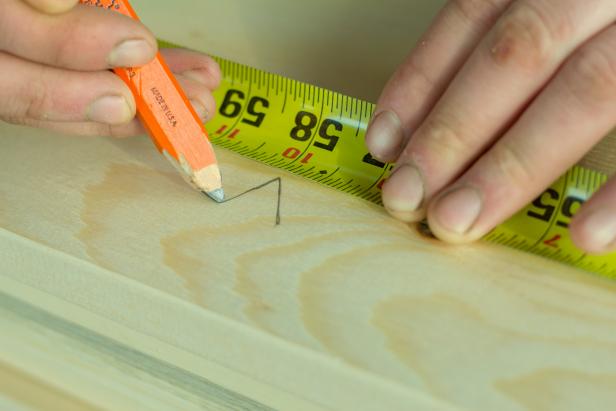
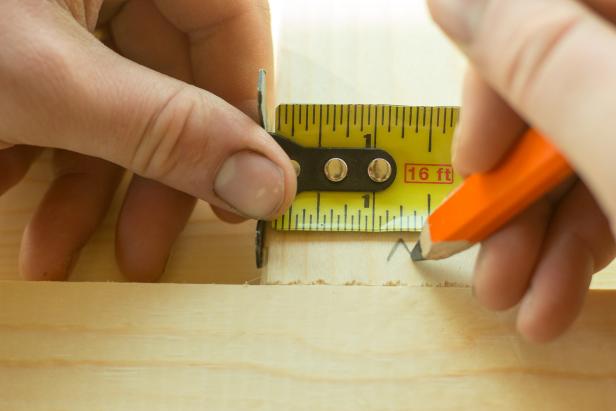
Establish the length of the horizontal pieces by measuring the bedframe and ensuring the mounting brackets will fall evenly on the 4x4 posts. We used a 60-inch frame (queen size mattress) and determined that a 61-inch width would allow for the mounting brackets to align precisely with the posts. The length of the 1x8s will be the total desired width minus 3 inches. This allows for 4 inches of overhang to sit within the rabbet cuts, while accounting for the remaining 1-1/2 inches on each 4x4. Attach the 1x8s by aligning the top board and stacking downward. Run two screws an inch from the edges on both ends of the board. Repeat this step for each board.
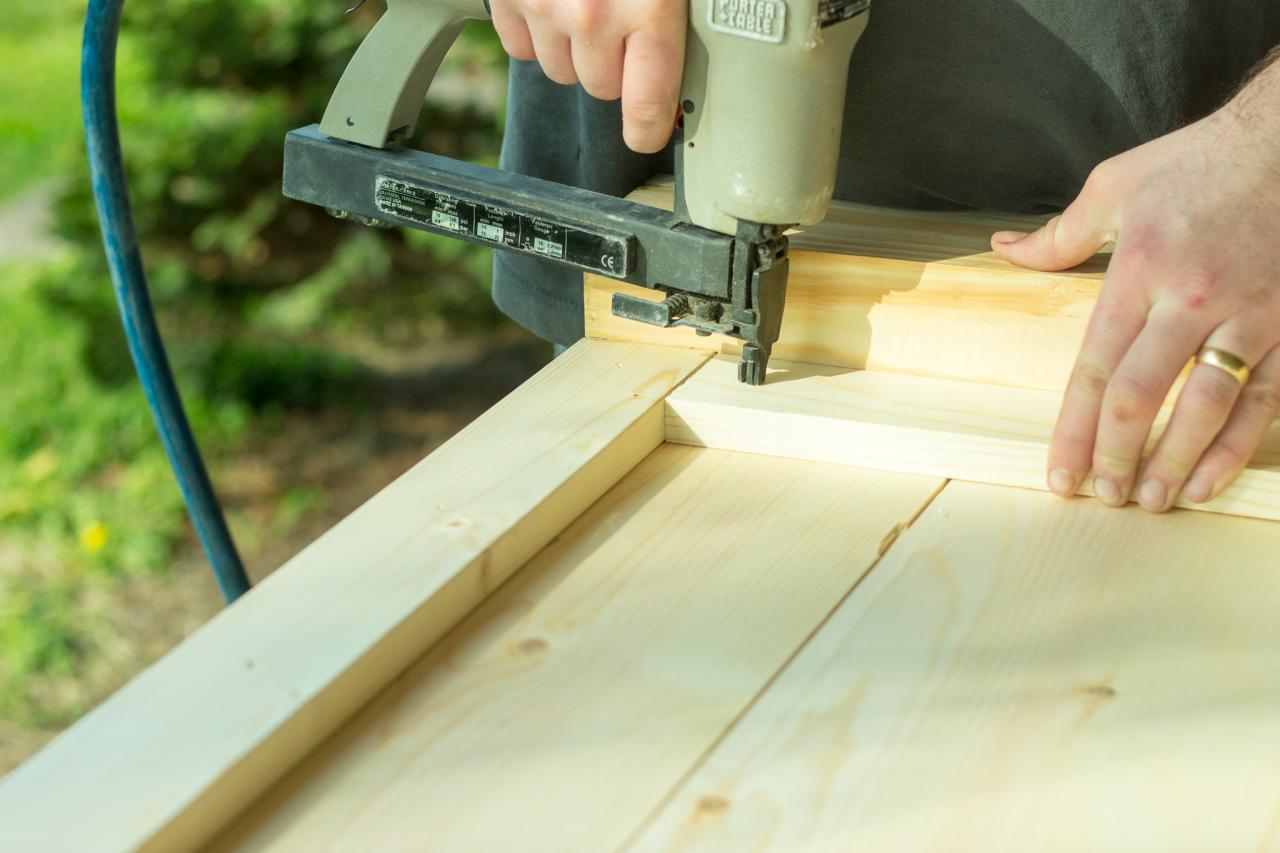
Cut & Attach Trim

Kamron and Ellie Sanders

Kamron and Ellie Sanders
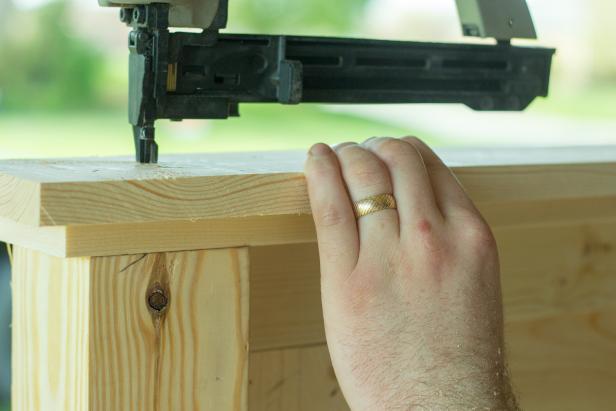
For the top and bottom trim, measure and cut two 54-inch 1x3 boards. Cut the leftover 1x3s to three 38-1/2-inch pieces. Glue and staple the trim pieces along the top and sides of the horizontal boards. To establish the placement of the center vertical trim piece, measure 23-1/4 inches from each inner edge of the side trim pieces. Secure all trim pieces with wood glue and staples.
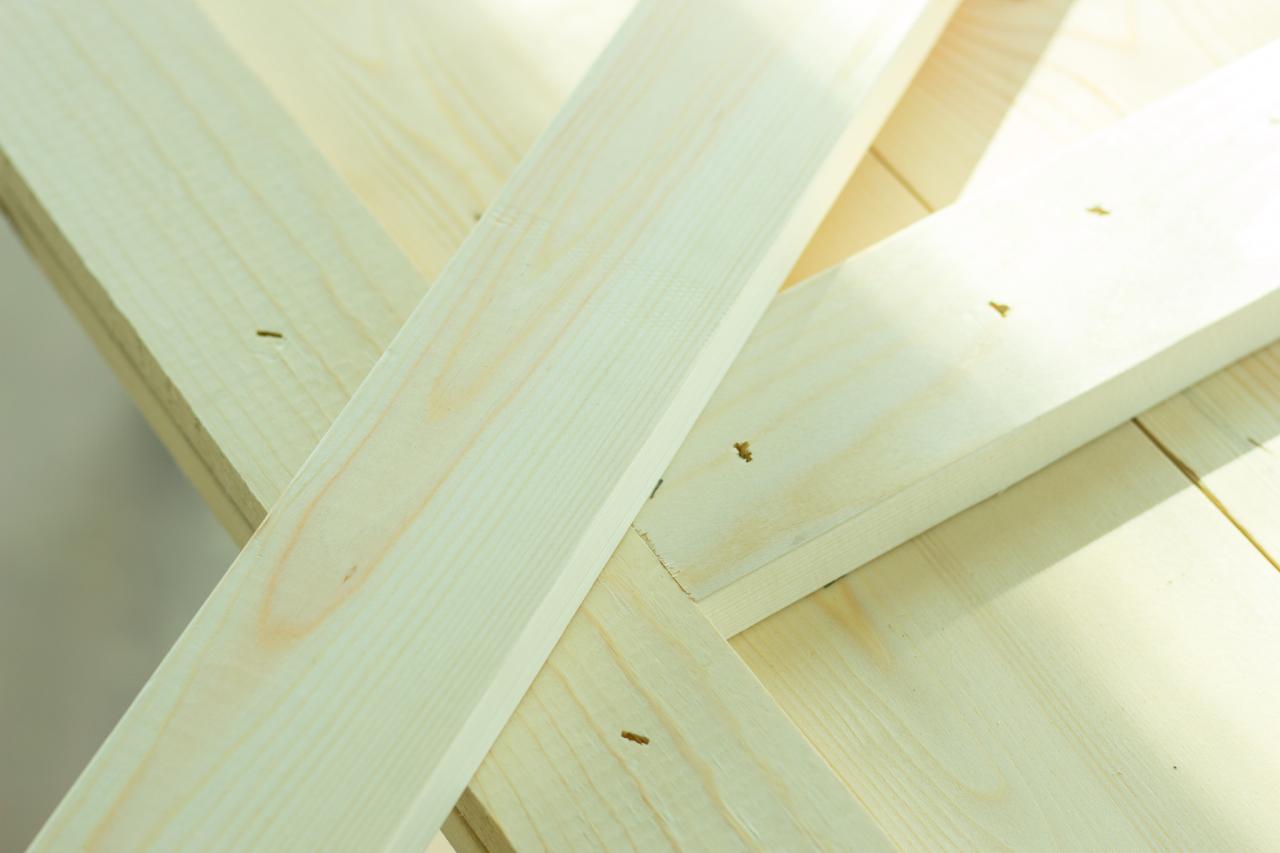
Create "Z"

Kamron and Ellie Sanders
Kamron and Ellie Sanders

Kamron and Ellie Sanders
Kamron and Ellie Sanders

Kamron and Ellie Sanders
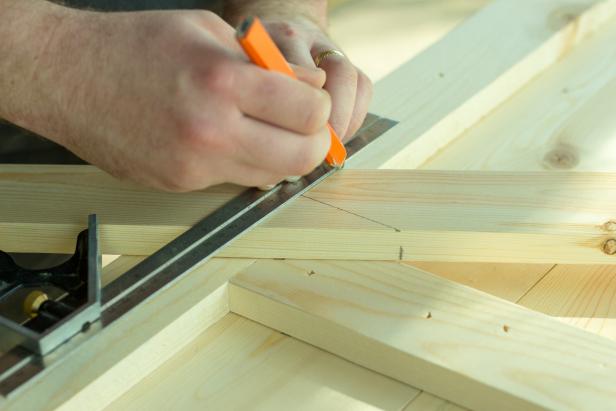
To establish the traditional barnwood door “z”, make a center mark at the bottom of the headboard. Position a 1x3 against the 4x4s' edge at the top and against the center point at the bottom. Use a combination square to mark the 1x3 at each end, and cut to allow it to rest within the existing trim pieces. Repeat once more on the opposite side, and attach with glue and staples.
Attach Top Trim

Kamron and Ellie Sanders
Kamron and Ellie Sanders
Set the headboard upright on a flat surface. Measure, mark and cut a 1x4 board to 62 inches. Glue and staple the piece on top of the headboard allowing 1/2 inches of overlay on each side. Next, rip down a 1x6 to a width of 4-1/2 inches, and cut to a length of 64 inches. Glue and staple to the top of the headboard allowing a 1-inch overhang on the front.
Distress & Stain

Kamron and Ellie Sanders

Kamron and Ellie Sanders
Kamron and Ellie Sanders
Kamron and Ellie Sanders

Kamron and Ellie Sanders
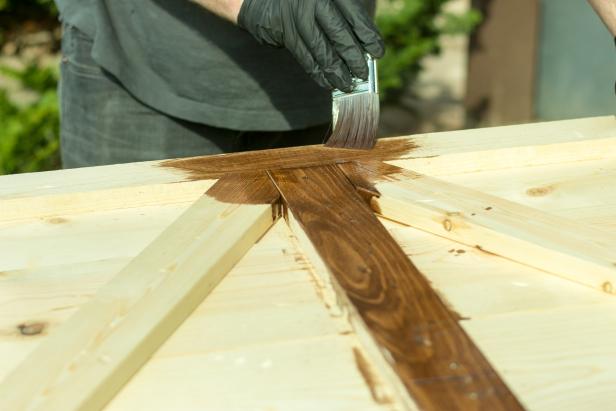
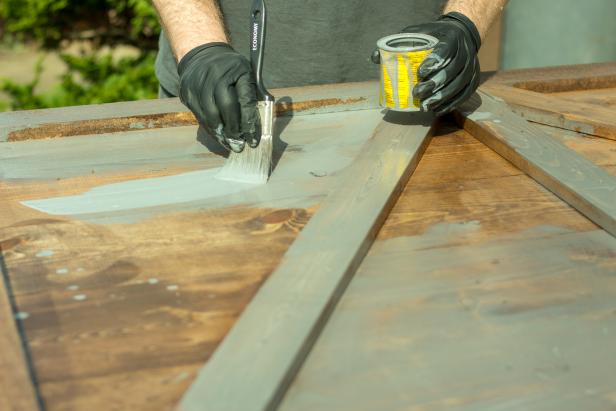
Using items such as a hammer, a screwdriver and a large bolt, distress all visible surfaces of the headboard. Any indentions, scratches or cuts will be exaggerated once stain is applied, so a little distressing goes a long way. Using a brush, apply walnut stain to every surface, being certain to cover all cracks and wiping away any excess. Next, apply a gray-hued stain to add a weathered effect to the wood. Layer the stain until the wood has achieved the desired barnwood look.
Complete Bed Frame

Kamron and Ellie Sanders
Kamron and Ellie Sanders

Kamron and Ellie Sanders
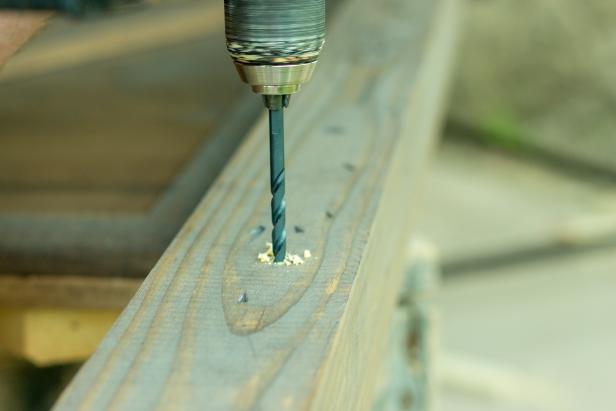
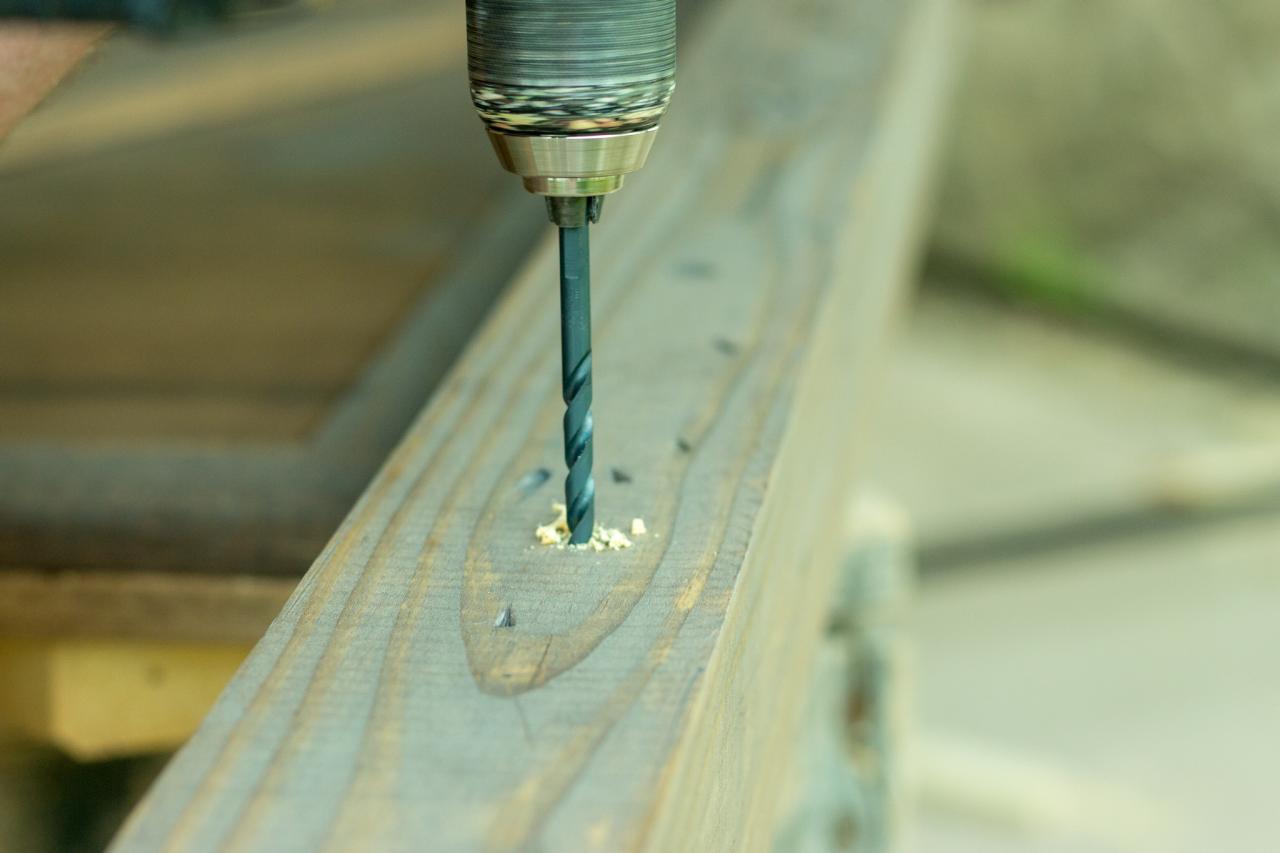
Mock up the headboard and frame, using a pencil to mark the holes where the mounting hardware will be attached. Using a drill bit that matches the size of the bolts, drill through the front of the 4x4 all the way through the back. Attach the frame to the headboard, and snug up the bolts. Enjoy the finished product by styling it to perfection.

Kamron and Ellie Sanders


