6 Design-Friendly Ways to Display Kids' Artwork
Put those heartfelt works of art on display without compromising your design style (or your refrigerator door).

Related To:

Photo By: Rennai Hoefer
Look #1: Grid Art Wall
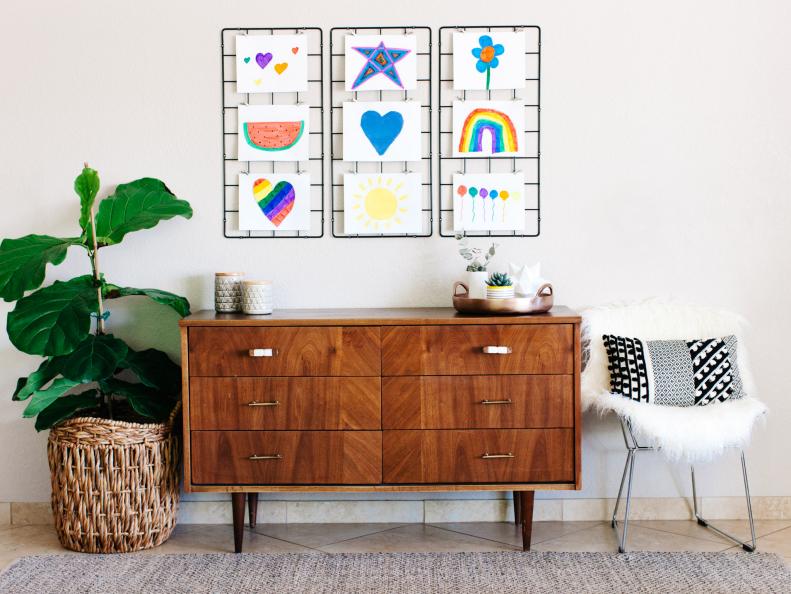
This modern grid wall turns children's art into a gorgeous, designer-worthy focal point.
What You'll Need
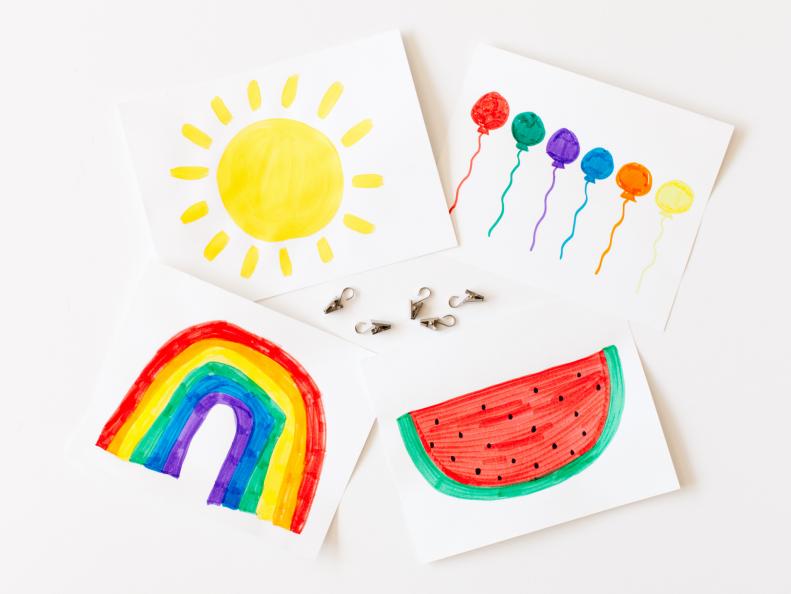
For this project you'll need children's artwork, small metal clips with hooks, metal grids, nails, hammer and a yard stick.
Measure
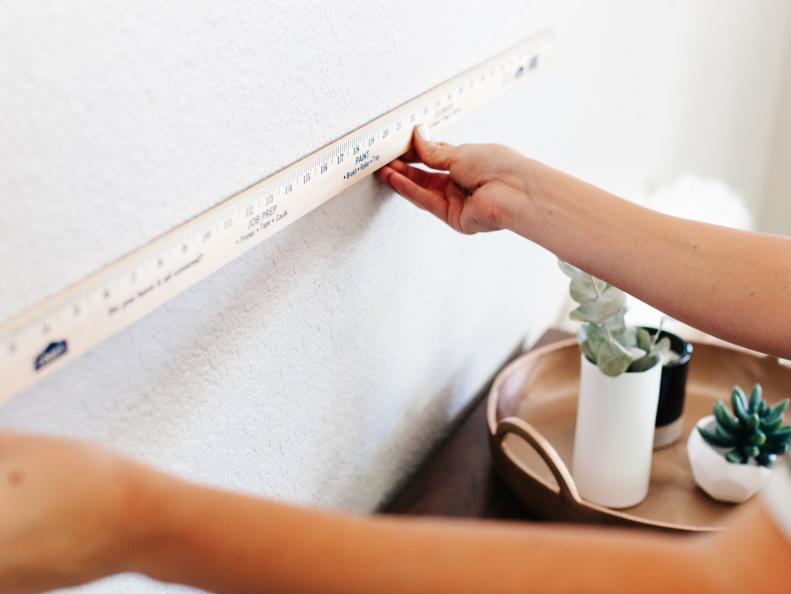
Measure and mark the space where you will be hanging the grids. You can find metal or plastic grids at your local home decor or hardware store (we found ours at Ikea). Decide on how many you would like to use based on the size and space you have available.
Hang Grids
Start by hanging the first grid in the center.
Secure
Secure to the wall with finishing nails.
Display Artwork
Use metal or wood clips to hold your art pieces in place on the metal grids.
Pretty + Practical
Look #2: Wood Slat Display Boards
These wood slats with clips look beautiful on your wall while providing an effortless way to switch out art pieces as often as you like.
What You'll Need
For this project you'll need wood slats cut to desired length, interior stain, stain brush, metal clips, nails, hammer and a measuring tape or yard stick.
Stain Wood
Choose a stain color for the wood that matches the decor in your home. Apply stain to the wood slats using the brush. Allow to dry completely. If you prefer a distressed look, use a sander to lightly sand the wood slats.
Measure for Clip Placement
Measure the length of your board, then divide by the number of clips you would like to have, keeping in mind the paper size and orientation you prefer for the art. We used three clips for the length of our board since we wanted to hang the art horizontally.
Attach Clips to Wood
Use a pencil to mark where the clips will be attached. Use super glue or small nails to secure the clips to the wood slat.
Secure Boards to Wall
Hang boards on the wall with a saw tooth hanger or wire attached to the back.
Hang Art
Add artwork for a darling display!
Versatile + Stylish
Look #3: Gallery Wall
Creating a gallery wall filled with your children’s artwork is easy and will give a colorful and personal touch to any room. Keep it simple and let the art be the focus with monochrome matted frames in assorted sizes.
What You'll Need
For this project you'll need frames with mats in varying sizes, measuring tape, hammer, nails and artwork. Pro tip: Purchase frames with mats in corresponding sizes for each piece you would like to hang. We suggest buying extra frames to play with for your layout, and then returning any you don’t use.
Visualize Gallery Wall Design
The best piece of advice for creating a gallery wall is to lay out your arrangement on the floor below the wall you will be filling. This helps visualize the width you have to work with. If you prefer to use exact measurements, measure the wall space you want to fill and then outline the floor with blue tape before you start placing the art. Continue arranging the frames until you decide on a configuration that you like.
Hang It Up
Start by hanging one of the larger pieces. Measure the distance between frames to make sure you are following the arrangement you created on the floor.
Enjoy!
Once all the frames are hung, step back and admire your work! Make any adjustments necessary until the collage wall feels balanced in your space.
Look #4: Framed Collage Art Print
Short on wall space? Display multiple pieces of art while only taking up the space of one large frame with this easy-to-make collage print.
What You'll Need
For this project you'll need a large frame with mat, camera or mobile device, white board and your child's artwork.
Photograph Individual Pieces of Art
Choose your favorite art pieces to feature in the collage. One by one, place them on a white board in a well lit area (near a window, but not direct sunlight) and use your phone or camera to take pictures of them.
Create Collage + Print
Download the images to your computer and use a photo editing program to create a collage to fit the size of your frame. Print at home or send to a local print shop to have the print made.
Frame + Hang
Mount the print inside the frame and mat, then choose the perfect spot to hang your new collage!
Memories You Can Keep
Look #5: Clipboard Art Wall
This art display idea is super simple to create and so versatile! For a modern, colorful look, have the kids paint a basic shape (like a heart) in various colors to clip to each clipboard.
What You'll Need
All you need for this chic, simple project is clipboards, white cardstock and thumb tacks.
Choose Artwork
For a streamlined look, you can ask the kiddos to paint simple shapes (like hearts) onto white cardstock. While we chose to have the kids create a consistent shape for the art, you can hang any pieces and swap them out as often as you’d like!
Place First Clipboard
Decide where you would like to display the art. Center your first clipboard, then work your way up and out from there, making sure the space between clipboards is even. Attach clipboard to the wall by placing a thumbtack through the rear clip hole.
Create a Grid
We chose to create a 3 x 3 display to best fit our space.
Add Art
Clip your art pieces on the clipboards. Easily swap out art whenever a new masterpiece is created.
Museum-Worthy Display
Look # 6: Picture Ledge
Get the look of a gallery wall without the commitment by displaying art on chic picture ledges instead.
What You'll Need
For this project you'll need artwork, various-sized frames and two picture ledges.
Install Ledges
Hang ledges per manufacturer instructions, centered above a side table, sofa or other furniture piece.
Mix + Match
For a designer-worthy look, choose frames and artwork in varying sizes and colors.
Frame + Display
Once you've placed framed art on the shelves, step back, take a look and adjust as needed. It may take a few tries before you find a layout you love.
Keep It Fresh
Change out pieces as new ones are created to keep the display fresh and exciting!