Cinder Block Fire Pits Design Ideas

iStock 000007762927
Create a backyard fire pit with little effort—or money—by using cinder blocks. A cinder block fire pit is quick, cheap, and doesn’t require any special DIY skills to make. It’s a terrific project to do with school-age kids; teens can probably handle most of the construction with minimal supervision.
Decide first if you want your cinder block fire pit to be temporary or permanent. You might want to start with a temporary fire pit that you later convert to a permanent, mortared affair. The first step in the process is learning if fire pits are legal in your community and if you need any permits or inspections. Check with your local fire department or municipal offices to find these answers.
Next, figure out where you want to place the fire pit. Choose a site with a non-combustible base, like earth or gravel. As you consider a possible site, look for a spot that’s level and at least 20 feet away from nearby structures, including homes, sheds, or garages. Also look above your potential fire pit location. Overhanging trees can easily burst into flame when a blazing spark ignites dry foliage. Avoid building a fire pit where trees overhang.
You can build a cinder block fire pit directly on the ground. With this type of fire pit, the cinder blocks corral the burning materials. If your cinder block fire pit is on a grassy surface, consider removing four to six inches of soil and setting the first course of cinder blocks below ground. This creates greater stability for the fire circle. After all rows of cinder blocks are in place, add a three- to four-inch layer of gravel to cover soil and provide drainage.
Start with cinder blocks that are fire-rated. If you’re buying new cinder blocks, that information should be readily available on the in-store product description or manufacturer’s website. If you’re using cinder blocks you have on hand, make sure they’re porous and lightweight. You don’t want to use a compressed concrete block that’s too dense in a fire pit. It must be porous enough to vent any steam that forms inside as trapped water turns to steam. If blocks aren’t porous, they could explode as steam builds.
To build a temporary cinder block fire pit, arrange blocks in a ring, adjusting each so corners touch. Holes in the blocks should face the sky. If you want, turn one block every three feet to create a draw hole for air flow to the fire. This is more important if you excavate soil before building and the fire sits below soil level.
Determine the size of your fire pit. A smaller diameter circle is more stable than a wider circle. A three-foot-diameter circle easily accommodates three to four people. Add one more foot for each additional person the circle will host.
Once you have the first layer of cinder blocks in place, add a second layer. Position blocks so they straddle the seams between blocks in the row underneath. How many rows of cinder blocks should you stack? Sit on a chair you’ll use when you gather around the fire pit. Experiment with the blocks to get the correct height. A too-tall wall will hide the blaze and direct all heat toward the sky.
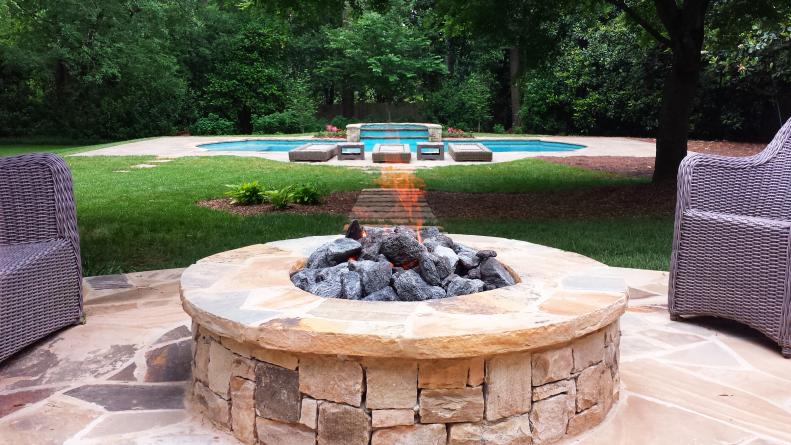
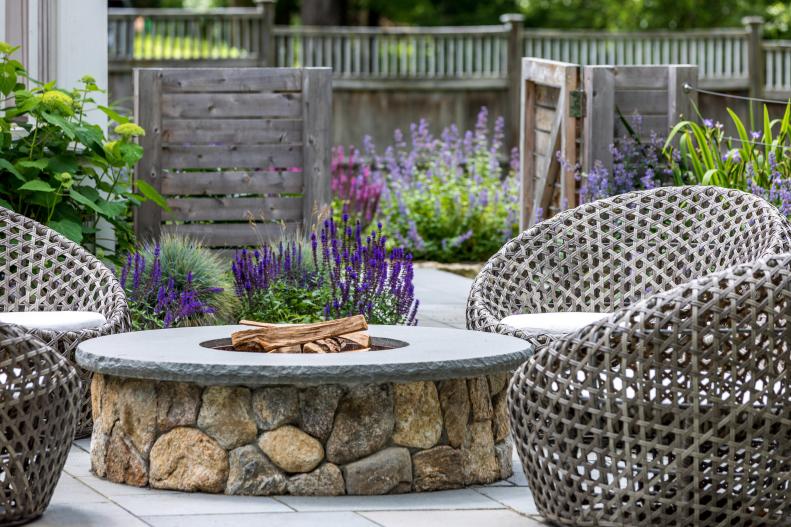
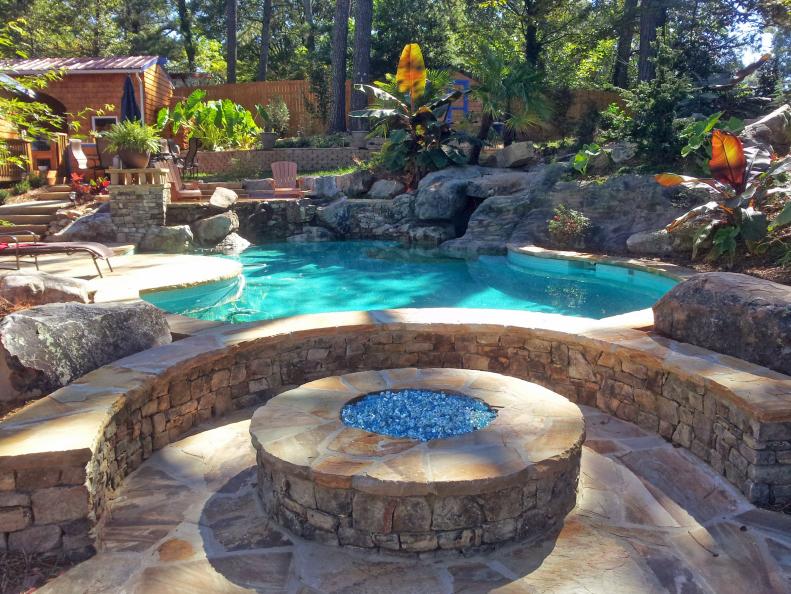
Consider creating a coping for the top of the fire pit. Flat, fire-rated concrete cap blocks fulfill this task easily and blend with cinder blocks. Some people add brick or tile to the outside and cap of a cinder block fire pit. You can finish the pit to be as plain or polished as you like.
If you intend to do some fire pit cooking, find a grill that fits your fire pit, or rig a rotisserie to cook meat. To make this temporary fire pit more permanent, mortar blocks together. Use a fire-rated mortar for longest-lasting results. Let the mortar cure for a week before building a first fire.