Turn Pine Cones Into a Tabletop Christmas Tree
Add rustic charm to your holiday decor with this woodsy mini tree.
Cheerful Woodsy Greeting
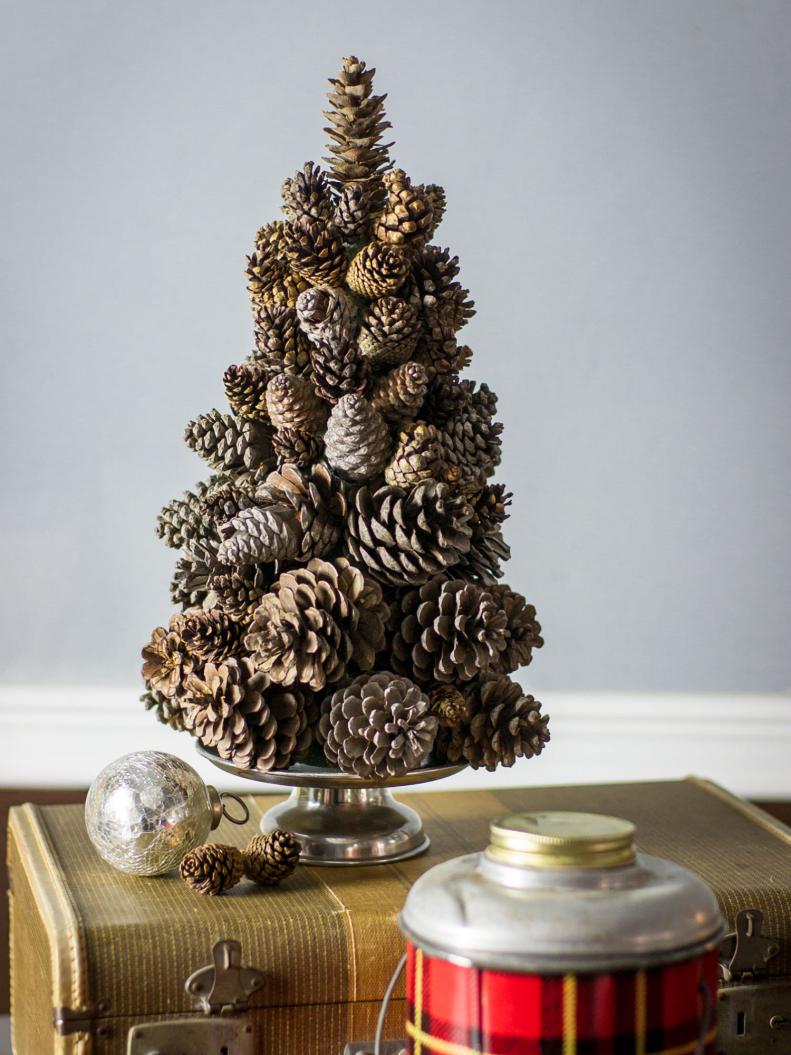
This pine-cone tree welcomes guests with woodsy holiday charm.
Gathering the Materials
You will need: floral foam cone/ 15-20 each large, medium, and small pine cones (at least one tall one)/ wired floral picks/ medium gauge floral wire/ wire cutters
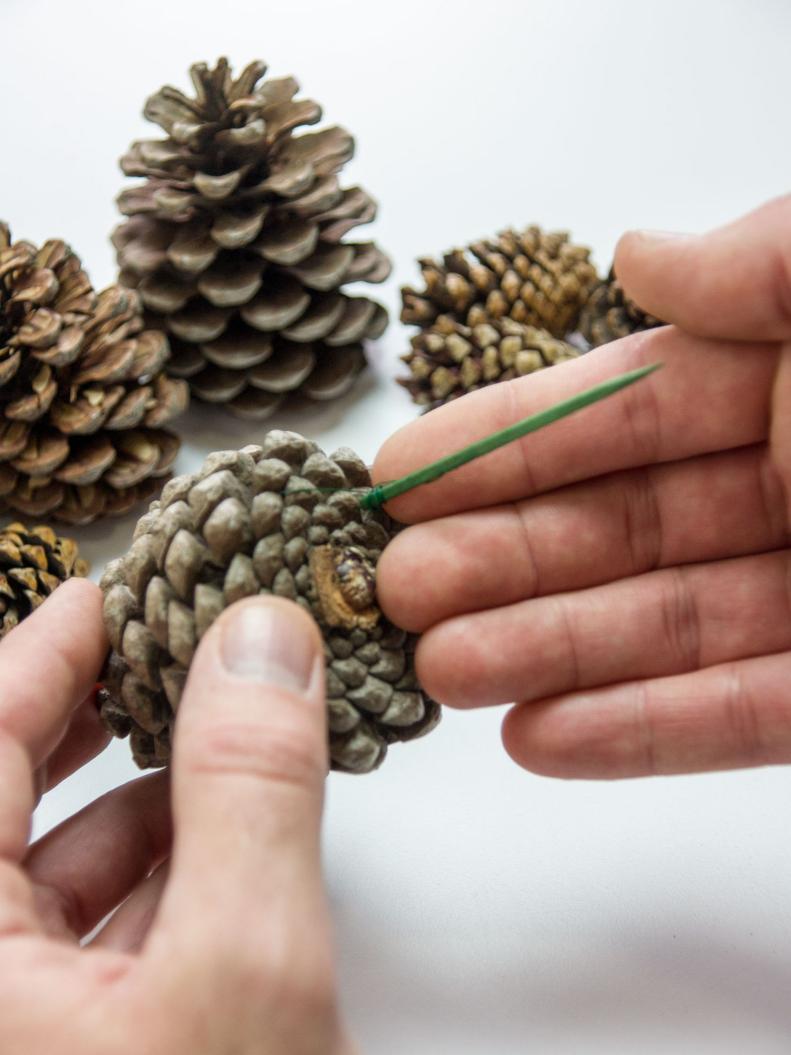
Adding the Picks
Use the wire from the picks to wrap tightly around a few pieces of the bottom of the pine cone. Twist the wire tightly to secure the pick as close to the base of the pine cone as possible. (NOTE: if the wire is not heavy enough, replace it with heavier gauge wire.)
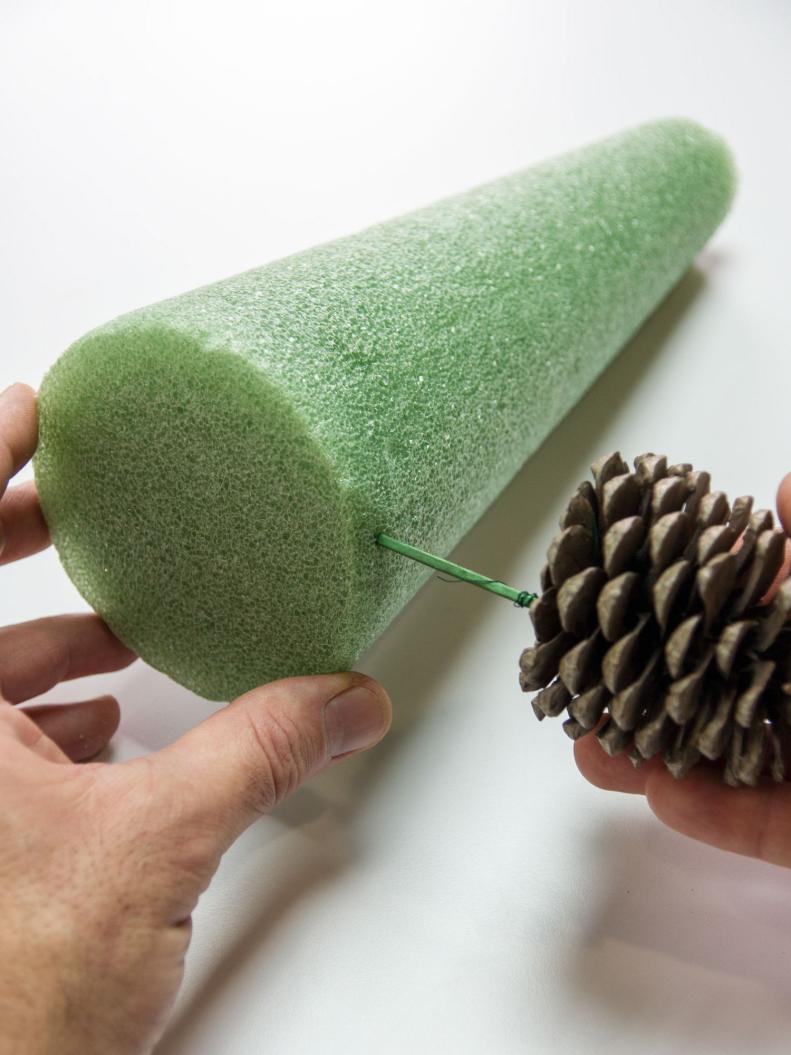
Attaching the Large Pine Cones
Insert the first layer of pine cones about 1/2 inch from the base of the floral cone. Continue inserting the picks/cones around the base with no space between them.
Adding the Medium Pine Cones
Add another row of large cones and then begin adding the medium cones filling in as much space as possible from the previous row. Fill all but the last row of the floral cone with medium cones getting smaller as you move up the cone.
Filling in With Small Pine Cones
Fill the last row with the largest of the small pine cones. Use the remaining pine cones to fill in any gaps between the larger pine cones.
Adding the Tree Top
Use a tall pine cone for the tree topper.
Rustic Holiday Decor
Place your pine cone tree with a few vintage ornaments and some more small pine cones for a beautiful arrangement.
Charming Tree
This simple pine cone tree will bring some rustic handmade charm to your holiday decor.
More from: