How to Apply Stikwood Paneling
Add a rustic, modern focal point to your bedroom wall with a sleek single chevron design.
Related To:
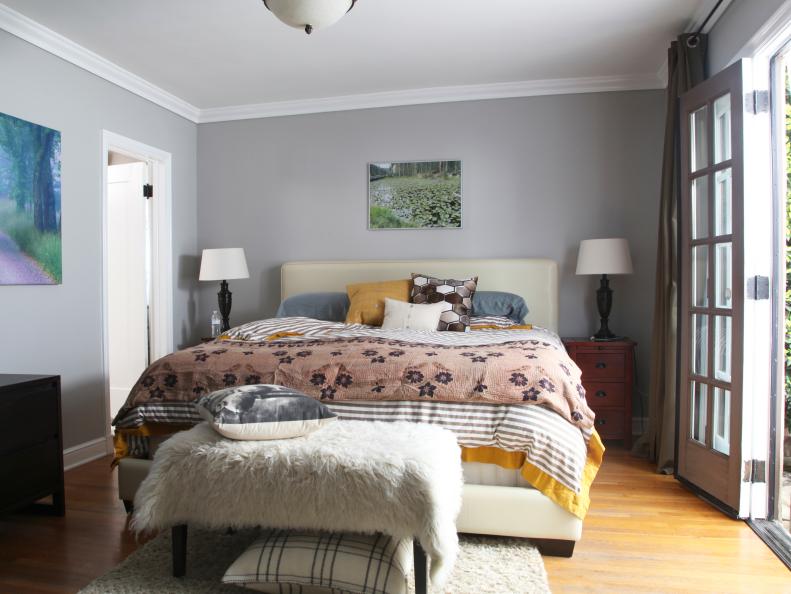
Before: Boring and Uninspiring
While charming, this Los Angeles bedroom had no pizzazz. A wood accent wall was just the solution to add a rustic, modern touch in this Spanish-style home.
After: Eye-Catching Design
In one afternoon and on a budget of $1,000 I recruited Thad Mills, a local carpenter, to make this bedroom backdrop clean and dramatic with weathered gray wood paneling.
To Get Started
Carefully measure both the height and width of your wall in inches to calculate how much wood paneling you'll need. Remove any nails from your wall, and lightly sand any raised cracks if you have plaster walls. Brush off your walls with a clean, lint-free cloth before you begin for best adhesion.
Create Your Design
You'll need to map out the pattern you'd like to use. The possibilities are endless, but it's helpful to plan out the design ahead of time. We followed a single chevron design, because arranging the "point" of this single chevron at the top gives the room a feeling of height.
Place the Order
To figure out how much Stikwood you need multiply the height and width of the wall together. Divide the sum by 144 to find out how many square feet you'll need. Our wall was 144" x 96", which gave us 13,824. We divided it and got 13,824/144 = 96 square feet. Order 10 percent extra in order to compensate for a complicated design, bad cuts, or any nicks or discolorations in the wood. We ordered 120 square feet of Seafoam Stikwood.
Draw a Straight Line
Careful measurement is the key to a symmetrical pattern. For a single chevron design, draw one vertical line down the center of your room. It will be the starting point of your pattern. A 6' level can be helpful to ensure your line is straight.
Score It
Using a speed square and a utility knife, measure and cut boards at a 45-degree angle.
Snap It
Scoring the planks with a utility knife means they can be simply snapped at the line. For best results, score on both sides before snapping, and use your utility knife to carefully trim any stray wood splinters.
Peel It
Begin peeling and installing the boards that will be in direct contact with your reference line.
Apply It
Now that you've created a solid reference point, you can work out from this established row in order to space your Stikwood correctly. This stuff sticks very well, so don't touch it to the wall until you are sure it is in the right position.
Keep It Snug
Try to install each board as close together as possible for a seamless look - and don't be afraid of the variety the natural woods show in their grain.
Make Sure You Have Extra
The last pieces in the corners can be a bit tricky, so it's helpful to have a bit of excess in order to make a few practice cuts.