Handmade Potato Stamp Christmas Cards
Create unique handmade cards using potatoes for stamps in this clever garden craft.

By:
Ruth Meharg
Related To:
Handmade Christmas Cards
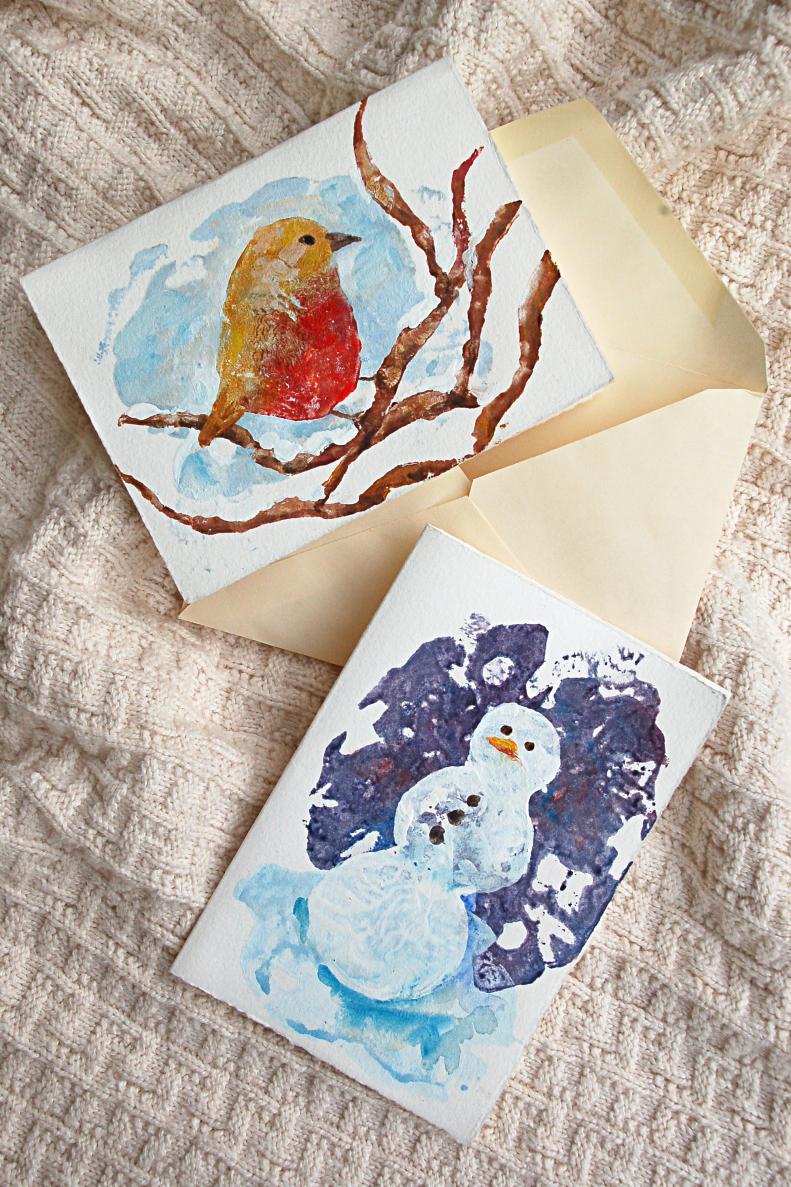
Learn to create these beautiful cards by carving, painting and stamping with potatoes! You can reuse your potato stamps to recreate the same card multiple times while maintaining that handmade, personal touch.
Snowman Supplies
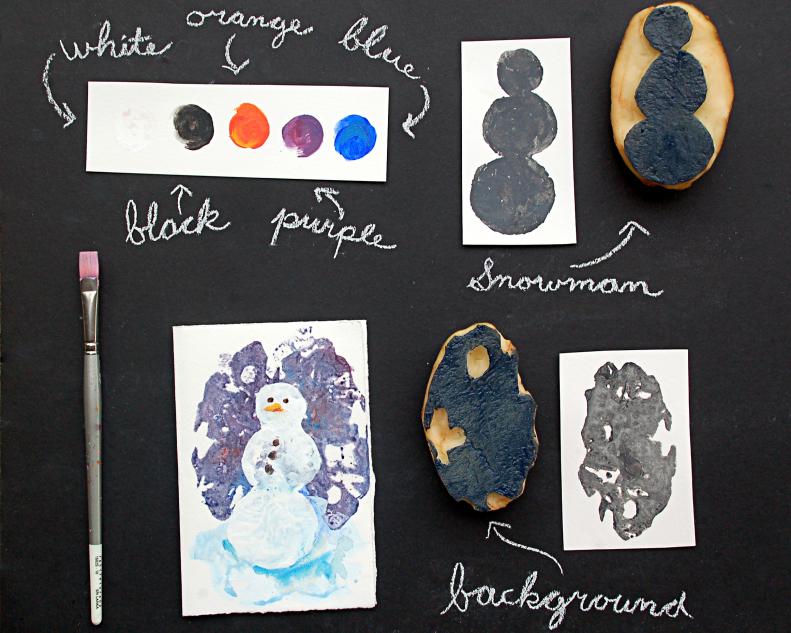
To make your snowman card you will need one potato cut in half, white, black, orange, purple and blue acrylic paint, a paint brush and paper. Choose a thick, stiff paper that won't warp when you paint it. You can use blank cards or buy large sheets of paper and cut them to size.
Create Your Stamps
Begin by cutting a clean potato in half. Draw out the shape that you want to stamp using a soft pencil or pastel. Then cut away the areas you do not want to paint. Draw and then cut the shape of the snowman's body and a background shape. The background doesn't need much carving, just make the edges irregular.
Stamp the Background
Next, paint the background stamp purple with acrylic paint. Try mixing in some red and blue, but don't mix your colors completely. Let some areas be more red and others be more blue. Stamp the purple twice to create an oval shape in the background. Then paint your background shape a very light blue and stamp it across the bottom to create snow.
Add Finishing Touches
Once your background layers are dry, add your snowman stamp. Paint the white on nice and thick to cover the darker background colors. When your snowman is dry, use a small, pointy brush to add an orange nose, black eyes and buttons.
A Completed Snowman
You now have a beautiful, handmade Christmas card! Your potato stamps will only last about a day, so make some more cards while the stamps are fresh!
Bird Supplies
The bird card has a couple more stamps than the snowman, but once they are carved the process is the same. To make a bird card you will need two potatoes cut in half, red, brown, yellow, blue and white acrylic paint, a paint brush and blank cards to put your stamps on.
Create the Stamps
Draw each shape on its own potato half. Cut away any parts you don't want to show in your stamp. You will need a forked branch, two parallel branches, a background and a bird body. Keep the background stamp simple, all you need are irregular edges, just like the snowman background.
Draw a Bird
Not sure how to draw a bird body? Don't worry, all you have to do is draw two circles and a rectangle! Then smooth out the places where the shapes join and you have an easy bird. The image on your card will be the reverse of the image carved on the stamp, so be sure to carve the bird facing the opposite direction from the final image.
Stamp the Background
Begin your bird card by painting and stamping a background potato. Use lots of white with a little blue because acrylic paint will look darker when it is dry. Stamp twice to create a background circle.
Add More Stamps
When your background is done, paint and stamp the branches on. Don't be afraid to overlap your stamps or have the branches go off the page. Mix up the paint colors, try adding hints of red, blue and yellow to the brown to give your branches more depth. Add bits of white also, to give the impression of snow on the branches.
Finishing Touches
Finally, paint your bird's belly red and his back and tail yellow. Mix a little brown with the yellow to keep it from getting too bright. Add the finishing touches with a small brush by painting in your bird's legs, feet and eyes. If the white didn't show enough on the branch stamps, touch up the snow with a few strokes of white paint.
Finished!
Your bird card is now complete! Finish with a sweet note inside and send off your personal, handmade Christmas cards.