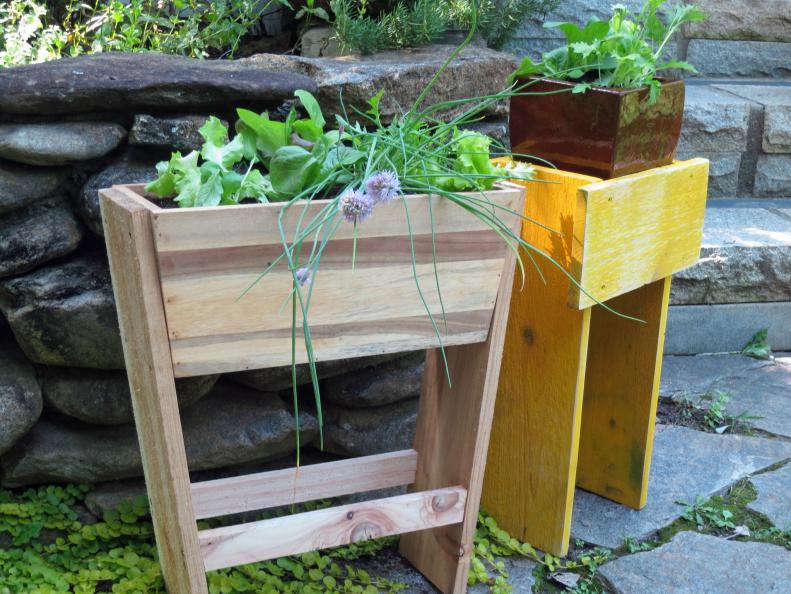
DIY Kid Craft: Make a Child's Planter
Give your kids a place to grow their own food with this cute afternoon project.
By:
Ashley English
Related To:
Cute Pint-Sized Planters
Crafting plant stands for children is easy to do, beautiful to behold and a wonderful welcome to the joys of growing food for oneself.
Option 1: Easy Wide Wooden Planter
You will need: wooden window planting box with drainage holes/ two 1" x 6"x 19" boards, preferably cedar / two 1" x 2" boards, at least the width of the top of the planting box, preferably cedar / sixteen 1.25" screws / potting soil / lettuces, leafy greens or herbs
Step 1: Mark the Board
Using a 1" x 2" board as a guide against the widest part of the planter box, draw pencil marks matching the angle and width.
Step 2: Drill Holes
Drill screws into the side of the panels. This creates a sturdy base.
Step 3: Attach Board to Side Panels
Slide the cut 1" x 2" board in between the side panels until it fits snugly. Attach with two screws on each side. Repeat on the other side. If desired, sand the edges of the planter before filling with soil and plants.
Option 2: Easy Vertical Plant Stand
You will need: two 1" x 6" x 19" boards, preferably cedar / two 1" x 6" x 11" boards, preferably cedar / eight 1.25-inch screws / paint, if desired / potting soil / lettuces, leafy greens or herbs
Step 1: Make the Plant Stand
Leaving a 1.5-inch overhang on both sides, attach the two 11-inch boards horizontally to the two 19-inch boards, placed vertically. If desired, paint the planter before filling, and after the paint dries, sand the planter for a distressed look.
Add Paint
Let your child paint his or her plant stand in a favorite color to give a sense of ownership and bring a dose of color to the landscape.

Photo By: Image courtesy of Ashley English