


Transform a Wine Crate Into a Decorative Storage Box

Materials Needed:
- wine crate
- stain
- gloves
- foam brush
- wood glue
- 4 paint sticks
- box cutter
- sandpaper
- rag
- 2 cabinet handles
Find a Wine Crate
Despite their beauty, wine crates are typically headed for the dumpster after transporting their contents safely, so if you ask the manager of a liquor, grocery or wine store nicely, you'll likely leave with at least one, for free.

Smooth Out Edges
Working outside is recommended since you'll be sanding and staining. The edges of your crate are most likely quite sharp and rough. Take sandpaper (this project used 100 grit) and sand every edge, inside and out, until they are slightly rounded and smooth.

Apply Stain
Next, apply the stain. Choose any color of stain, just be sure to stir your stain well first. Mine was a new stain by Minwax called Weathered Oak. It has a nice gray tone and makes the crate look very aged. Apply the stain with a disposable foam brush.

Remove Excess Stain
Allow the stain to sit for several minutes. The longer the stain sits, the deeper the color will be. To achieve a subtle tone wipe off excess stain with a rag.

Prepare Handles
Note: Your handles likely come with screws that are longer than the width of your wine crate. If so, you need to fill the gap somehow and paint sticks work well. This crate required 2 sticks for each end. Measure the interior width of your crate and mark that on your 4 paint sticks. They can be easily cut with a box cutter. Just score each side and then snap the end off. Place wood glue on 2 of your sticks and then place the remaining sticks on top.
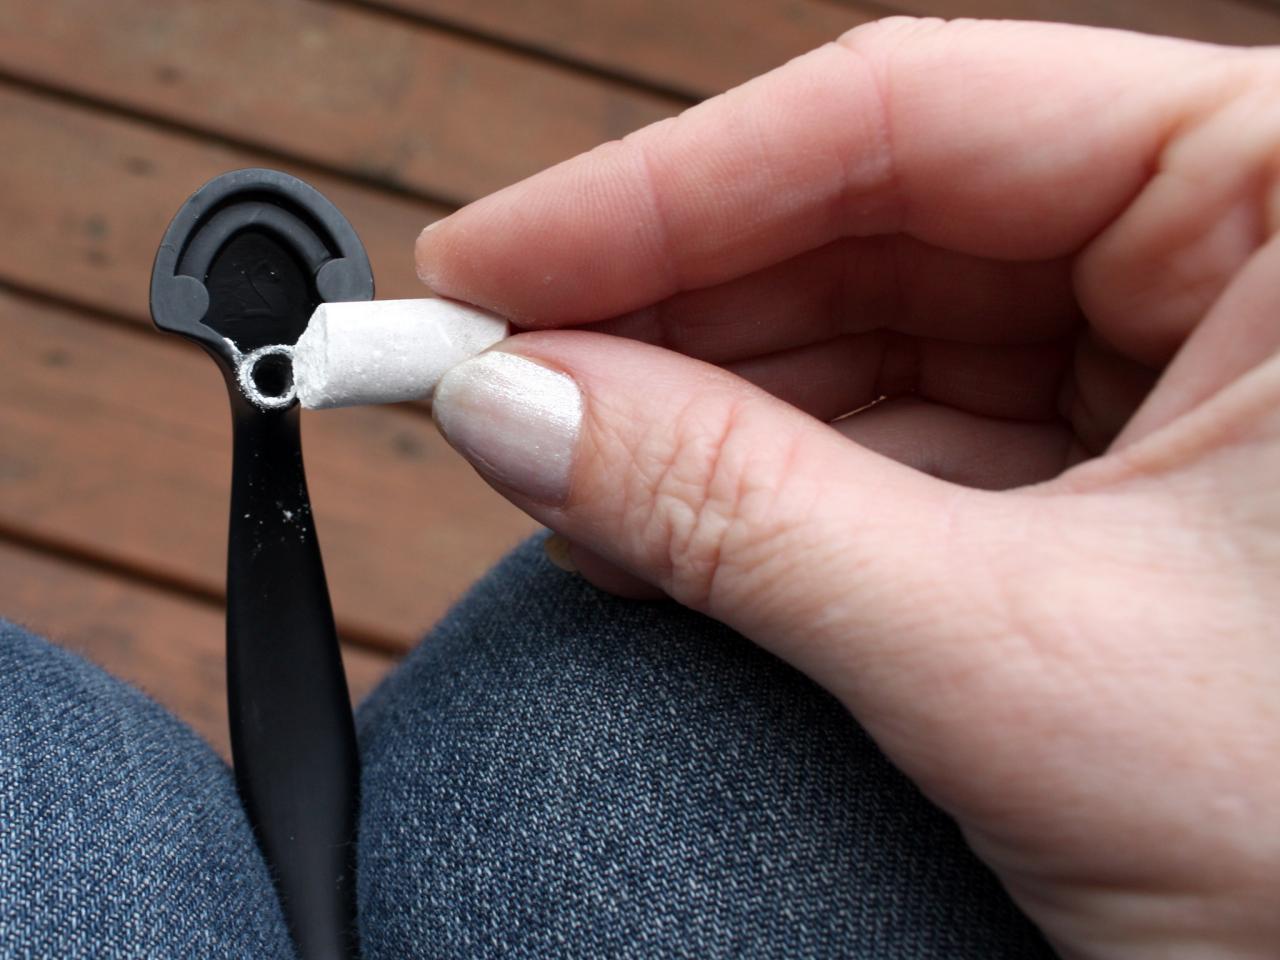
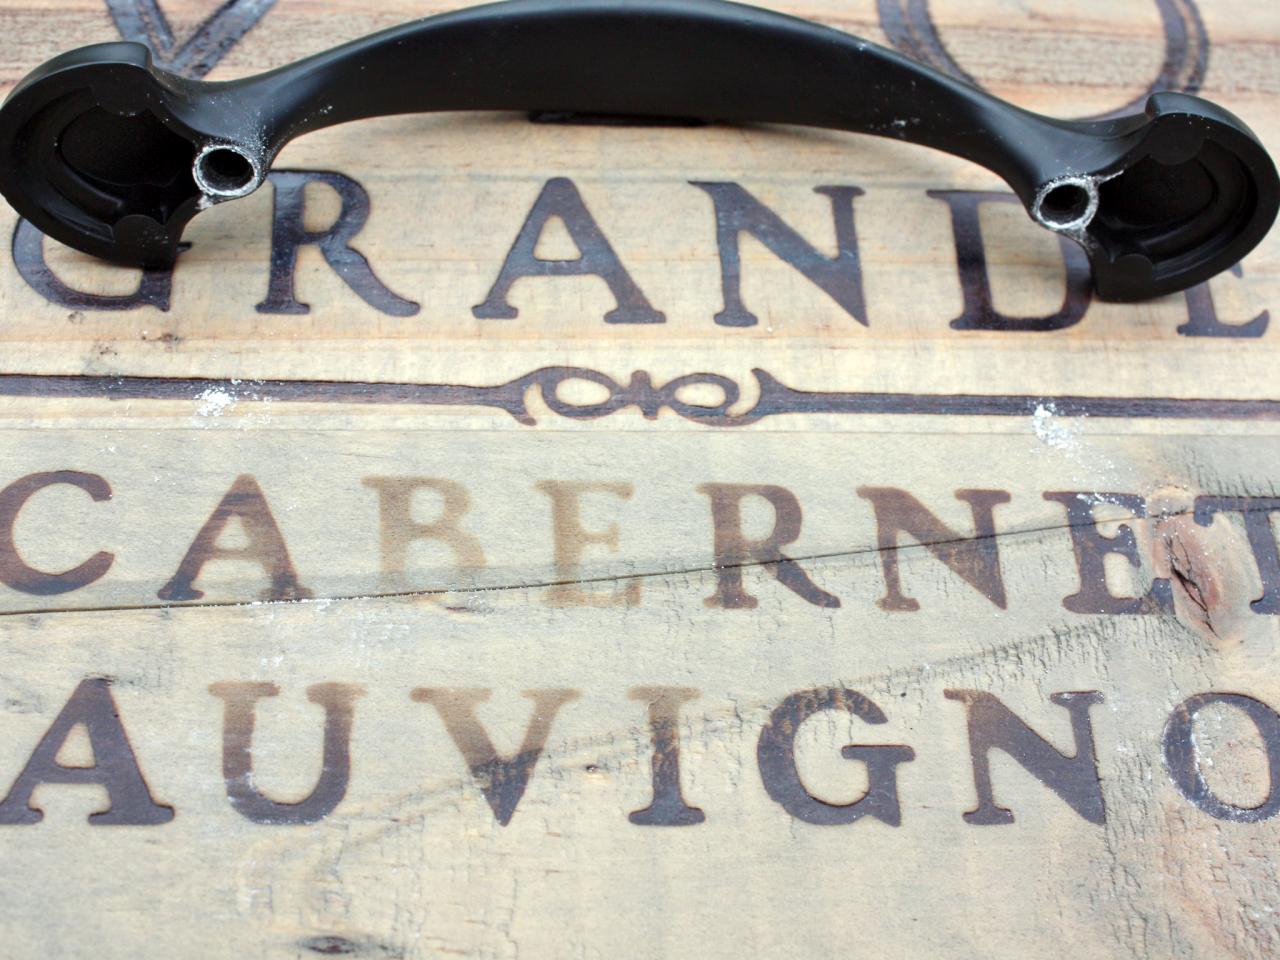
Next, mark the sides of your crate to indicate where you'll drill holes for the handles. Here's a trick: Generously rub chalk on the holes where the screws will fit and press handle onto your crate.

Drill Holes and Reinforce Sides
Touch the chalked handles to the sides of your crate, one at a time, to create white marks where you'll need to drill. Once the chalk is in place, reinforce the mark with a pen. Then drill holes using a drill bit the same size as your hardware screws.
Apply a bead of glue on the paint sticks and place on the inside of the crate, in line with your screw holes. Now drill through those same holes again, this time going all the way through your sticks. Finish by screwing in your hardware.


