


Make a Herringbone Wood Toy Box Storage Ottoman


Materials Needed:
- rectangular or square wooden toy box at least 36" in length
- measuring tape
- 8'-long strips of 6X1/8" pine
- drill
- 1/8" drill bit
- wood glue
- chop saw
- wood stain
- wood sealer
- mini roller handle
- mini roller sleeve
- mini roller paint pan
- painter's rags
- carpentry tacks
- speed square
- 1/2" precut plywood top
- routing tool
- pencil
- piano hinge with coordinating screws
- casters
- 1" wood screws
- paintbrush
- upholstery batting
- patterned fabric
- upholstery staples
- upholstery staple gun
Take Proper Measurements
Using a measuring tape, determine proper measurements for cutting pine strips to size for a herringbone installation as well as the length and width for the plywood top.
Tip: Pine strips will need to be cut to a size proportionately in check with toy box measurements to achieve the intended herringbone look. A good rule of thumb is to stick with a width of 3” and a length of 6” (standard dimensions for subway tile). This size will work well with wooden toy boxes 36” - 72” in length. Toy boxes longer than 72” may require slightly longer lengths.


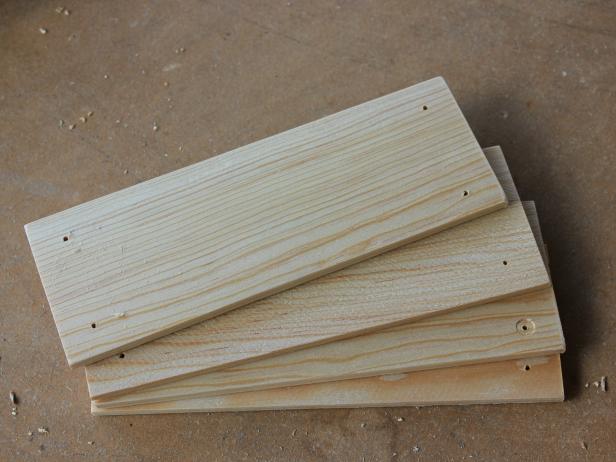
Cut Pine Strips to Size
Mark 8’-long strips of pine to size with pencil, then cut with chop saw.

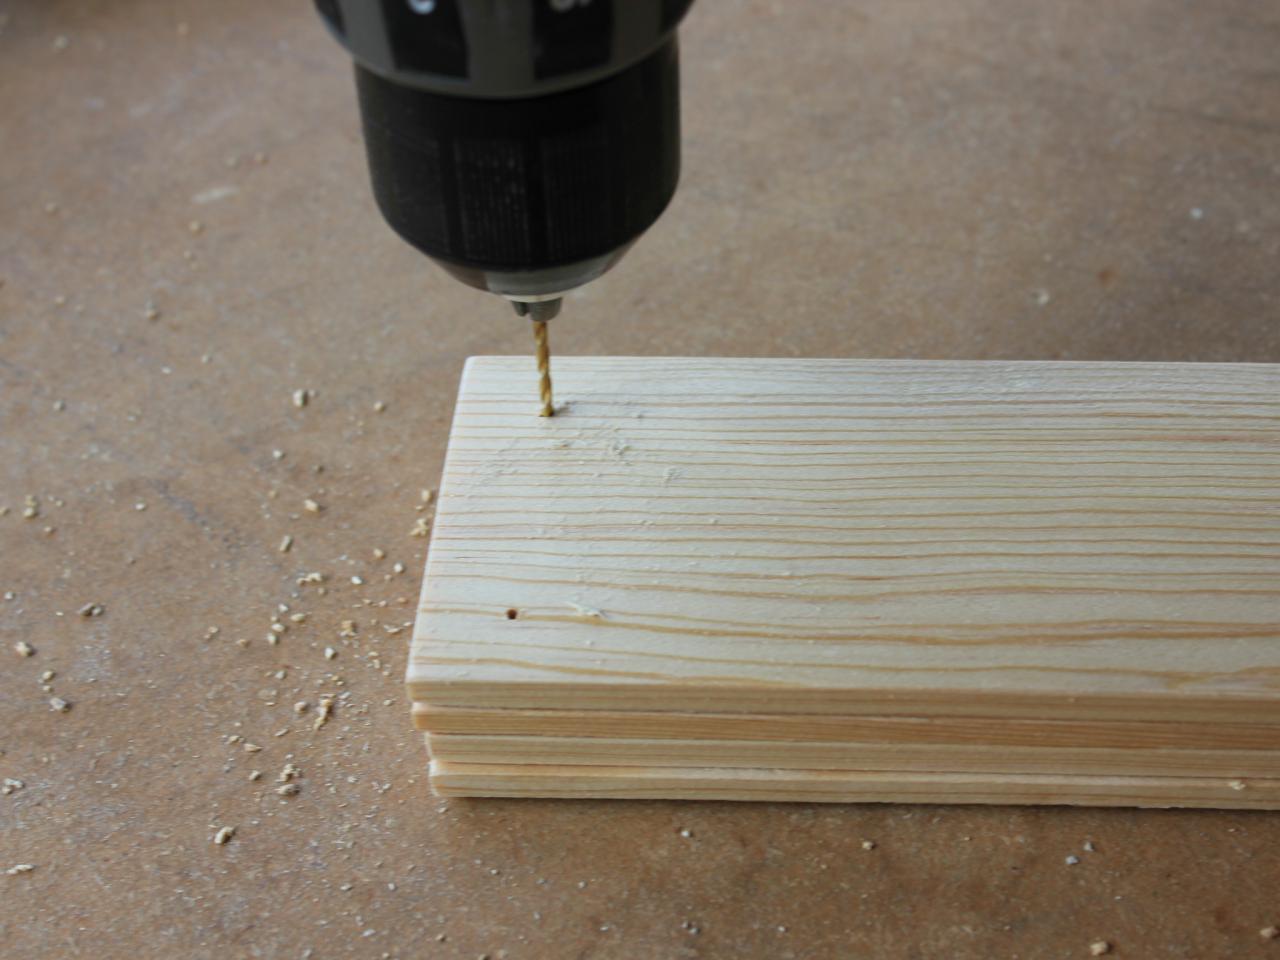
Drill Pilot Holes Into Cut Pine Strips
Once enough pine strips have been cut to size to cover all four outside panels of toy box, stack strips four high, then use drill bit 1/2" inward from each of the four corners to add pilot holes. This will ensure symmetrical placement of the carpentry tacks upon installation.

Measure and Mark Center Point of Outside Panels
Use a measuring tape to determine the center point for the two long panels on the front and back of the toy chest. Mark with a pencil.
For the two shorter panels, determine the center width-wise. On the small sides, we lined up pine strips horizontally, meeting in the middle.

Measure and Mark Pitch
Use a speed square to determine the proper pitch with which to create the herringbone pattern from each strip of pine. A pitch approximately 45 degrees works best; however, the exact measurement can be increased or decreased for the perfect fit. Once mark is made, hold cut strip up to ensure the pitch is proportionate.


Attach Wood Strips
Starting along center point and pitch mark, install cut strips. First, add wood glue to the back, then place in proper position. Next, once each strip is securely held in place with glue, add four tacks into each drilled pilot hole using a hammer.
Once one half of each panel is covered with strips, start again along center point, then finish attaching strips along uncovered half. As you near the edge, put strips in place, then measure, mark and cut to size before gluing and nailing.
Tip: It’s OK to completely cover handle holes with strips, just don't add nails atop the handle openings. Once all four exterior panels are complete, any strips covering handle holes will be cut out using a routing tool.


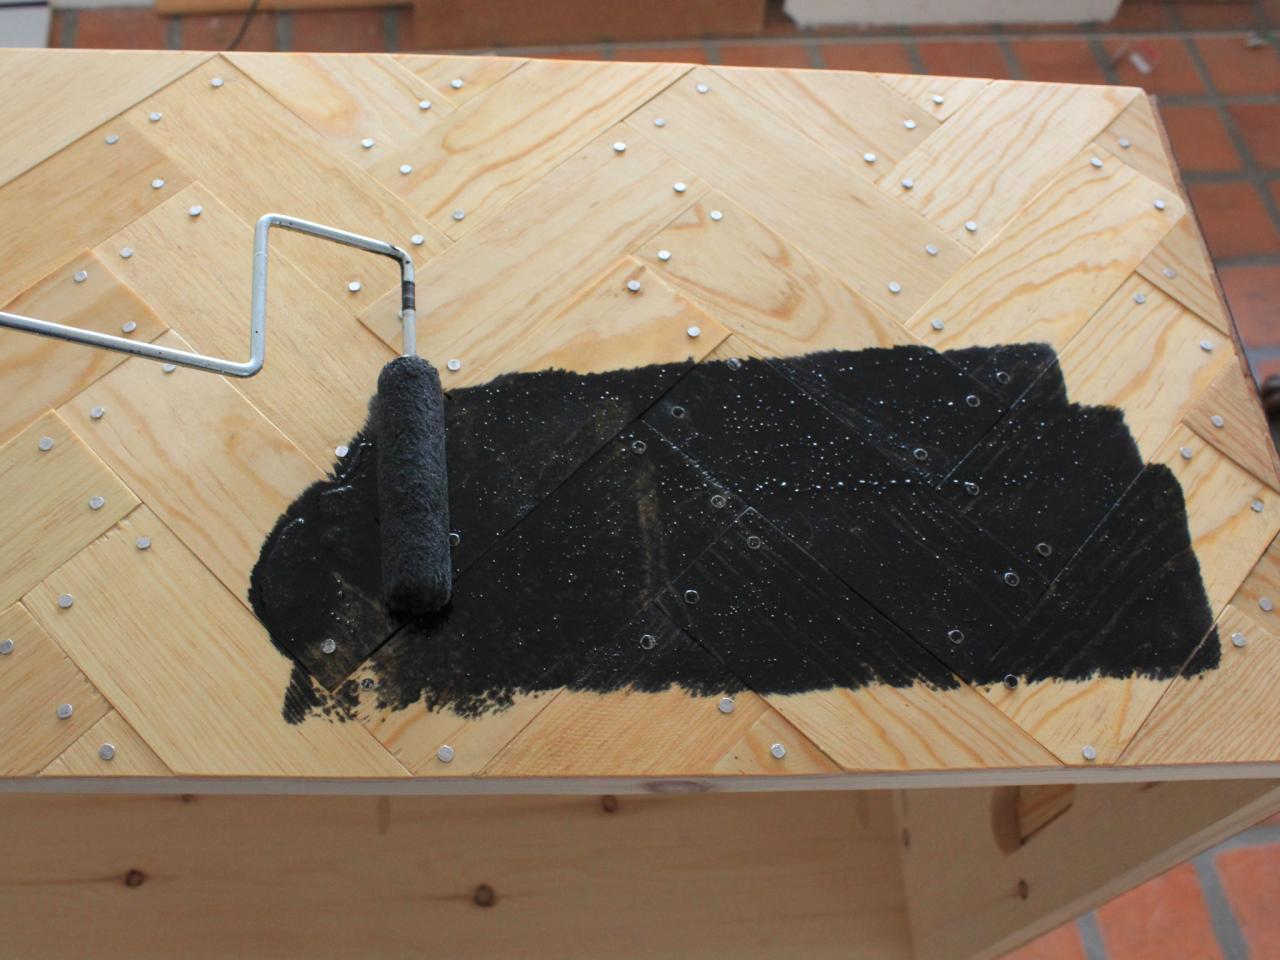
Apply Stain
Apply stain directly to the surface of all pine strips using mini roller. Wipe away excess using painter’s rags.


Router Handle Holes
In order to keep the pattern consistent, the pine strips were attached directly over handle holes. Uncover the handle holes, first by creating a pilot hole using a drill and a 1” drill bit, then by using a routing tool along the inside edge of each handle hole.


Seal Surface
Once all handle holes have been uncovered with the routing tool, add an even coat of wood sealer along the pine strips using a paintbrush.

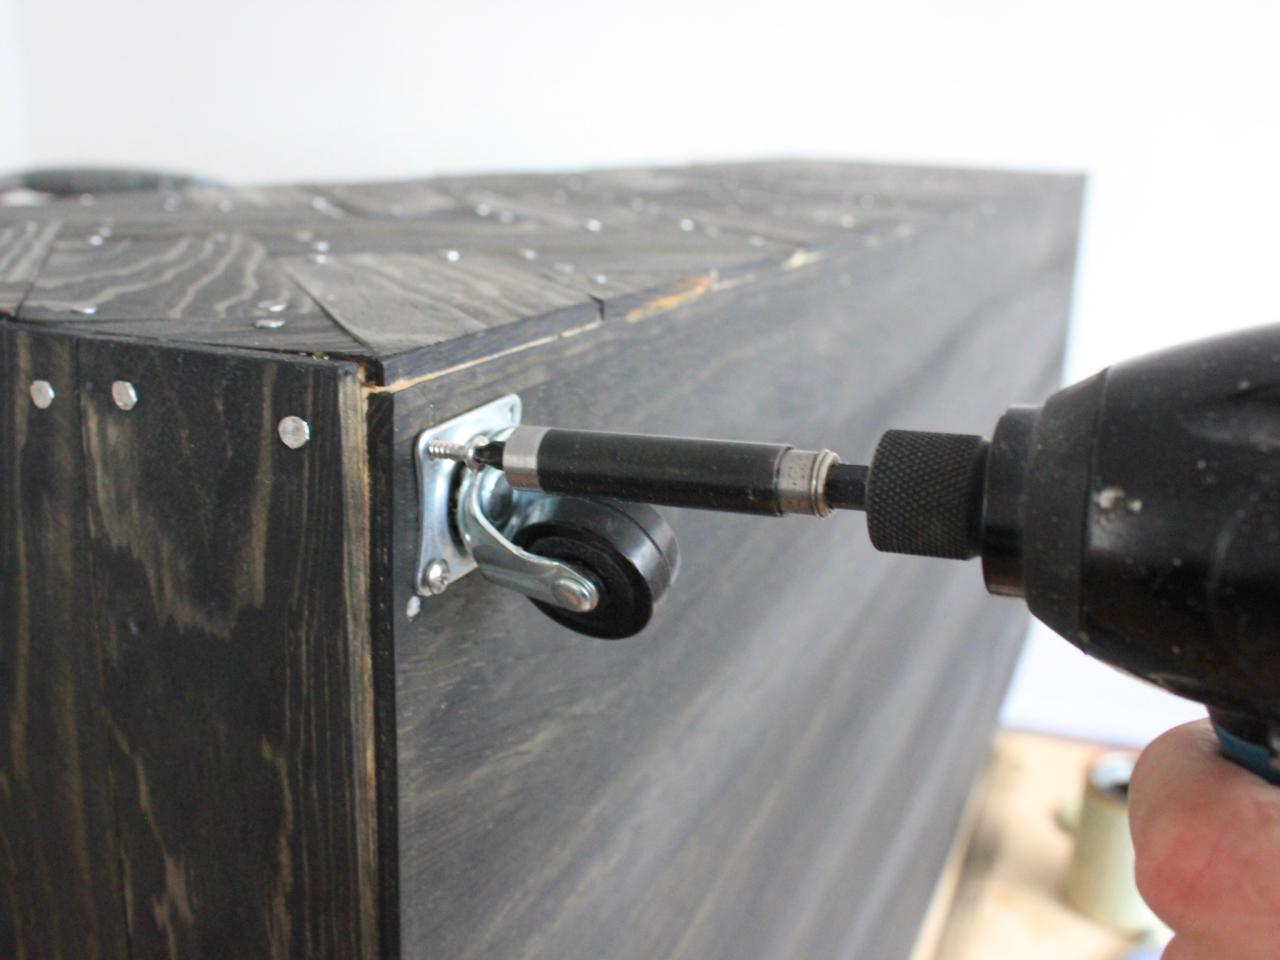
Attach Casters
Flip toy box over on its side, then attach casters approximately 1” in from each of the four edges using a drill and 1” wood screws.

Upholster and Attach Lid
Cover 1/2”-thick precut pine top with batting and fabric using an upholstery staple gun and upholstery staples. Next, attach the piano hinge along the underside of the toy box's top inside edge using a drill and included piano hinge hardware.

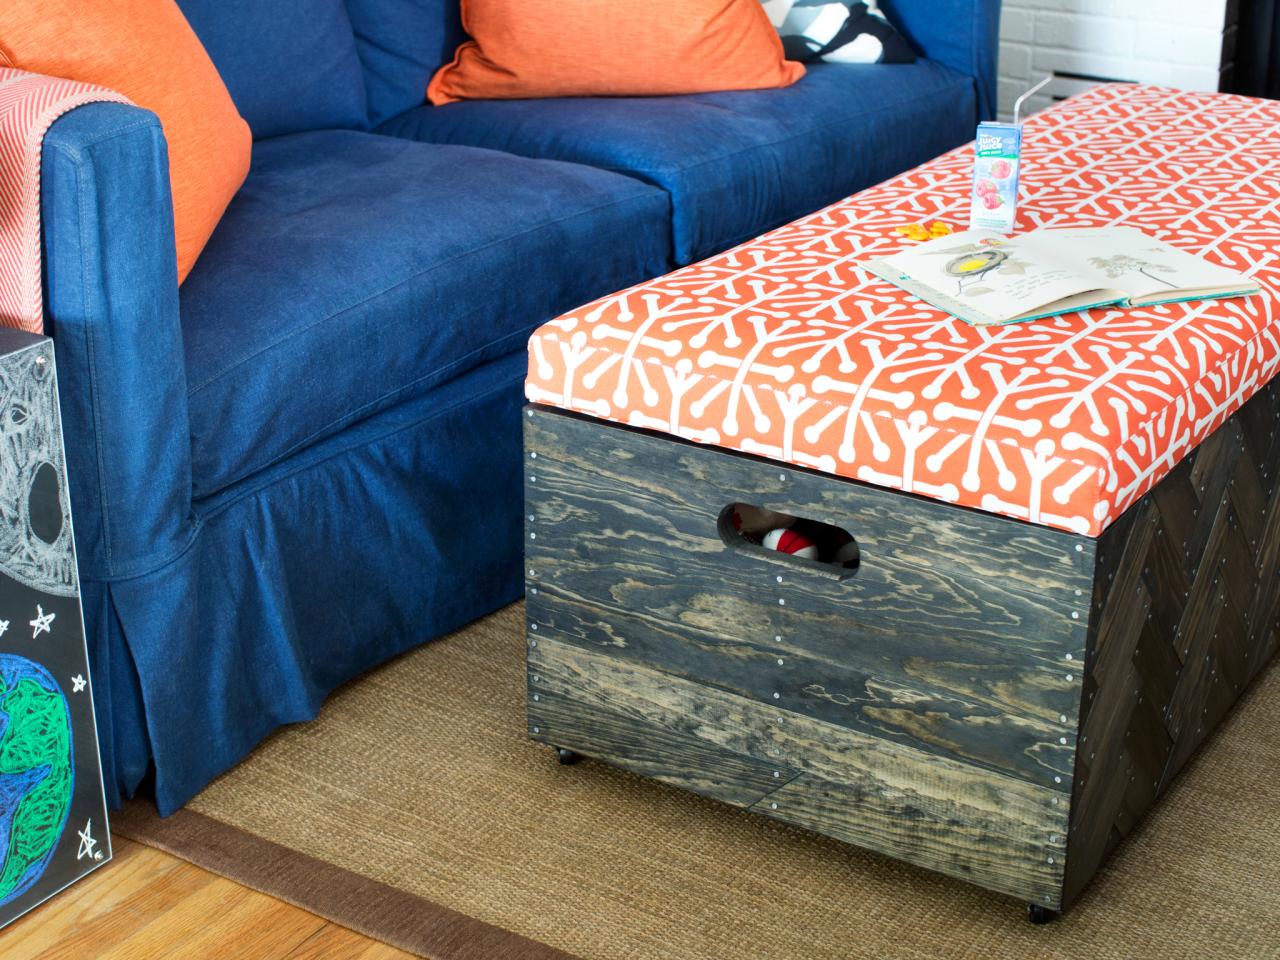
Fill With Toys and Enjoy
Once your designer ottoman is complete, you can easily hide toy clutter while putting up your feet at the same time. The mobile ottoman can roll out of the way if you have company, or double as extra living room seating.


