


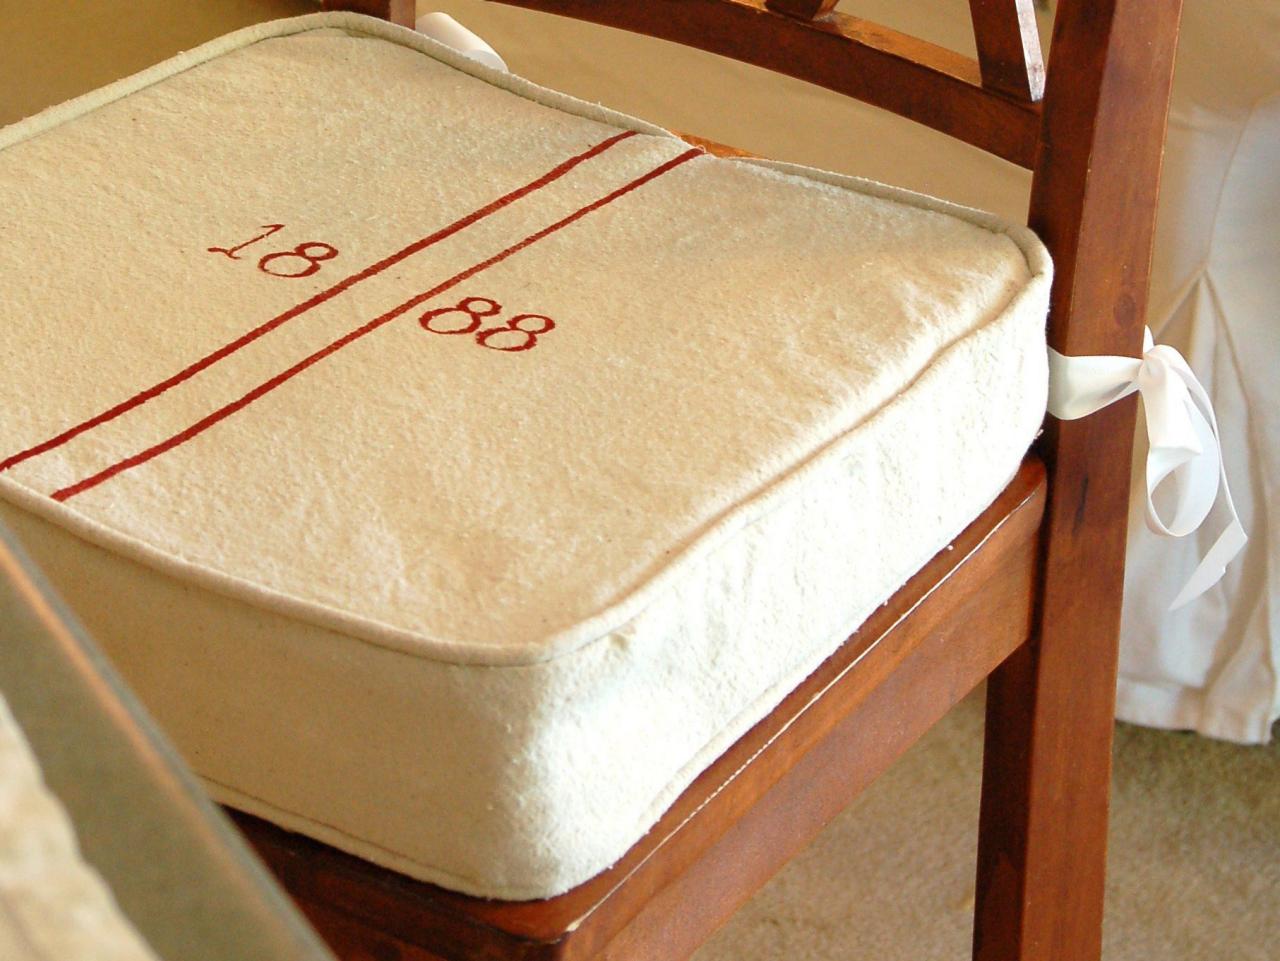
DIY Grain Sack Kitchen Barstool Cushions


Materials Needed:
- 4 'x 5' 8-ounce canvas drop cloth
- 2 cups bleach
- 1 cup 3% hydrogen peroxide solution
- sharp scissors
- permanent marker
- pencil
- measuring tape
- yard stick
- 6 yards 6/32" cotton filler cord
- (2) 3" x 15" x 17" poly foam cushions
- cream all-purpose thread
- 4 yards 1" wide twill tape
- fabric glue
- acrylic paint
- 1" paint brush
- 2.0 liner paint brush
- sewing machine
- zipper foot
- heavy-duty sewing machine needle
- all-purpose sewing needle
Wash, Bleach and Neutralize Drop Cloth
Remove drop cloth from package and load into washing machine. Fill machine basin with warm water and one cup of bleach. Allow drop cloth to soak for several hours or overnight. Run remainder of the wash cycle. Repeat a second time to ensure thorough bleaching. Wash drop cloth a third time in warm water, laundry detergent and one cup of 3 percent hydrogen peroxide to neutralize bleach. Dry on high heat. Tip: Use a plastic storage bin for soaking if a top loading washing machine is not available.
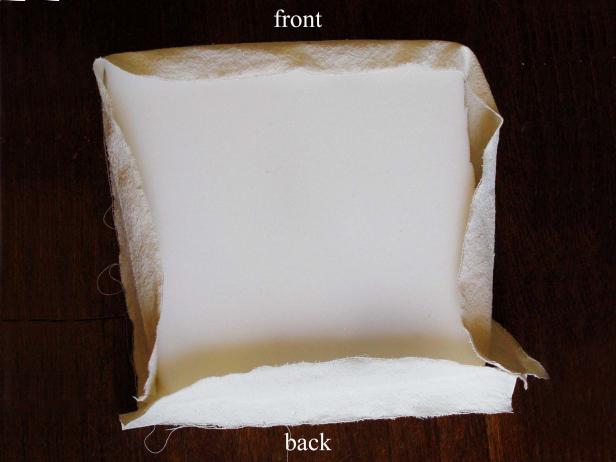
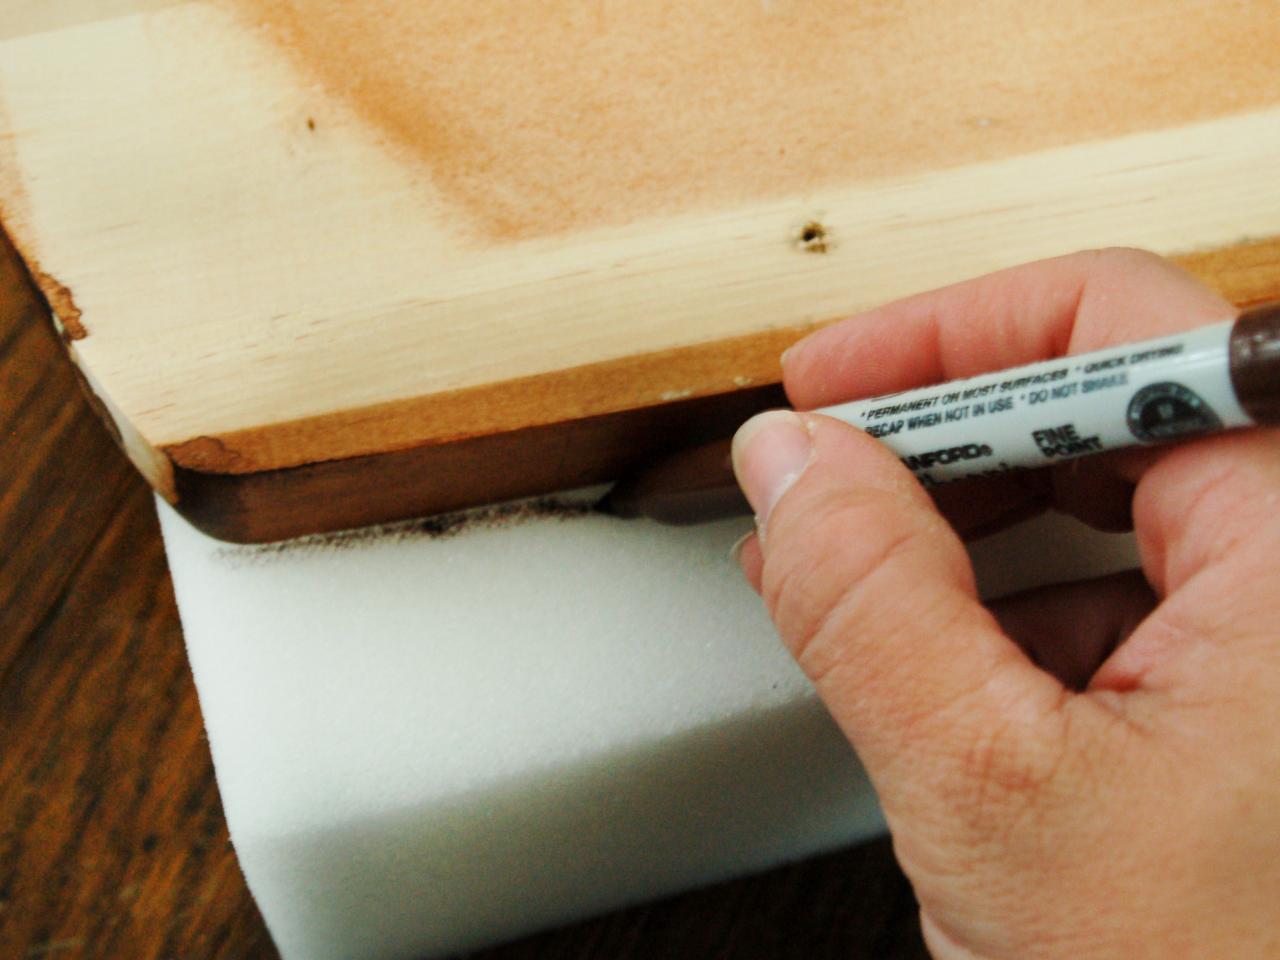
Cut Foam
Place foam on stool seat and, using it as a template, trace around the seat with permanent marker. Cut foam along line with sharp scissors. Hold scissors perpendicular to foam to ensure a smooth, even cut. Tip: If available, an electric carving knife is an excellent tool for cutting foam.

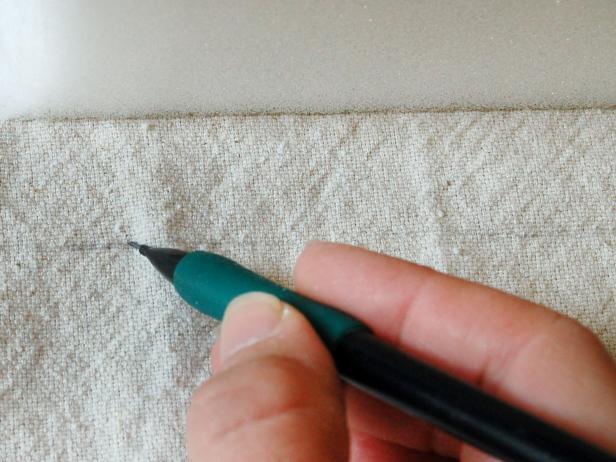
Cut Fabric
Using the cut foam as a template, trace a line with a pencil for the top and bottom of each cushion, leaving at least a half-inch seam allowance. Cut along traced line. Four pieces of fabric are needed for two cushions. Add the length of the front and two sides of the cushion. Measure and cut a piece of fabric that length, plus a one-inch seam allowance and four inches wide. Measure the length of the back of the seat cushion and cut a piece of fabric with length, plus one-inch seam allowance and four inches wide. Two pieces of each cut of fabric are needed for two cushions.
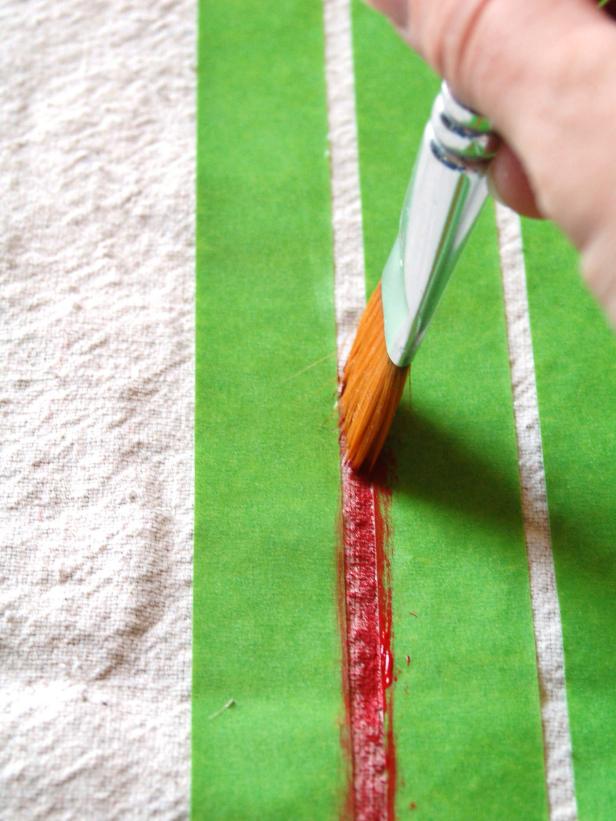
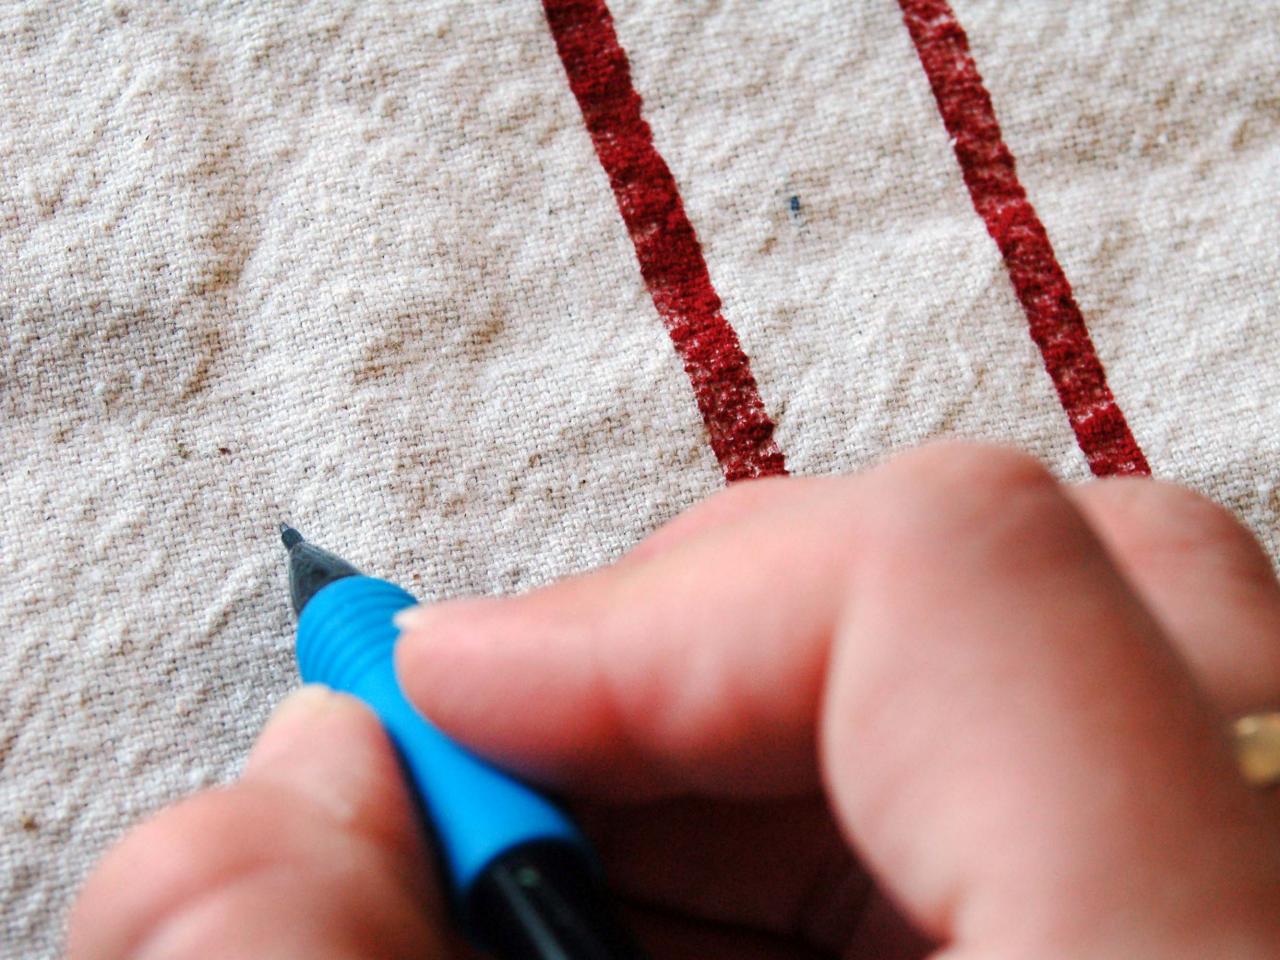
Paint
Select two seat pieces of fabric on which to paint the design. These will be the top sides of each cushion. Measuring side to side, find the center point and tape off two quarter-inch wide stripes. Using a one-inch brush and acrylic paint, paint the space between the taped lines. Allow some fabric to show through the paint for a time-worn look. Remove tape. When painted stripes are fully dry, use a pencil to lightly sketch letters or numbers on both sides of the stripes. Paint over sketch with a liner brush. Allow ample dry time. Tip: For a uniform look or specific font, use a stencil or transfer paper instead of drawing freehand.

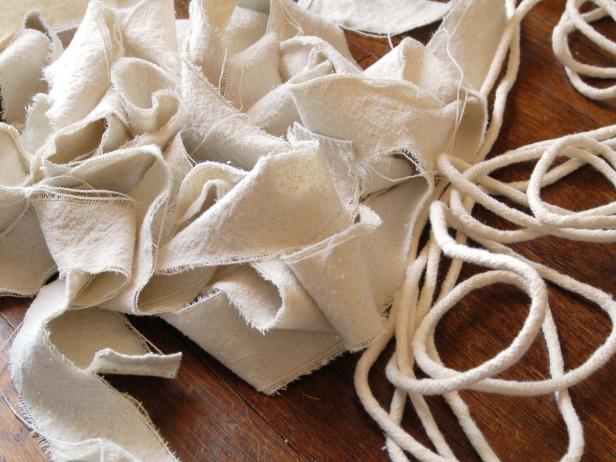
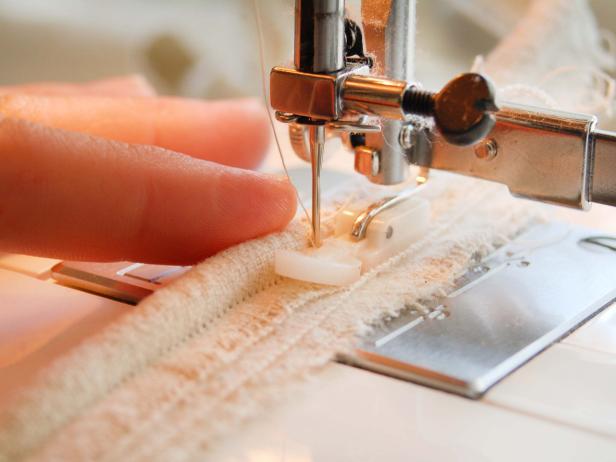
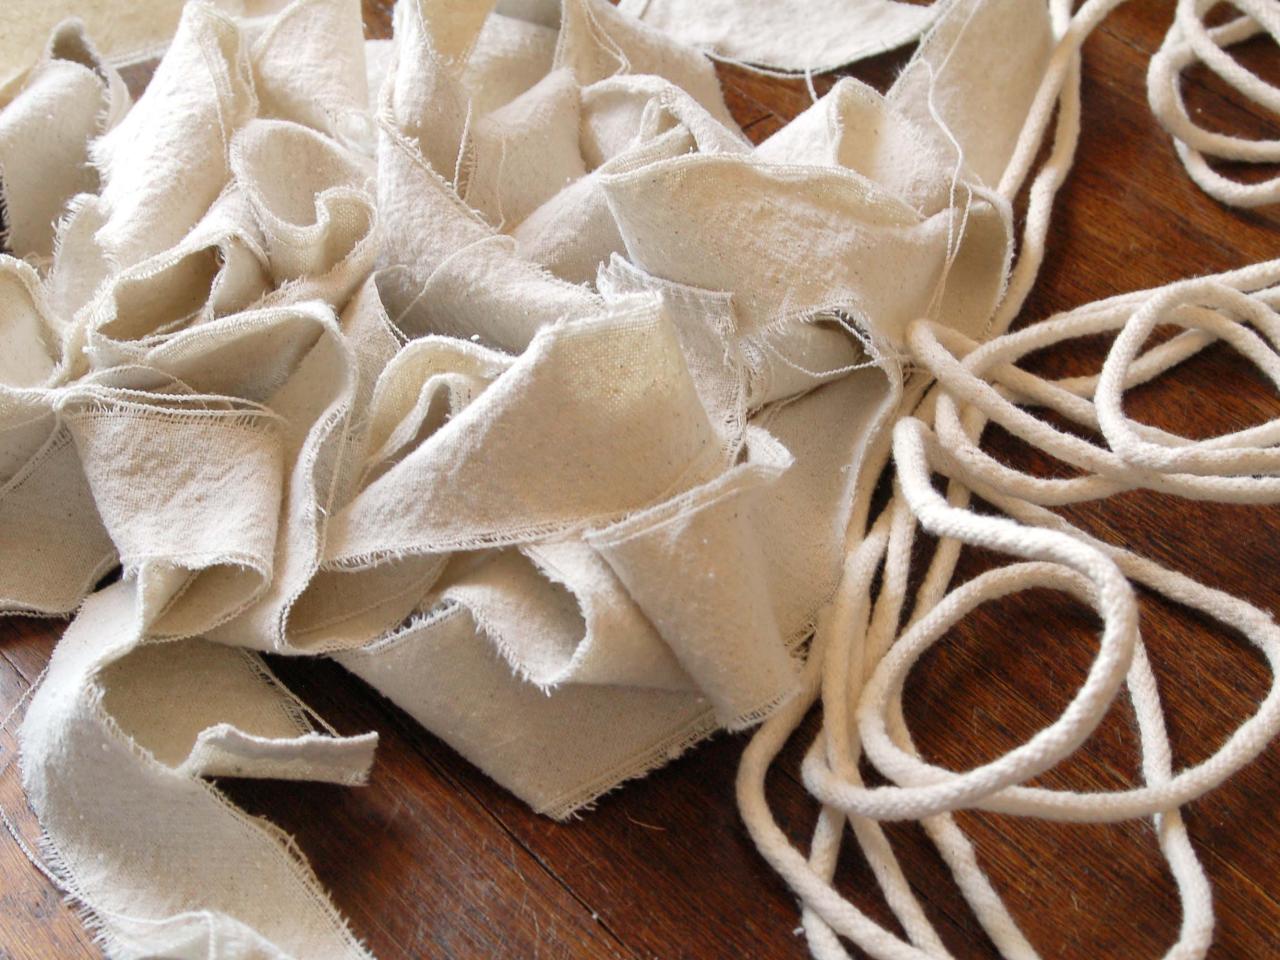
Sew Piping
While painted fabric is drying, measure seat cushion perimeter. Cut cotton cord long enough to wrap around the perimeter four times (for two stools.) Cut strips from drop cloth, two-inches wide and the length of the cord. Sew strips together, if needed. Wrap fabric around the cord and sew using a machine zipper foot. Tip: Drop cloth fabric will rip in a straight line. Simply make a cut and rip the fabric to continue the cut.
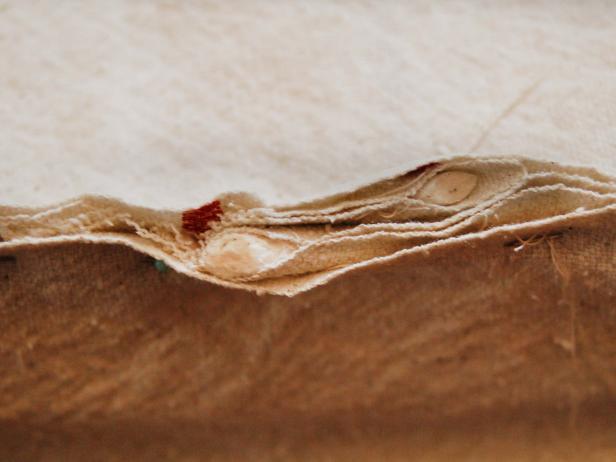
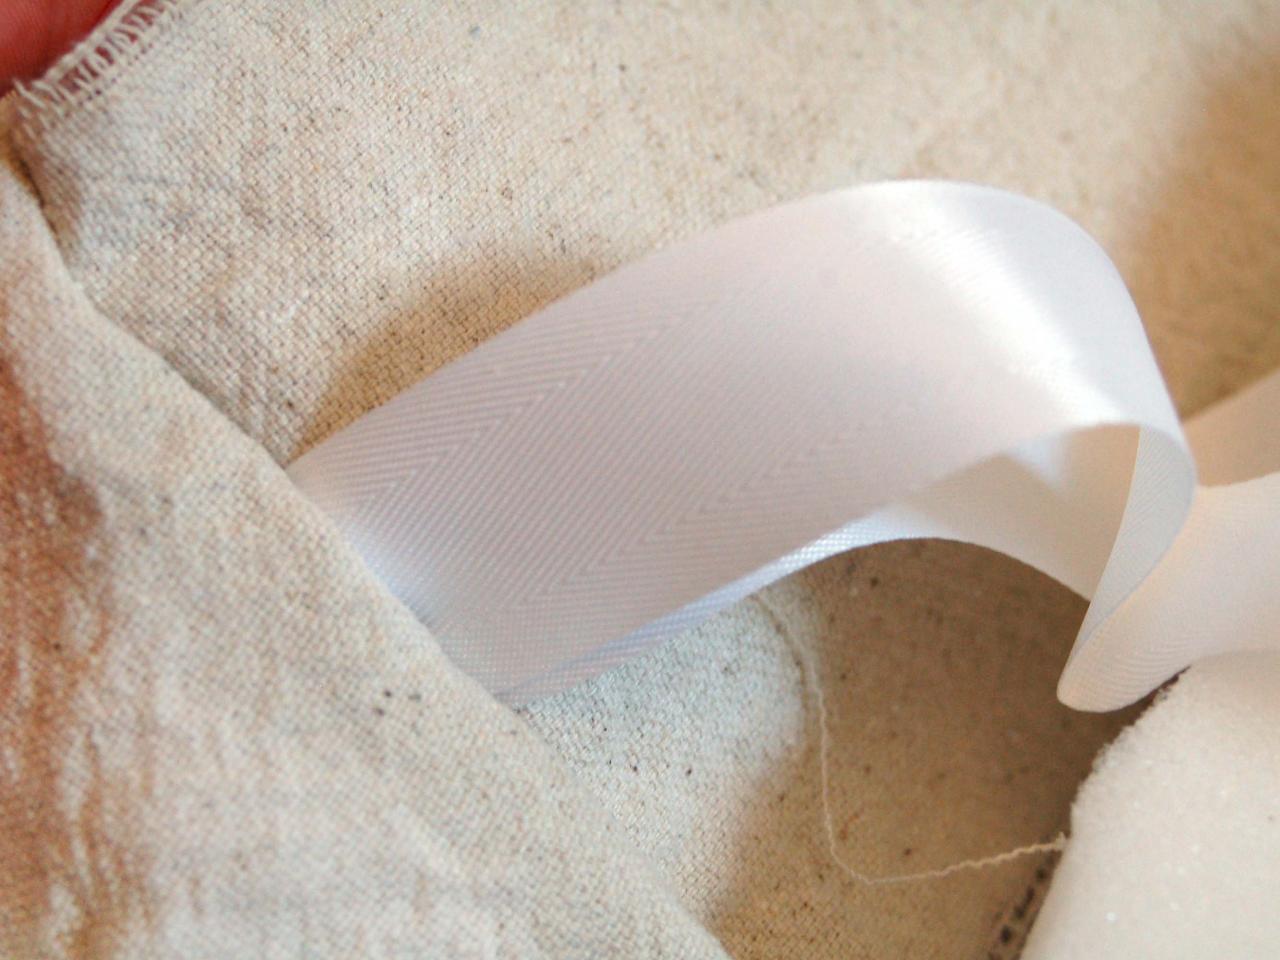
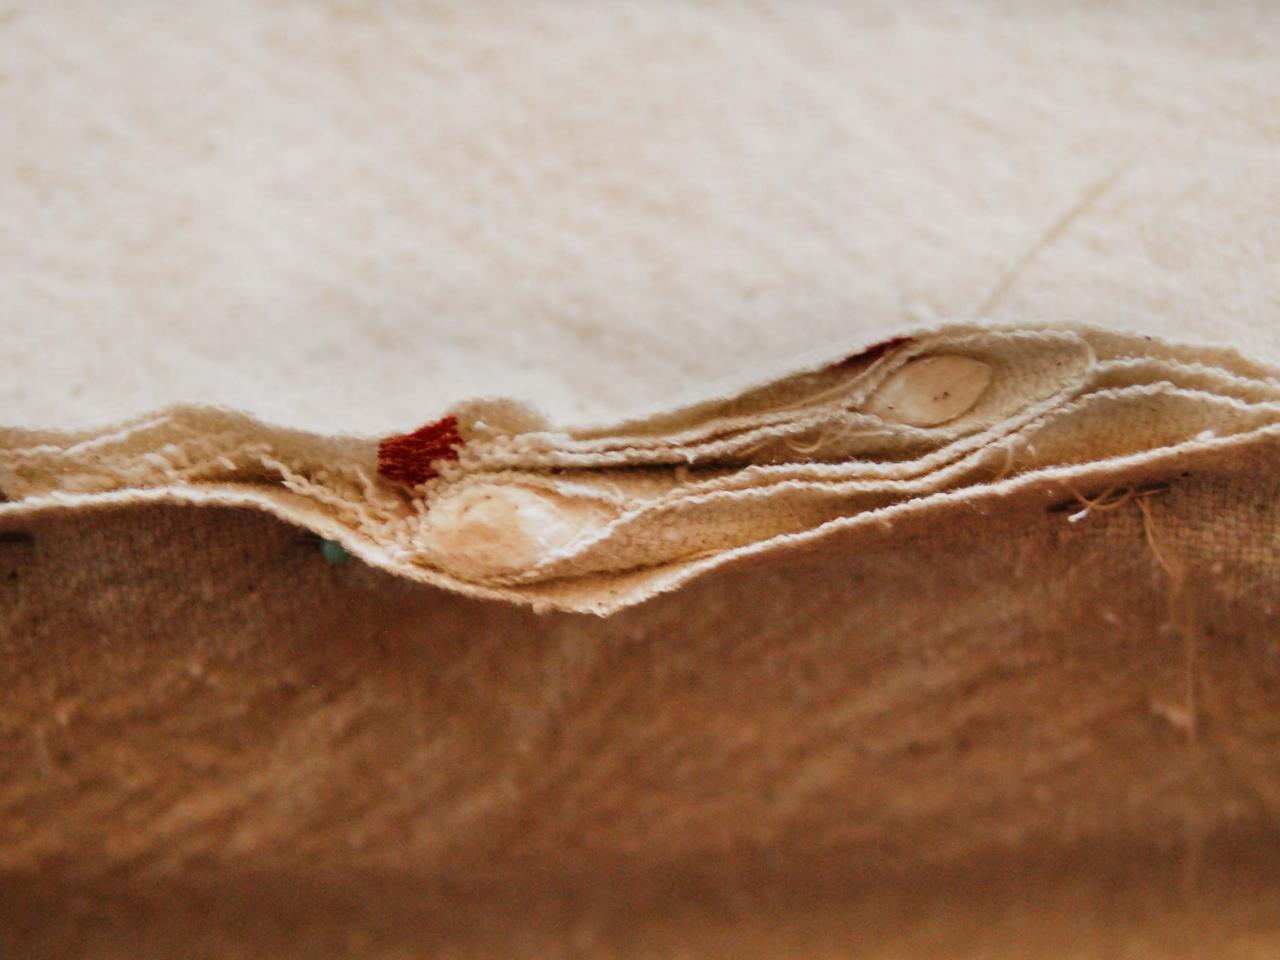
Assemble Sides and Ties for Cushion
Cut twill tape into eight 16-inch lengths. Making angled cuts will minimize fraying. Gather the front, side and back pieces of cut fabric. Arrange cut fabric in place. Drop cloth fabric is the same on both sides, so it doesn't matter which side will be showing. Where pieces meet in the back corner, insert two lengths of twill tape at the center point and pin seam closed. Repeat on the other back corner, pulling fabric snug to ensure a tailored fit. Sew along pinned seams. Tip: When fitting slipcovers, everything is made inside out, with the seams exposed. Make sure that the ties will be on the outside of the cushion when turned right-side-out.


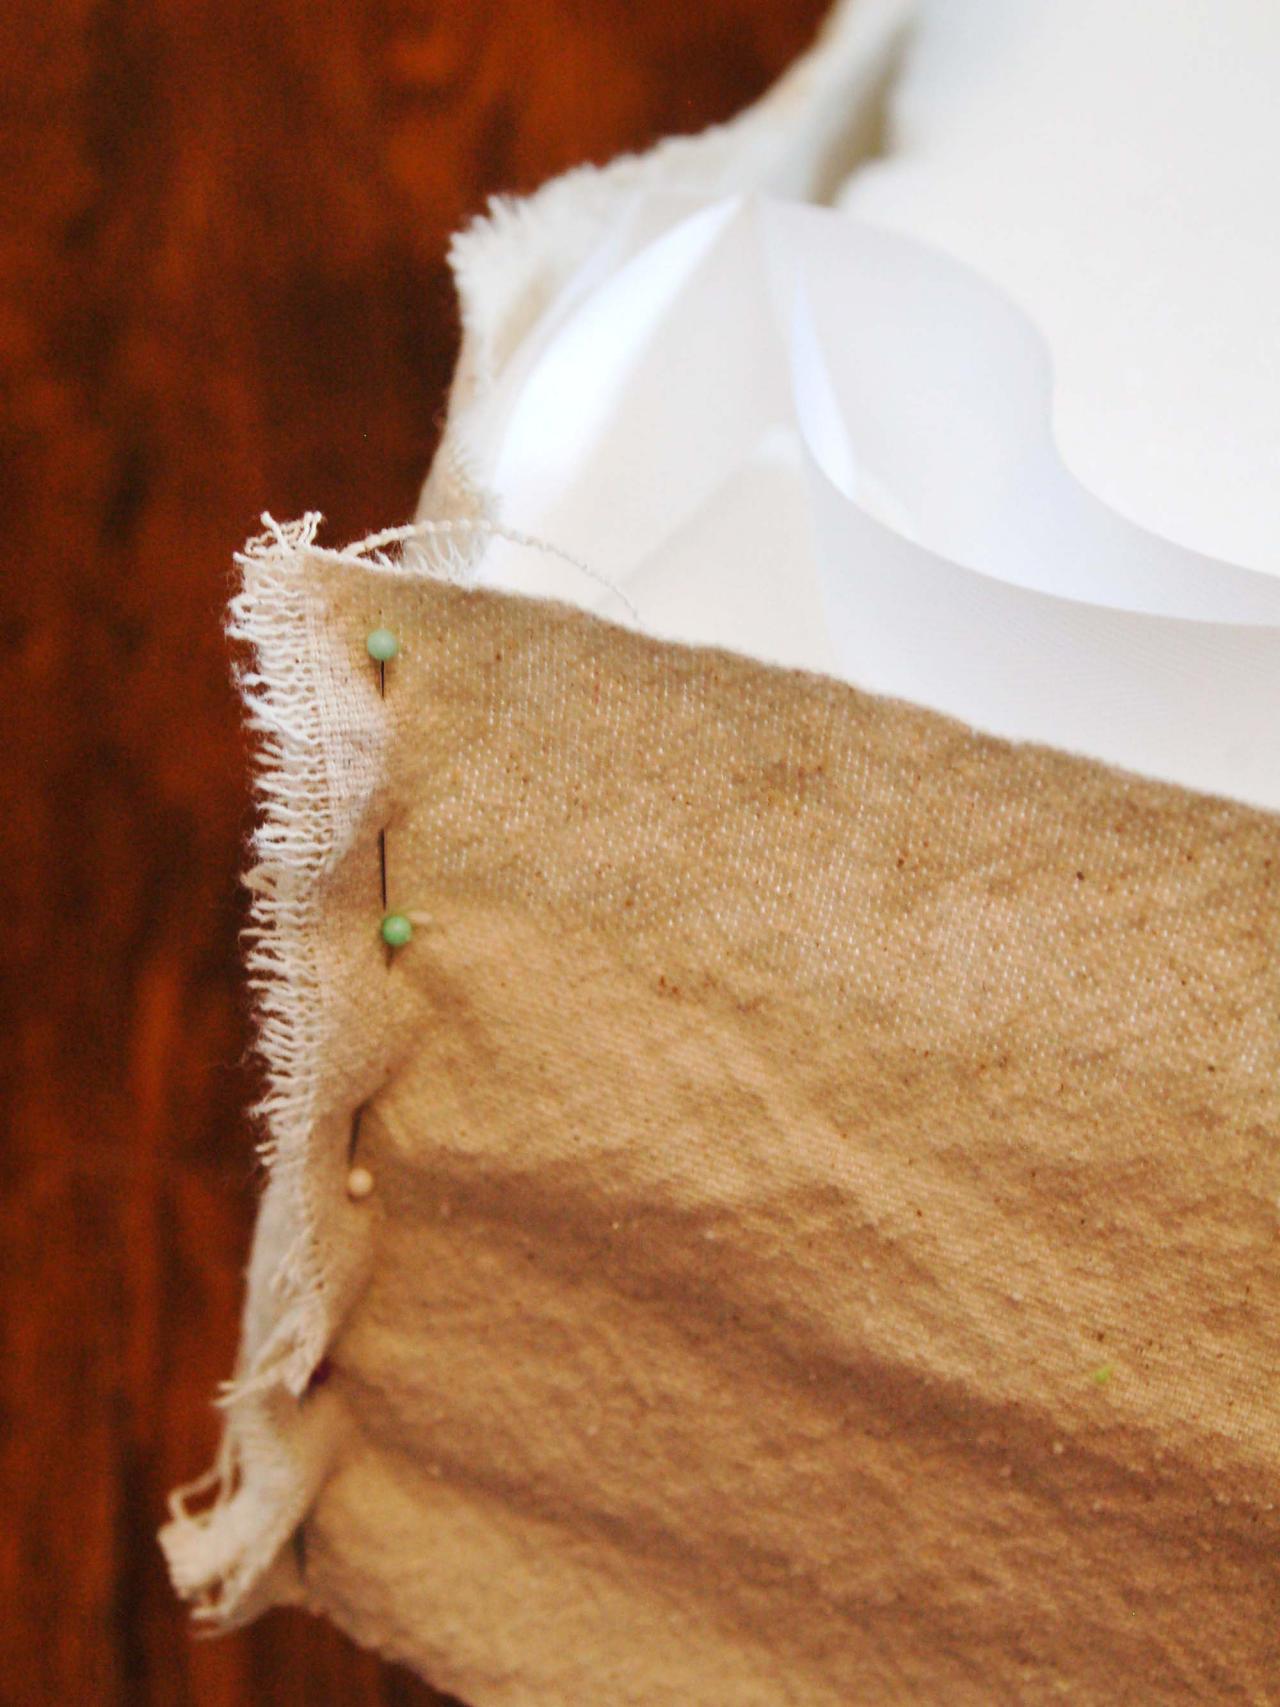
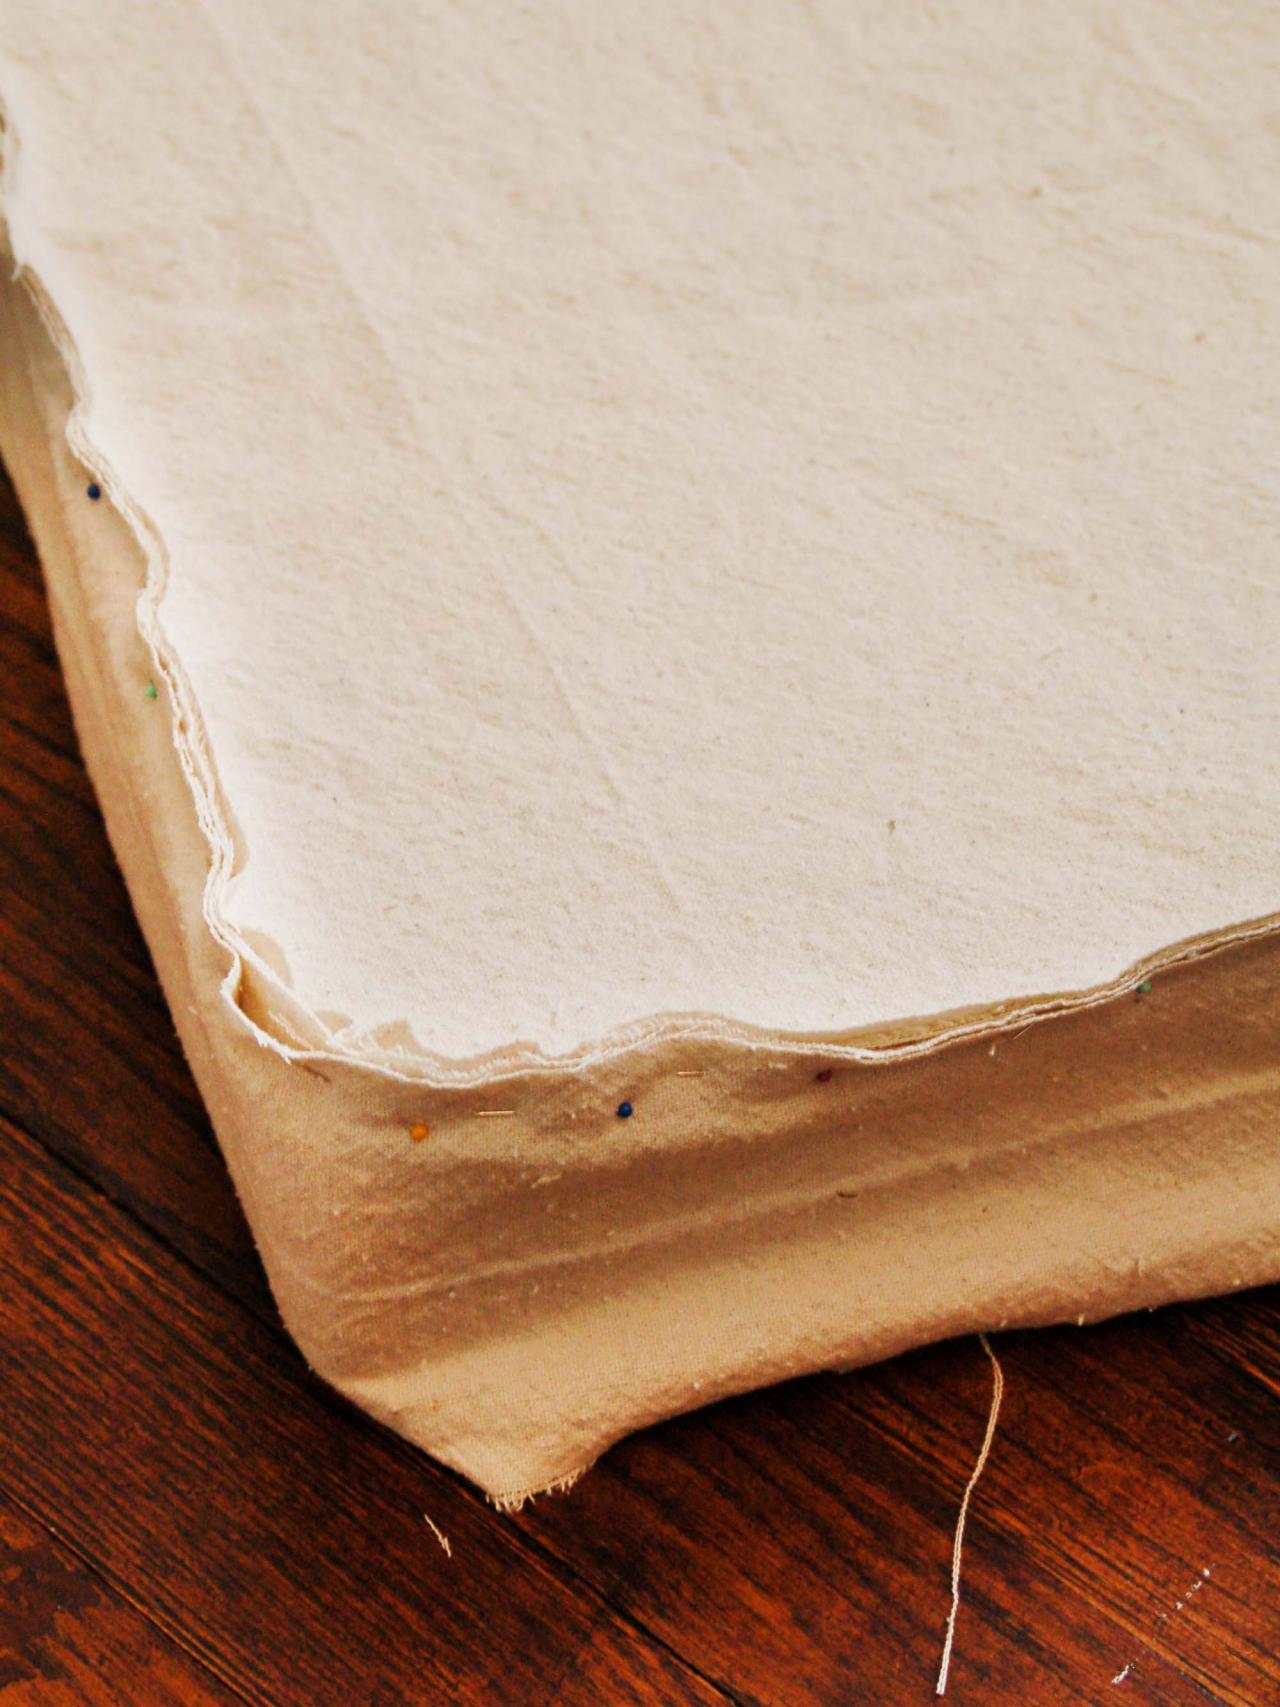
Pin-Fit Top and Bottom of Cushion
Place perimeter piece of fabric back onto cushion with seams facing out. Tuck twill tape ties down, so they don't get pinned or sewn into the top or bottom. Set painted fabric on cushion with design facing down. Make sure design is evenly placed. Pin seat piece to perimeter piece with piping sandwiched between the two pieces. The piping should face into the cushion and cross where the two ends meet. Using sewing machine zipper foot, sew along the pin line and trim excess seam allowance. Repeat on bottom of seat, working inside-out, but leave an opening large enough to insert foam cushion.

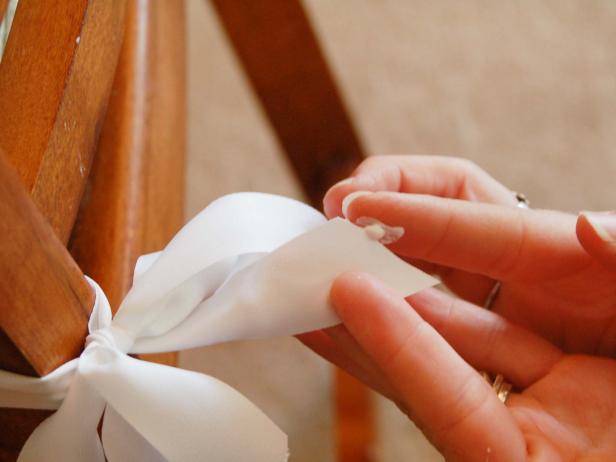
Hand Sew Cushion Closure
Turn cover right-side-out and insert cushion. Pin opening closed and sew together using a running stitch and all-purpose needle. Remove pins and trim threads. Run a bead of fabric glue along edge of twill tape ties to prevent fraying. Foam cushion and cover are machine washable.


