


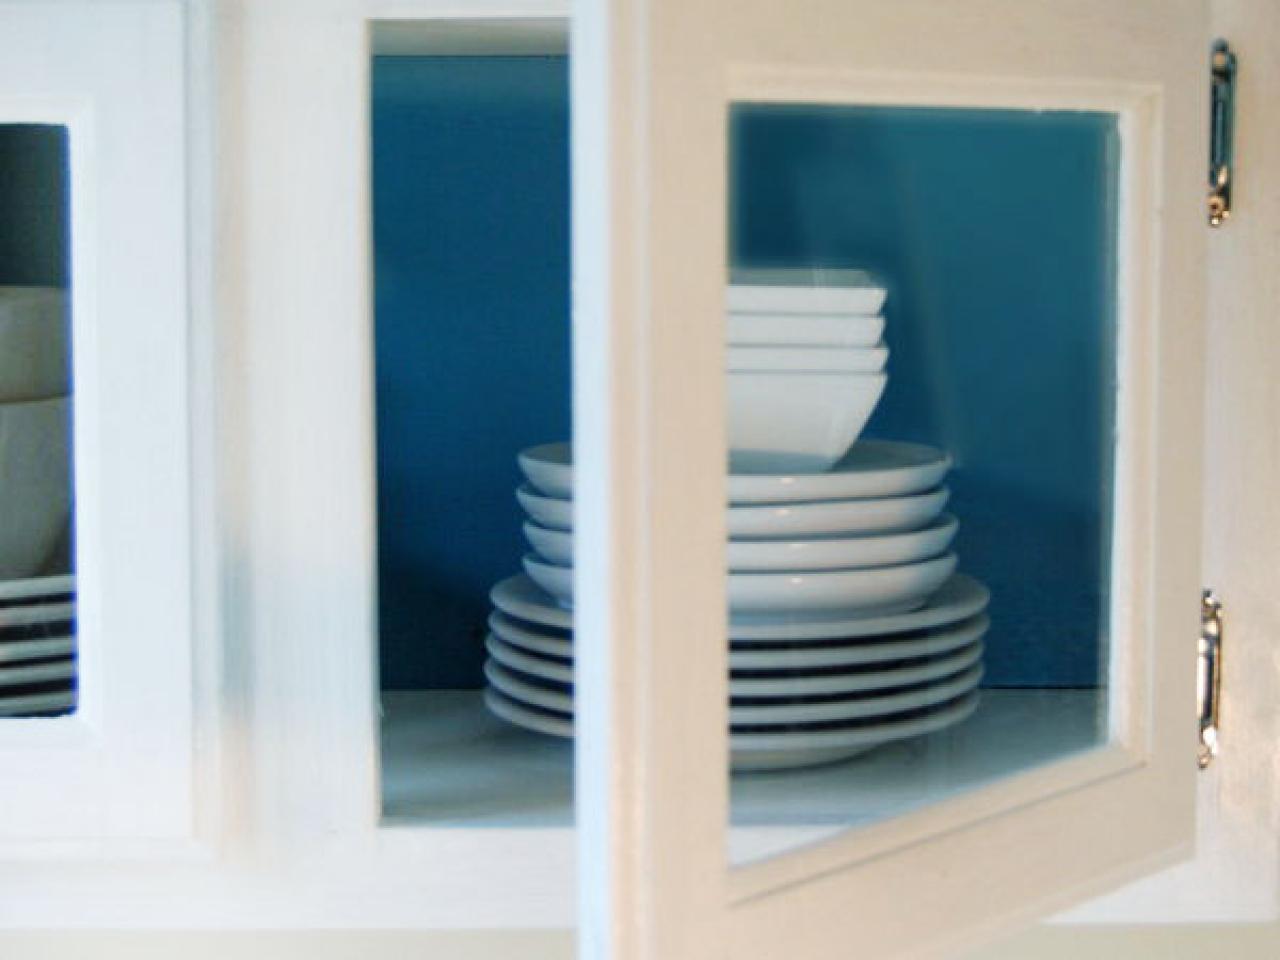
Update Kitchen Cabinets With Glass Inserts

Materials Needed:
- cabinet doors with panel insert
- LEXAN glass sheets, 1/8" thick
- utility knife or plastic cutting knife
- clear silicone
- Phillips screwdriver
- measuring tape
- carpenter's square or straightedge
- circular saw
- wood chisel
- safety glasses
- hearing protection
- painters' tape
Remove Doors
Remove cabinet doors, place existing hardware in a plastic bag and label doors and cabinets openings with painters' tape, numbering them to make re-assembly easier. Note: This tutorial is for replacing cabinet door panels with LEXAN glass. The cabinet must be constructed with a frame surrounding a panel, like the cabinet in the diagram.

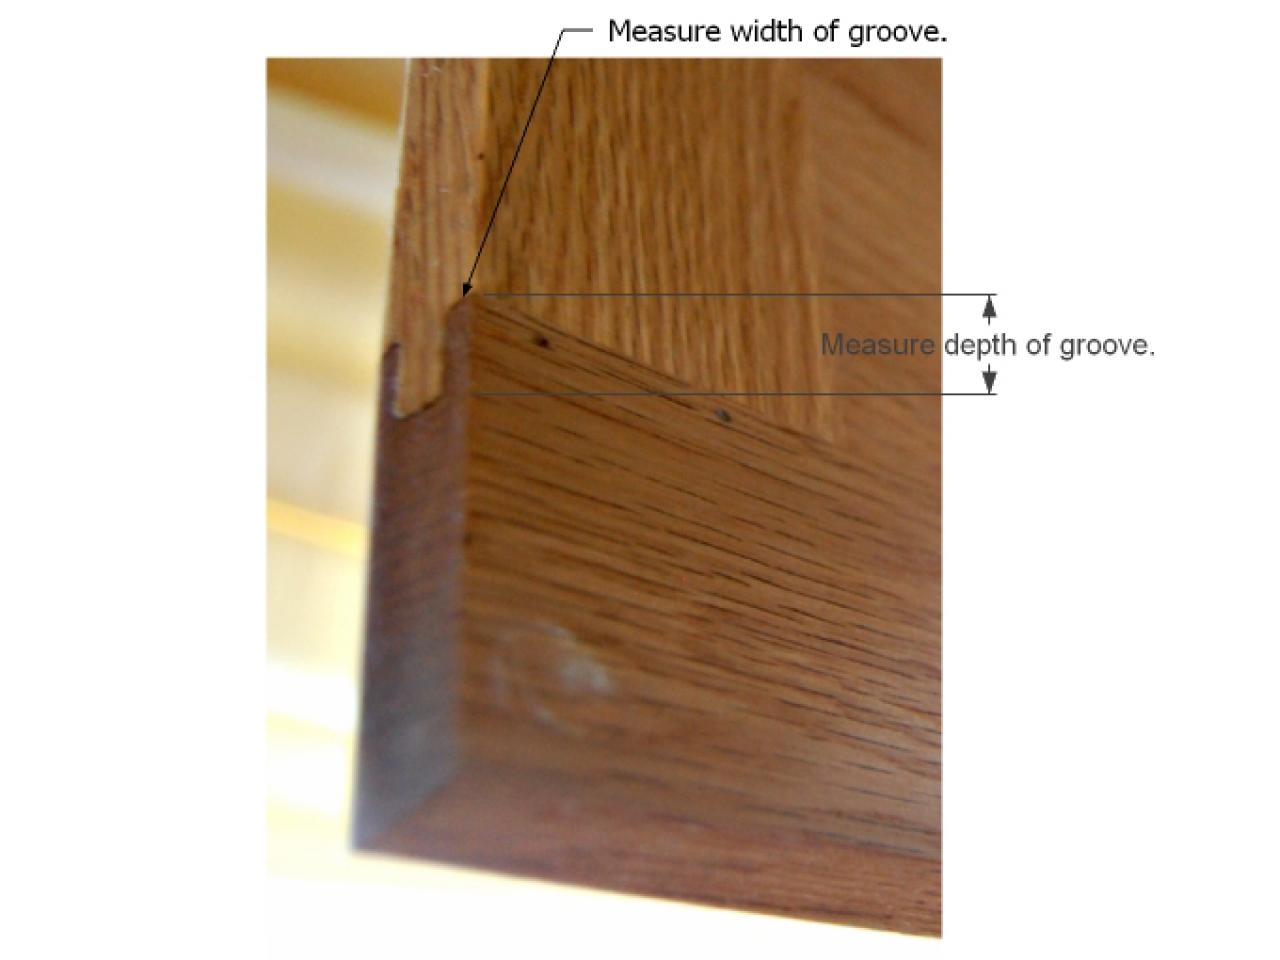
Measure Doors
Remove doors from the cabinet and inspect top edge of the door. Each door will have a tongue-and-groove joint. First, measure width of groove on inside of cabinet then measure depth of groove on the cabinet. In example shown, depth of groove is 1/2-inch and width is 1/4-inch.

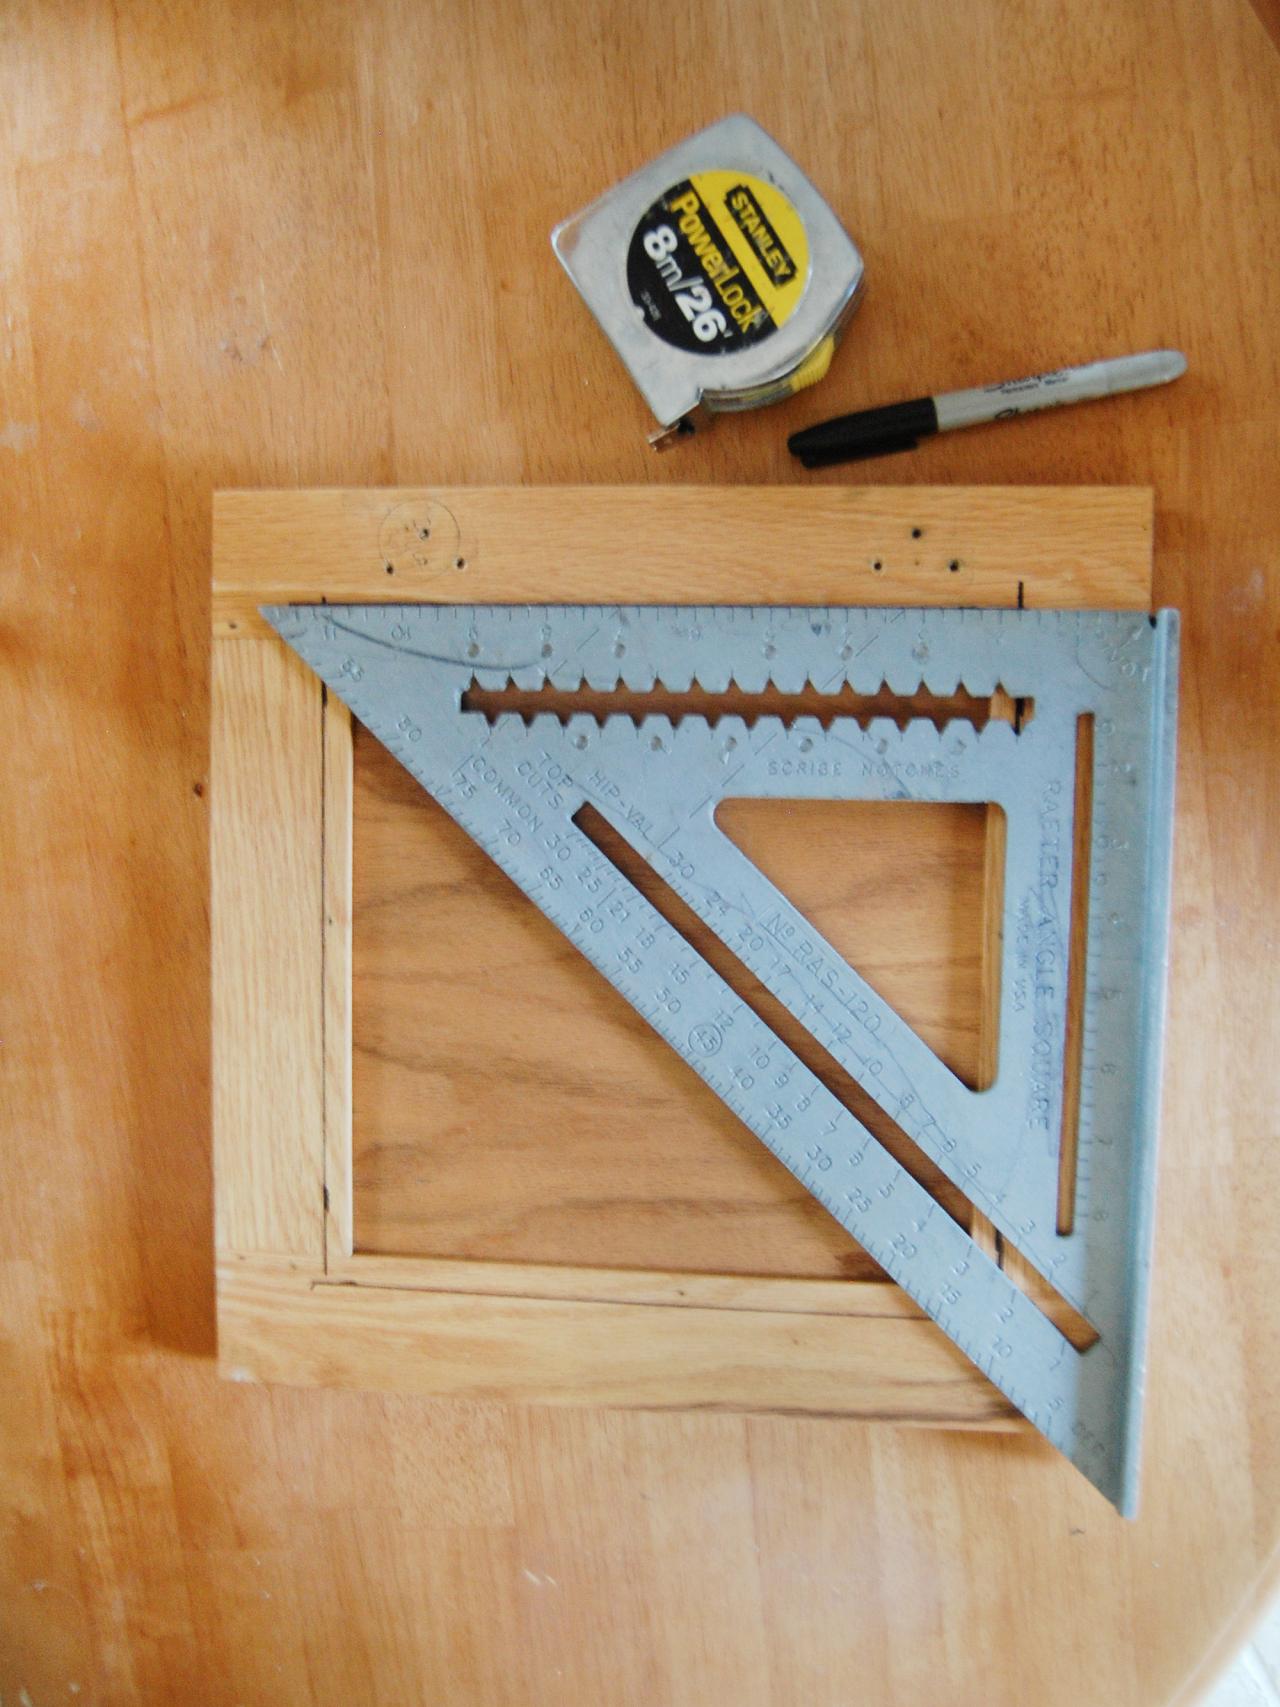
Mark Doors
On back of cabinet, mark doors in from the inside of the frame the depth of the groove. Use carpenter's square to mark all sides.

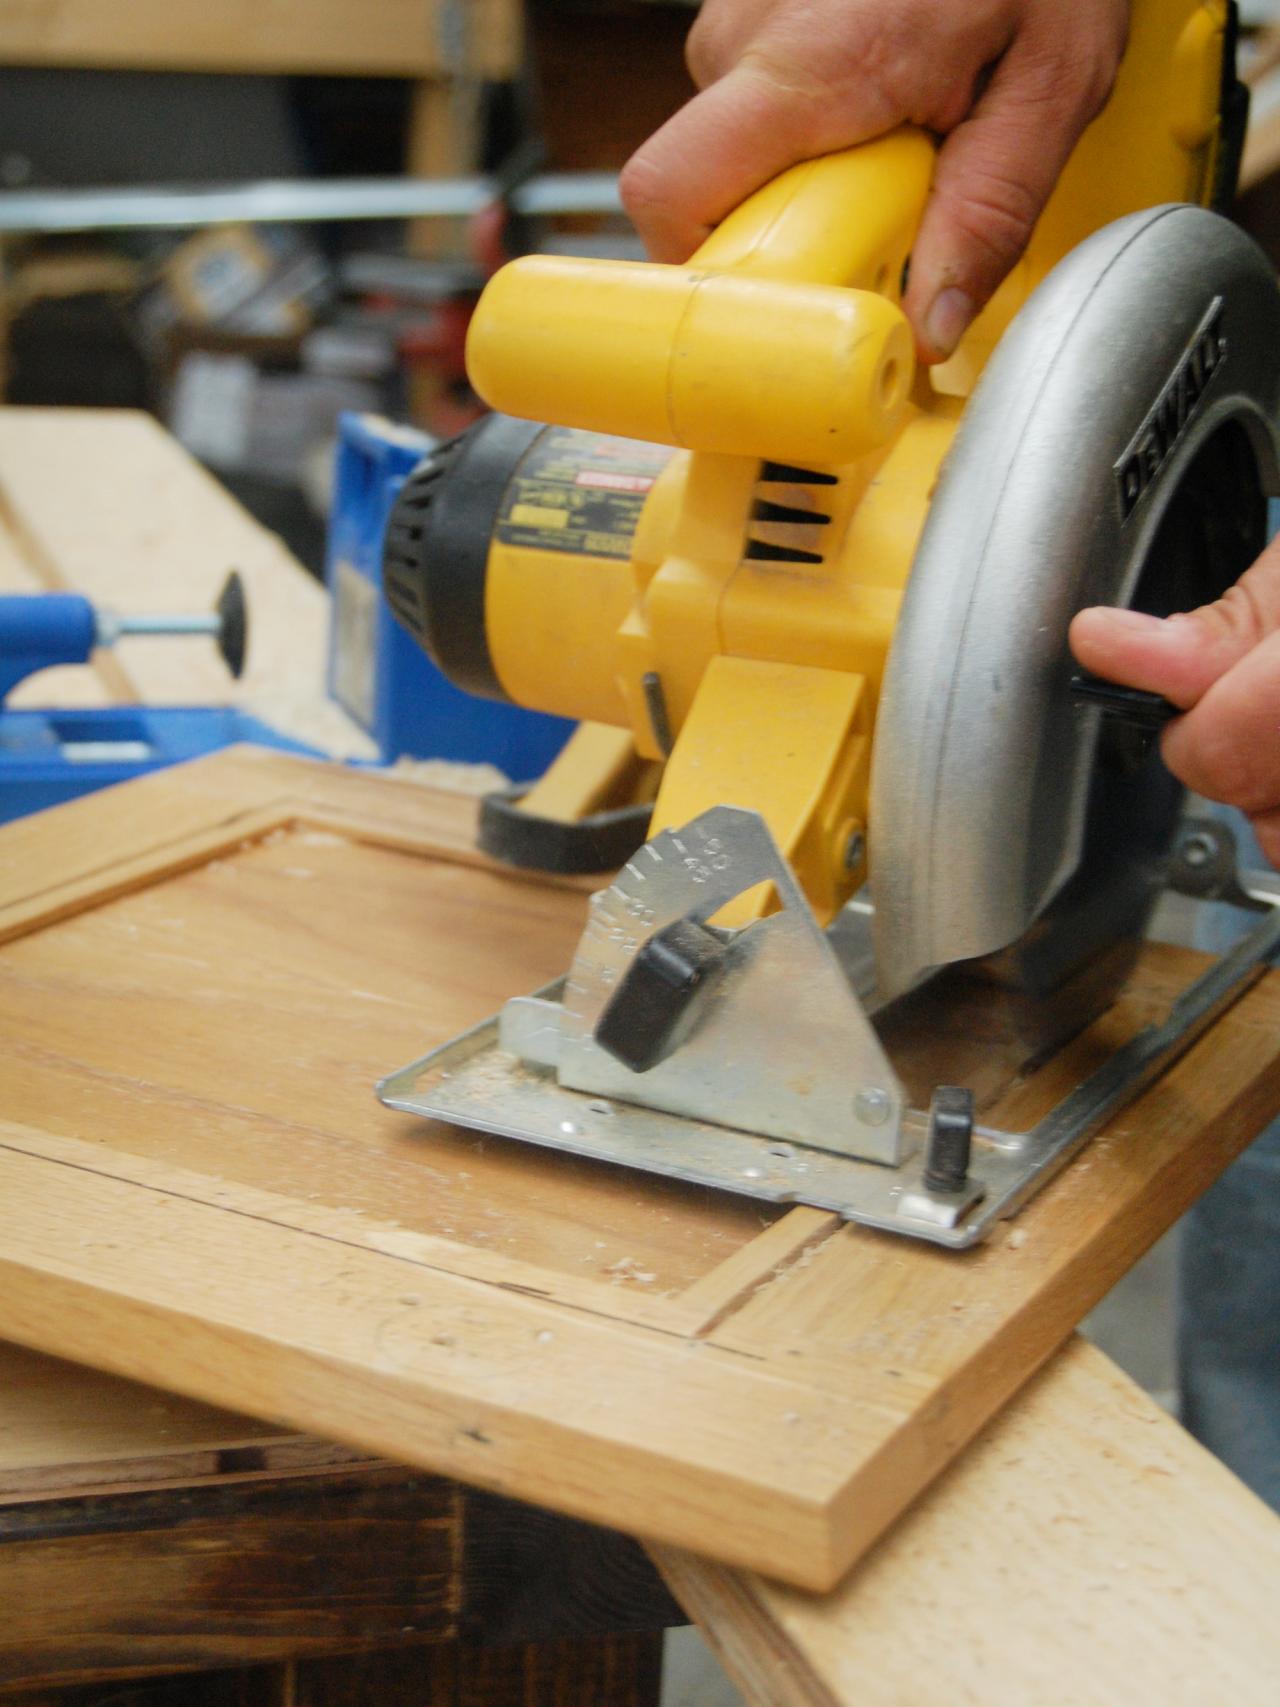
Cut Out Panels
Adjust circular saw cutting depth to depth taken in previous step. With eye and hearing protection, carefully cut marked lines with circular saw. Tip: Use a clamp to secure the door to the work surface.

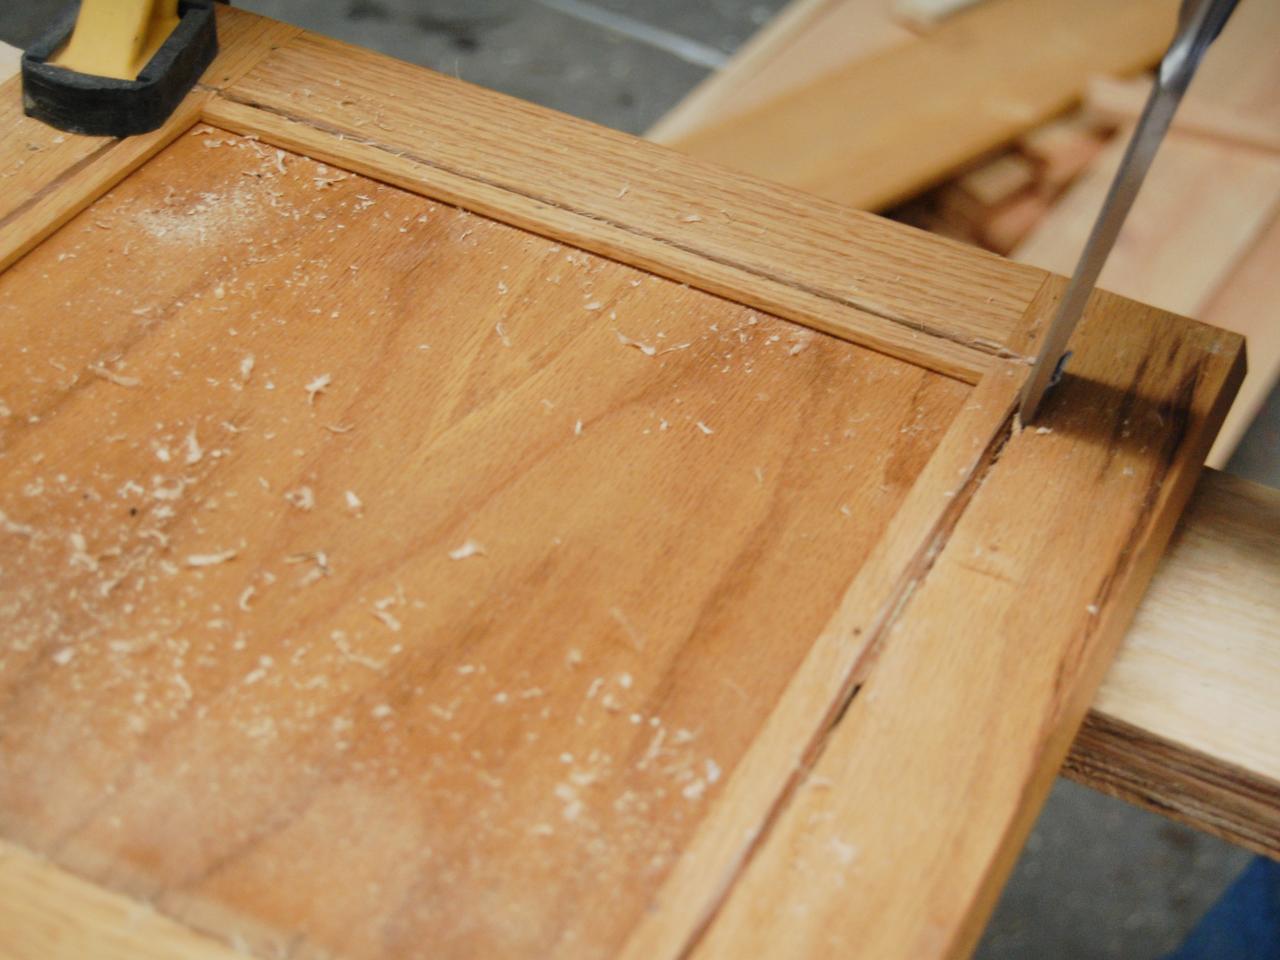
Chisel Corners
Use a wood chisel to cut corners free.

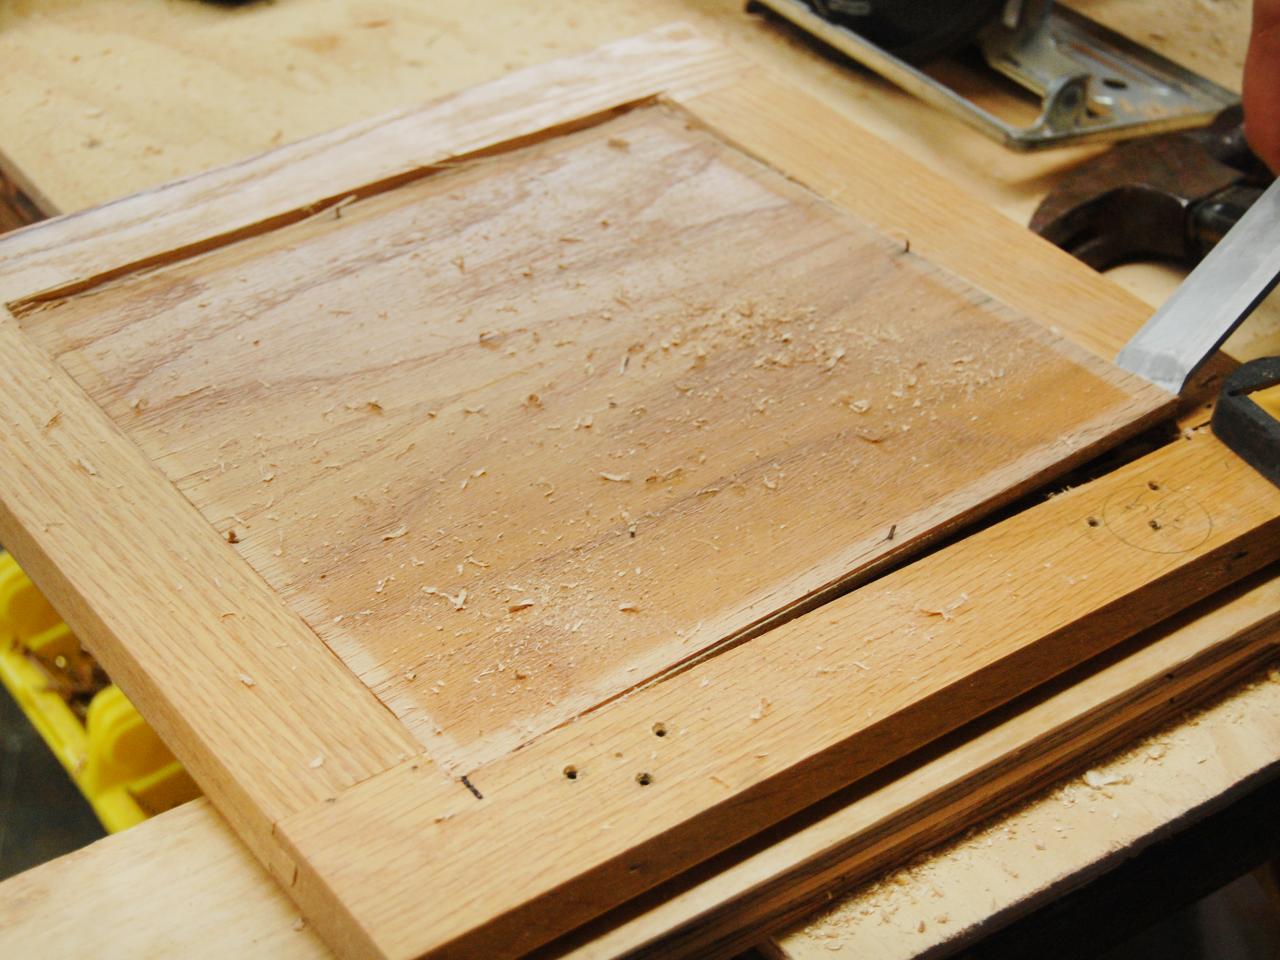
Remove Wood Panel
With the wood chisel, pry wood panel free of cabinet frame. Remove panel and measure dimensions.

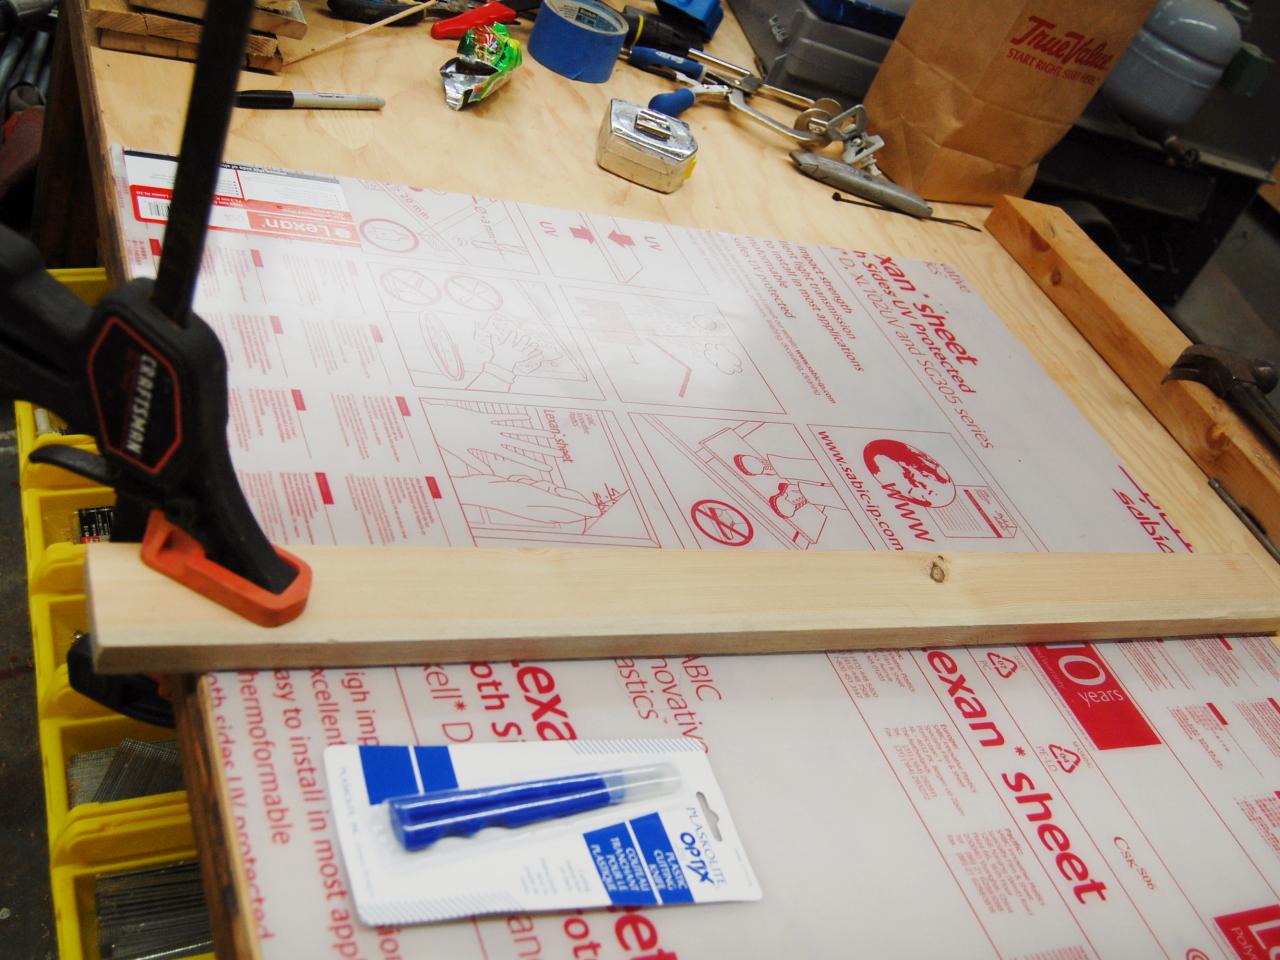
Cut LEXAN Glass
Mark dimensions of plywood insert on LEXAN glass. Using plastic cutting knife or utility knife, score LEXAN glass halfway through then snap LEXAN glass on scored lines. Tip: Clamp a straight board to the LEXAN glass and use as a scoring edge.

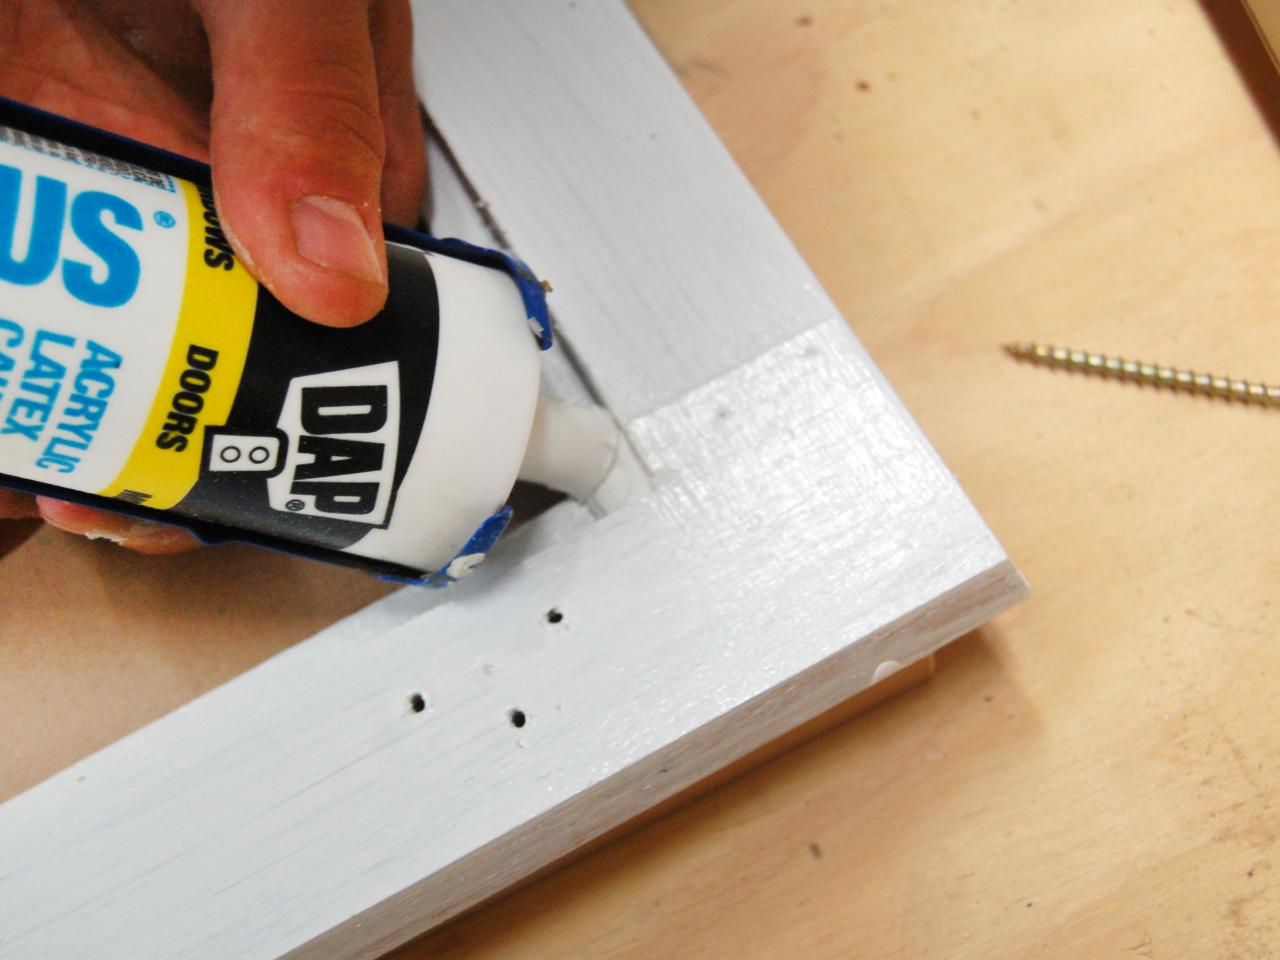
Apply Silicone
Apply clear silicone to interior door frame. Note: The cabinet was first painted white, this is an optional step.

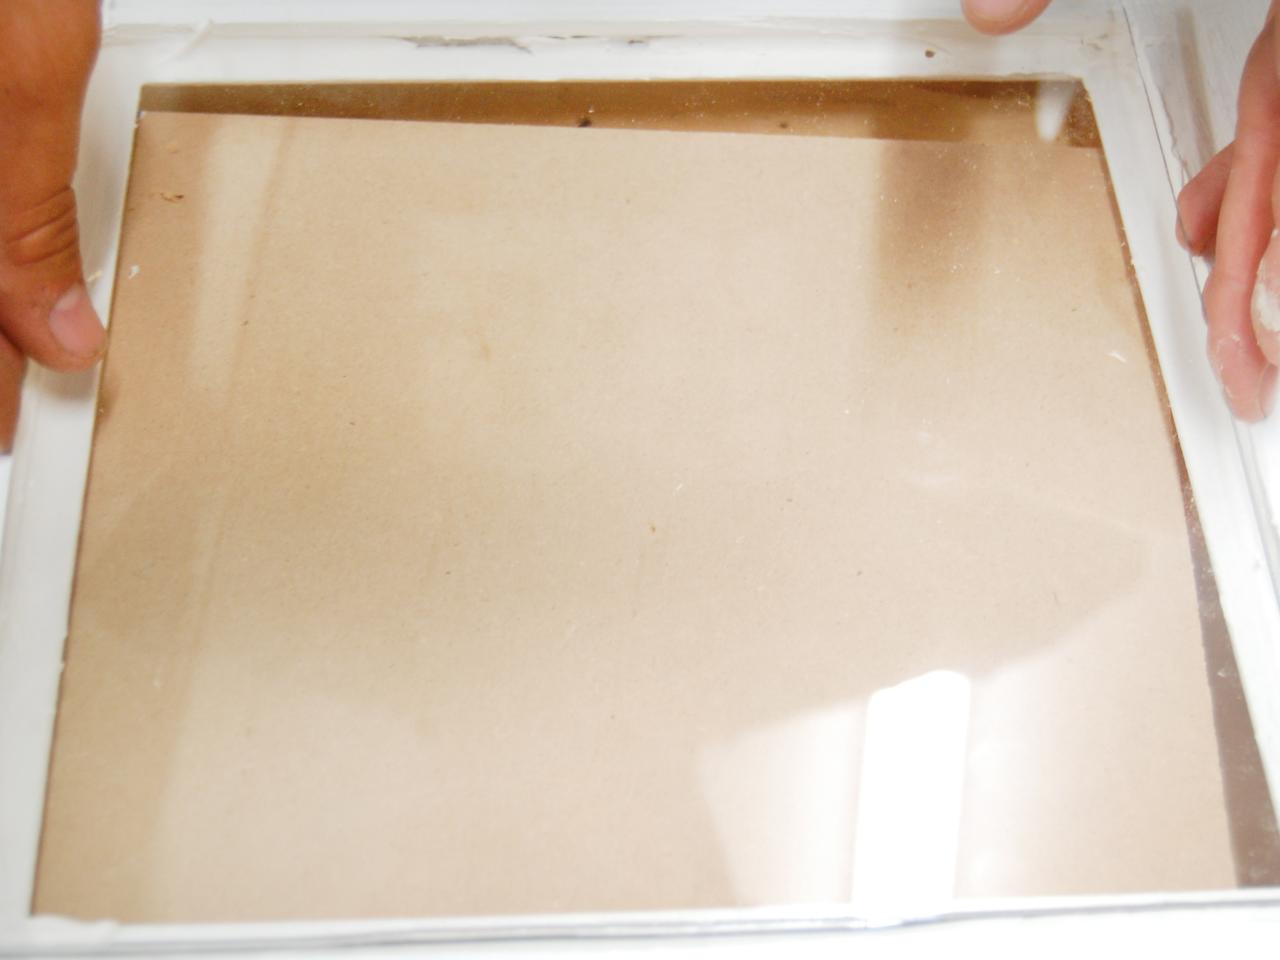
Insert LEXAN Glass
Carefully insert LEXAN glass into frame, pressing glass firmly into frame. Wipe excess silicone off face of glass and allow to dry. Hang cabinet doors using hardware removed in the first step.


