


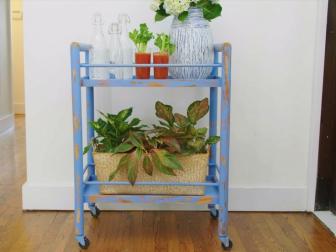
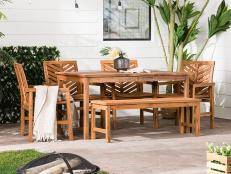
How to Refinish a Table
Easily refinish a dated or worn wood table to give it a fresh look.

Shutterstock/BHamms
Learning how to refinish wooden furniture is easy with the following steps, and refinishing a table can be done in a weekend.
Want to give a new look to an old, tired piece of furniture? Refinish it. You don't need special equipment and you can finish in a weekend. Learn how to refinish a table with the simple steps below.
Materials + Supplies
- stripper & putty knife (if table is painted or varnished)
- oil-based stain
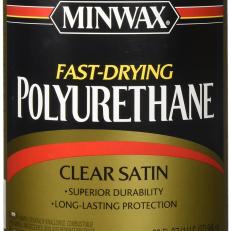
- oil-based polyurethane or Tung oil
- 100-, 150- and 220-grit sandpaper
- fine steel wool
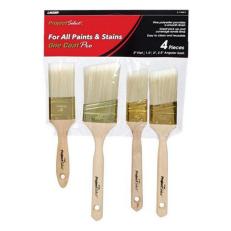
- disposable stain brushes
- cotton rags
- tack cloth
- orbital or belt sander (optional)
- chemical-resistant rubber gloves
- long-sleeve shirt
- splash-proof goggles (or similar eye protection)
- mineral spirits
Buy Supplies


1. Clean the Surface
Use gentle soap and water to remove dirt and oils from the table's existing finish. This will prepare the surface to be sanded if it's a stained table, or stripped if the table was previously painted or varnished.
2. Apply Stripper
If the table is painted or varnished, you'll need to strip the surface. There are a variety of chemical stripping agents available at your local home improvement store. Whichever you use, follow manufacturer's instructions and protect yourself from chemical burns by wearing proper protective equipment, like chemical-resistant gloves, a long-sleeved shirt and eye protection. Also, be sure to work in an area with proper ventilation.
Leave the stripper on as long as recommended by the manufacturer to soften the existing finish before removing with a wide putty knife, following the grain of the wood and with the putty knife at a low angle to the table's surface to prevent gouging the wood. Wipe the putty knife clean between with a cloth between scrapes.
A second or third coat of stripper may be required if the previous finish has penetrated fine cracks in the wood. After removing the paint or varnish, wipe the table down with fine steel wool.
3. Clean With Mineral Spirits
Once you’re done stripping and the surface is dry, wipe with mineral spirits using a clean cloth to remove any residual stripper. Allow the table to fully dry before moving on to sanding.
4. Sand Table Surface
Sand the table following the grain of the wood to smooth the surface once you've stripped paint or varnish, or to remove a stained finish. If choosing to use an orbital or belt sander, be very careful not to gouge the surface. Do most of the initial sanding with 100-grit sandpaper, then step up to 150-grit and do a final pass with 220-grit to smooth out the grain. Finish to a smoothness that makes you happy.
Carefully remove all sanding dust with a tack cloth.
5. Apply Stain
Apply stain with a disposable brush, following the wood's natural grain. Apply stain liberally, allowing it to soak in for a few minutes, then wipe off excess stain with a soft cotton rag (synthetic rags aren't going to soak up excess stain), using the rag to rub the stain into fine cracks in the wood.
Tip: The longer stain sits on the wood before wiping, the darker the final color will be. For an even finish, apply stain a little at a time so you can be sure to wipe it off before it soaks in too long.
Apply at least two coats of stain. Depending on the desired color depth and richness, apply more coats. Lightly sand with 220-grit paper (a very fine steel wool works, too) and clean with a tack cloth between coats. Note: Staining the wood causes the wood fibers to swell as they soak up the stain. The reason for sanding between coats is to knock down the swollen fibers to maintain a smooth surface.
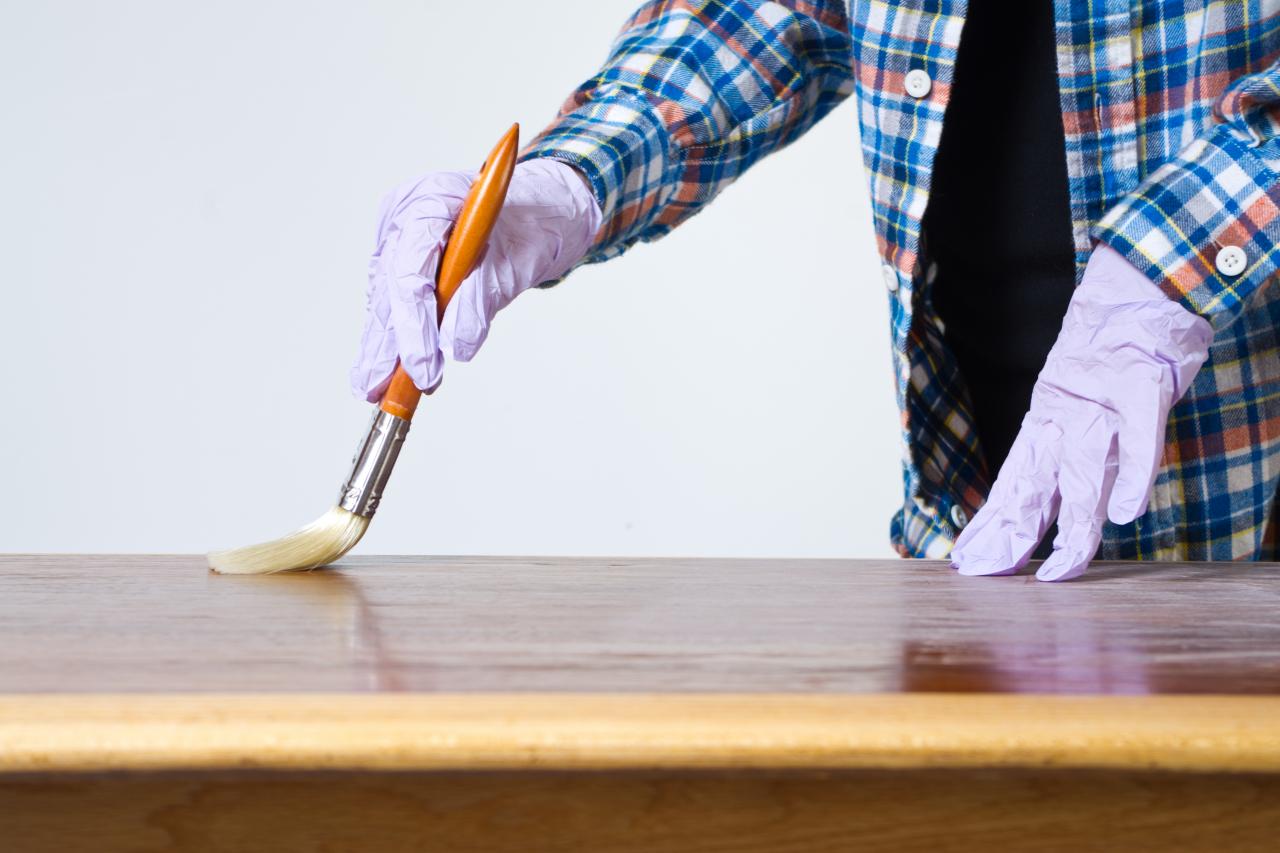
6. Apply Finish
After the final coat of stain has thoroughly cured (typically overnight or 24 hours), apply polyurethane, according to the manufacturers' instructions, or Tung oil. Apply at least two coats, since dining room tables get a lot of use, allowing each coat to fully cure before applying the next one. Buff a Tung oil finish with a cotton rag. Allow the final coat of polyurethane or Tung oil to dry for at least 24 hours before using the table.

More Furniture Makeover Tips

How to Sand Furniture Before Painting
Learn how to prep your furniture correctly before painting.
The Easiest Way to Distress Furniture
Add a rustic-vintage look to wood furniture.

The Do's and Don'ts of Painting Wrought-Iron Furniture
HGTV Magazine has the tips and tricks you need to know.


