


How to Make No-Knit Christmas Sweater Stockings
Don't toss that old sweater. Instead, repurpose it as custom stockings for the entire family. This project requires no sewing machine or knitting needles and can easily be completed in an afternoon.

Stockings Made From Repurposed Sweaters
These stylish stockings require little sewing and put your old sweaters to great use. The custom look will impress guests, and can be done in just one afternoon. Design by Marian Parsons of Mustard Seed Interiors

Materials Needed:
- 1 sweater per stocking
- fuzzy yarn
- upholstery needle
- sharp scissors
Cut Stocking
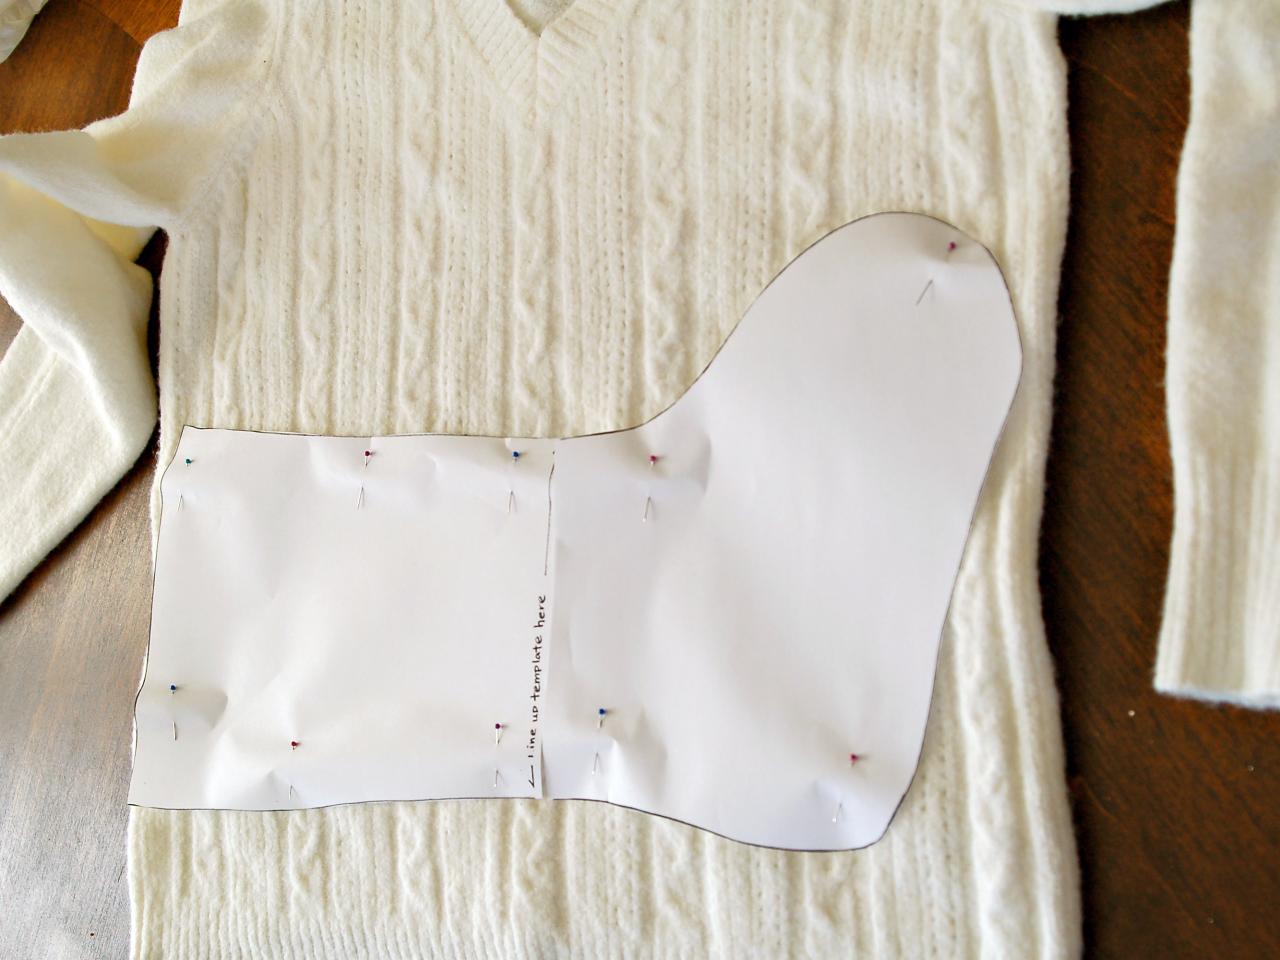
Print stocking templates onto two pieces of 8-1/2" x 11" card stock and cut them out. Pin template to sweater (Image 1). Using sharp scissors, cut through both the front and back of sweater together (Image 2). Remove pins and repeat with other sweaters.

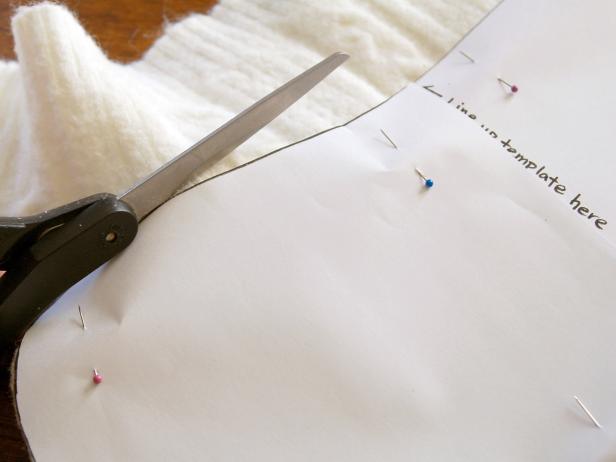
No-Knit Christmas Sweater Stockings: Step 1
To get started on your no-knit Chritmas sweater stocking, print stocking templates onto two pieces of 8-1/2" x 11" card stock and cut them out. Pin template to sweater. Using sharp scissors, cut through both the front and back of sweater together.
Embellish Stocking
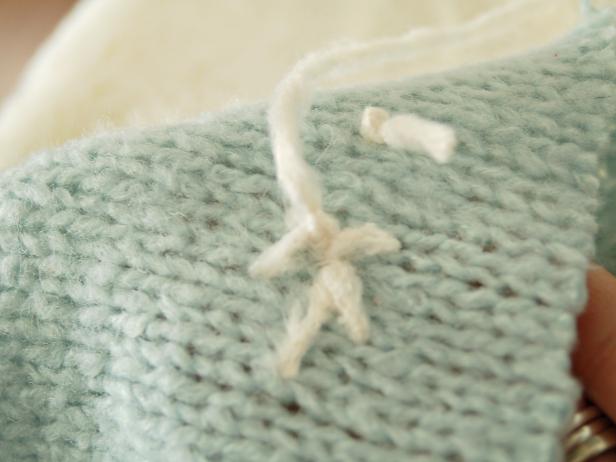
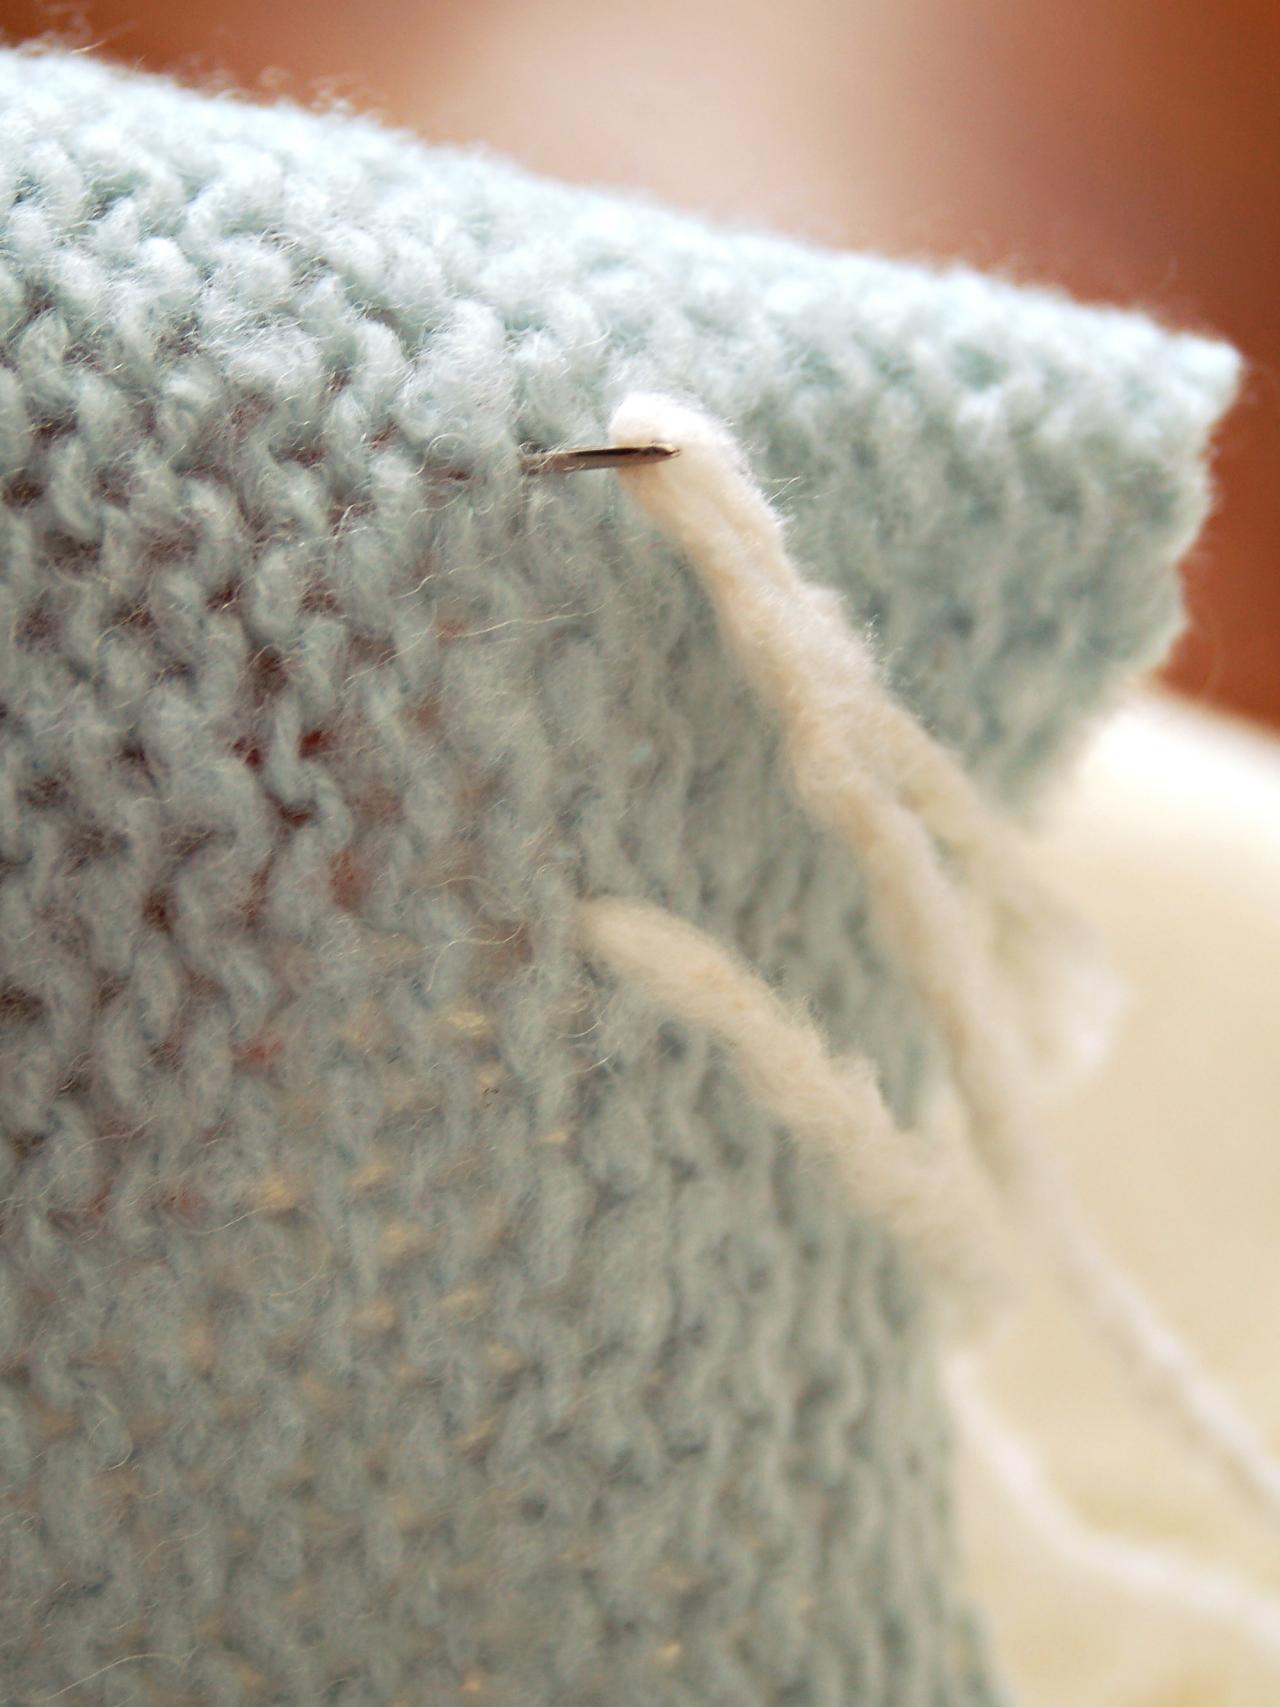
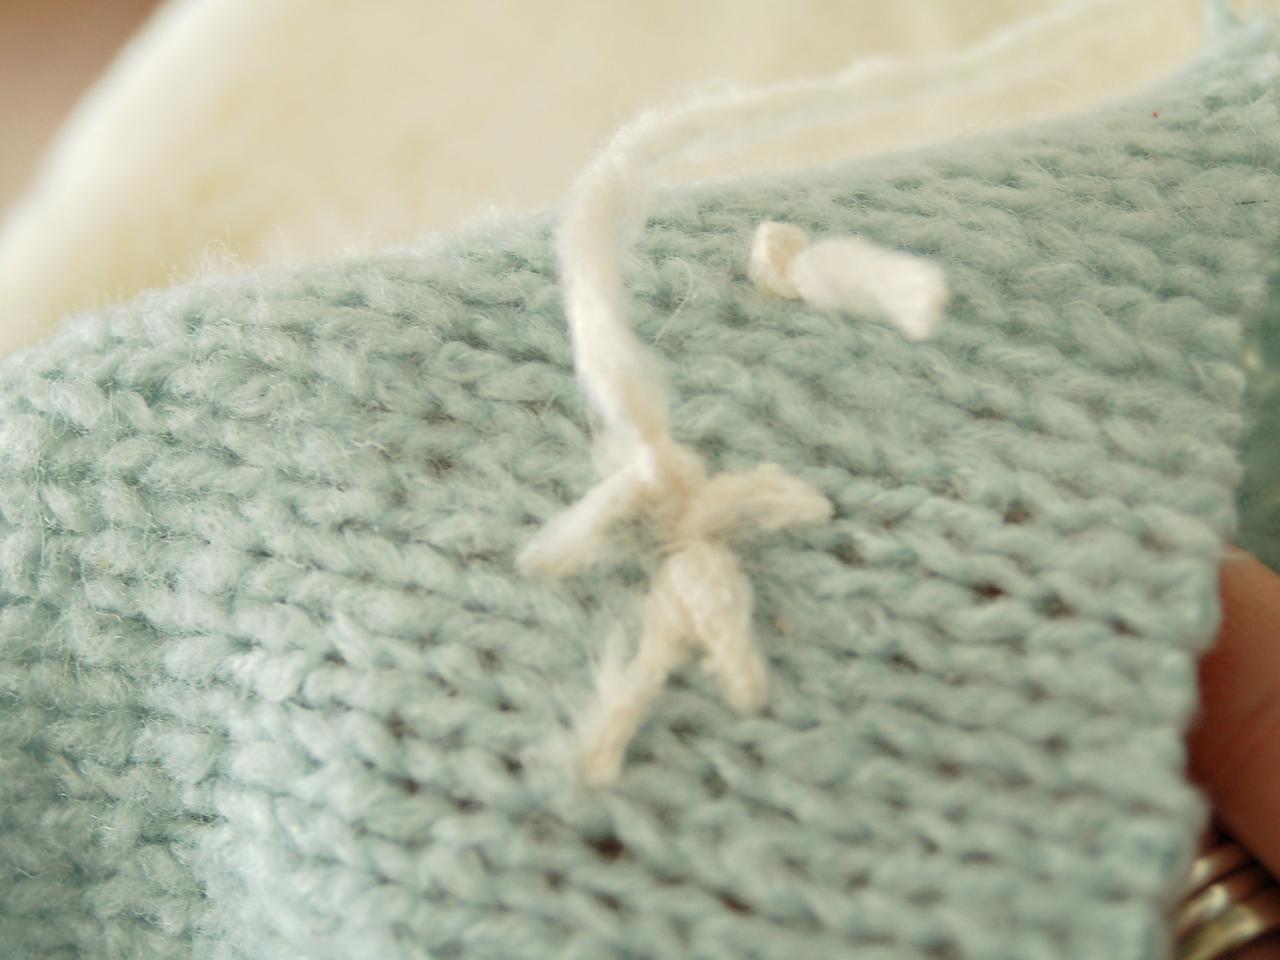
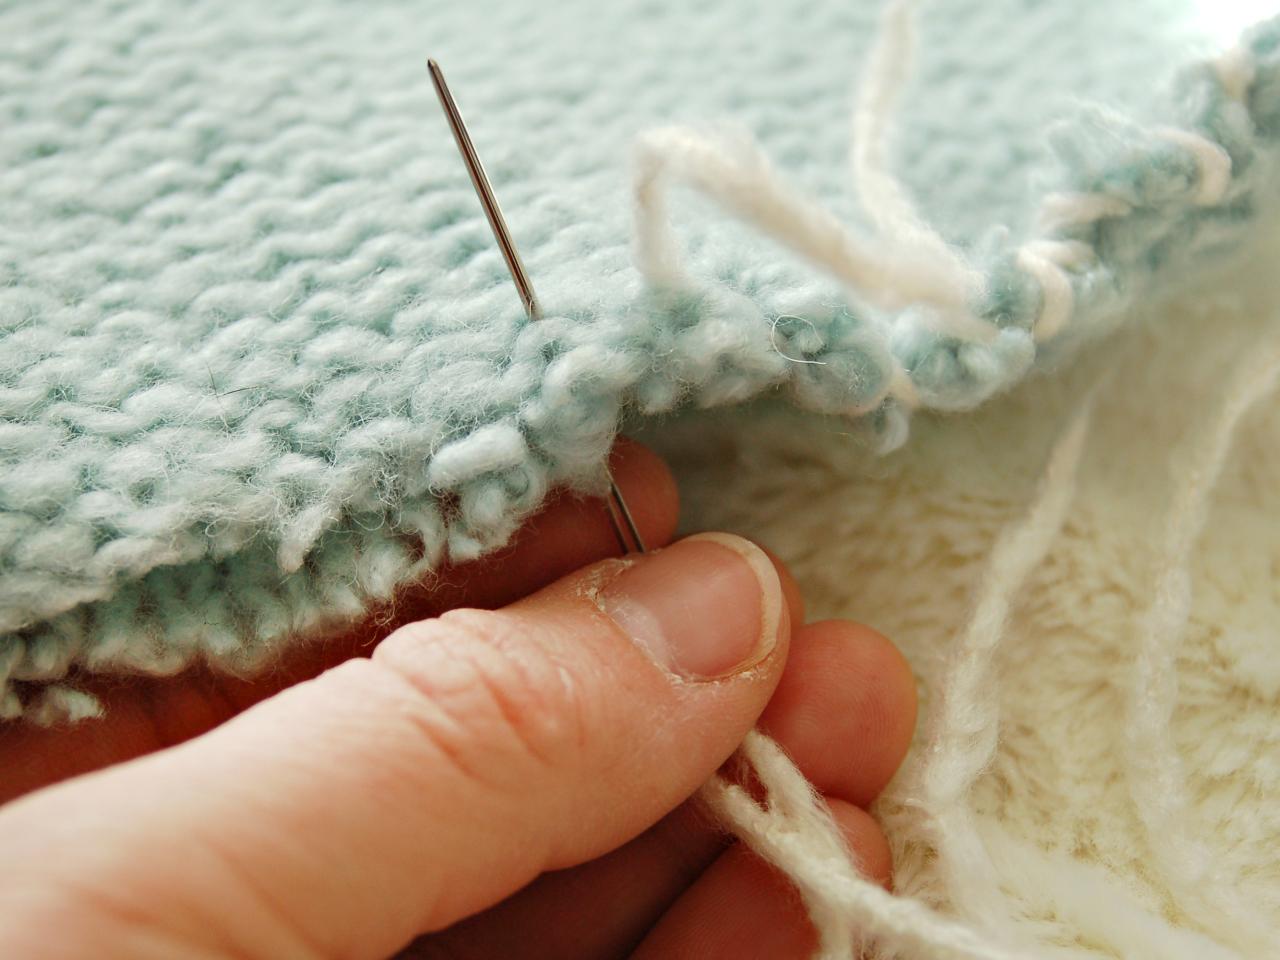
Thread yarn through upholstery needle and knot at end. Choose which piece will be the stocking front and insert needle into the back (Image 1). Pull through until yarn stops where knotted (Image 2). Stitch straight lines toward a center point to make a simple snowflake shape (Image 3). Knot in the back and trim thread when pattern is complete (Image 4). Repeat to make multiple snowflakes on one stocking. Tip: Sizes can vary, but keep shapes simple.
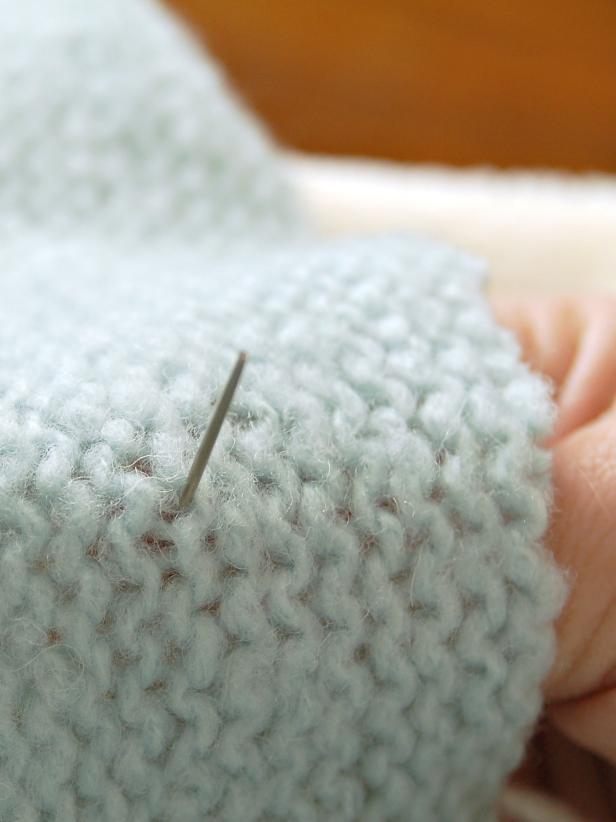


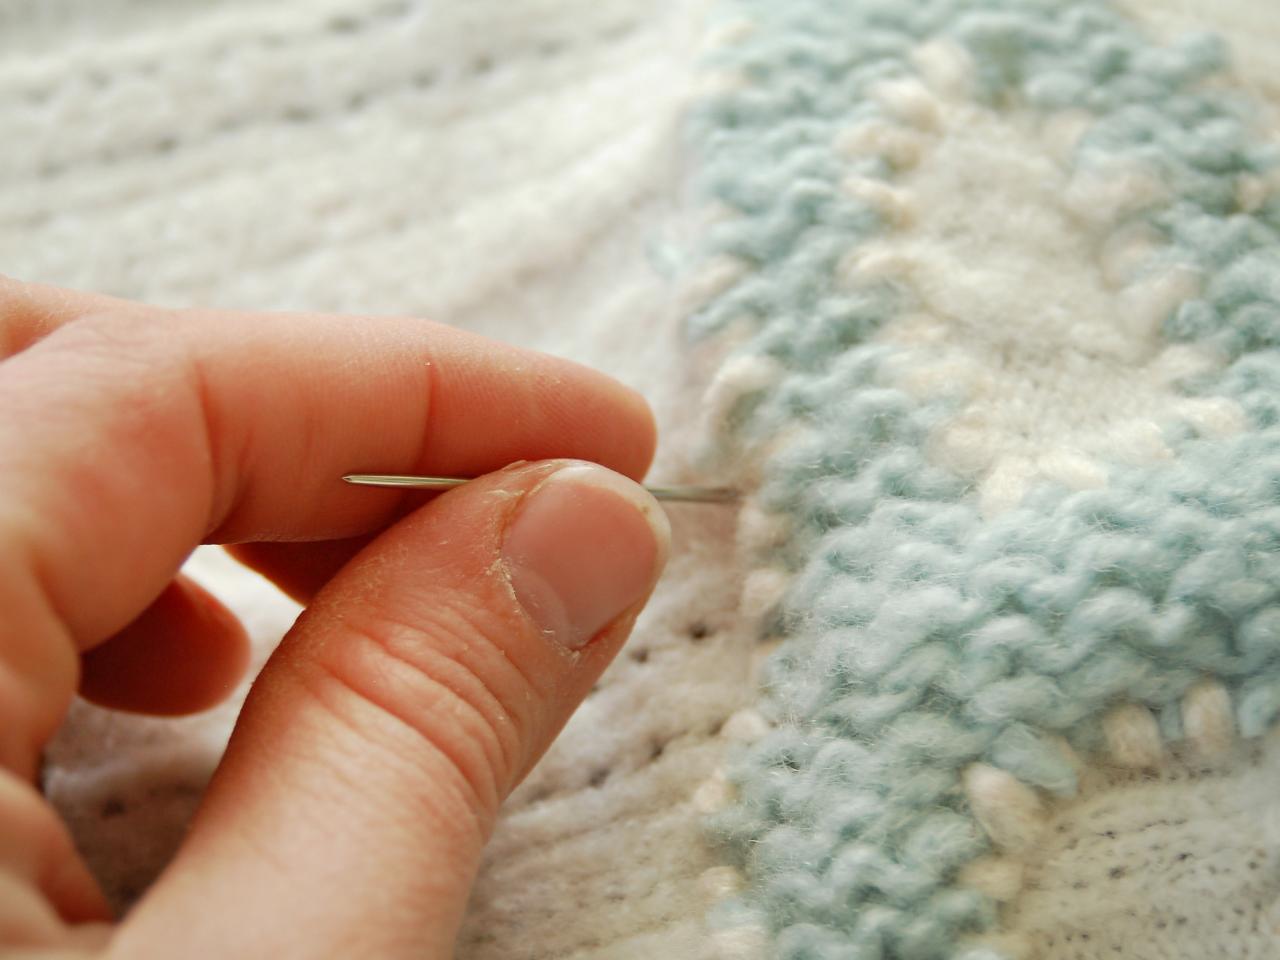
DIY No-Knit Christmas Sweater Stocking: Needle Size
it's important to use the appropriate size needle to complete the embellishments on your no-knit Christmas sweater. An upholstery needle is recommended for thick yarn.
DIY No-Knit Sweater Stocking: Embellishment
This no-knit sweater stocking is so simple, there will be plenty of time for personalized embellishments. Get an upholstery needle, thread with a thick yarn and knot one end. Pull yarn through until knotted end is secure and design away.
DIY No-Knit Sweater Stockings: Snowflake Embellishment
Detailed stitching on sweater stocking will add character, texture, and the ability to personalize. Use a contrasting color to make your "knitting" work stand out!
DIY No Knit Christmas Sweater Stockings: Add Embellishment
Grab a thick roll of yarn, thread to needle with knot at one end and stitch into your personalized design. Perfect for one of a kind gifts and personal stockings.
Make Monogram Applique
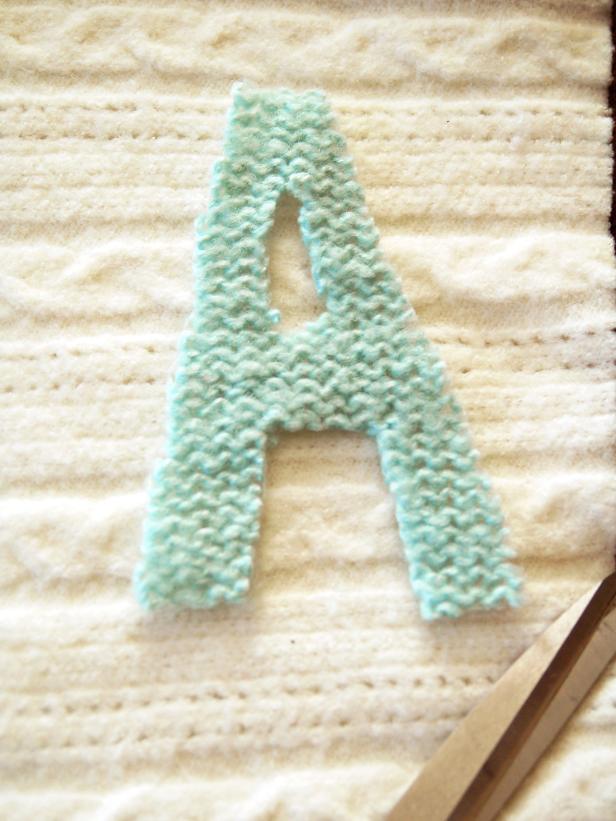
To make a template, print a large letter in a simple font onto card stock. Cut out the letter and pin to sweater to use as a guide. Cut around paper letter to create sweater initial (Image 1). Pin the letter in position on the front of stocking. Use yarn and upholstery needle to stitch letter into place (Image 2).

DIY No-knit Christmas Sweater Stocking
Personalize your no-knit Christmas sweater stocking with monogramming from another old sweater you want to recycle.
DIY No-Knit Christmas Sweater Stocking: Adding Monogram
If you are re-purposing two different color sweaters, a great ideas is to monogram each stocking to know who's who. Cut out the letter then pin it in position on the front of stocking. Use yarn and upholstery needle to stitch letter into place.
Assemble Stocking
Pin two pieces of stocking together, right sides out. Thread yarn through upholstery needle and knot at end. Use a whip stitch to secure front and back half of stocking together. Leave top of the stocking open.

DIY No-Knit Christmas Sweater Stockings
Pin two pieces of stocking together, right sides out. Thread yarn through upholstery needle and knot at end. Use a whip stitch to secure front and back half of stocking together. Leave top of the stocking open.
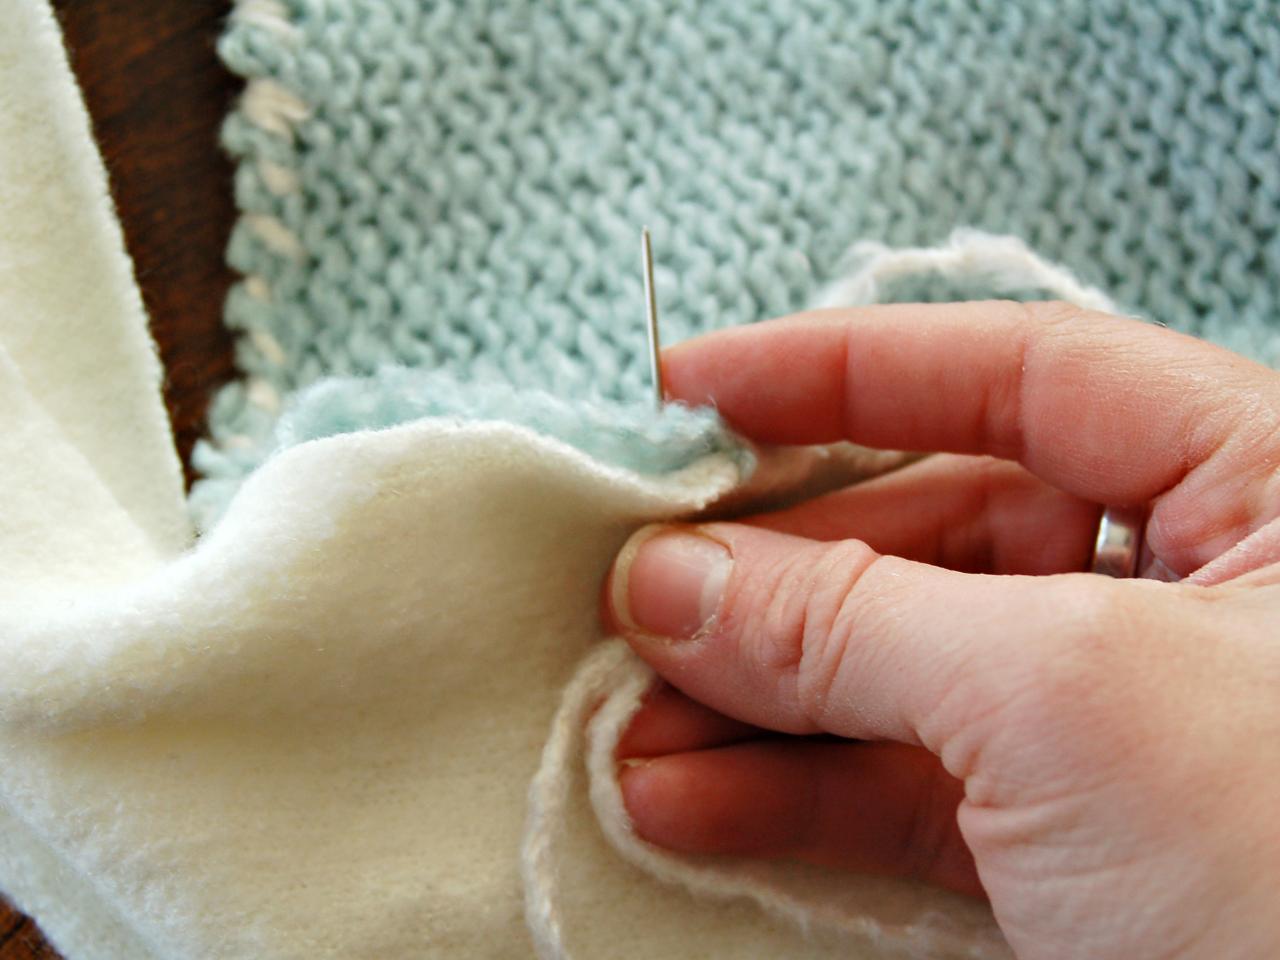
Add Cuff
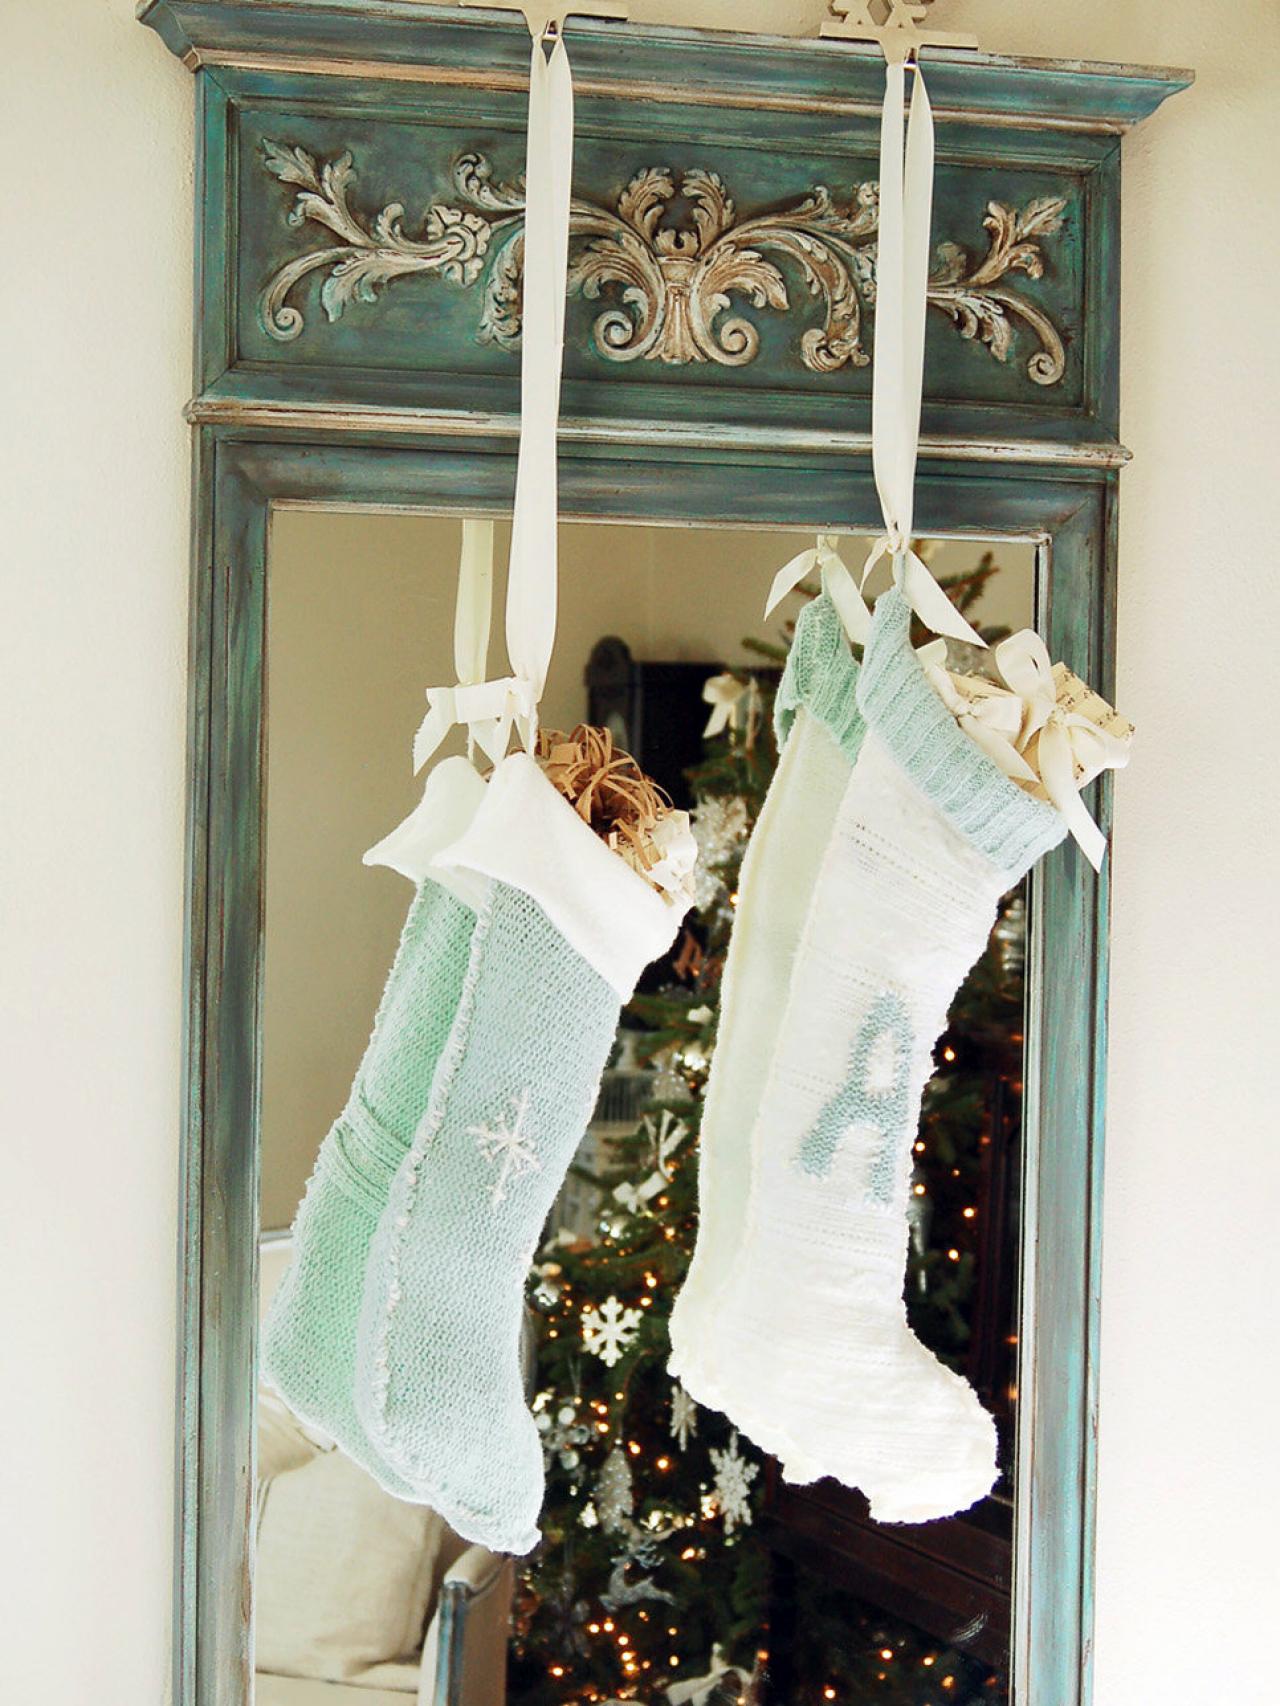
To create a cuff, cut a 3" x 18" panel from the bottom of the sweater. Tip: The bottom works best for this because one edge is already finished. Line up the raw edge of cuff with top of stocking. Stitch together so seam is showing on outside of the stocking (Image 1). This will be hidden once the cuff is folded over. Continue stitching around the top of stocking until ends meet on "heel" side of stocking. Trim excess cuff, if necessary. Stitch ends together with seam pointing out; this will also be hidden once cuffed. Fold over and sew yarn loop where cuff and stocking meet on heel side (Image 2). Hang on a mantel, ready for Christmas morning. Tip: No mantel? Hang stockings from lengths of ribbon over a mirror.

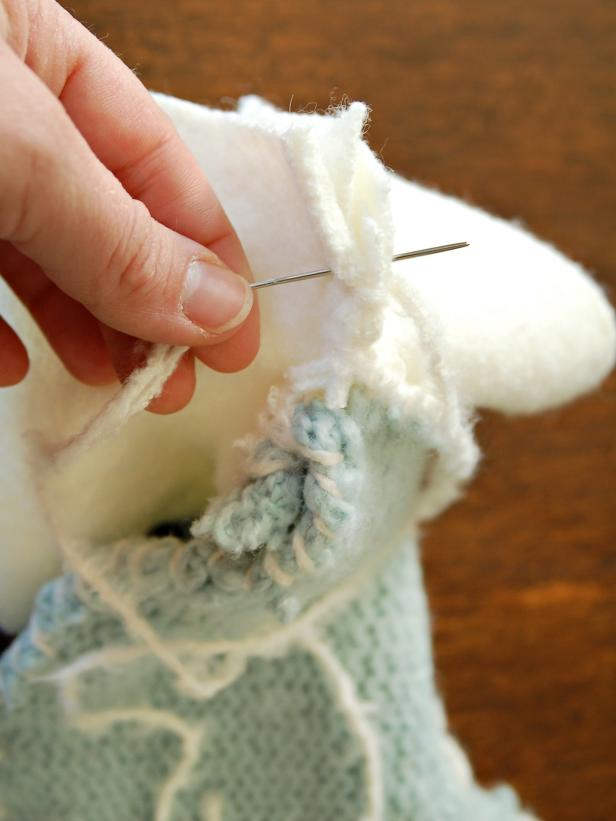
DIY No-Knit Sweater Stocking: Cuff
To create a cuff, line up the raw edge of cuff with top of stocking. Stitch together so seam is showing on outside of the stocking
DIY No-Knit Christmas Sweater Stockings: Make Cuff
To create a cuff, cut a 3" x 18" panel from the bottom of the sweater, bottom is better since one side already has a seam. Stitch together so seam is showing on outside of the stocking. This will be hidden once the cuff is folded over. Continue stitching around the top of stocking until ends meet on "heel" side of stocking.


