How to Make a Space-Saving Folding Outdoor Bar
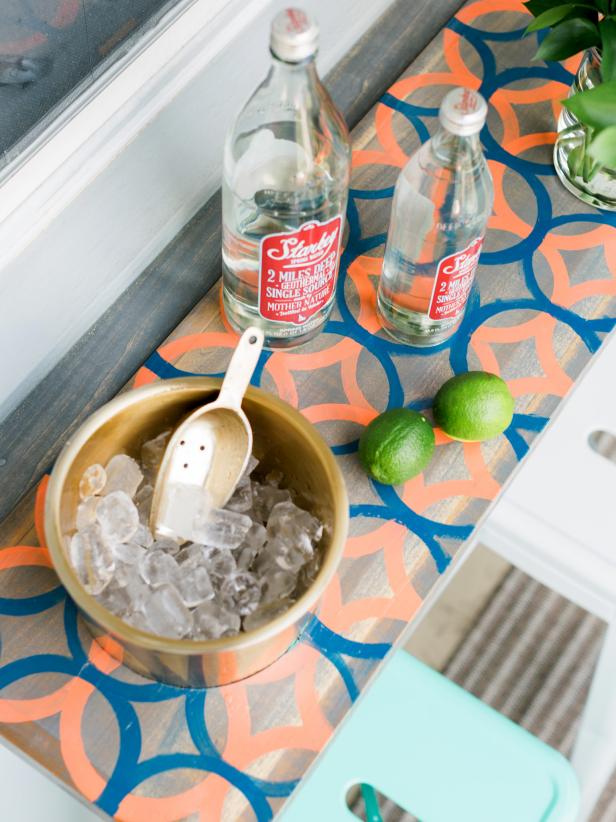
This versatile outdoor bar folds away when not in use, making it perfect for small spaces. A clever paint trick adds a fun colorful pattern that’ll punch up your decor when the bar is folded up; folded down, the bar top provides just enough work surface to mix a cocktail or serve up brunch.
© Rustic White Photography, LLC
Materials Needed
(1) 1x10x6 primed pine or poplar board
(2) 1x2x8
(6) 3/4" square dowels cut to 10" long
hammer (or nail gun)
finish nails
drill
large drill bit (for jig saw pilot hole)
anchor screws (appropriate for your home exterior)
wood screws
3" x 12" stainless piano hinges
stainless steel hinges
shelf brackets
spirit level
carpenter square
jig saw
exterior wood glue
exterior silicone caulk
wood stain
paint samples in 2 colors
quart polyurethane
rags
disposable paint brushes (for stain)
1/2" flat brush
paint can lid or plate for tracing
measuring tape
pencil
Measure Area and Cut Lumber
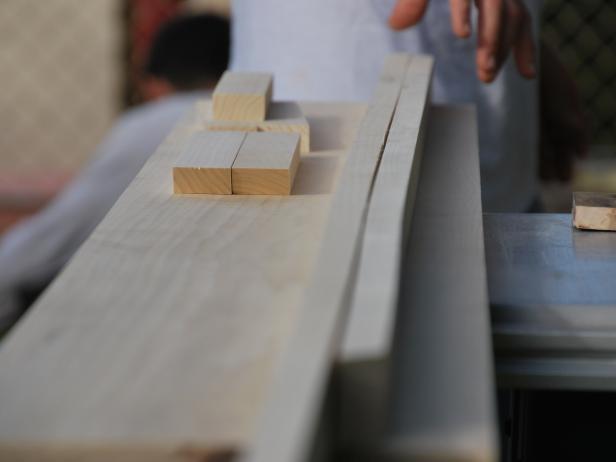
To fit our bar location, we used a standard 1x10x6 poplar board and 2 pieces of 1x2 in 8 foot lengths. Measure the area where your bar will be installed; take the measurements to the hardware store with you and have the boards cut to size there. You'll also need a piece of 1x2 that's as long as your bar top, 3 smaller 1x2s at 10" each to act as a brace under the bar and four pieces to trim out the perimeter of the 10x6 bar top itself for a finished look.
Assemble Bar Top
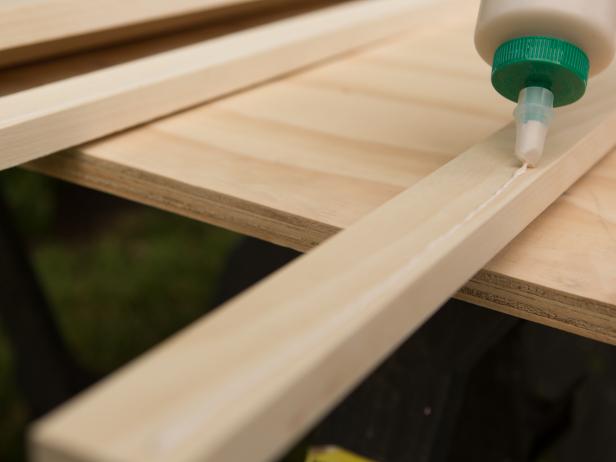
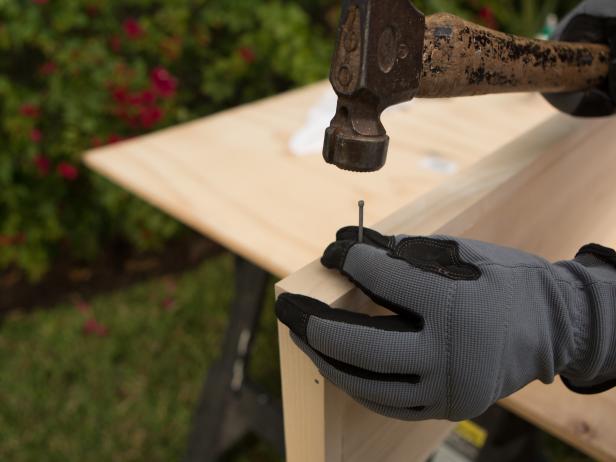
To trim out the bar top, add a generous bead of wood glue to each piece of 1x2 (Image 1), then attach to the edge of the 1x10 bar top with hammer and nails (Image 2) or a nail gun, making sure everything is flush. Repeat until all four sides are complete. We suggest reinforcing the back 1x2 trim piece with a several wood screws for strength.
Add Bottom Bracing
Next, attach the three 10" bracing 1x2s to the bar top's underside with 2" wood screws. Position the two outside braces about 12" from the outside edges and finish with one brace in the middle. Note: Make sure you leave enough room between braces to accommodate the ice bucket.

Tomas Espinoza
Cut Hole for Ice Bucket
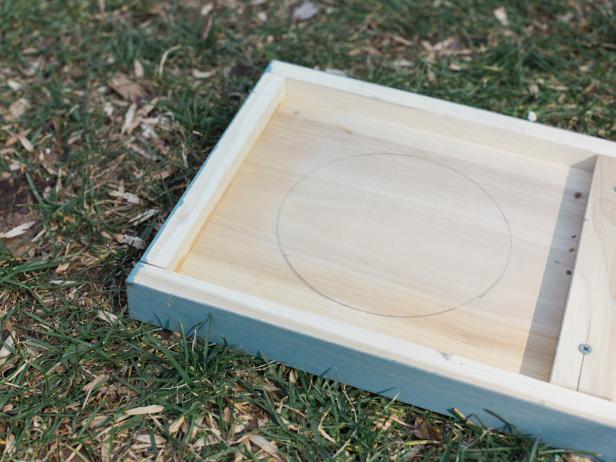
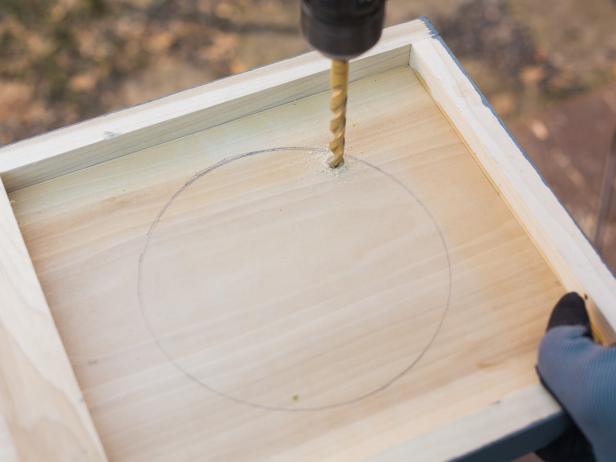
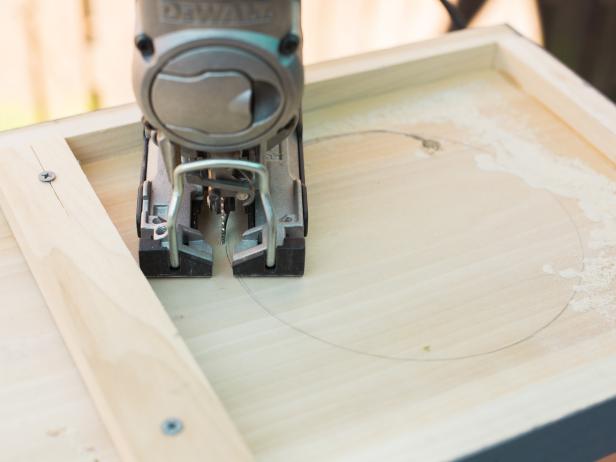
Trace a circle that's just a bit smaller than the top of your ice bucket (Image 1). To get started with your cut, use a drill with a large bit to make a pilot hole (Image 2), then insert your jig blade and cut the hole out (Image 3). Tip: Cut the circle out just inside the traced line so the ice bucket fits snugly.
Tomas Espinoza
Tomas Espinoza
Tomas Espinoza
Stain and Paint Lumber
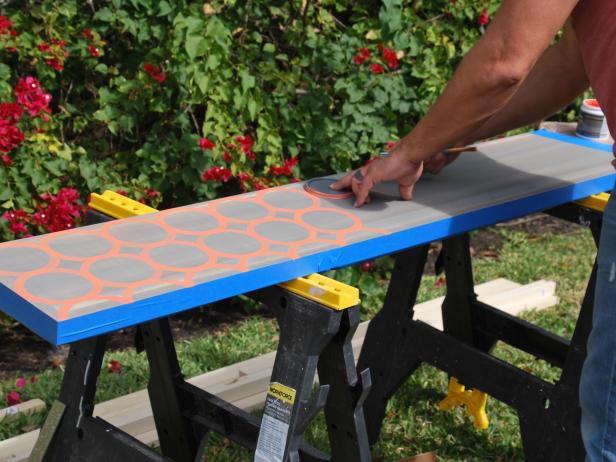
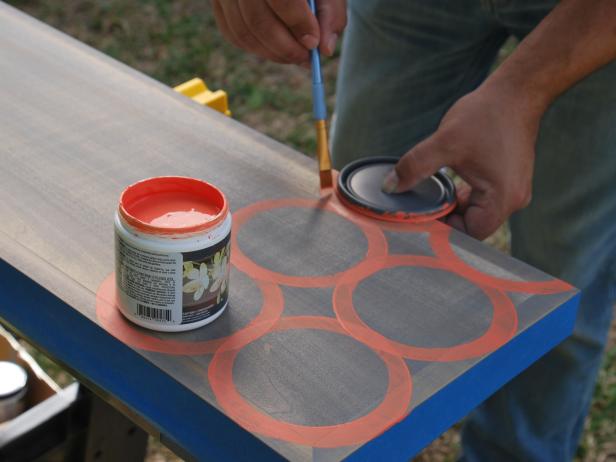
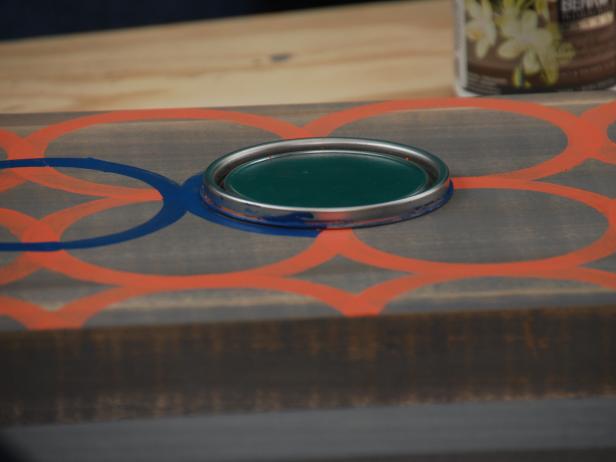
Stain all the lumber, including the 3/4" dowels, the 1x2x6 and assembled bar top. Using a disposable brush, apply stain, then wipe off the excess. Allow stain to fully dry, then move on to the decorative paint process. For our bar, we chose a Moroccan-inspired design that can be accomplished with a clever tracing trick. Place a can lid in one corner so it fits completely on the stained board (Image 1). Using a 1/2" flat brush, trace around the lid with one of your paint colors. Repeat, until entire bar top is filled with circular design (Image 2). Once dry, repeat the process with a different color paint. To achieve the cool geometric effect, just reposition the starting point so the lid overlaps four of the painted circles and begin tracing (Image 3). Repeat until you have filled up the bar top. Once dry, top with a coat of polyurethane to protect your masterpiece.
Add Piano Hinges
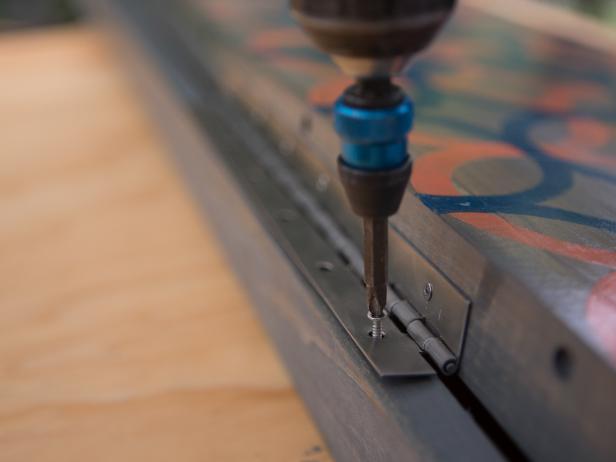
Attach the long 1x2x6 skinny bracing board to the bar top using the three piano hinges with wood screws.
Assemble Hinged Brackets
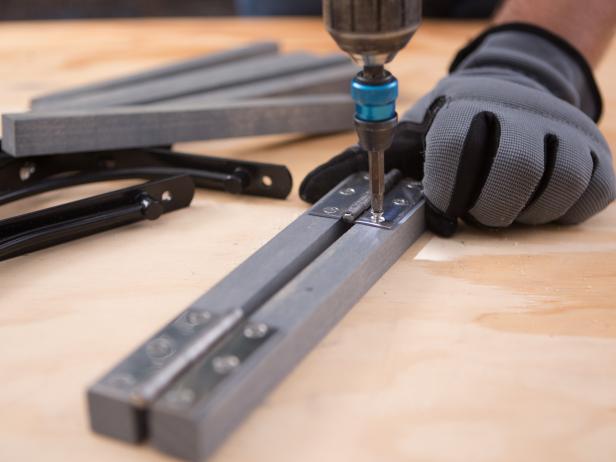
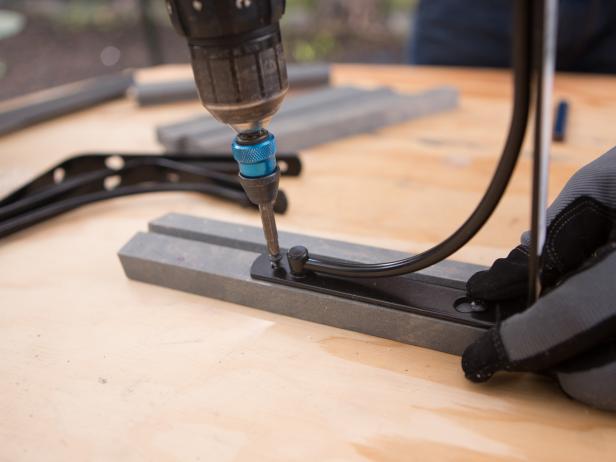
Next, attach two sections of the 3/4" dowel together using the stainless hinges. Repeat this three times. Then attach the shelf brackets to these so they sit flush. Once installed, these will easily swing in and out, as needed, when you lift up the bar. When not in use, they'll lay flat against the wall.
Attach Bar to House
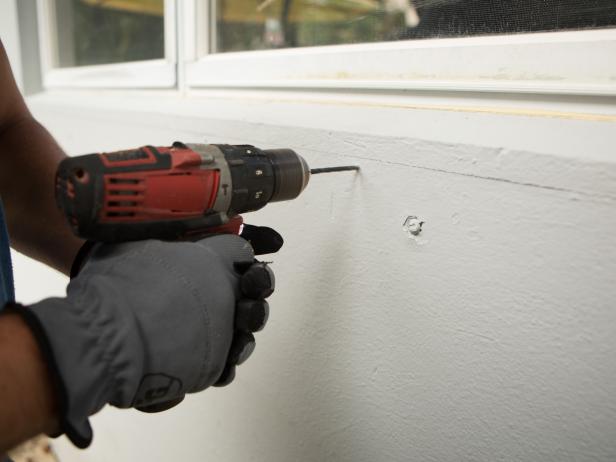
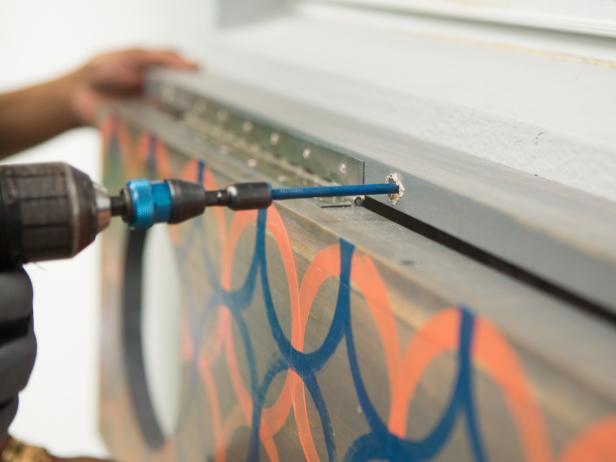
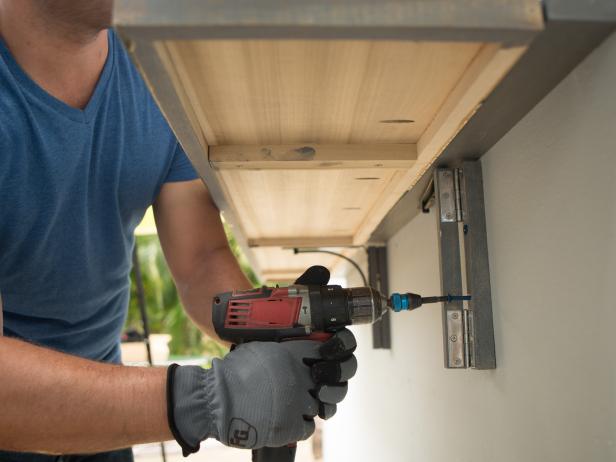
Now you're ready to attach the bar to the house. Begin by marking where the bar will go with a level (Image 1). Next, pre-drill and add any necessary anchors depending on what type of exterior cladding your home has (Image 2), in our case, we used heavy-duty concrete anchors to secure the bar to the house (Image 3).

Attach Brackets
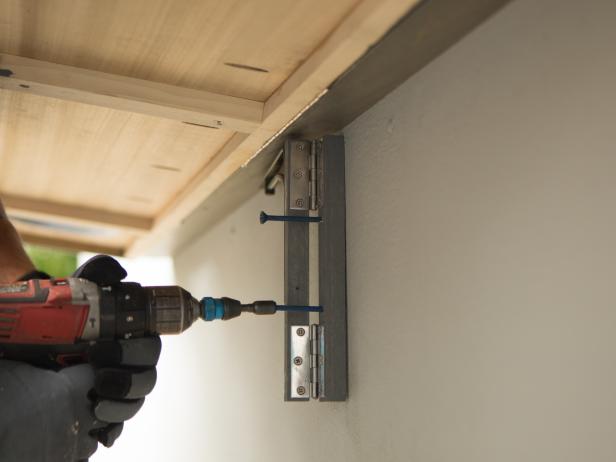
Prop up the bar or have a friend lift the bar top up and, using the same method in the previous step, secure the three brackets to the house, making sure they line up with the 1x2 braces on the underside of the bar. Begin by installing the center bracket first (Image 1), then swing it out to hold the bar up as you install the side brackets (Image 2).
Add Caulk and Get Ready to Party
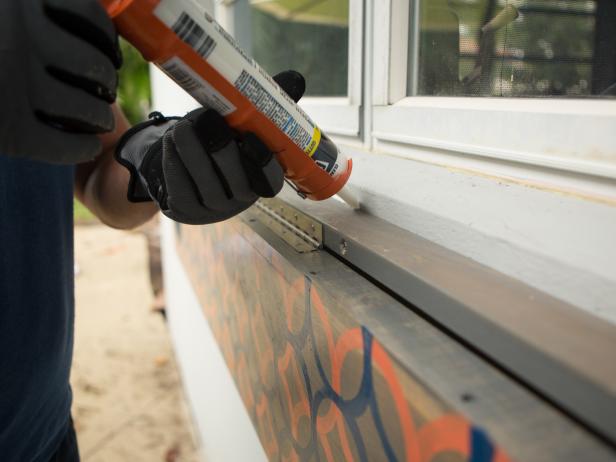
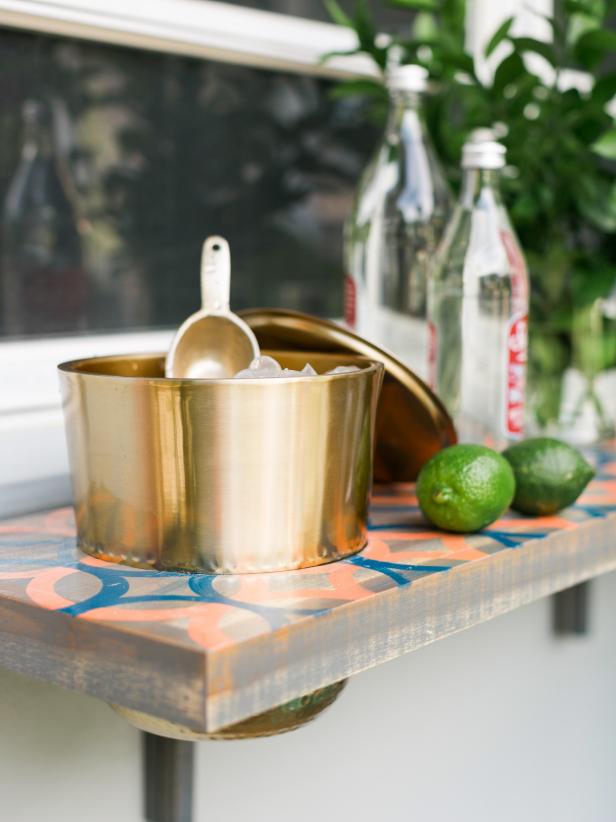
It's important to run a bead of exterior caulk where the bar meets the house, as any moisture that seeps in could damage the bar or your home's siding down the line (Image 1). A high-quality exterior-grade silicone caulk will keep it well sealed and protected for years to come. Allow caulk to fully cure, then fill bar with cocktail necessities or snacks (Image 2). Eliminate worries of guests knocking the ice bucket off the bar by sliding the container into the pre-cut hole (Image 3). The trendy painted design adds graphic interest to your outdoor space even when the bar is folded away (Image 4).

© Rustic White Photography, LLC
© Rustic White Photography, LLC

© Rustic White Photography, LLC


