


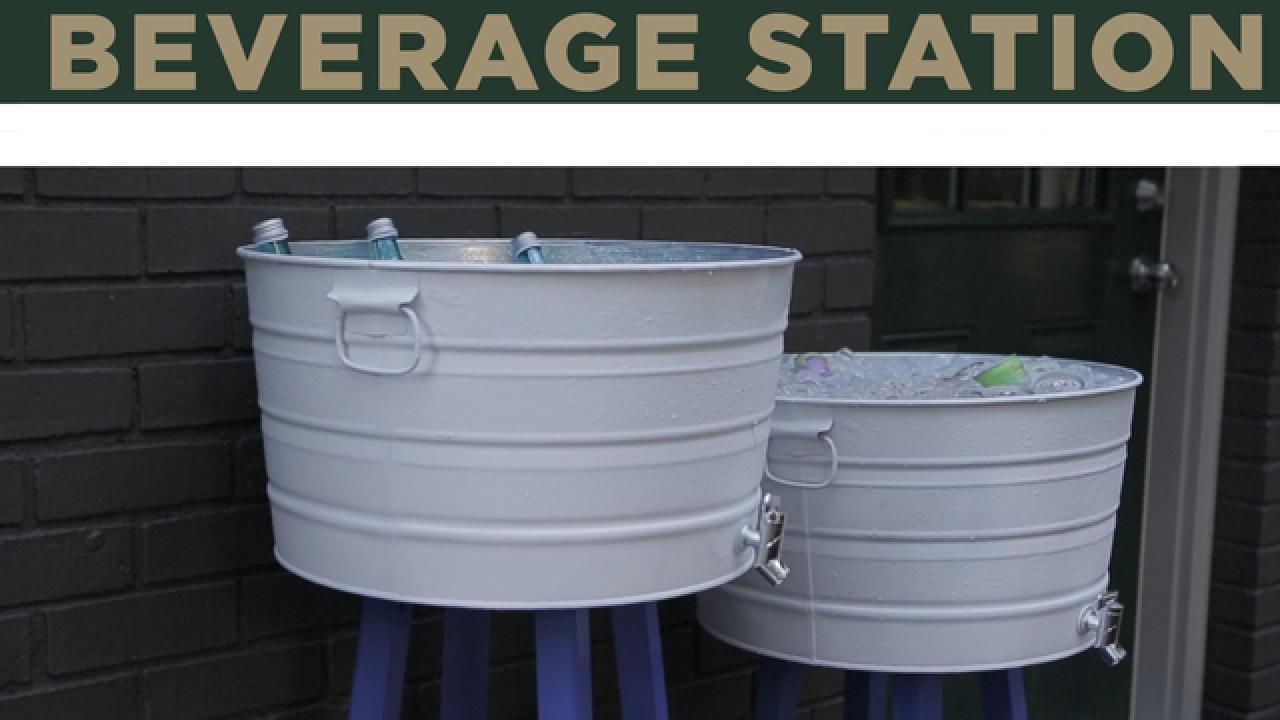
Turn a Wooden Stool Into a Party Beverage Station
This easy, DIY beverage station is not only cute and functional, it's upcycling genius.
Materials Needed
- wooden barstool
- 11-gallon galvanized bucket
- sandpaper
- 1-quart exterior semi-gloss paint
- 1 can flat white spray paint
- paintbrush
- dropcloth
- drill
- 1/2-inch drill bit
- 3/16-inch drill bit
- 1-inch wood screws
- spigot with gaskets
- clear waterproof silicone sealant
- rags
Prep Surfaces
In order for the paint to stick and hold up over time, give the stool and the bucket a thorough but light sanding with a fine-grit sandpaper, then wipe off any excess dust.

Step 1- Prep Surfaces
In order for the paint to stick and hold up over time, give the stool and the bucket a thorough but light sanding with a fine grit sandpaper, then wipe off any excess dust.

Photo by: Flynnside Out Productions
Flynnside Out Productions
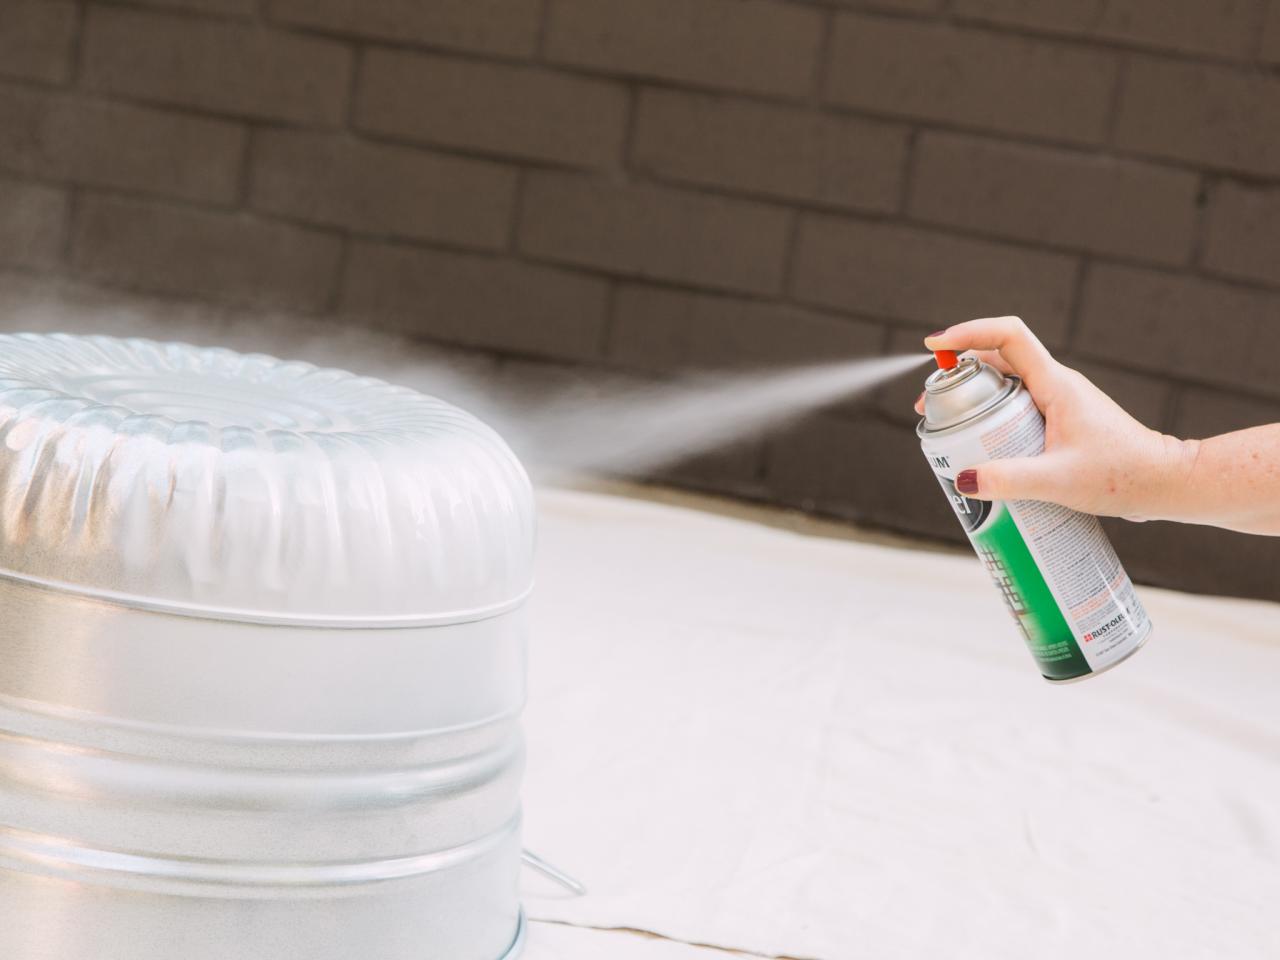
Spray-Paint Bucket + Stool Seat
Spray-paint the exterior of the bucket and the very top of the stool seat white (if it will be exposed). Set aside and allow to dry.

Step 2- Spray Paint
Using light sweeping motions, spray paint the exterior of the bucket and the very top of the stool seat white, too (if it will be exposed). Set aside and allow to dry.
Photo by: Flynnside Out Productions
Flynnside Out Productions
Paint Stool Legs
Next, paint the stool's legs using an exterior paint.

Step 3- Paint Stool
Next, paint the stool’s legs using an exterior paint. We went with a bold cobalt blue that looks great with the home’s gray and black exterior.
Photo by: Flynnside Out Productions
Flynnside Out Productions
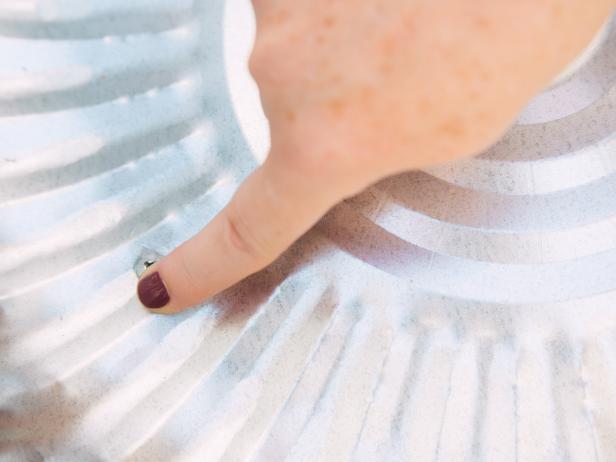
Secure Bucket
Once the paint is dry, place the bucket in position on the stool. Drill four pilot holes using a 3/16-inch drill bit (Image A), then add a generous bead of silicone sealant to each hole before securing bucket in place with wood screws (Image B). The silicone will help keep the bucket water tight as the ice begins to melt inside. Seal any interior seams of the bucket, as well, just to be safe.

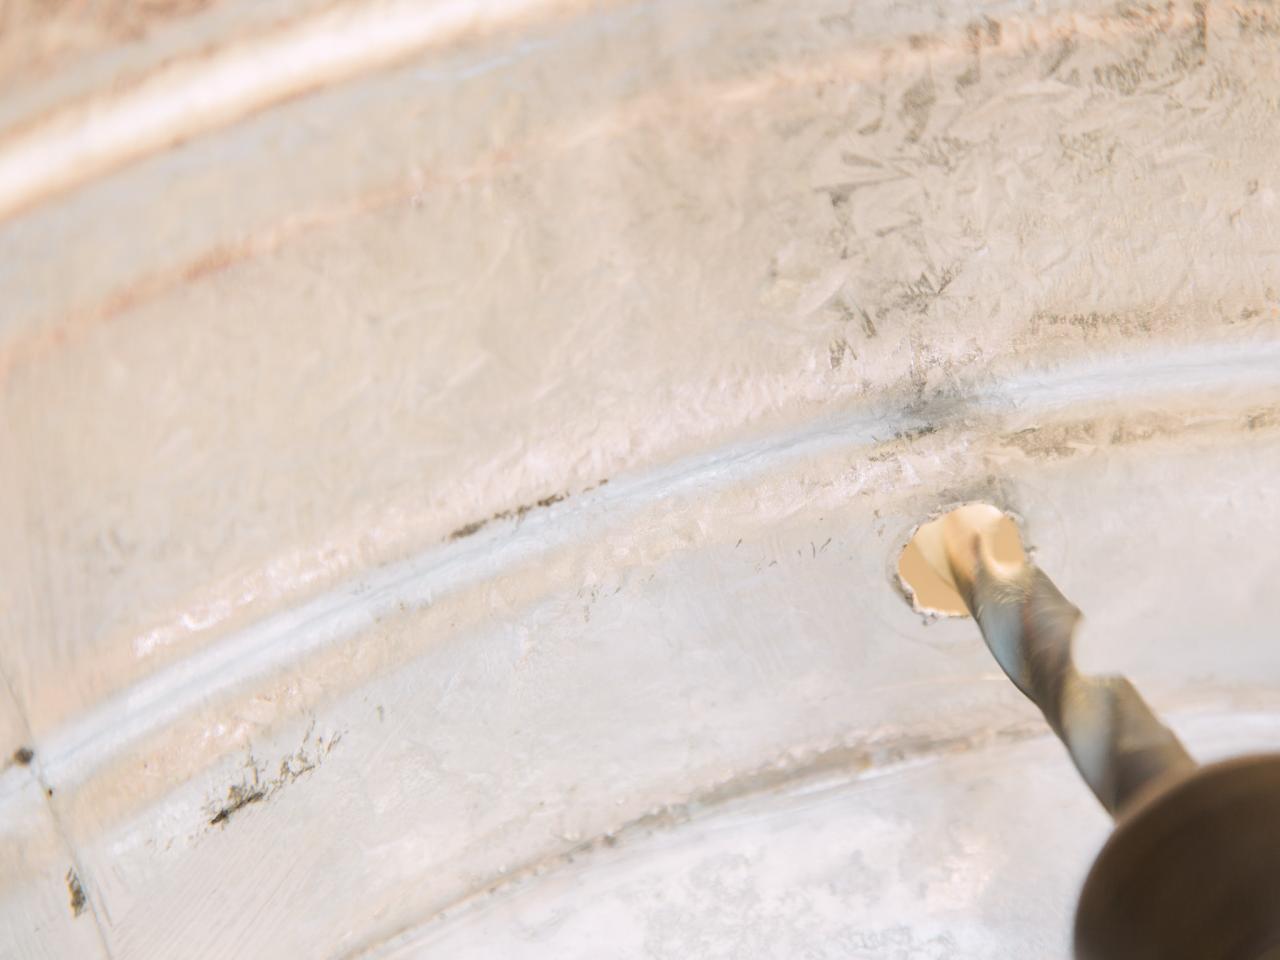
Prep Bucket for Spigot
On the outside of the bucket, lightly mark where you want the spigot to be located. Then, using a 1/2-inch drill bit, bore the hole. Keep in mind, you may need to use a larger drill bit, depending on the dimensions of your particular spigot. We repurposed a spigot off an old canister, but you can buy them online or at hardware stores.

Step 5- Prepare for Spigot
On the outside of the bucket, lightly mark where you’d like the spigot to be located. Then, using a ½ inch drill bit, bore the hole. Keep in mind you may need to use a larger drill bit, depending on the dimensions of your particular spigot. We repurposed a spigot off an old canister but you can buy them online or at hardware stores.
Photo by: Flynnside Out Productions
Flynnside Out Productions
Install Spigot
Thread the spigot through the opening, making sure there’s a rubber gasket on either side of the opening. This will ensure a watertight seal around the spigot.

Step 6- Install Spigot
Thread the spigot through the opening- making sure there’s a rubber gasket on either side of the opening. This will ensure a watertight seal around the spigot.
Photo by: Flynnside Out Productions
Flynnside Out Productions
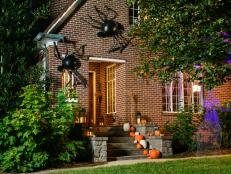
Time to Party
Fill up the bucket with ice, then top with your favorite beverages. Cheers!

DIY Upcycled Stool Beverage Station
This easy DIY beverage station is not only cute and functional, it’s an upcycling dynamo.
Photo by: Flynnside Out Productions
Flynnside Out Productions


