


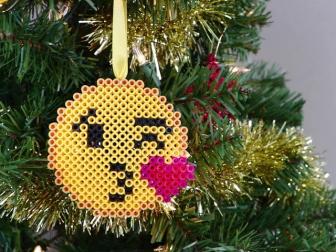
5 No-Heat Perler Bead DIYs
Cure boredom with these creative, kid-friendly Perler bead DIYs — no iron required.

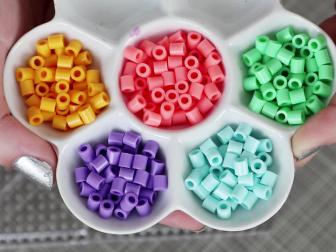
Perler beads are small, fusible plastic beads that come in a variety of colors. The beads can be arranged on a pegboard in any design, then melted together by placing ironing paper on top of the design and running an iron over it on low heat. You don't have to pull out the iron every time, though — these versatile beads threaded, cut, glued and much more for a variety of DIY and decorating projects.
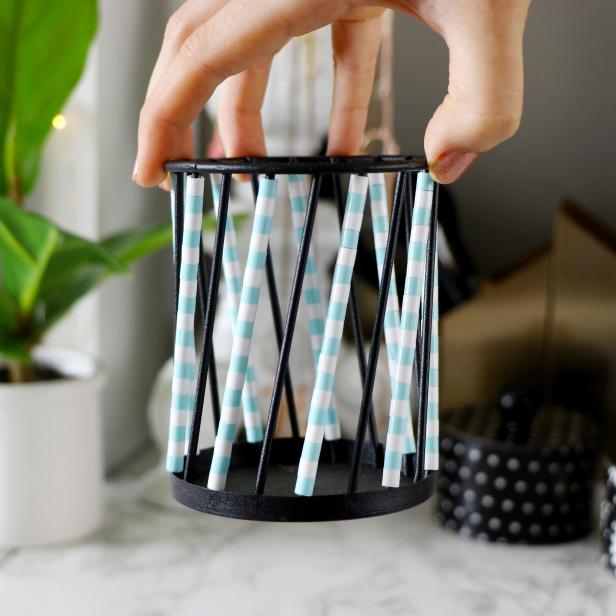
PERLER BEAD PENCIL HOLDER

Karen Kavett
Materials + Tools
- wire pencil holder
- Perler beads
- scissors
Karen Kavett
Karen Kavett
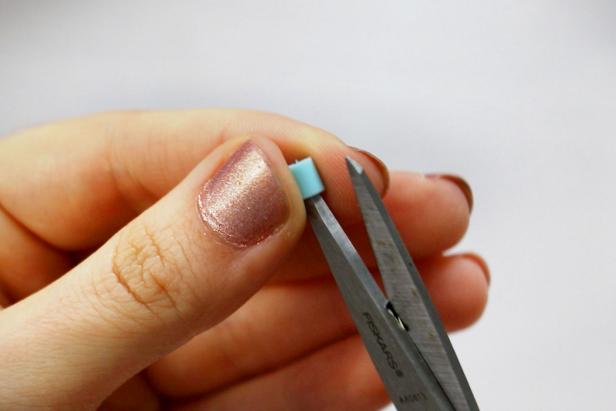
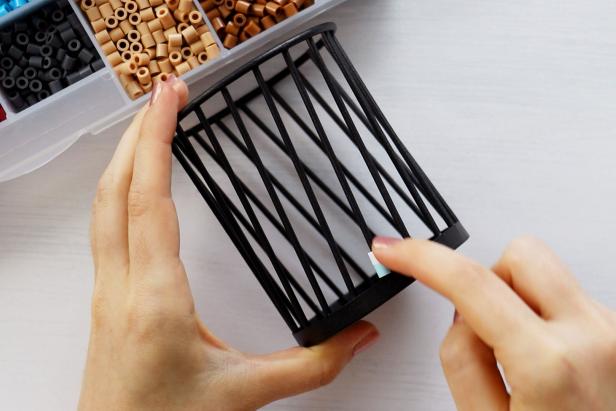
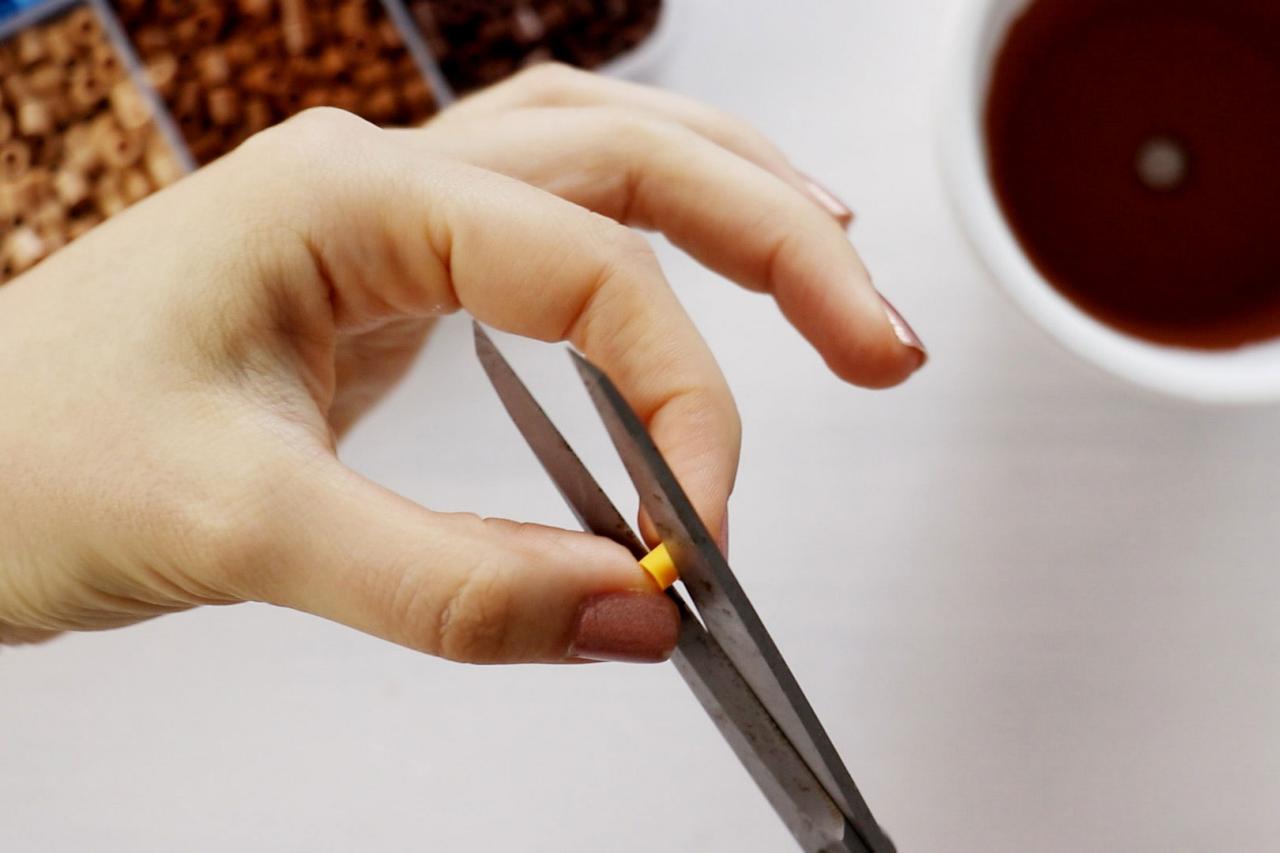
Use scissors to cut up the side of a Perler bead (Image 1). Use your fingernails to open up the bead along the cut and snap it onto the wire pencil holder (Image 2). Repeat those steps to make any design you like (Image 3).
PERLER BEAD FLOWER POT

Karen Kavett
Materials + Tools
- flowerpot
- paint
- paint brush
- Perler beads
- scissors
- tacky glue
Karen Kavett

Karen Kavett
Karen Kavett
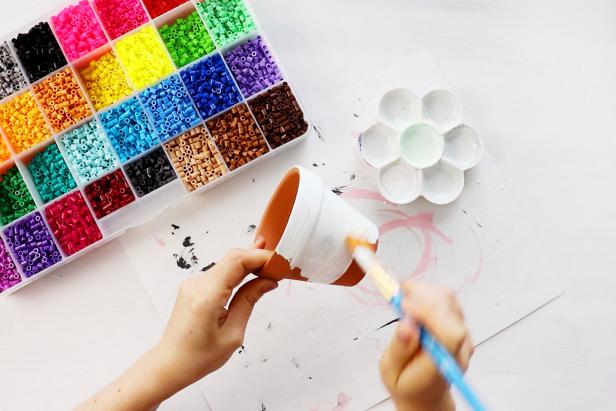
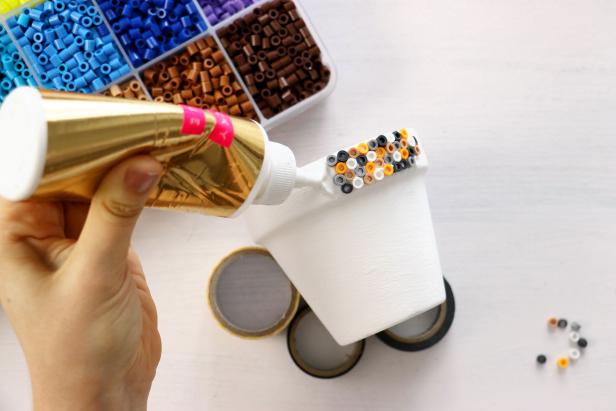
Begin by painting your flower pot whatever color you like (Image 1). Carefully cut Perler beads in half using sharp scissors (Image 2). Apply tacky glue to the flower pot in small sections and add the Perler beads to make your design (Image 3). Allow the glue to dry completely.
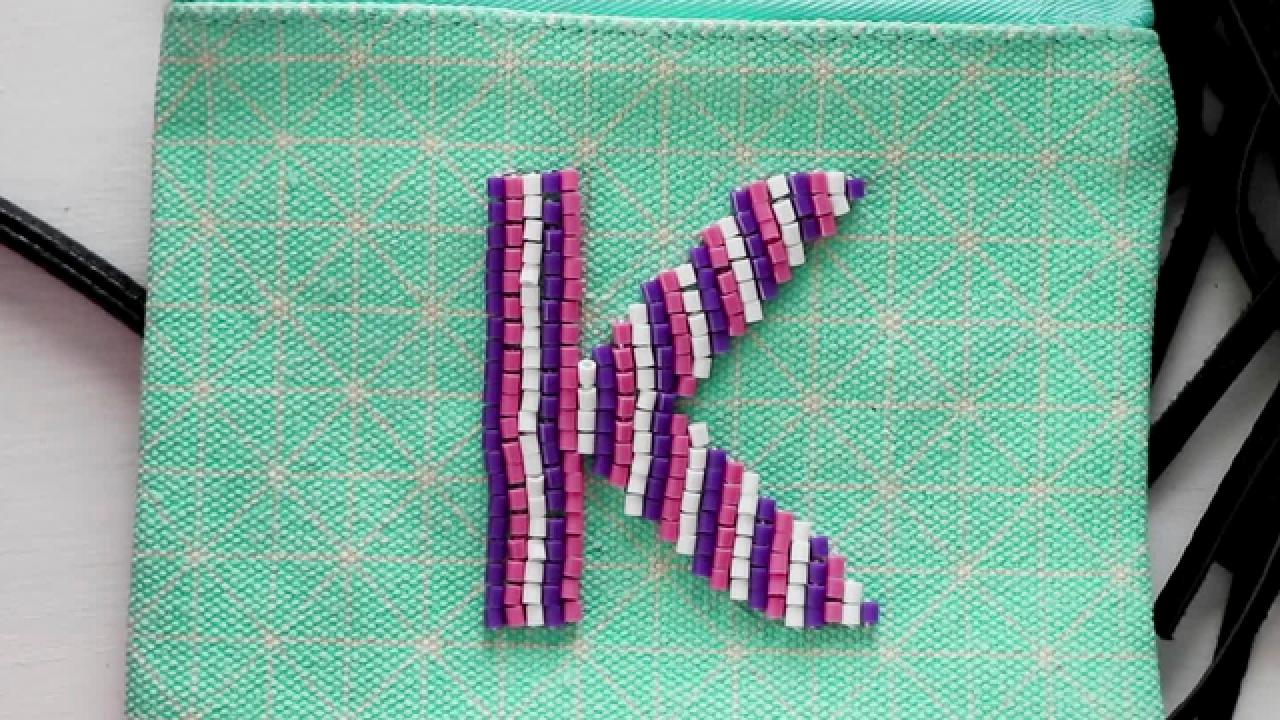
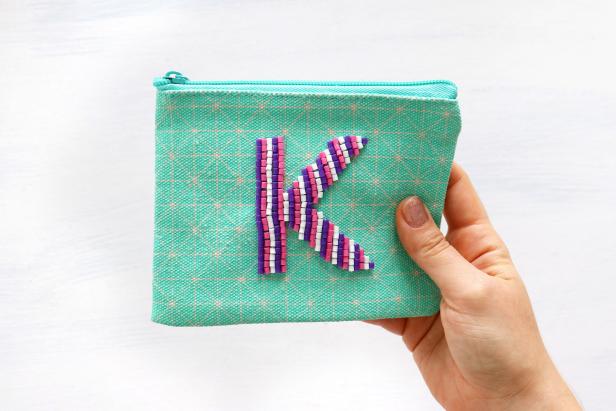
PERLER BEAD POUCH

Karen Kavett
Materials + Tools
- canvas pouch
- letter stickers
- pencil
- mini Perler beads
- scissors
- needle
- thread
- cardstock
Karen Kavett
Karen Kavett
Karen Kavett
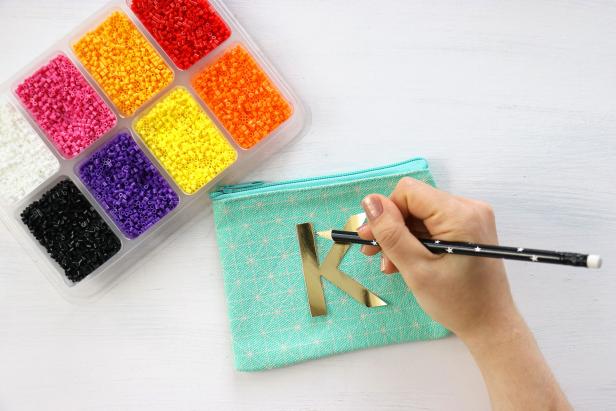
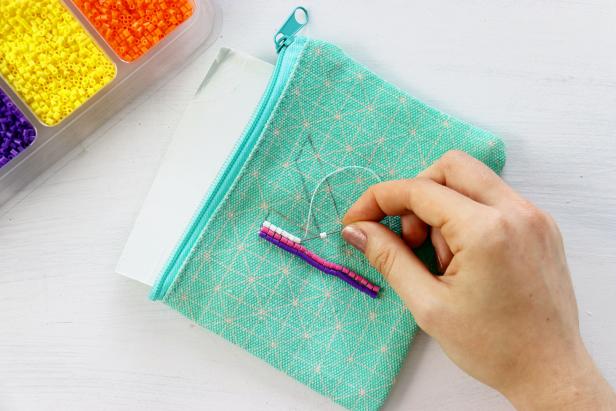
Place a letter sticker or other stencil on the front of the canvas pouch. Trace around it with a pencil and remove the sticker to reveal your design (Image 1). Place a piece of cardstock inside the pouch so you don’t sew through the back side of the pouch. Thread the needle and begin sewing on the mini Perler beads (Image 2). Continue sewing on beads to fill up the entire shape (Image 3).
PERLER BEAD FRIENDSHIP BRACELETS

Karen Kavett
Materials + Tools
- Perler beads
- embroidery thread
- 2 embroidery needles
- jump ring
- jewelry clasp
- scissors
Karen Kavett

Karen Kavett
Karen Kavett
Karen Kavett
Karen Kavett
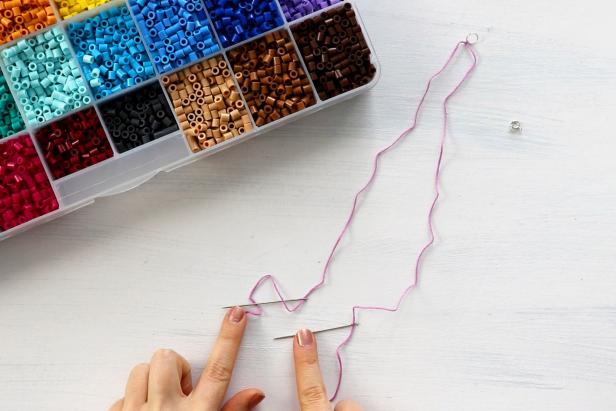
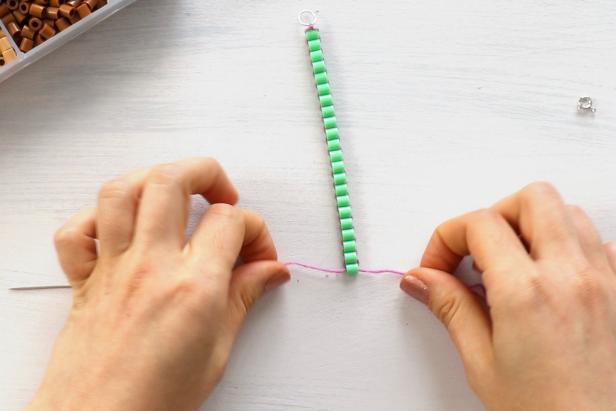
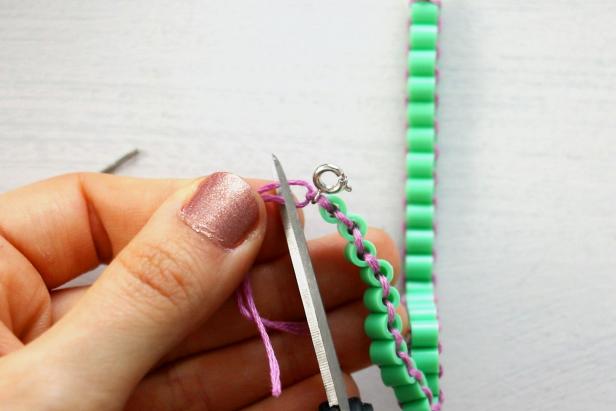
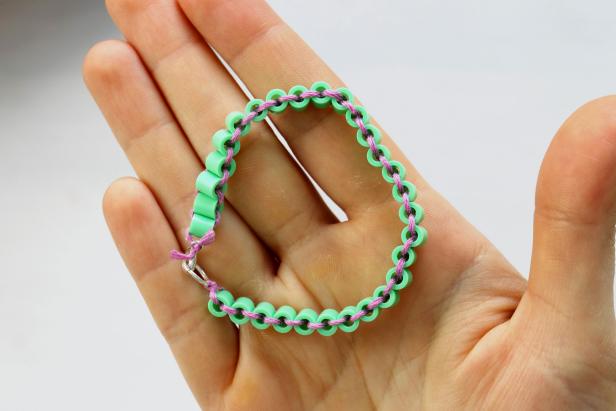
Cut a length of embroidery thread that is long enough to fit around your wrist at least twice. Tie a jump ring to the center of the string. Thread each end of the string through an embroidery needle (Image 1). Add a bead by threading the needles through opposite sides of the bead (Image 2). Continue adding beads by looping the ends of the string back and forth through them (Image 3). When the bracelet is long enough to fit around your wrist, tie on a jewelry clasp and trim the excess string (Images 4 & 5).
PERLER BEAD JAR FILLERS

Karen Kavett
Materials + Tools
- mini Perler beads
- funnel
- clear containers
- faux flowers or succulents
- skewer (optional)
Karen Kavett

Karen Kavett
Karen Kavett
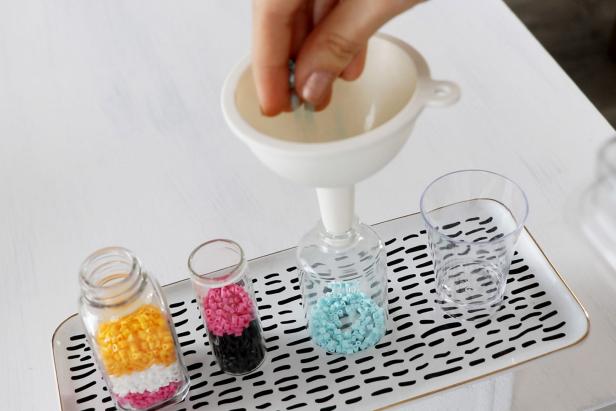
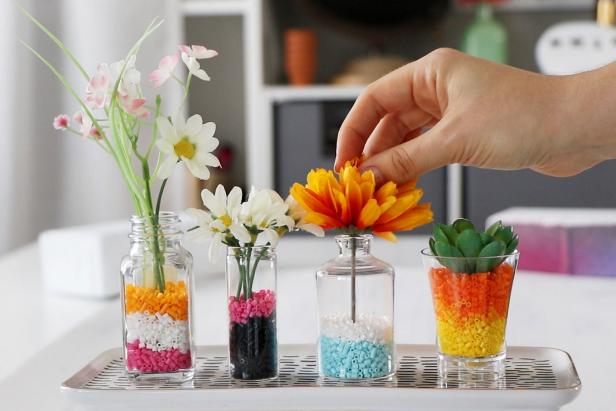
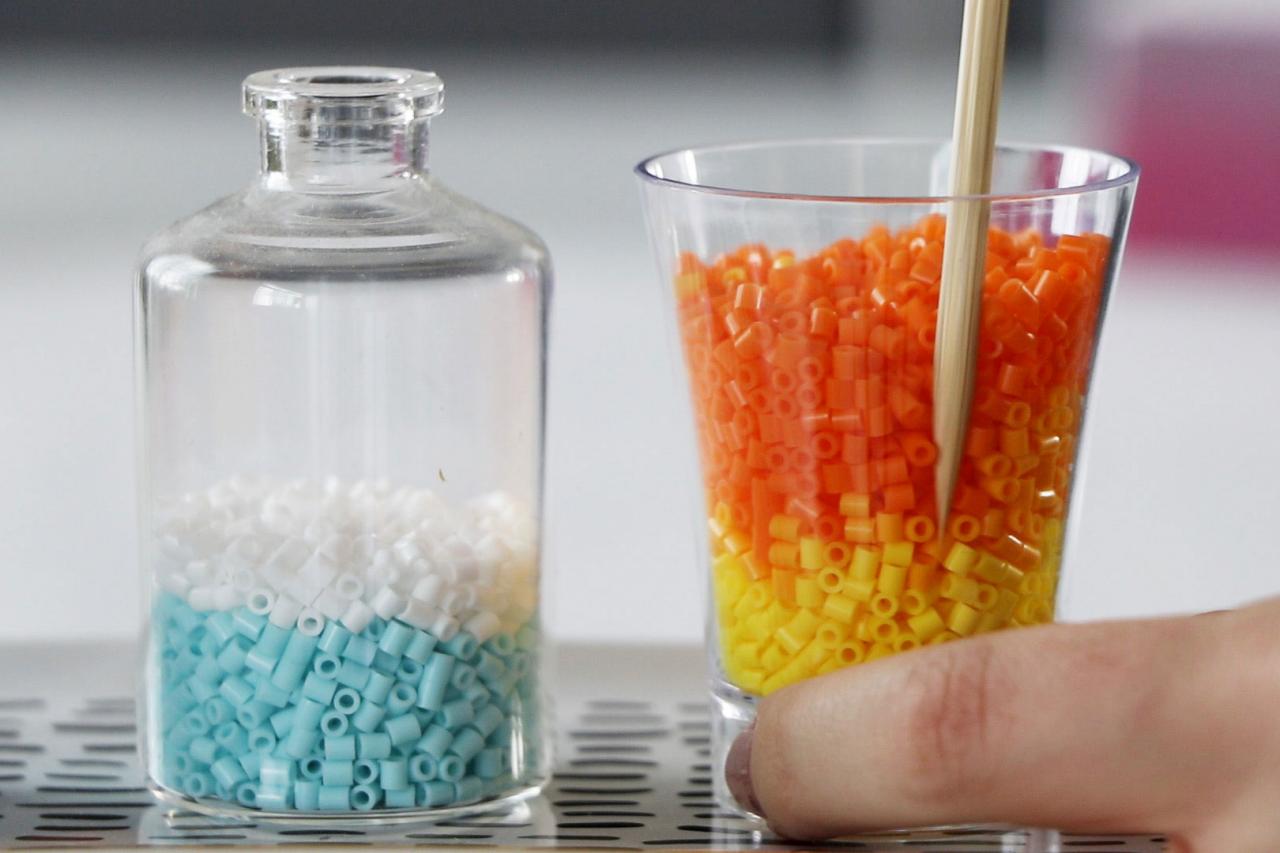
Fill up your clear containers with mini Perler beads. Use a funnel if your containers have a small opening (Image 1). Make layers using different colored beads. Optionally, use a skewer to blend the layers of the beads together (Image 2). Finally, insert faux flowers or faux succulents (Image 3).


