How to Build a Raised Planter Box With Legs
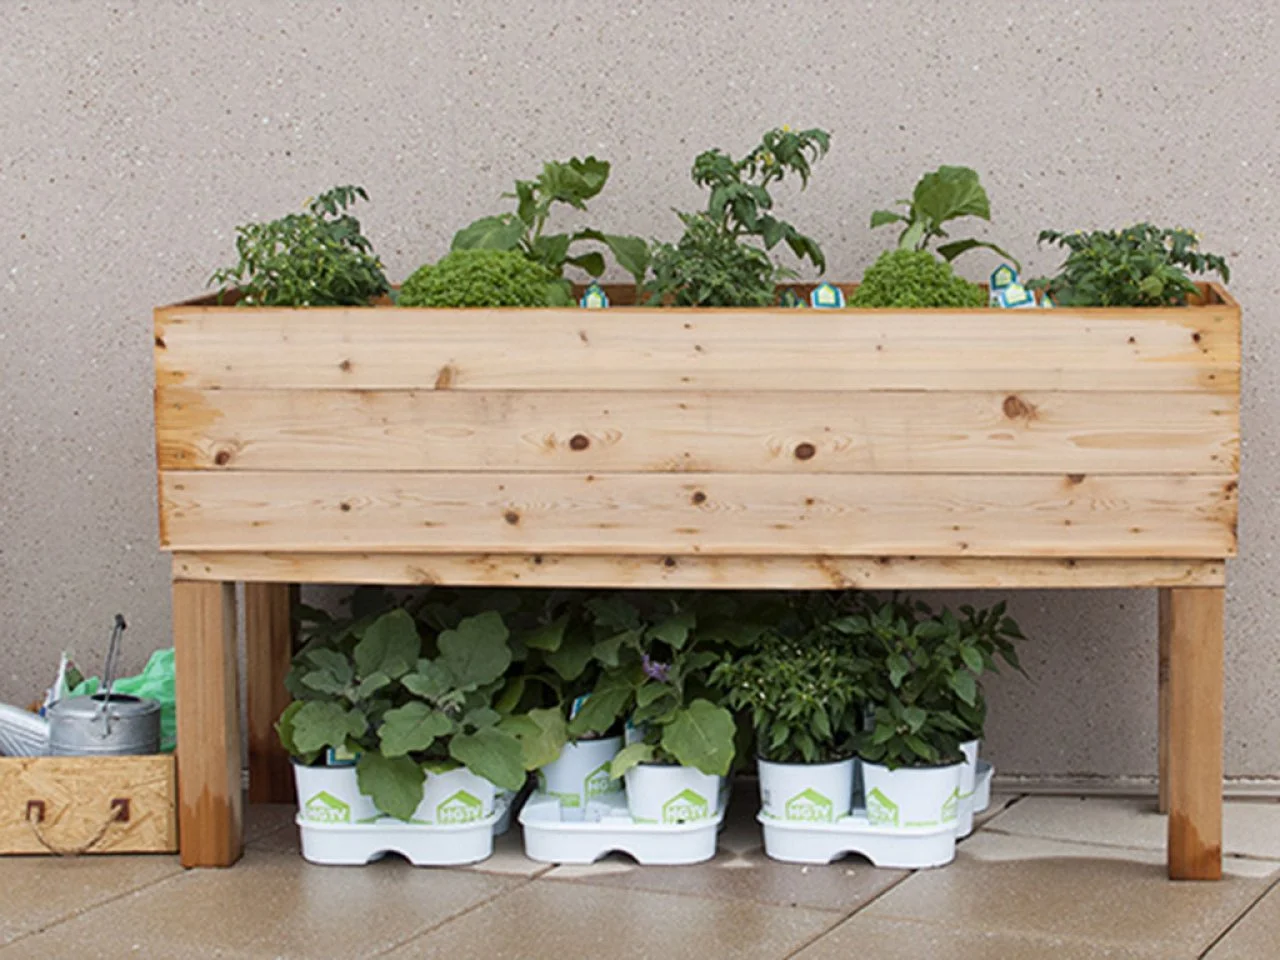
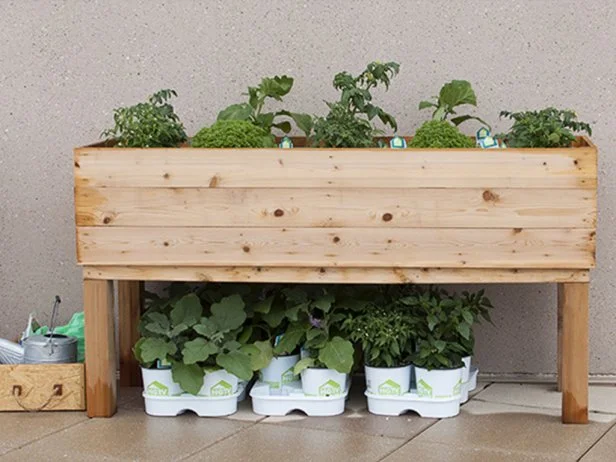
This simple-to-build, waist-high planter makes gardening easy — no more bending over or sitting on the ground to tend to your garden.
This classic wooden planter box is designed to hold upward of 400 pounds, which should be more than enough for wet soil and lush plants. We used cedar wood because of its strength, durability and because it is so attractive.
Tools and Materials:
- saw (miter, table, jig, circular or hand saw)
- chisel
- drill + bits
- screwdriver
- staple gun + staples
- clamps
- 4x4 x 8' cedar
- (10) 1x6 x8' cedar
- (4) 2x4 x 8' cedar
- (1) box of 1-5/8" deck screws
- (3) boxes 3" deck screws
- landscape fabric
Cut List
This cut list is for a planter box measuring roughly 72" x 22".
- (4) 1x6 x 6'
- (6) 1×6 x 22"
- (6) 1x6 x 73-1/2"
- (2) 2x2 x 22"
- (4) 2x2 x 13"
- (2) 2x2 x 14-1/2"
- (4) 4x4 x 23-3/4
- (2) 2x4 x 6'
- (4) 2x4 x 19-3/8"
1. Prepare 2x2s
Split one of the 2x4s into a 2x2. You can get two 8' lengths plus a little sliver from the middle. Doing this first can save you a little time later. The 2x2 will be used as bracing for the box.
2. Create Box Bottom
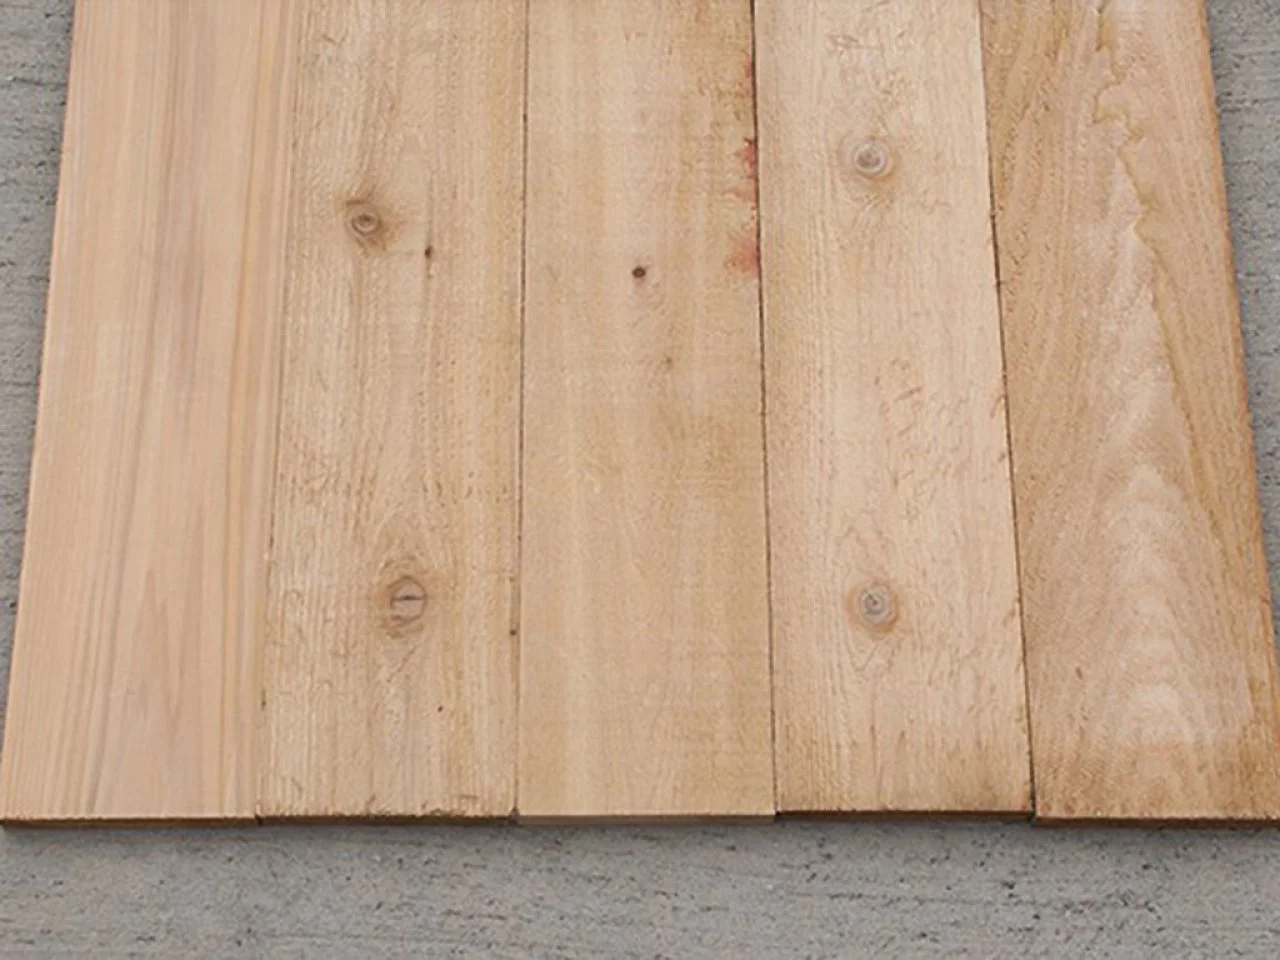
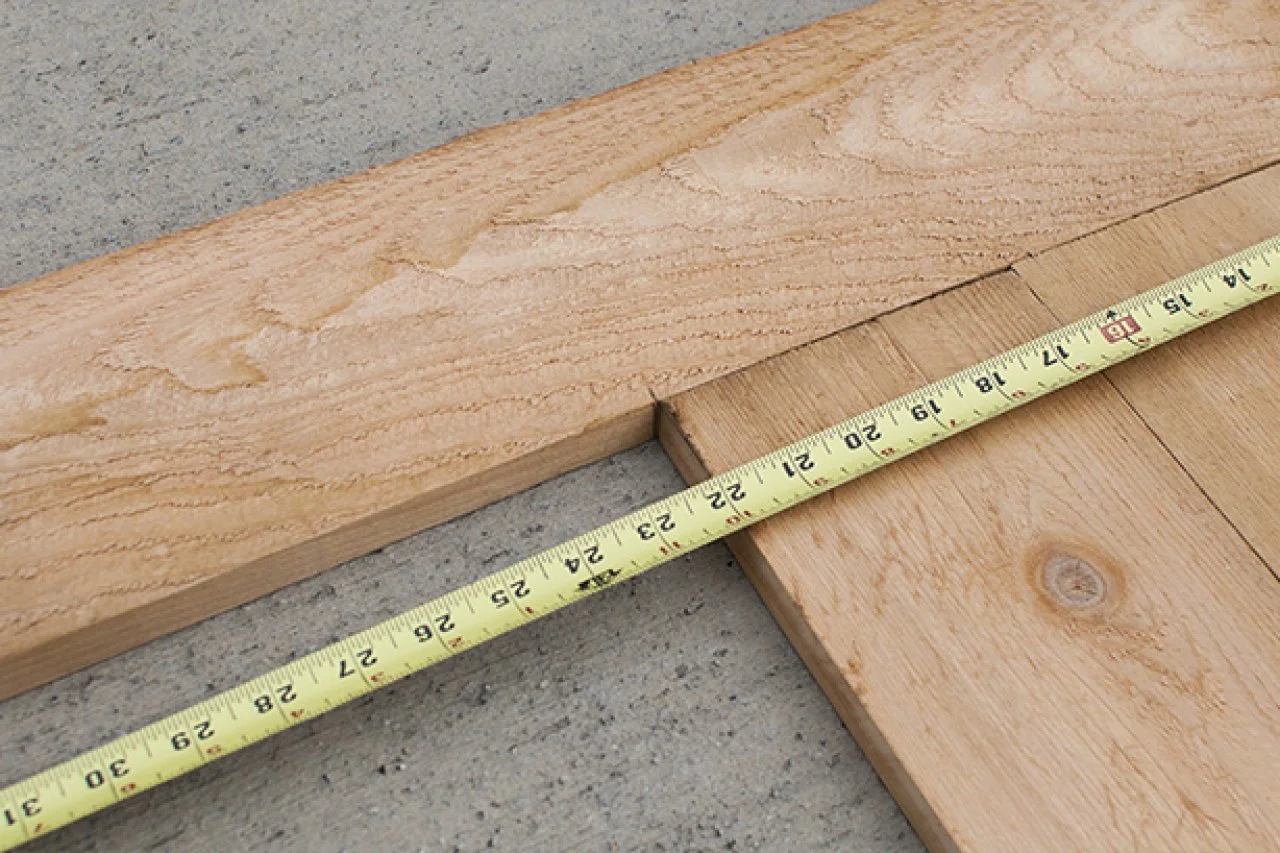
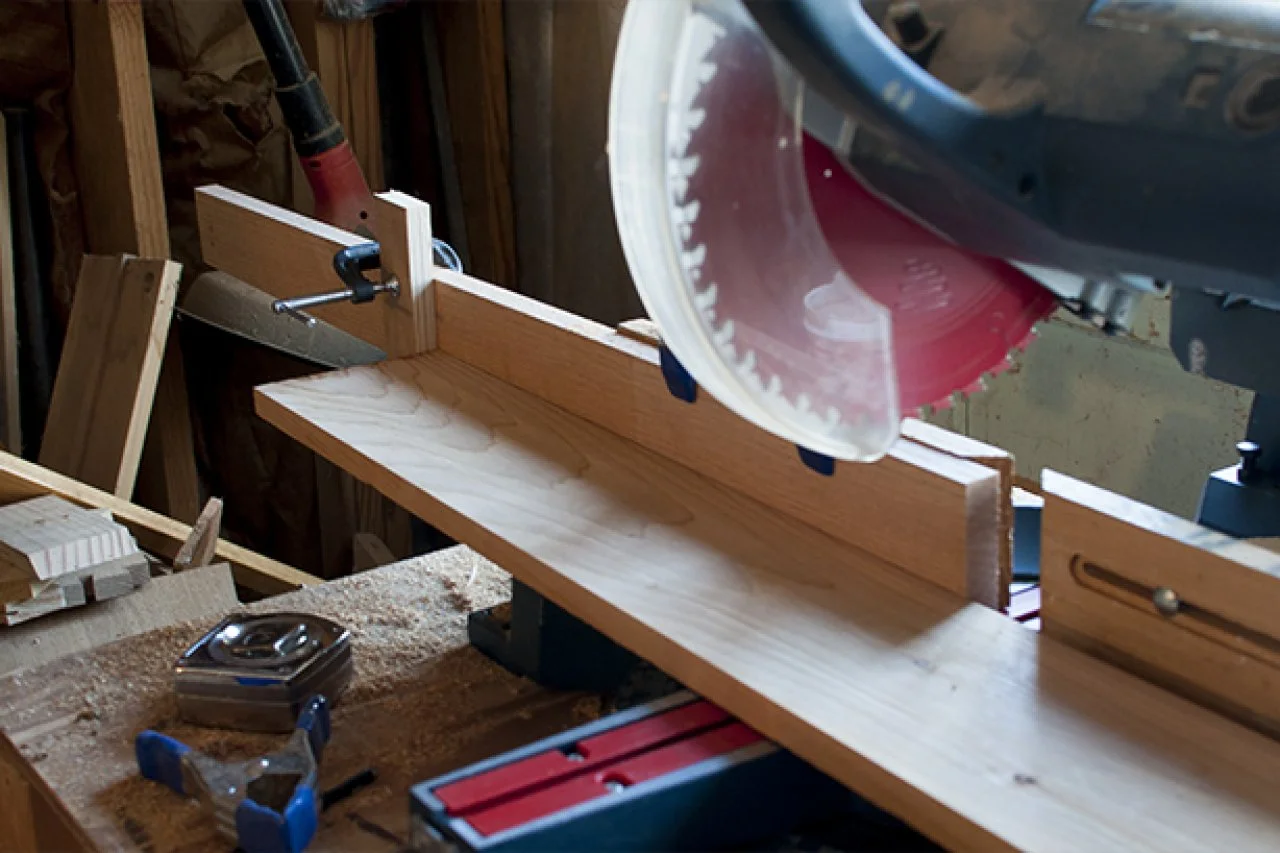
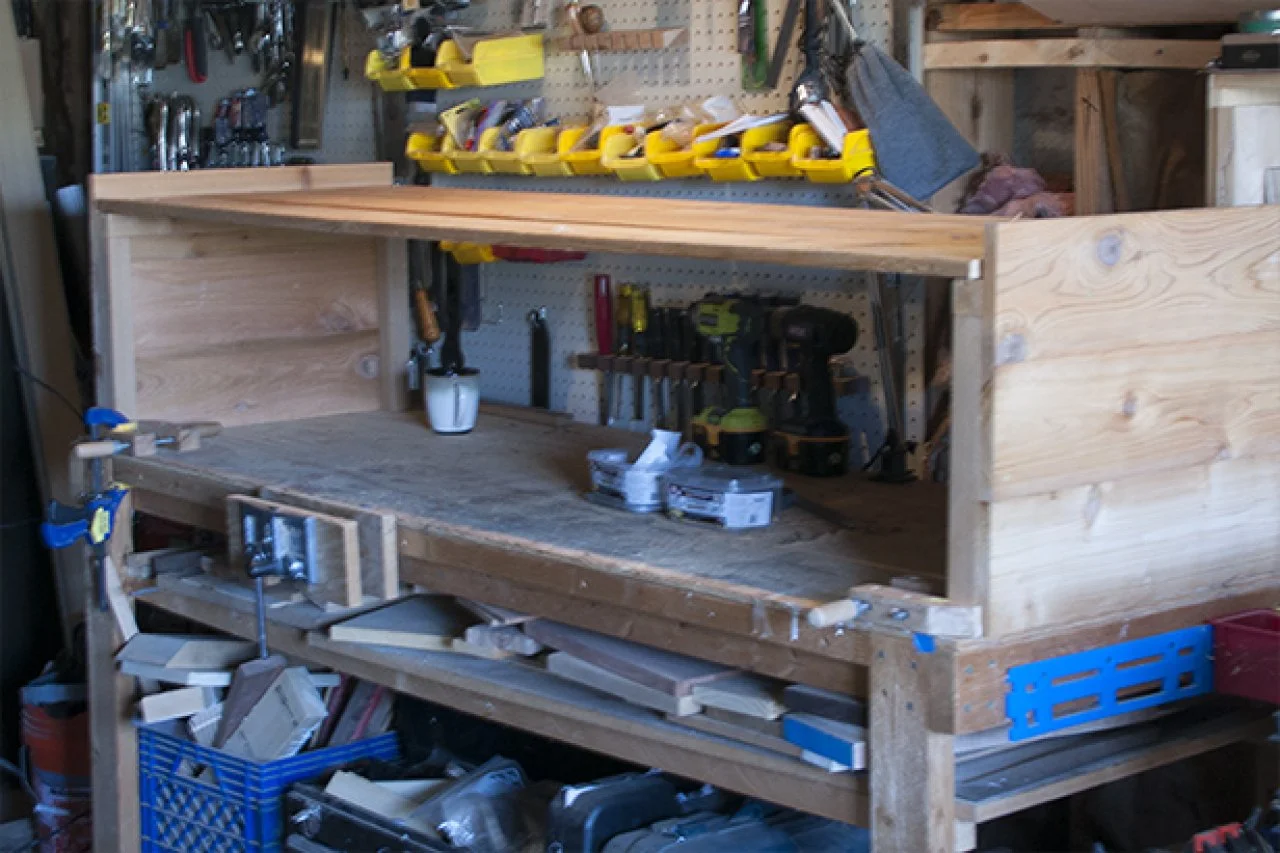
For the bottom of the box, lay all the 1x6s on the ground (Image 1). Look for splits, knots, warping, etc. Pick out the worst four and use them for the bottom of the box. Cut the four to 6' lengths. While you're at it, cut two of the 2x4s to 6-foot lengths and set them aside — these will be used later to make the stand. (Image 2) Lay the four bottom boards next to each other and measure their width, it should be around 22". This measurement will be the end boards and the end brace.
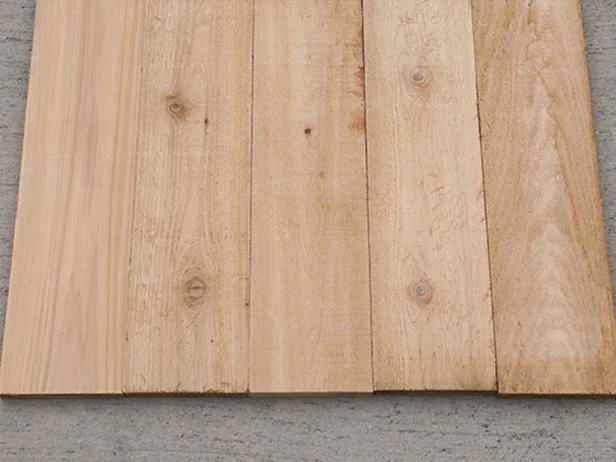
Use the four worst 1x6 boards to create the bottom of your box.

The width of your four boards, laid side-by-side, should be about 22".
3. Create the Short Sides
Use the measurement from the previous step (ours is 22") and cut the remaining 1x6 boards to that size — these will be the short ends of the box (Image 1).
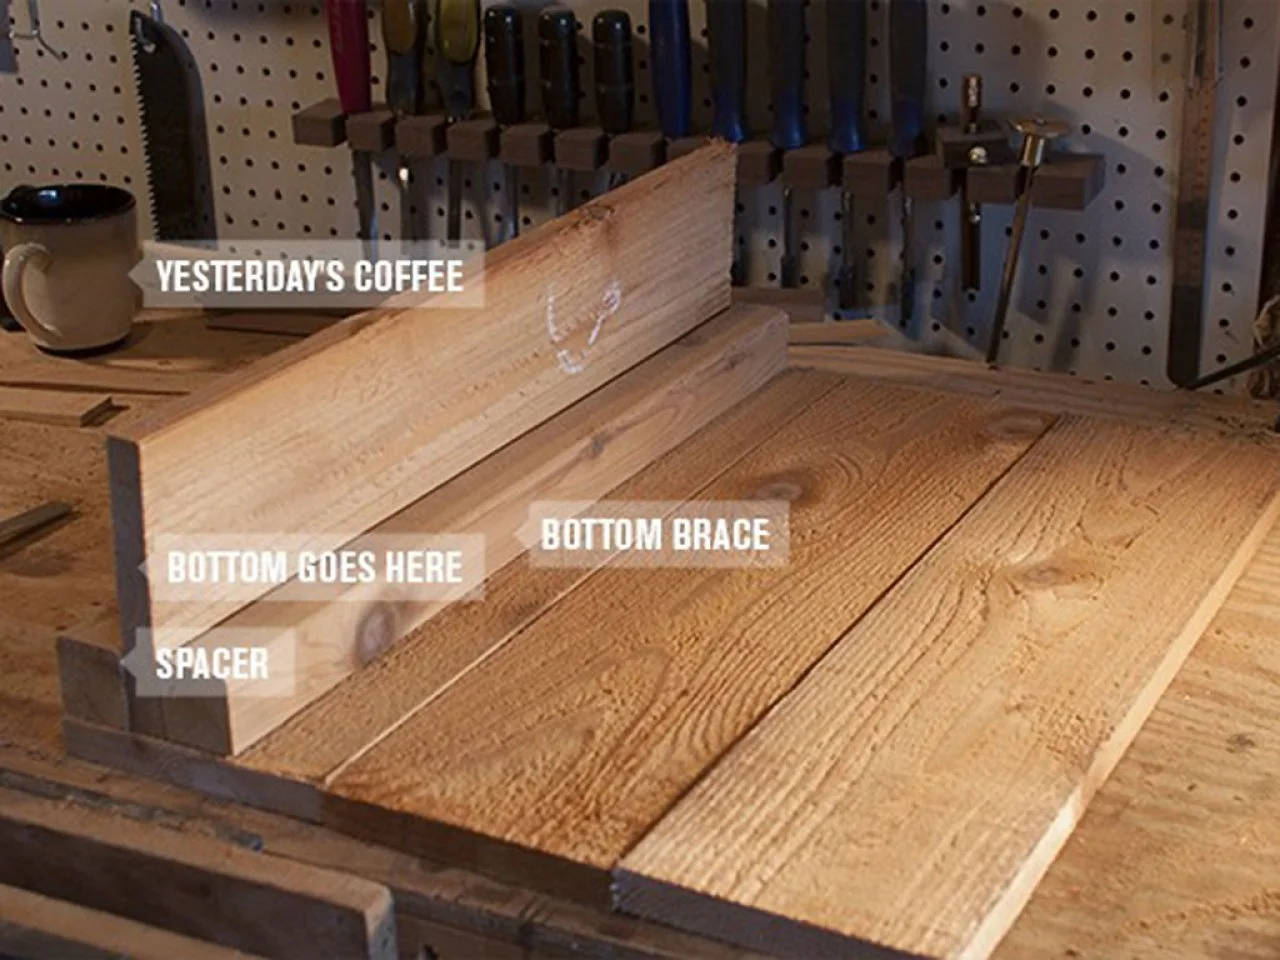
Cut two pieces of the 2x2 to that same length for the braces (Image 2). To assemble the side panels you'll need two end pieces (1x6) and the two braces (2x2). The braces will be attached 2-1/4" from the edge of the 1x6s (we'll call this the bottom). Using clamps to hold them together, pre-drill two holes 6" from the end and attach with 1-5/8" screws. (Image 3)
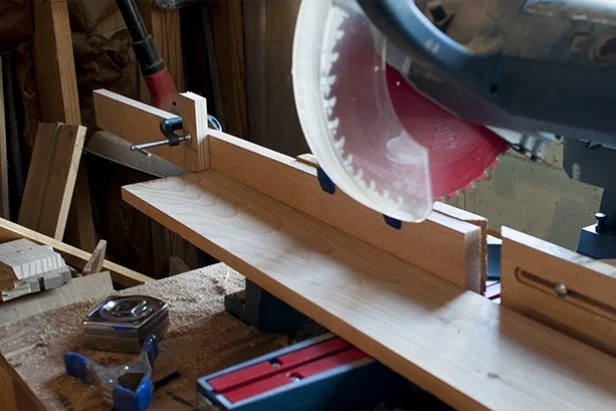
Cut 22" (the width of the box) from the remaining six boards. Also cut two pieces of 2x2 to the same length.
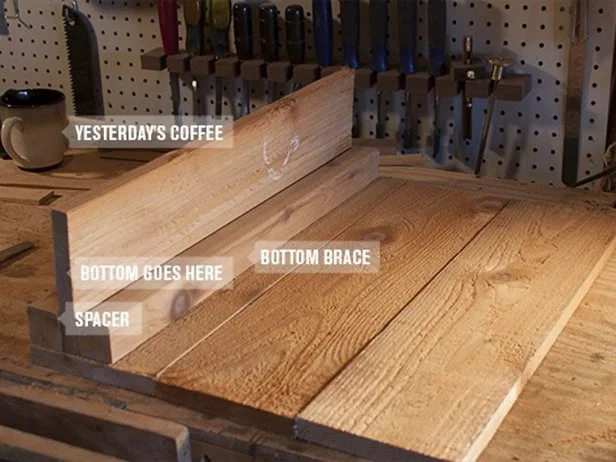
Use two end pieces and two braces to start the end panels.
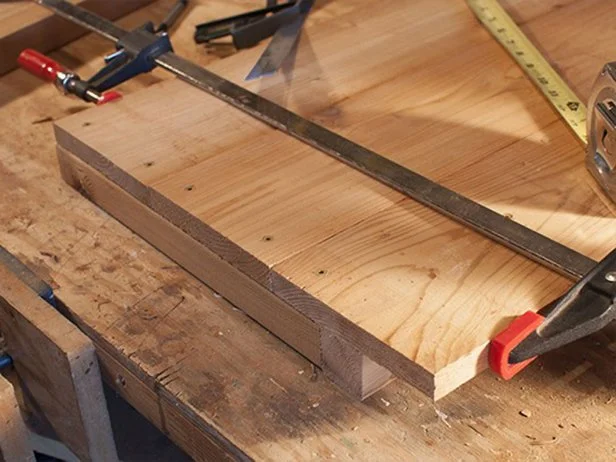
Measure from the top of the brace to the end of the three boards (about 13-1/8") and cut four pieces of 2×2 to this length to create corner braces.
4. Make the Corner Braces
Lay each of the assembled pieces on the flat side along with two more of the end pieces. Measure the distance from the top of the brace to the end of the three boards. It should be about 13-1/8". Cut four pieces of the 2x2 to this length, these will be the corner braces. Attach them along the edges of the 1x6s by pre-drilling and screwing the 1x6 to the bracing.
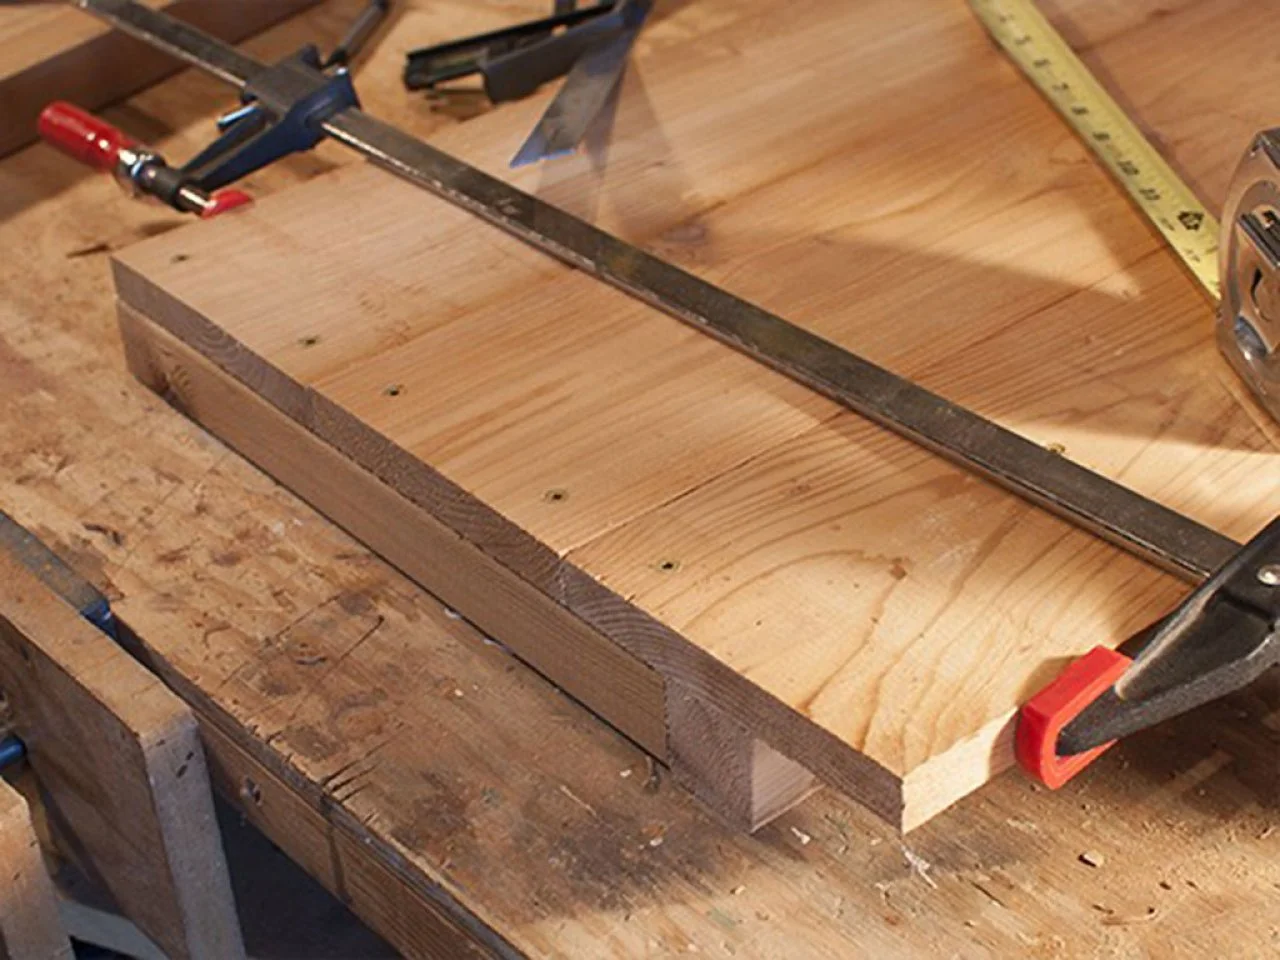
Finish the ends and attach them to the bottom. Strengthen the joint between the bottom brace and the corner braces by drilling up through the bottom and driving a 3" screw into each corner. You now have the two sides of the box. Attach the four bottom boards to the ends by pre-drilling and 1-5/8" screws. You may find it easier to use clamps to hold the end panels to your workbench.
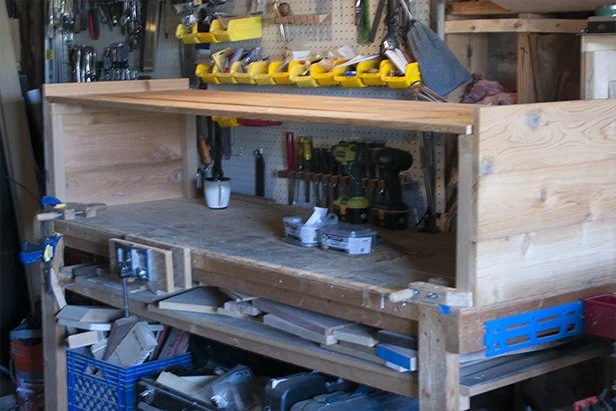
Attach the bottom pieces to the two side panels using the 2x2 braces for support.
5. Create the Long Sides
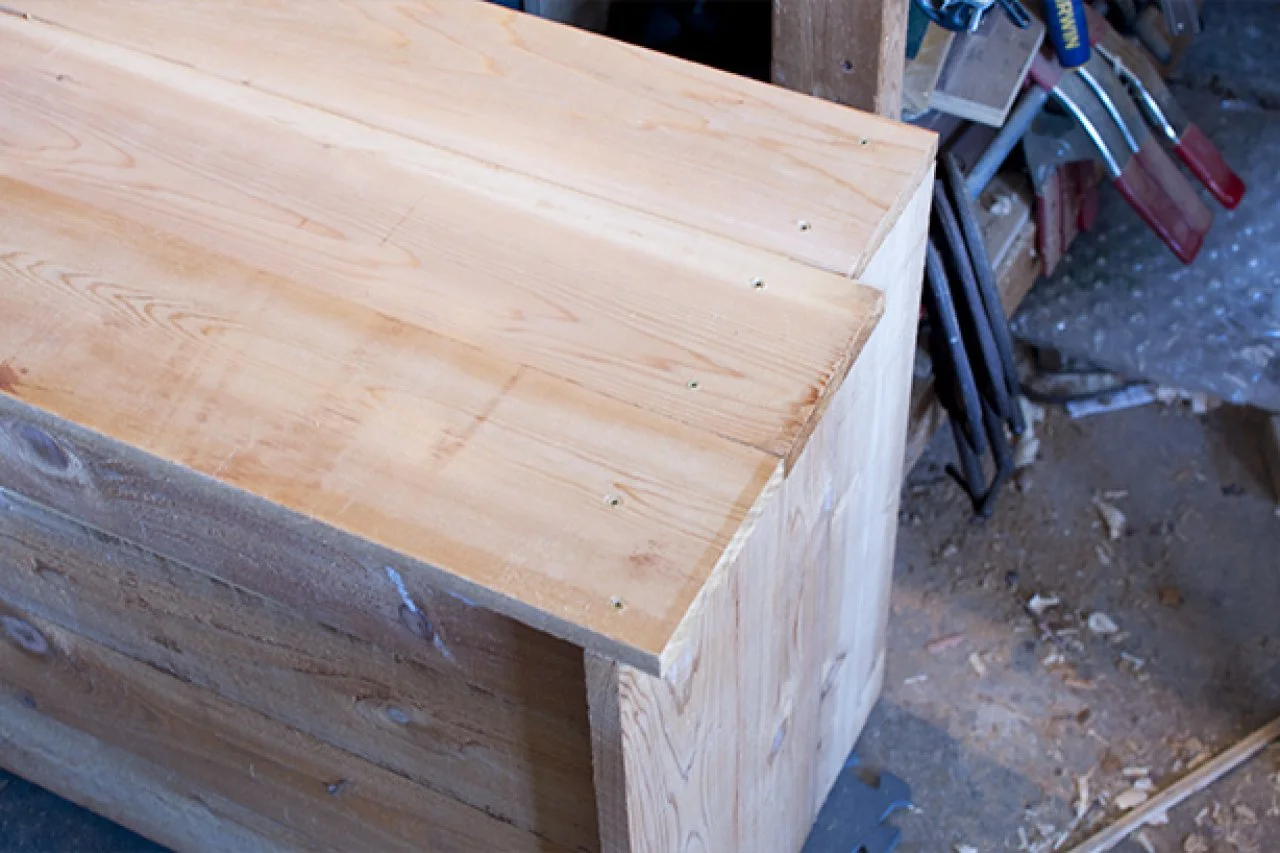
Measure the outside length of the box. It should be around 73-1/2". Those six remaining long pieces of 1x6? Cut those to this length. Attach these long pieces to the corner braces (Image 1). (See that overhang in the picture? You don't have to do this. We left the sides long and cut them flush after assembly.)
Attach the bottom boards on each long side to the bottom of the box using 1-5/8" deck screws. To make sure it's secure, locate the center and pre-drill holes every 12" outward from the center. Insert an extra screw in each of the corners (Image 2).
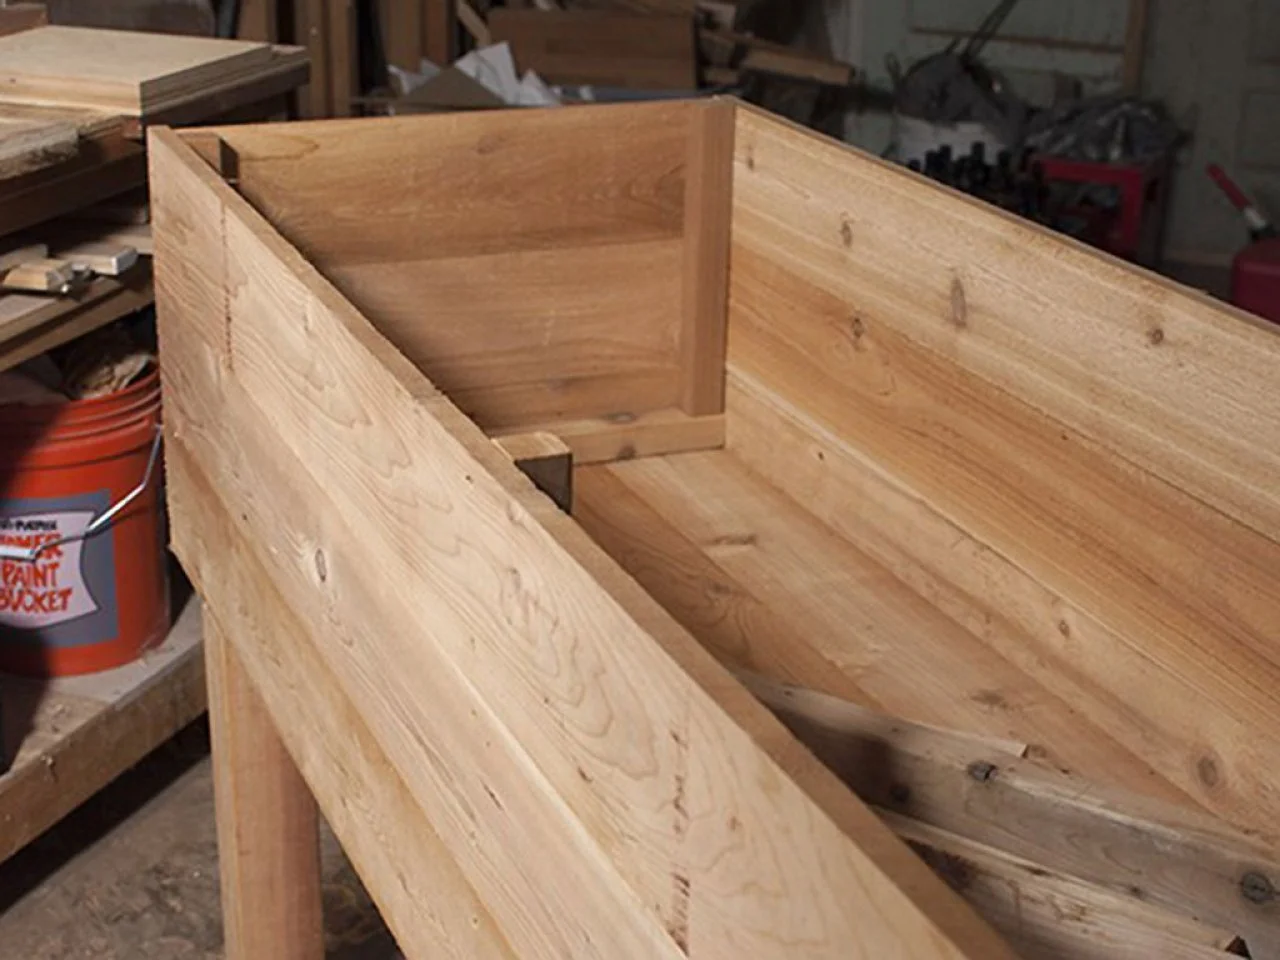
Set the assembled box on its bottom. On the inside of the box, measure from the bottom to the top. You should get a measurement of around 14-1/2". Cut two pieces of 2x2 to this length. Attach these vertically inside the box in the center to create side braces (Image 3). Flip the box over and drive a 3" screw through the bottom into these side braces.
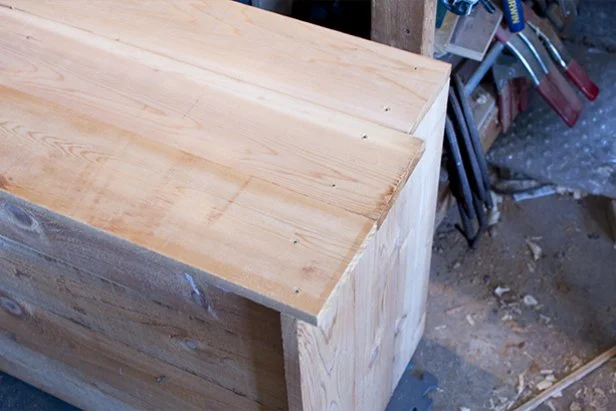
Cut six remaining 1x6 boards to the length of the outside of the box (about 73-1/2”).
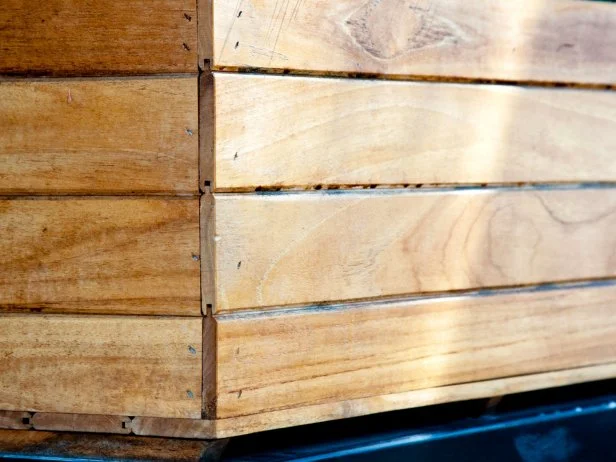
Joey Kotfica / Getty Images
Attach the sides to the bottom boards using 1-5/8” deck screws.
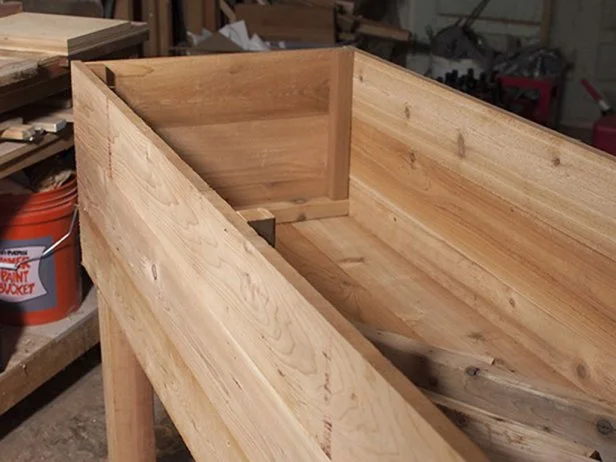
6. Make the Legs
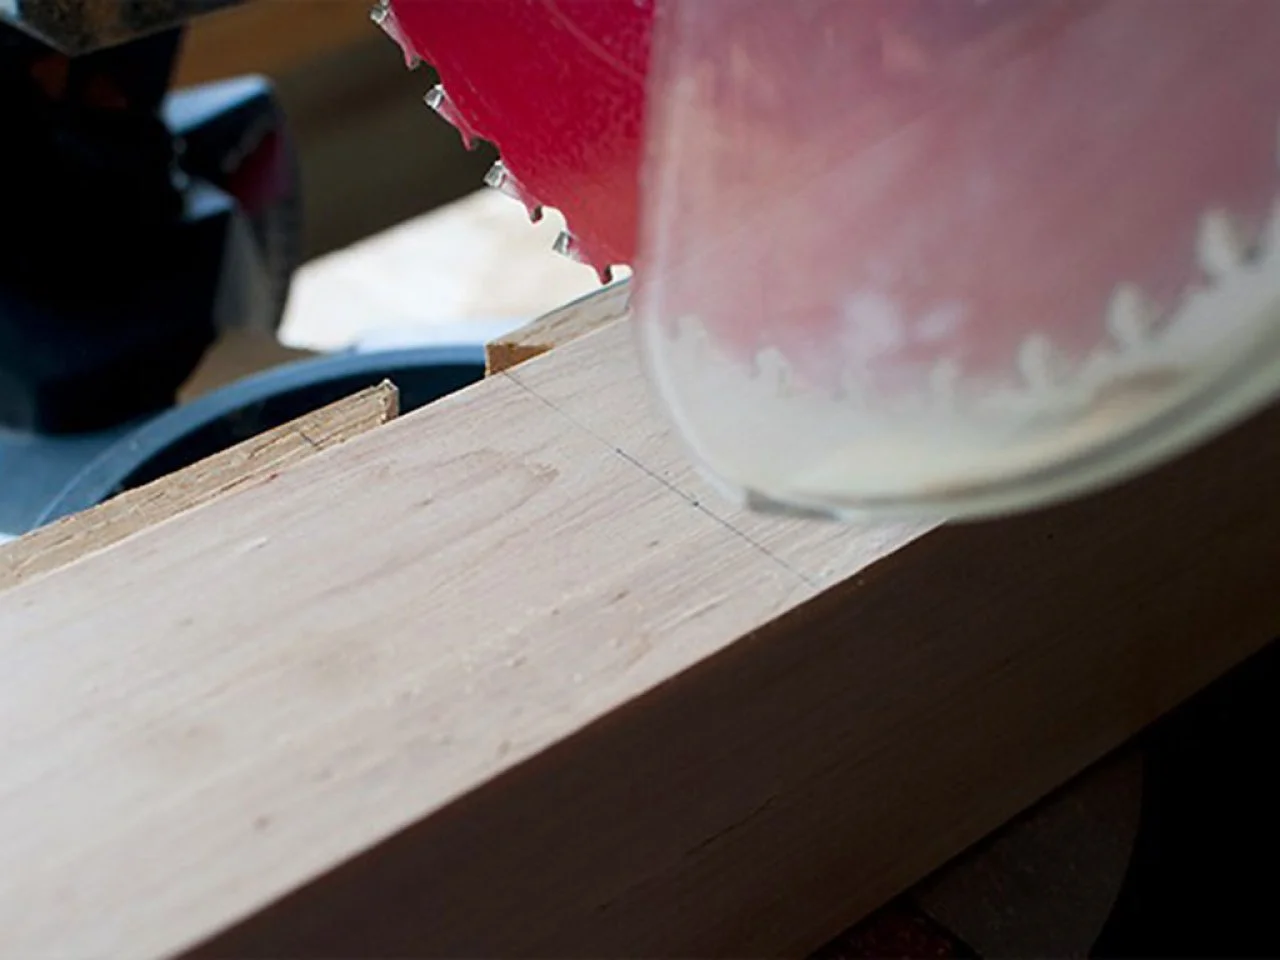
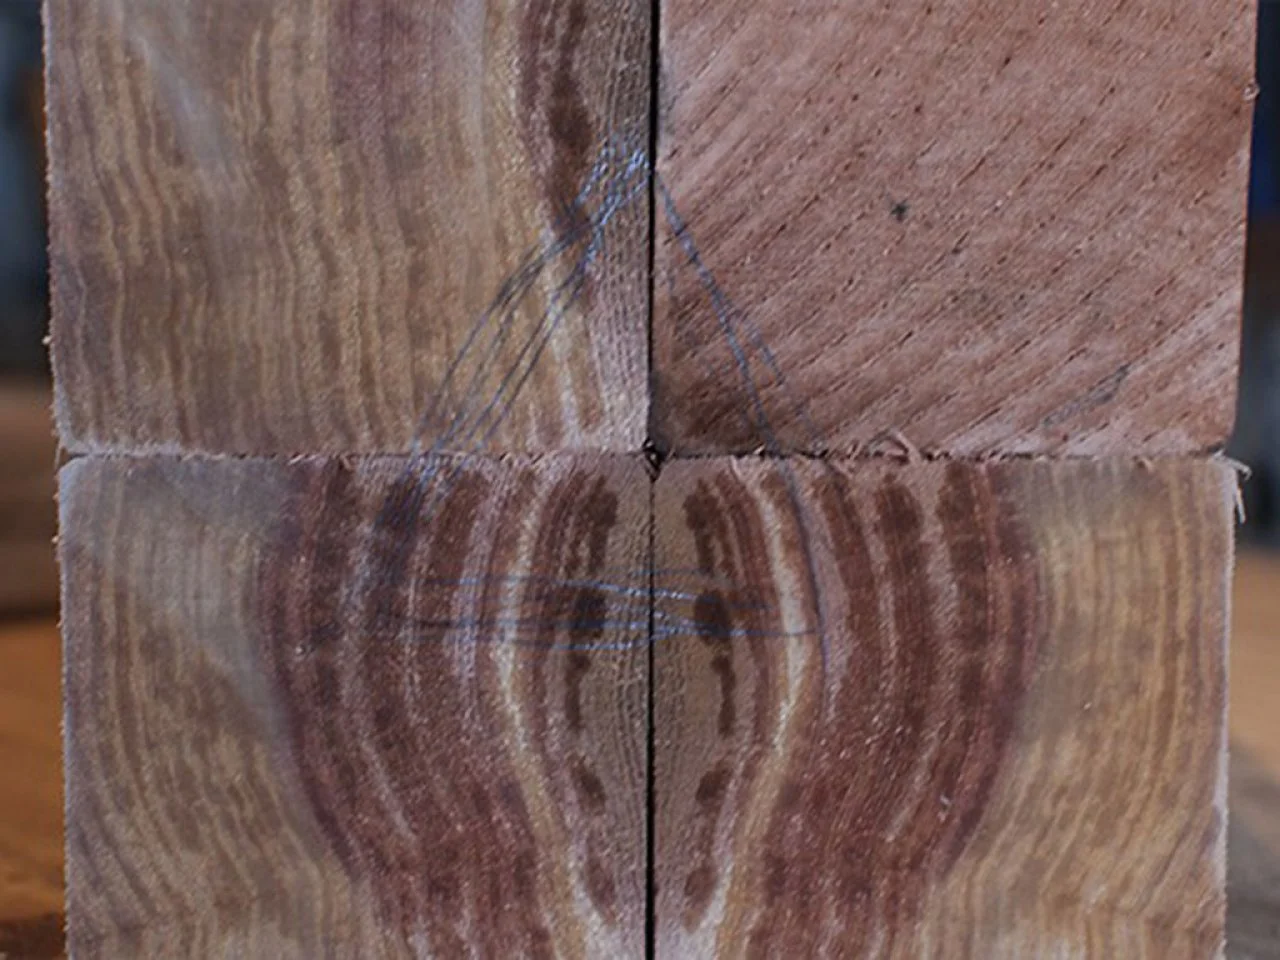
Cut the 4x4 post into four 23-3/4" lengths. This length should allow you to get four legs out of a single 8-foot 4x4 (Image 1). Examine the four pieces closely and rotate them so their best sides face outward. Stack the four pieces together. Mark a triangle on the bottom to indicate their position in the group and note which faces will be the outside edges (Image 2).
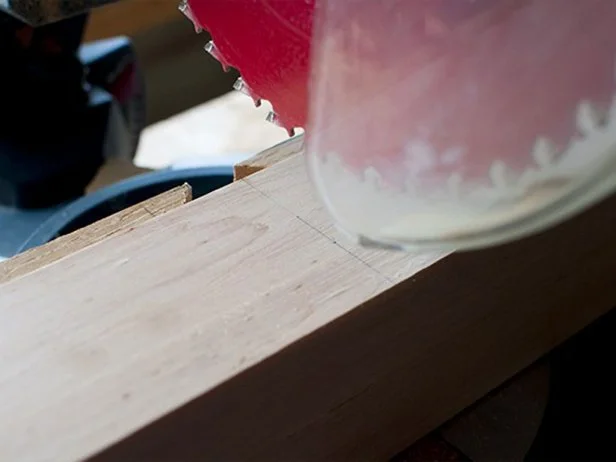
Cut the 4×4 post into four 23-3/4″ lengths.
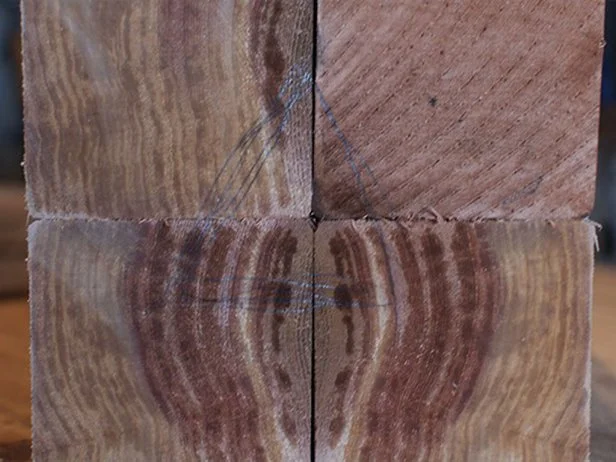
Group the legs in a group of four, then mark a triangle on the bottom to indicate their position, noting which faces will be the outside edges.
7. Cut Notches in the Legs
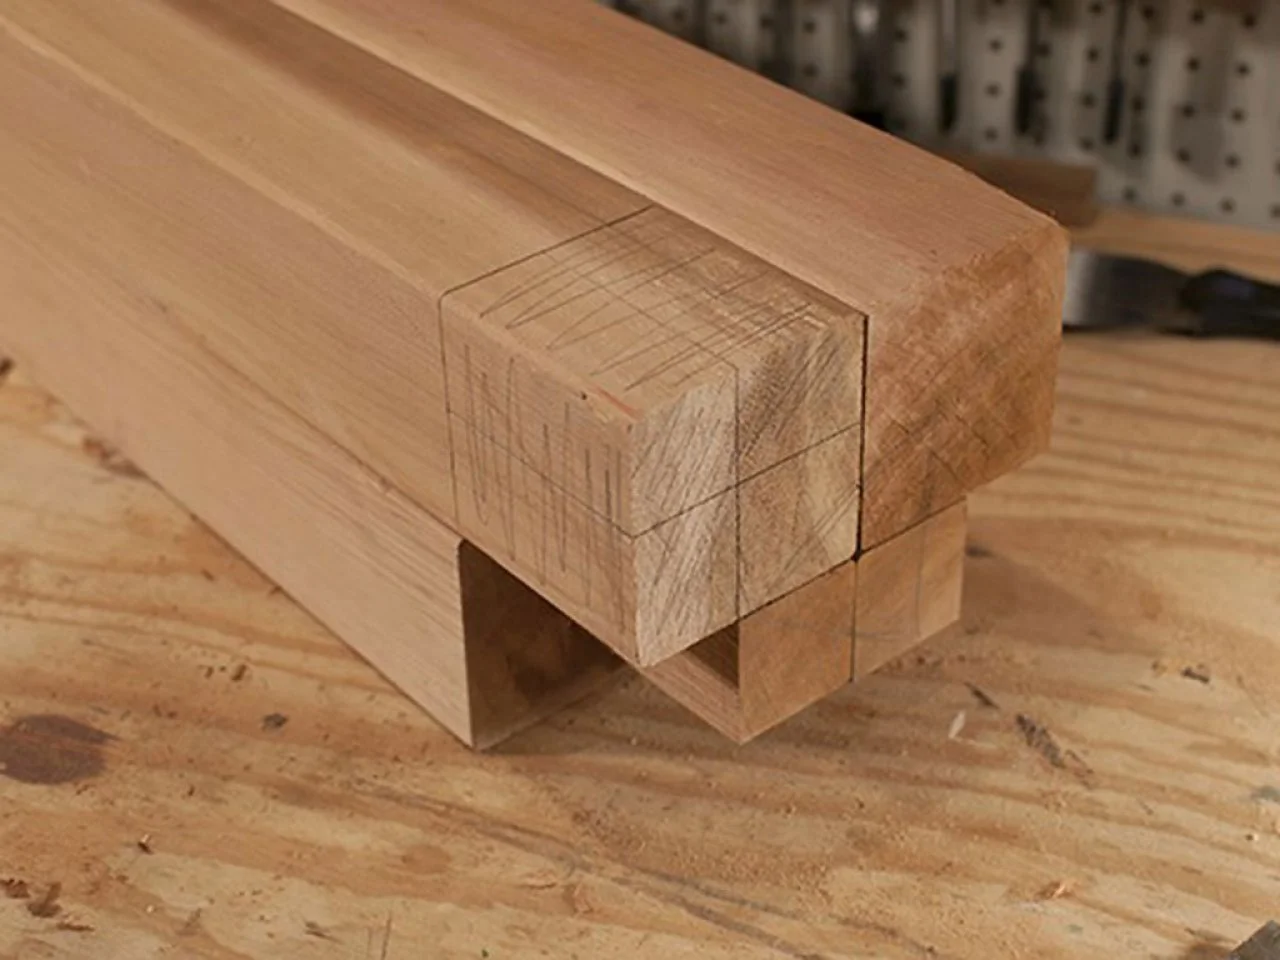
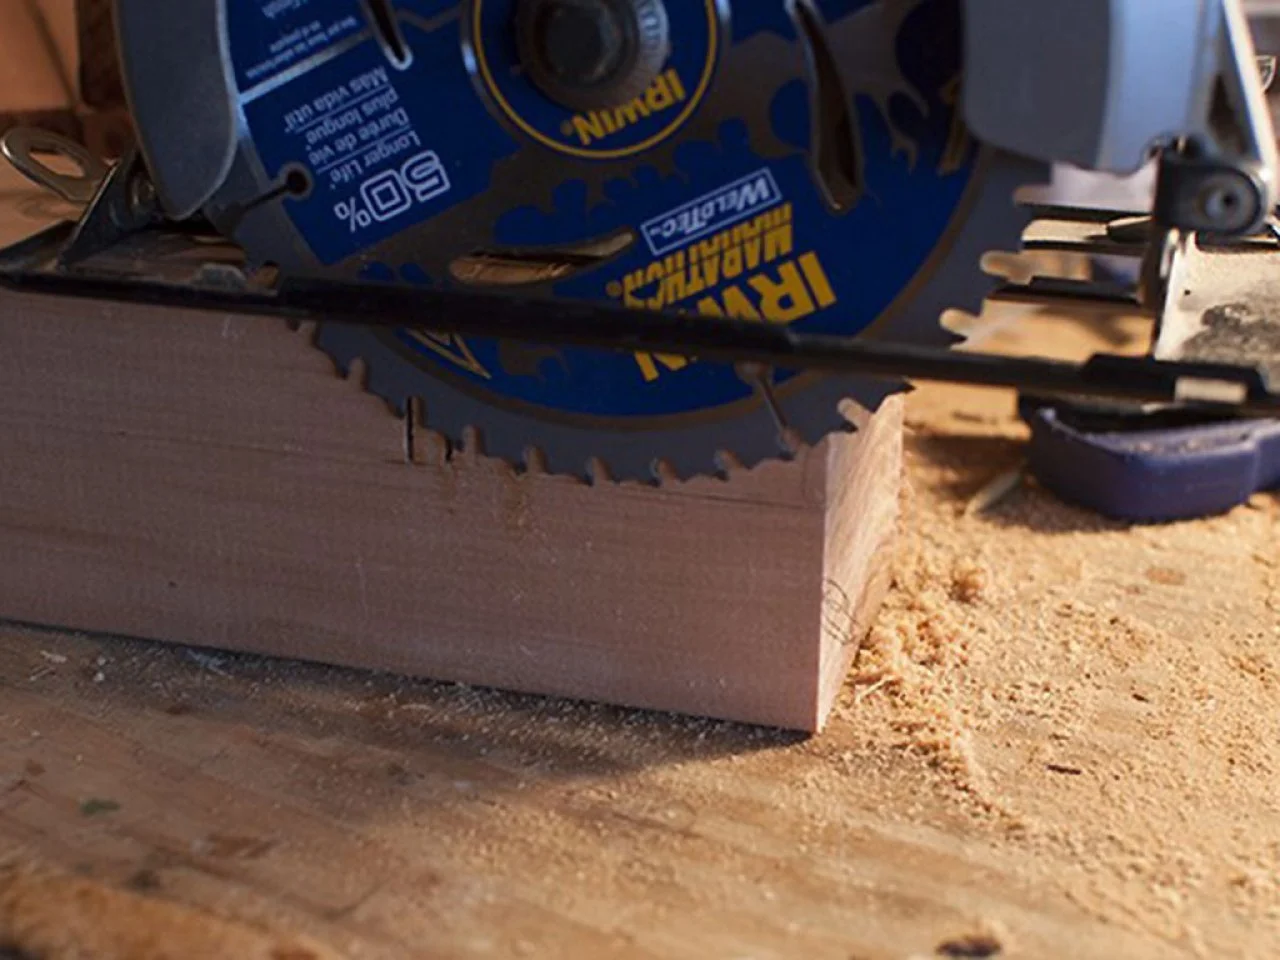
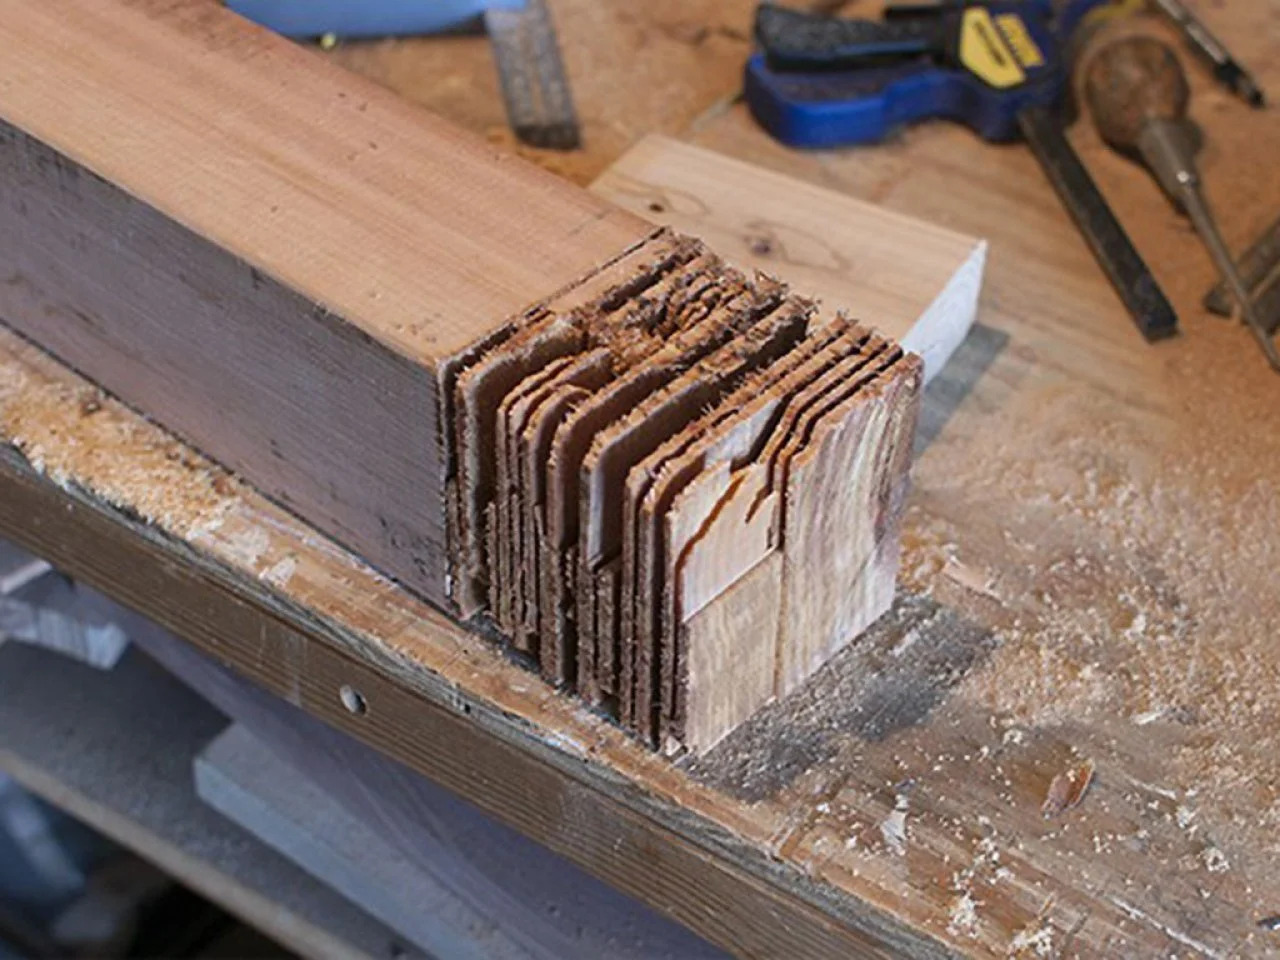
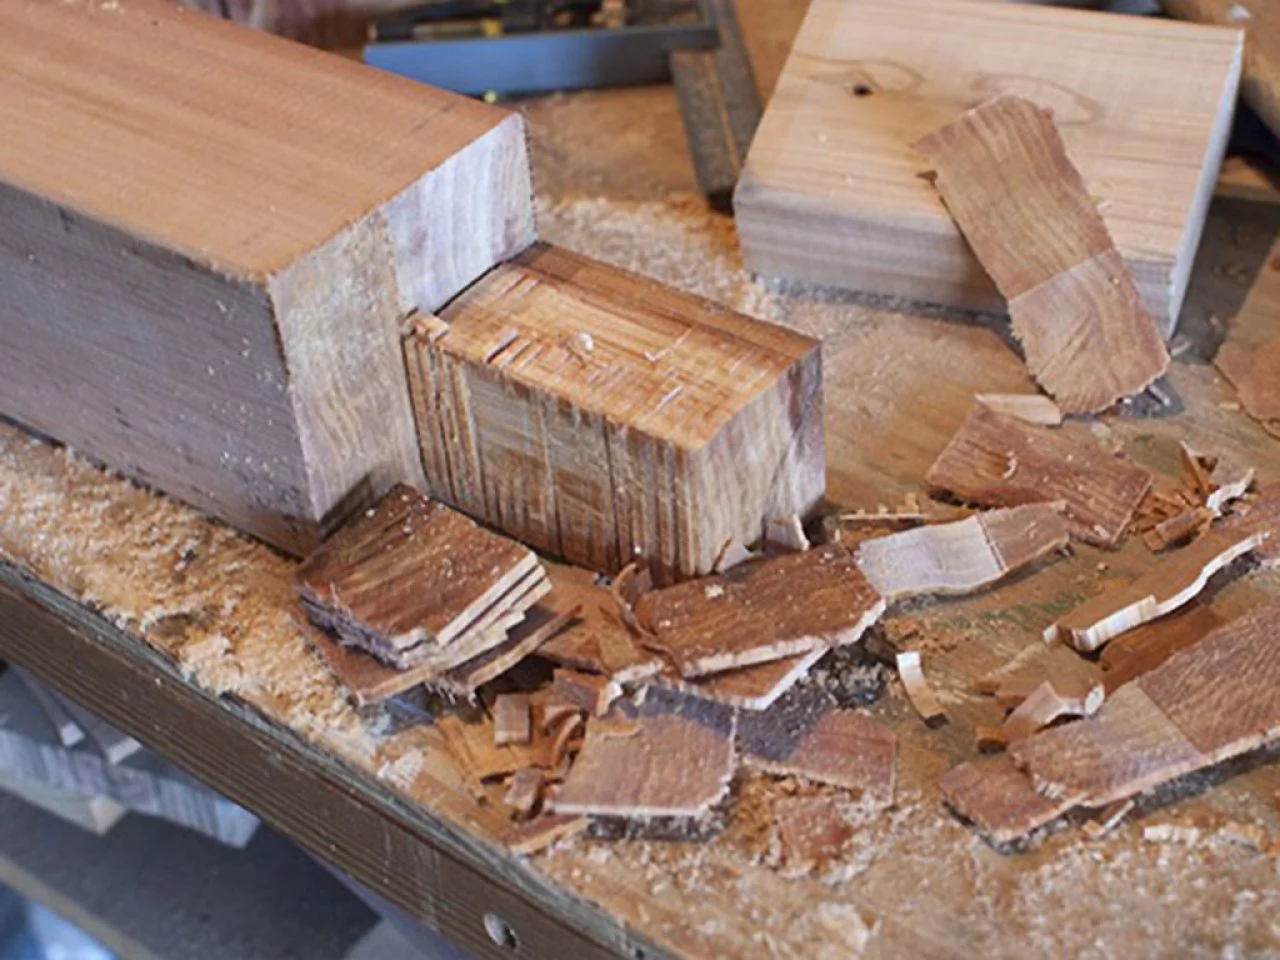
Mark the locations for the notches (Image 1). The notches will mate up with the 2x4s, so they need to be the height and depth of a 2x4 (Image 2). Set your saw to the depth of a 2x4 and make a series of cuts on the outside edges (outside in relationship to the stack in the earlier step). (Image 3) Make a series of cross-cuts close together within the measured area. A table saw is more efficient than a circular saw and a band saw might be even better. Use a chisel to knock out the cross-cuts and remove what is left. It doesn't have to be absolutely perfect and smooth (Image 4). The point is that the weight of the box and soil will pass through the 2x4s into the leg at this point. It will also serve as the foundation for the structure.
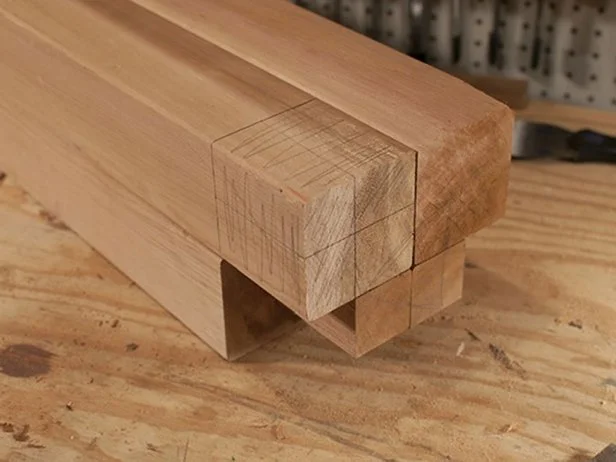
Mark the locations for notches, which will mate up with the 2×4s.
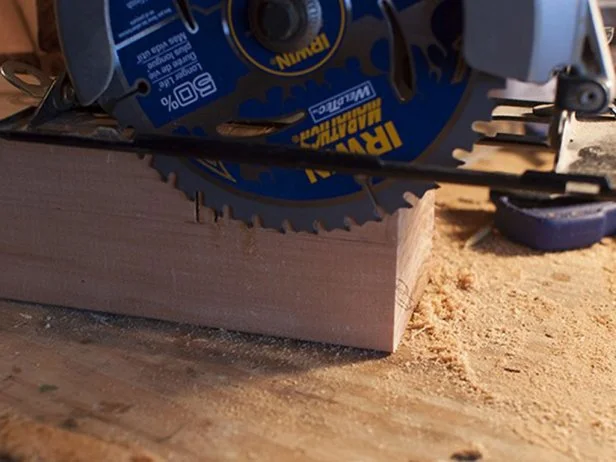
Cut the outside edges to the depth of a 2x4.
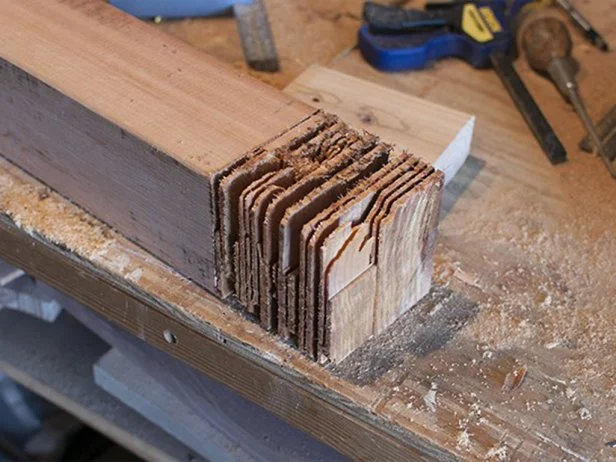
Make a series of cross cuts to prepare the wood for chiseling.
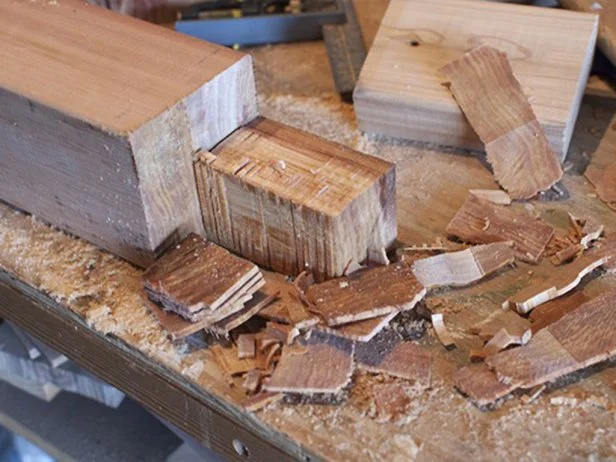
Chisel away the cross cut wood. This will create a base to support the weight of the box.
8. Add Braces, Supports and Legs
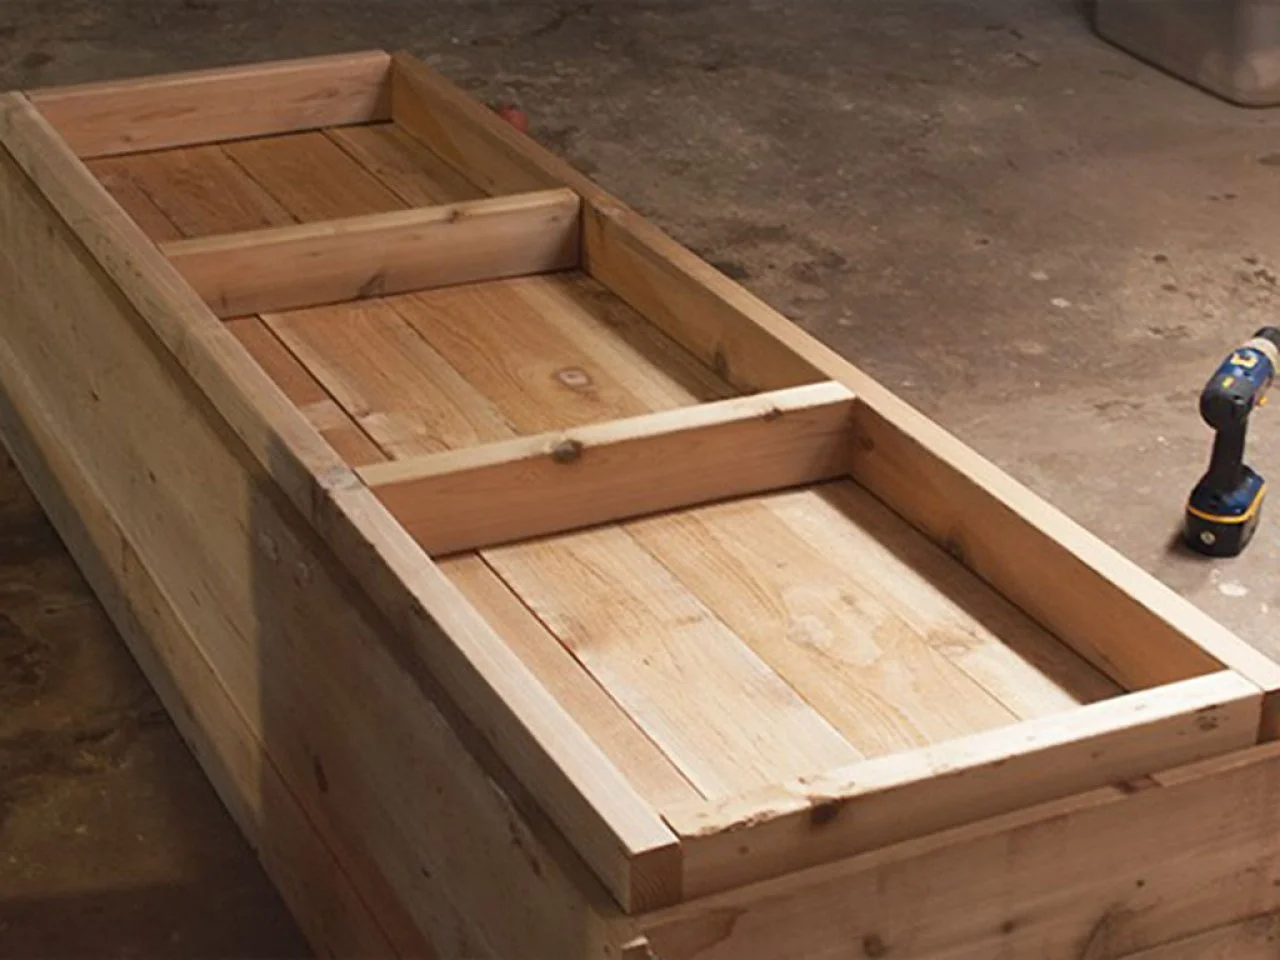
Flip the box upside down. Use the remaining 2x4s to create extra bracing for the bottom of the box (Image 1). If the 2x4s are too long, trim a little off. If they're a bit short, don't sweat it. What we're doing here is measuring the space in between the 2x4s. It should be about 19-1/4". Be sure to take this measurement at the ends of the box as well as in the middle. We found that the middle was slightly narrower than the ends. Cut four pieces to fit a little loosely in between the 2x4s. The easiest way to do this is to put a 2x4 in place, mark it and cut it, custom-fitting each to its position. Add the additional supports 2' from each end and attach with 3" screws. Lay the sides and end 2x4s out in a loose rectangle.
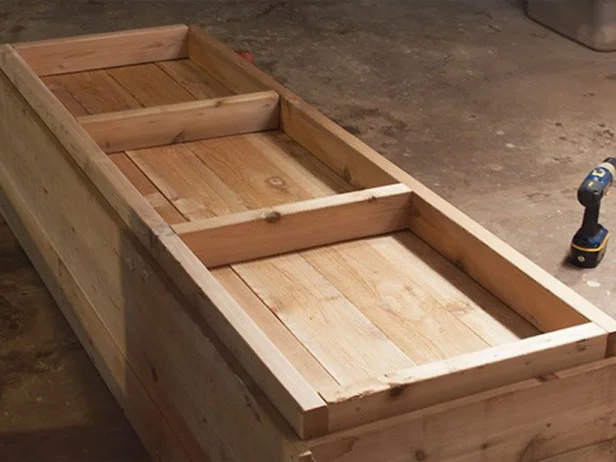
Fit the additional supports between the two 6' boards and attach them with 3" screws.
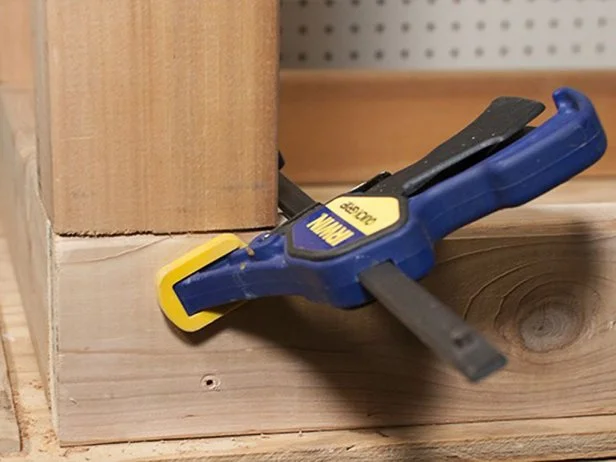
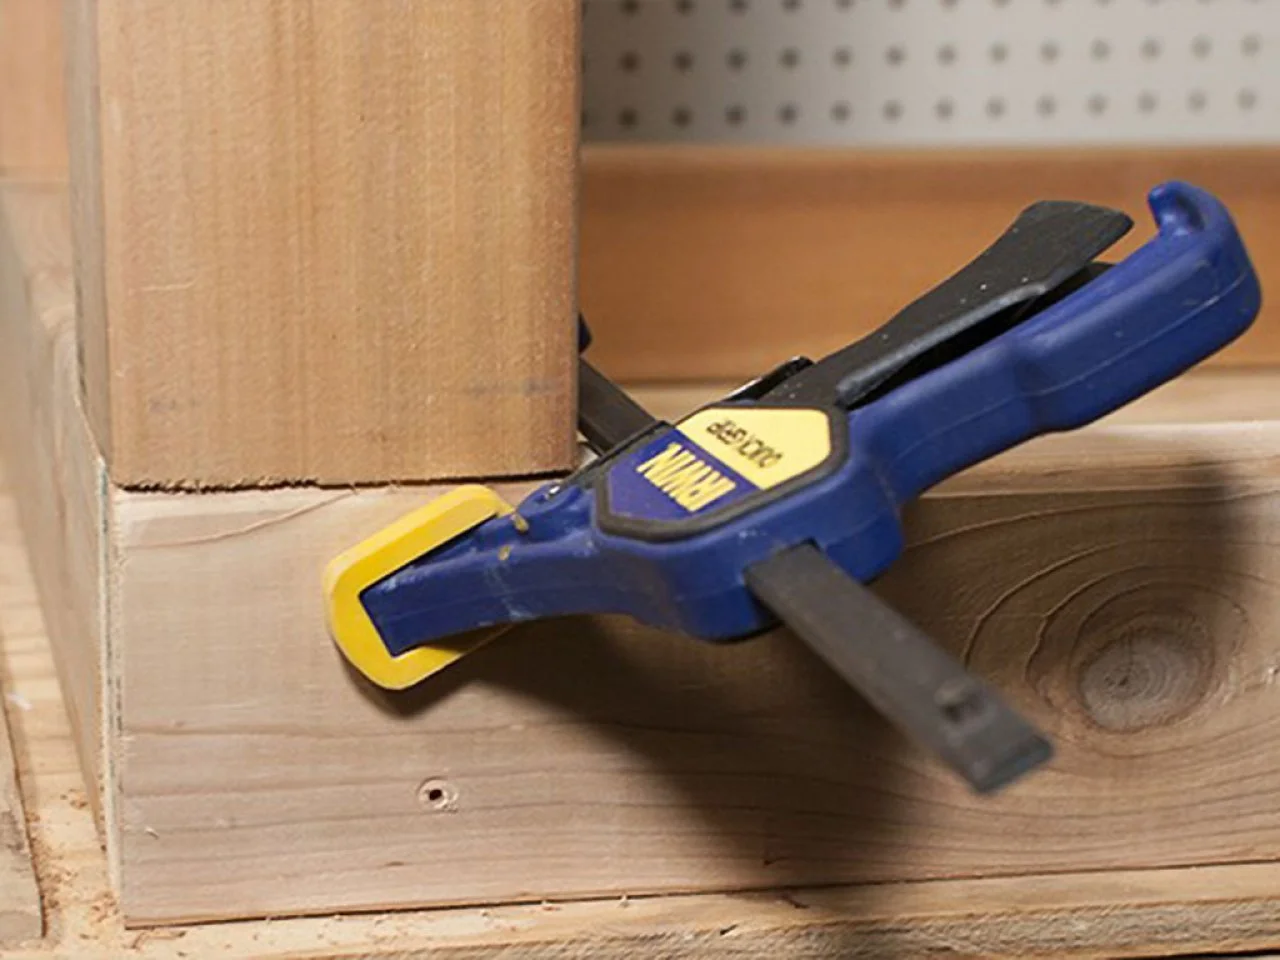
Clamp the legs into place based on the notches you cut earlier. Check for square, then pre-drill holes and secure with 3" screws.
Turn a leg upside-down and clamp it into place in one of the corners (the notches you cut out should fit nicely to the 2x4s). Check for square. Pre-drill and screw into place using 3" screws (Image 2). Repeat for the remaining three sides (clamp, drill, screw).
9. Drill for Drainage and Add Landscape Fabric
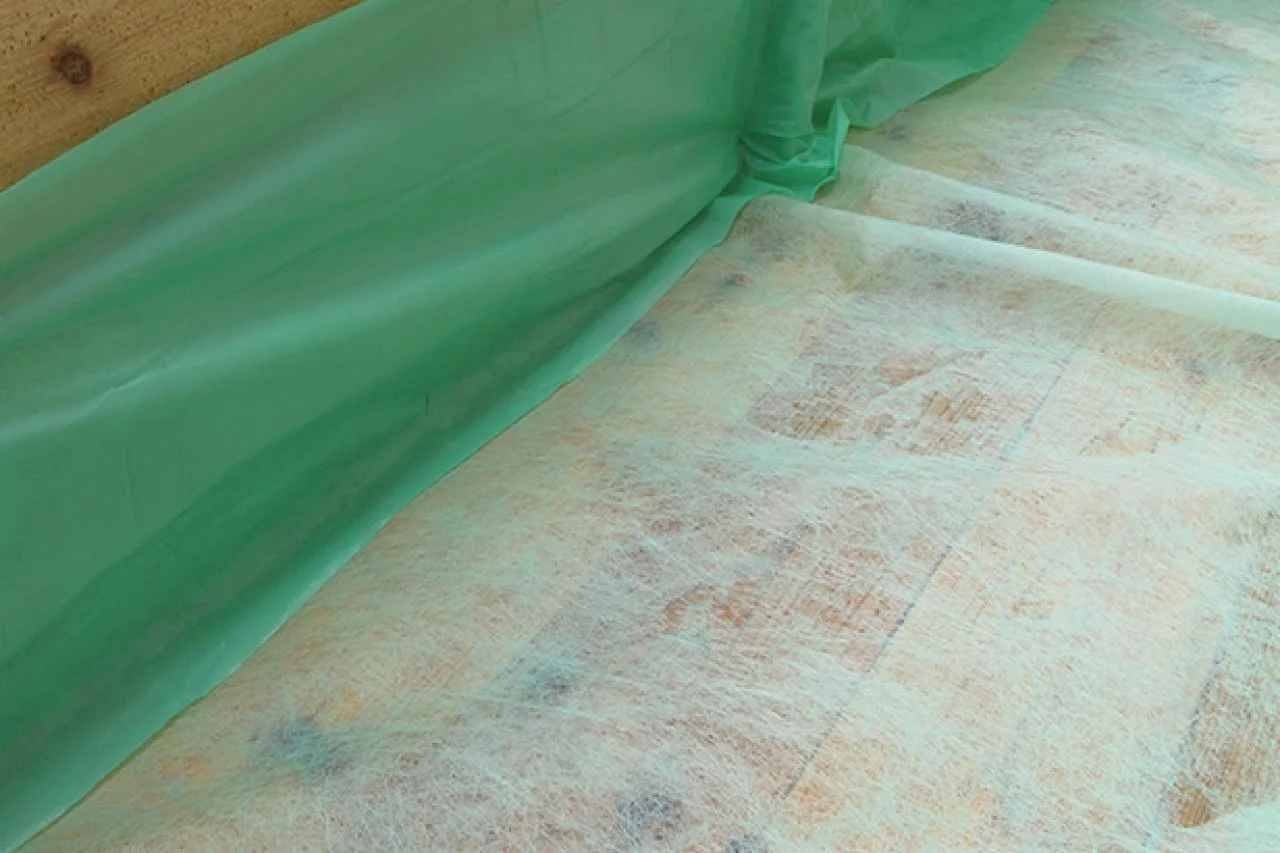
In the bottom of the box, drill 3/4" drain holes 12" from each end. Staple landscape fabric into the box and fill it with potting soil mix. Your box is now finished, and it's time to start planting!
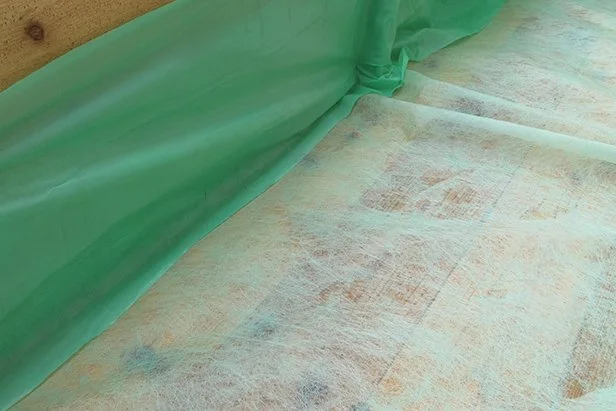
Set the box on its stand, drill 3/4-inch drain holes, staple landscape fabric into the box, and fill it with dirt.
Your box is ready for you to start planting!