20 Things Every Homeowner Should Know How to Do
You don’t have to call a handyman every time something goes haywire in your house. Get tips for tackling 20 basic home repairs and projects, from fixing a running toilet to cleaning the gutters.
Related To:

Photo By: ©iStockphoto.com/MilesSherrill
Photo By: ©iStockphoto.com/AndreyPopov
Photo By: ©iStockphoto.com/Louis-Paul St-Onge
Photo By: ©iStockphoto.com/AvailableLight
Photo By: ©iStockphoto.com/Halfpoint
Photo By: ©iStockphoto.com/slobo
Photo By: ©iStockphoto.com/4kodiak
Photo By: Steve Gladstone
Photo By: ©iStockphoto.com/WillSelarep
Photo By: ©iStockphoto.com/Artfoliophoto
Photo By: ©iStockphoto.com/Peter Mukherjee
Photo By: ©iStockphoto.com/Strevell
Photo By: ©iStockphoto.com/sumnersgraphicsinc
Photo By: ©iStockphoto.com/slobo
Photo By: ©iStockphoto.com/Wildroze
Photo By: ©iStockphoto.com/slobo
Photo By: ©iStockphoto.com/mihalec
Photo By: ©iStockphoto.com/rickmartinez
Photo By: ©iStockphoto.com/Bjoern Meyer
Photo By: ©iStockphoto.com/NORRIE3699
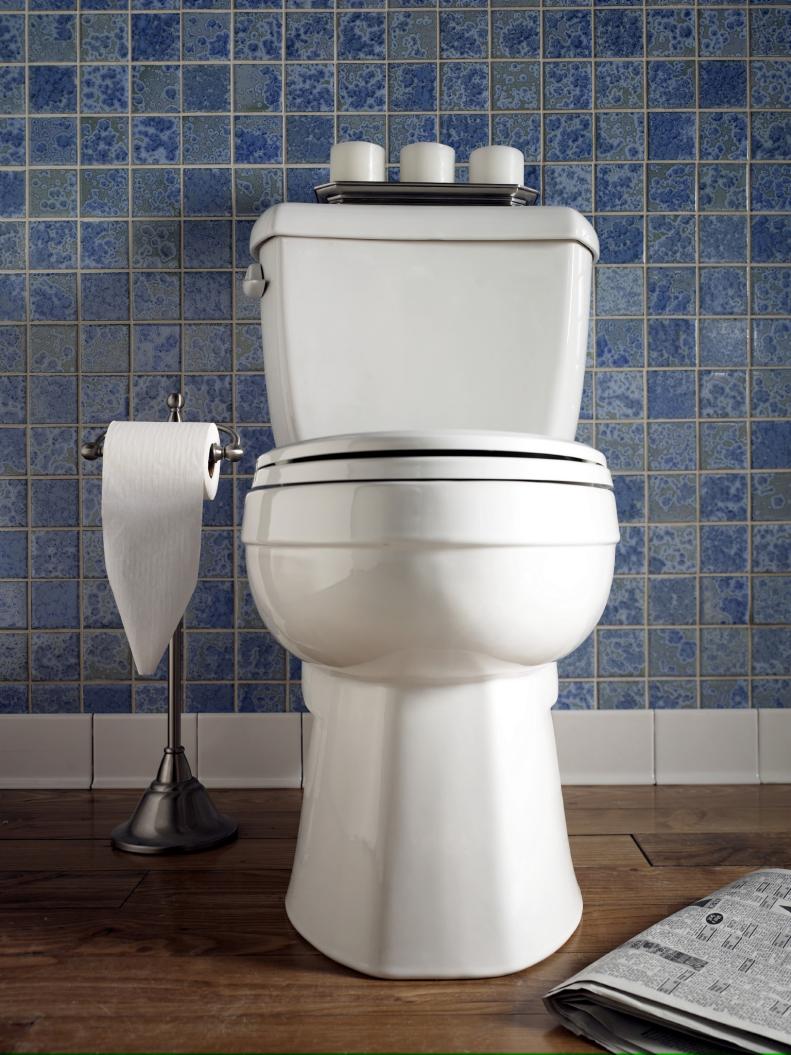
Fix a Running Toilet
If your toilet is running water nonstop, it’s a must-fix situation or else your water bill will wash you away. So it’s a good idea to get acquainted with what you see when you lift the top of the toilet tank (it’s called the flush valve assembly, by the way). Sometimes the fix is as simple as repositioning a part of the assembly, but if that doesn’t solve your problem, you may need to replace it.
Learn More: Tips on Solving Common Toilet Problems
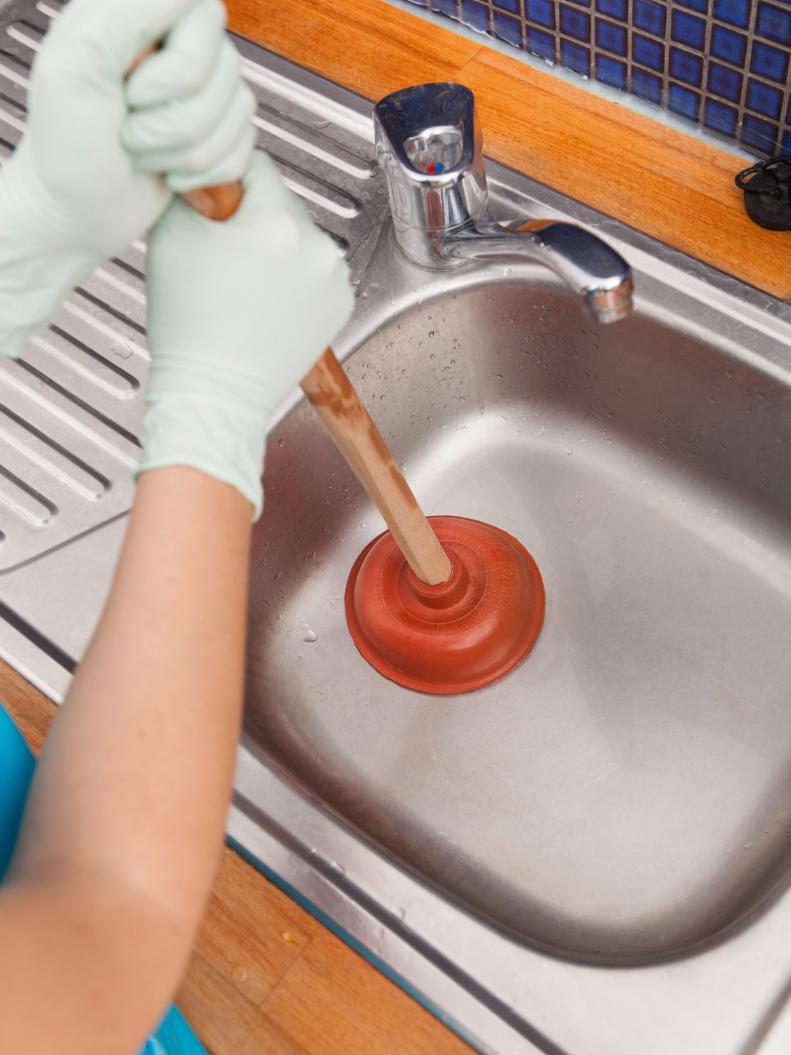
Unclog a Drain
Harsh, pricey chemicals shouldn’t be your first option when a sink drain gets clogged — better to keep a small plunger and a drain snake on hand to work out the problem mechanically. After you’ve removed the primary clog, clean out smelly gunk by putting a cup of baking soda in the drain followed by four cups of boiling water; then chase with a cup of vinegar. The vigorous chemical reaction will jar any remaining debris loose and leave the drain smelling fresh.
Learn More: Tips for Keeping Drains Clog-Free
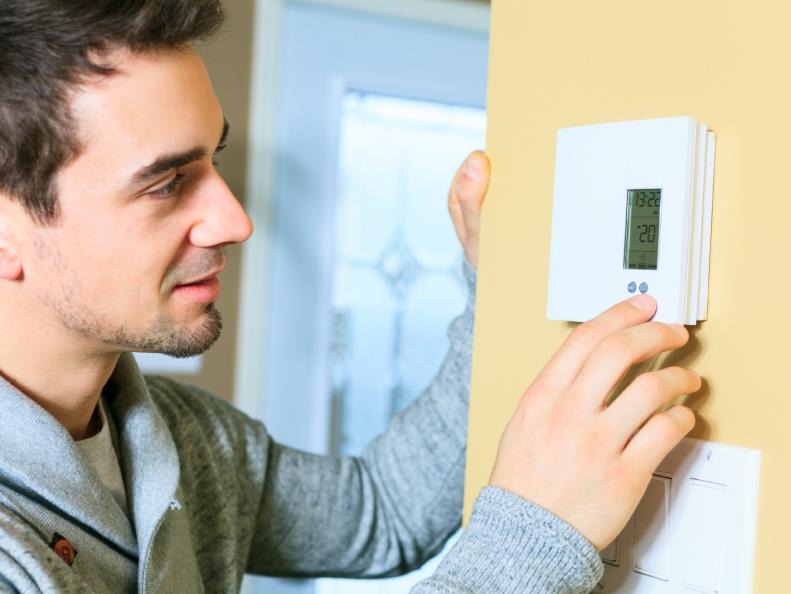
Set a Thermostat Properly
No two thermostats are alike when it comes to programming, but there are a few rules everyone should know. First, the U.S. Department of Energy recommends setting your thermostat to 68 degrees in winter and 78 in summer for optimal energy efficiency. If you live in a cold climate where pipes can freeze, make sure the temperature is always at least 55 degrees inside the house; in warm, humid climates, don’t bump up any higher than 80 degrees while you’re away from home. The air conditioner needs to run periodically to dehumidify air — you don’t want to come home from vacation to a mold problem.
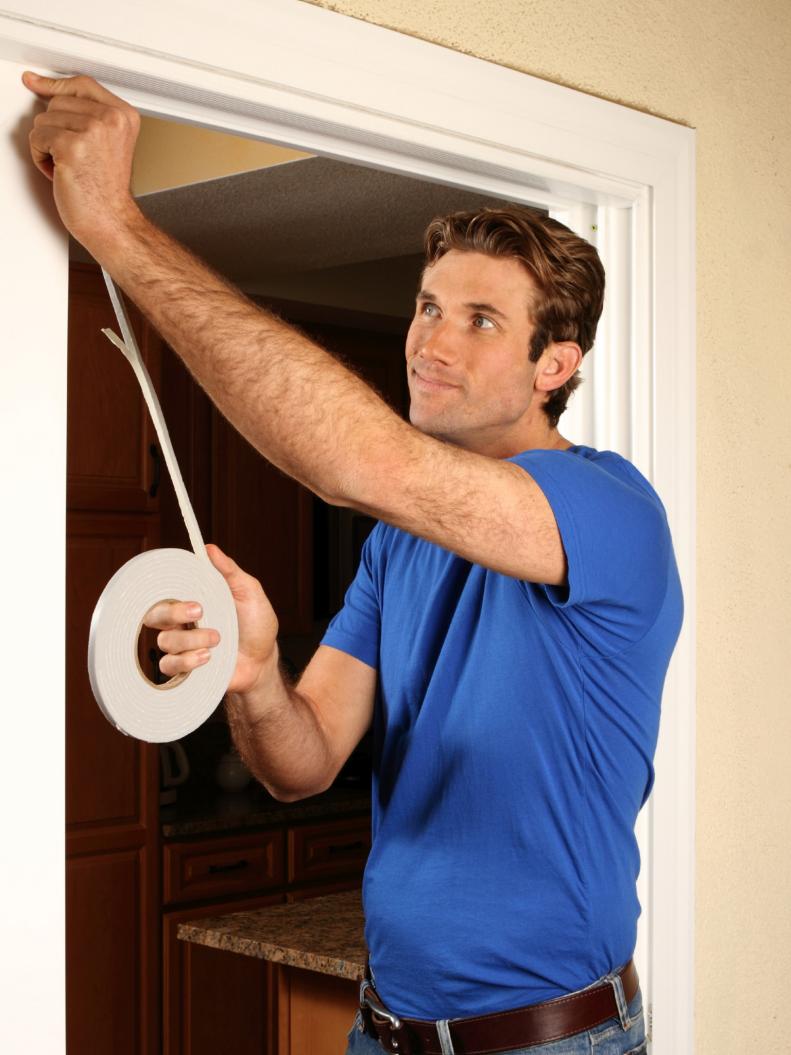
Install Weatherstripping
Weatherstripping is the best way to seal air leaks around doors and operable windows — according to the U.S. Environmental Protection Agency, air-sealing your home can save you about 15% on heating and cooling costs. To judge the right amount to buy, measure the perimeter of the doors and windows you’re covering and pad by 5% to 10%.
Caulk Cracks and Gaps
Caulking is the air-sealing method of choice for stationary parts of your home, like window frames and electrical outlets. Wait for a warm, dry day; clean the area you’re caulking and remove any loose debris; hold the gun consistently at a 45-degree angle, and apply the caulk in a smooth stream without stopping.
Learn More: How to Caulk a Shower
Turn Off a Smoke Detector
Modern homes often have electric smoke detectors with a battery backup. If you get a false alarm (and you’re sure it’s a false alarm), you must cut the power to the system and then disconnect each individual unit’s battery in order to turn off the piercing sound. (Burning a tuna melt in the kitchen is a bad time to find out you don’t know how to do this.) Locate your smoke detector’s switch in your circuit breaker box — if it isn’t clearly labeled, do that now — so that you can turn off the power if necessary. You can use a broom handle to pop out the battery panels of all ceiling-mounted units; if you have vaulted ceilings, make sure you have a long enough stick to do the job. Once the smoke clears, don’t wait — turn the electricity back on immediately and put the batteries back in each unit. Safety note: be sure to test your units once a month and replace batteries twice a year; find out how at AllState.com.
Test GFCIs
GFCIs (ground fault circuit interrupters) are the electrical outlets in your house that protect you from electrocution by cutting off the power when they detect a disturbance in current. They’re found anywhere you have running water — the kitchen, the bathroom, the garage, etc. — and they have two buttons: test and reset. Test your GFCIs once a month by plugging a small lamp into each one and pressing the test button. The button should click, the light should go off, and the reset button should then pop out. Press it and the lamp should come back on. Any other result means the GFCI has failed or your outlet is wired incorrectly; call an electrician for help.
Learn More: How to Replace a Standard Outlet With a GFCI Outlet
Find Your Main Water Shutoff Valve
Find a Wall Stud
If you’re hanging a picture or shelf, you need to be able to locate a wall stud to nail into for support. You can always shell out the 20 bucks for a battery-powered stud finder, but Frank Lesh, owner of Home Sweet Home Inspection Company in Indian Head Park, Ill., also recommends another tool: a bright flashlight. Start by locating an electrical outlet along the wall, since the receptacles are typically fastened to one side of a stud. Studs should be located every 16 inches or so, although your mileage may vary. “Tap on the drywall,” Lesh says. “It should sound hollow as you move to the left or right. As the sound changes, that indicates where the stud is. If you have a really bright flashlight, point it alongside the drywall and it will show any imperfections. If you find a string of indentations, that’s where nails are — that’s the stud.”
Learn More: How to Find Wall Studs With or Without a Stud Finder
Plant a Tree
A healthy tree is a lasting asset to your property, but unfortunately, planting properly is a task that many homeowners get wrong. The rules are different depending on whether you’re buying a tree bare-root, in a container, or balled and burlapped, so read up at the Arbor Day Foundation before you grab a shovel and start digging. Some cardinal rules: never bury the root collar under soil (that’s the part where the roots join the trunk), don’t pile mulch on the trunk (the ubiquitous “volcano” look smothers roots and rots bark), and don’t fertilize after planting (it can kill young trees).
Learn More: How to Plant a Tree
Clean Refrigerator Coils
Clean Grout
If you’ve got tile flooring, tub surrounds or backsplashes, you’ll eventually need to clean the grout if you want them to stay beautiful. Go easy, though — grout is less durable than the tile it’s holding together, and harsh cleaners like bleach can erode it. Start with water and a stiff brush, and if that doesn’t do the trick, try an oxygen cleaner or a mix of baking soda and vinegar followed by brushing. Deep stains may call for replacing the grout altogether.
Learn More: How to Clean Grout
Paint a Room
There’s really no need to hire a professional to do this — you can get great results yourself if you follow a few simple guidelines. Top tips: use good tools, don’t skip a thorough wall prep and work from the ceiling down so that you can catch mistakes.
Learn More: Painting Tips for Every Room
Change the Air Filters on Your HVAC System
It’s important to schedule a maintenance checkup for your HVAC system every spring and fall, but in the meantime, filters need to be checked once a month. When they’re dirty, change them; dirty filters shorten the lifespan of your system. Fortunately, it’s easy to do. First, check your owner’s manual for the right part number in order to buy a new filter. Then turn off your HVAC system while you work, remove the old filter and slide the new one in place.
Learn More: How to Clean an AC Filter
Change Lawn Mower Oil
Clean a High-Efficiency Washing Machine
Front-loading machines are a great water saver, but they have a dark side: smelly mildew buildup that can infect every load you run. To prevent this in the first place, use high-efficiency detergent only, and use as little as possible (only one to two tablespoons per load, believe it or not). But if the mildew has already appeared, there’s no need to buy a specialized cleaner. Just run your unit’s cleaning cycle if it has one, or run an empty cycle using hot water (no soap) and put bleach in the dispenser. Afterward, wipe out both the gasket and the front door and dry thoroughly. Repeat periodically as needed.
Learn More: How to Clean a Washing Machine
Install a Wall Anchor
When you need to hang something heavy in a place where there’s no wall stud for support, drywall anchors are the way to go. When you install them, the barbs on the end of the anchor fan out behind the drywall, providing the needed support. The simplest drywall anchors are self-drilling; use a screwdriver and apply steady turning pressure until the edge is flush with the wall, and then insert the screw for hanging your items. Other types of anchors require you to pre-drill the hole.
Learn More: How to Use Drywall Anchors
Clean Your Gutters and Downspouts
Deal With a Flooded Basement
If you come home to standing water in your basement, time is of the essence. “You have 48 hours to get the water out and get it dry,” says Frank Lesh of Home Sweet Home Inspection Company. “After two days, mold will start to grow, and once that starts you have to rip everything out.” Call your insurance agent right away and take pictures; then get to work pumping out the water and removing all furniture to be dried off. Important: make sure the power is off if there’s standing water! As long as the water is below boot level, Lesh says, you can safely shut off the power from a basement panel if you wear rubber boots and gloves and use a wooden stick or hammer handle to trip the main power switch.
Learn More: Basement Flooring Options, Costs and Ideas