


Step-by-Step Guide on How to Paint Kitchen Cabinets
Get all the details on how to paint kitchen cabinets in this step-by-step guide.
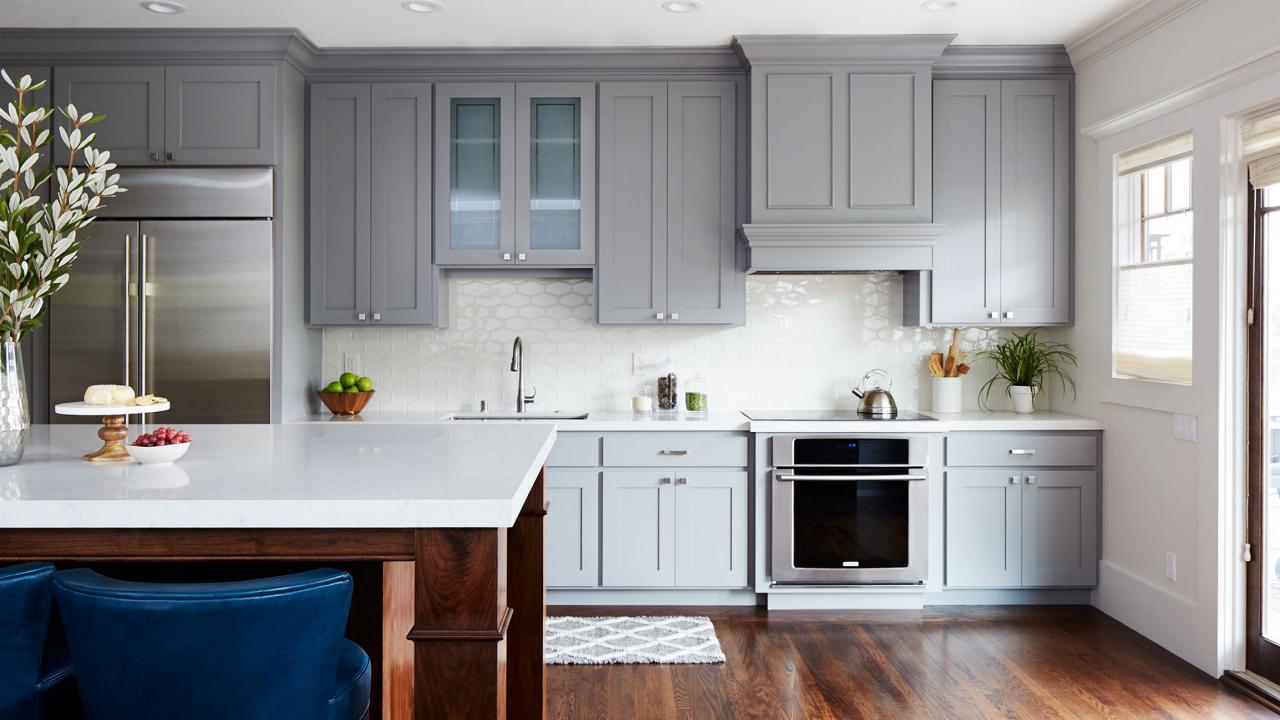
If your cabinets are old and outdated but you're not ready to replace them, try updating them with some fresh paint. Paint can work wonders on everything, and kitchen cabinets are no exception.

Suzanne Childress
Painting kitchen cabinets can be tiring and you can easily hire a pro to do the job, but if you're up for the challenge and want to save money, try to do it yourself. Follow the steps we have outlined below to learn the best way to paint your kitchen cabinets.
Tools + Materials
- fine-grit sandpaper
- sanding block
- tack cloth
- steel wool
- paint applicator
- primer sealer
- painter's tape
- rosin paper
- plastic tarps
- semigloss paint
- denatured alcohol
- trisodium phosphate (TSP)
Step 1. Consider Cost
When remodeling your kitchen, expenses add up quickly. Completely replacing the cabinets can easily top $5,000 for a 10-by-12-foot kitchen, and you might end up with lower quality cabinets than the ones you're replacing. Instead, a few coats of fresh paint can transform your existing cabinets for a fraction of the price, while still bringing that new look you desire. Be prepared to spend around $200 total for paint and supplies, depending on the size of your kitchen.

Kitchen Cabinet Color Options 33 Photos
See gorgeous designer kitchens where color is highlighted through the cabinetry.
Step 2. Size Up the Job
Wood, wood-laminate and metal cabinets usually can be repainted without difficulty. Plastic laminate cabinets might not accept a topcoat of paint — those that can be refinished often require special paints and techniques, and results can vary. If your cabinets have plastic laminate surfaces, first check with a knowledgeable paint dealer. For example, you could remove a door and bring it to a paint store for inspection. Also, test a sample of the paint you wish to use in an inconspicuous area to ensure that it will bond to the material.
Flat-front doors and drawers are easily repainted, but woodwork with raised panels, routed profiles or other architectural details will require more time to prep and paint. If the woodwork is warped, badly worn, damaged or coming apart at the glued joints, you can opt to buy new unfinished doors and drawers, and paint them along with your existing cabinets.
Applicator options for repainting include spraying, rolling or brushing with either a natural or synthetic bristle brush or a foam brush. All have their advantages and disadvantages; choose whichever is most suited to the amount of woodwork to be repainted and your own style of working. The best applicator also may depend on the type of paint or finish you choose.
If you don't have a large worktable, 2x4 boards propped on buckets or boxes will also work. If you don't have those materials, work on top of a drop cloth.
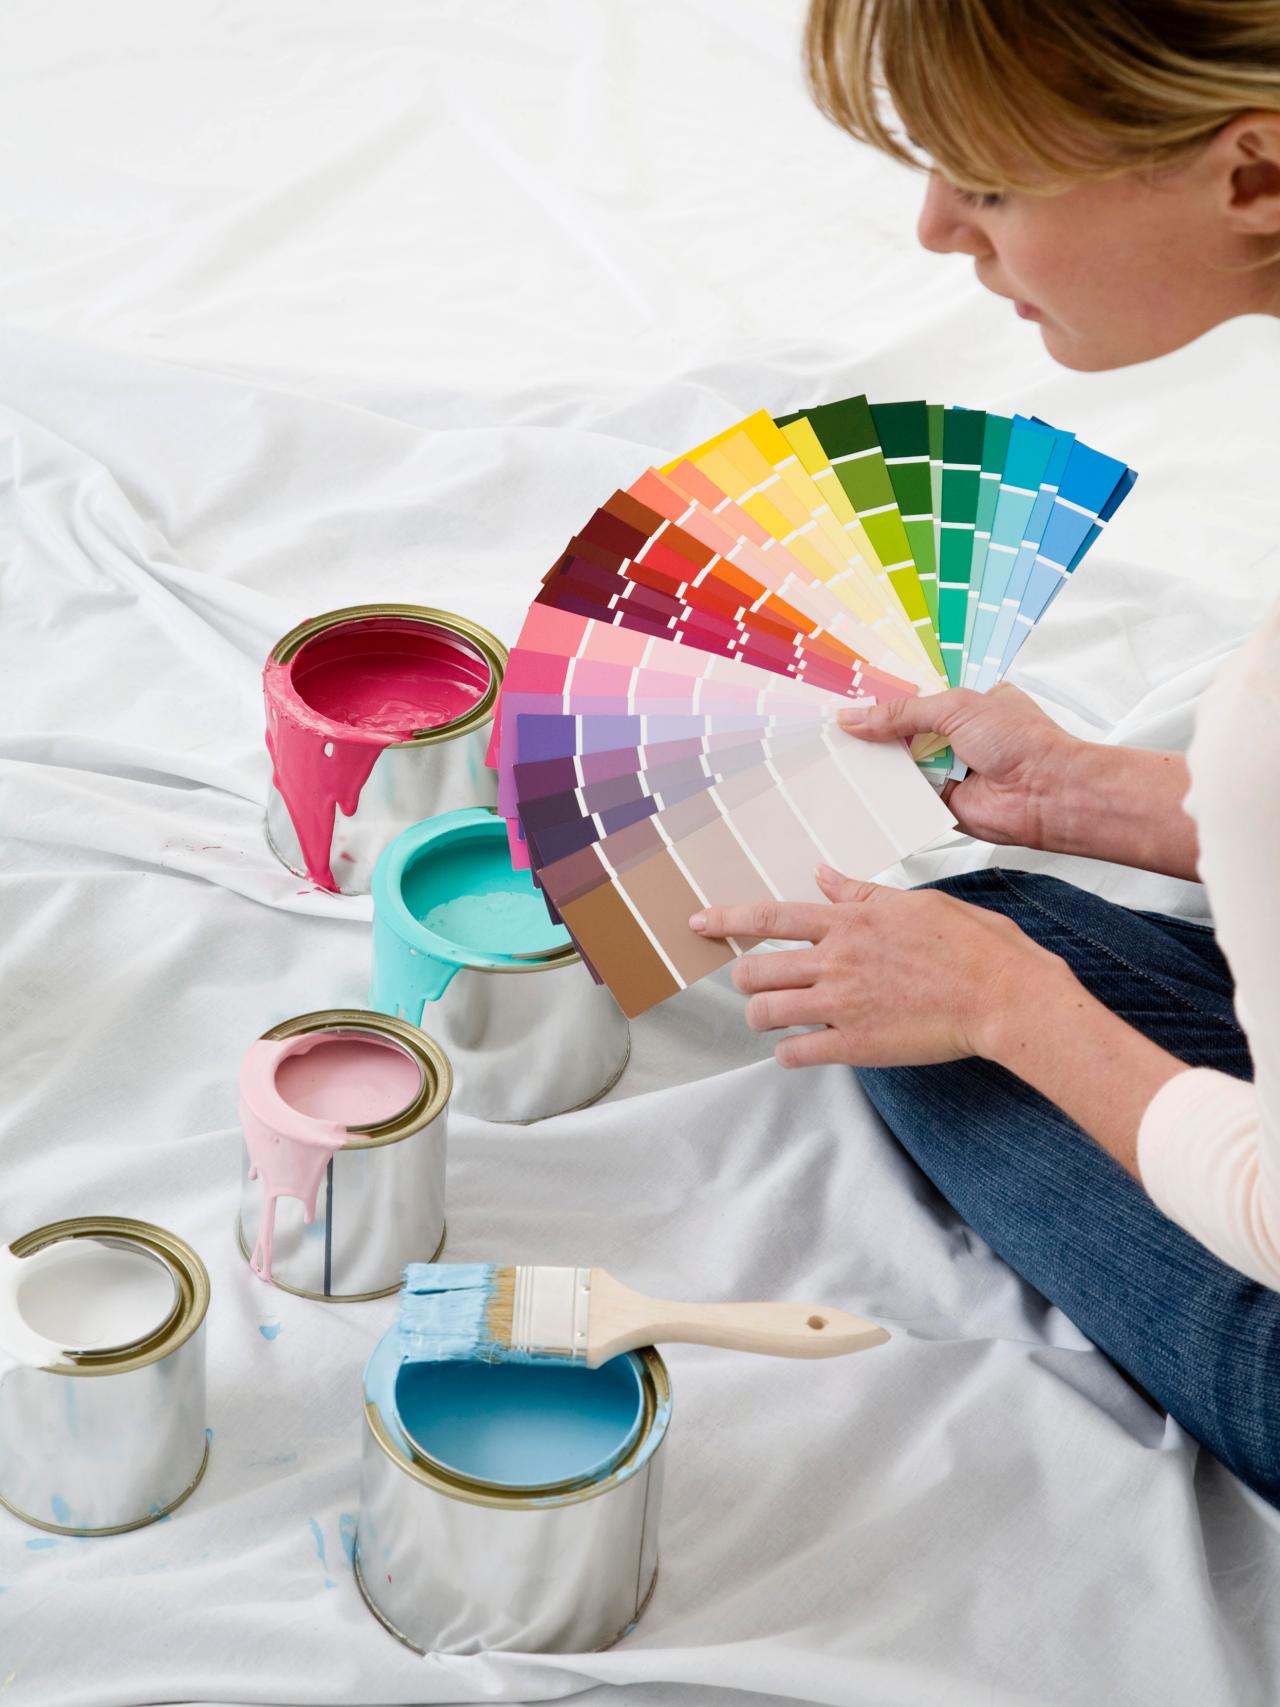
Step 3. Select the Type of Paint
When selecting paint, first decide if you want to use latex or oil paint. Latex paints are great for less experienced painters. They dry quickly and clean up with water, making them a pretty user-friendly option. However, these paints take up to three weeks to fully cure (and can be damaged during this time), so they may not be ideal for those with children or pets. If you do choose to opt for latex paint, be sure to select a paint with a 100 percent acrylic formulation for greater durability and adhesion.
For a more durable option (and one favored by the pros), opt for an oil-based paint. These paints are argued to level out to a smoother finished surface, hiding the imperfections of your cabinets. Another great feature is that this type of paint is stain resistant. Oil-based paint is typically more expensive, so keep that in mind when budgeting for your remodel.

Jupiterimages
Step 4. Decide on a Finish
Next, decide if spray or brush painting is right for your skillset and budget. Spray painting will give you the smoothest outcome, but it's more difficult than it seems. You'll likely need to rent the spray machine (driving up the cost), and you'll have to tarp or tape all areas in the kitchen that could accidentally get sprayed.
Another option is to use high-quality brushes. You'll need two brushes: a 3 to 4-inch-wide square brush for large, flat panels, and a 2 to 3-inch-wide angled brush for hard-to reach corners. Use natural bristle brushes for oil-based paint and synthetic bristle brushes for latex paint.
Regular or faux finish is also important to consider. If you're going for a farmhouse or rustic look, consider a faux finish with crackling glaze. For a more polished space, opt for a high-gloss finish to bring shine to your cabinets.
Step 5. Prep the Space
Preparing your space the right way can make or break a project. To prep correctly, you'll need to empty all cabinets and clear off the counters, including any freestanding appliances. Next, move all furniture, so you'll have plenty of work space. The next, very important step is to tape rosin paper over the counters and floor. To protect the surrounding area, tape plastic tarps over the backsplash, windows, fixed appliances and doorways.

The success of your kitchen cabinet painting project hinges on properly preparing the space.
Step 6. Create a Paint Station
Setting up a paint station provides a dedicated space to get work done. You'll want a worktable for painting doors, drawers and shelves, but to take it up a level, you can also create a drying rack with two small ladders and two 2x4s. Simply lay the 2x4s on the top rack of both ladders and screw eye hooks into both 2x4s to hang the painted items. To make sure no holes will be visible, add corresponding hooks to the top edges of upper cabinet doors and the bottoms of lower doors and drawers.

Shain Rievley
Create a dedicated work space for painting your kitchen cabinets, which could be a worktable for painting doors or a drying rack made with two small ladders and two 2x4s.
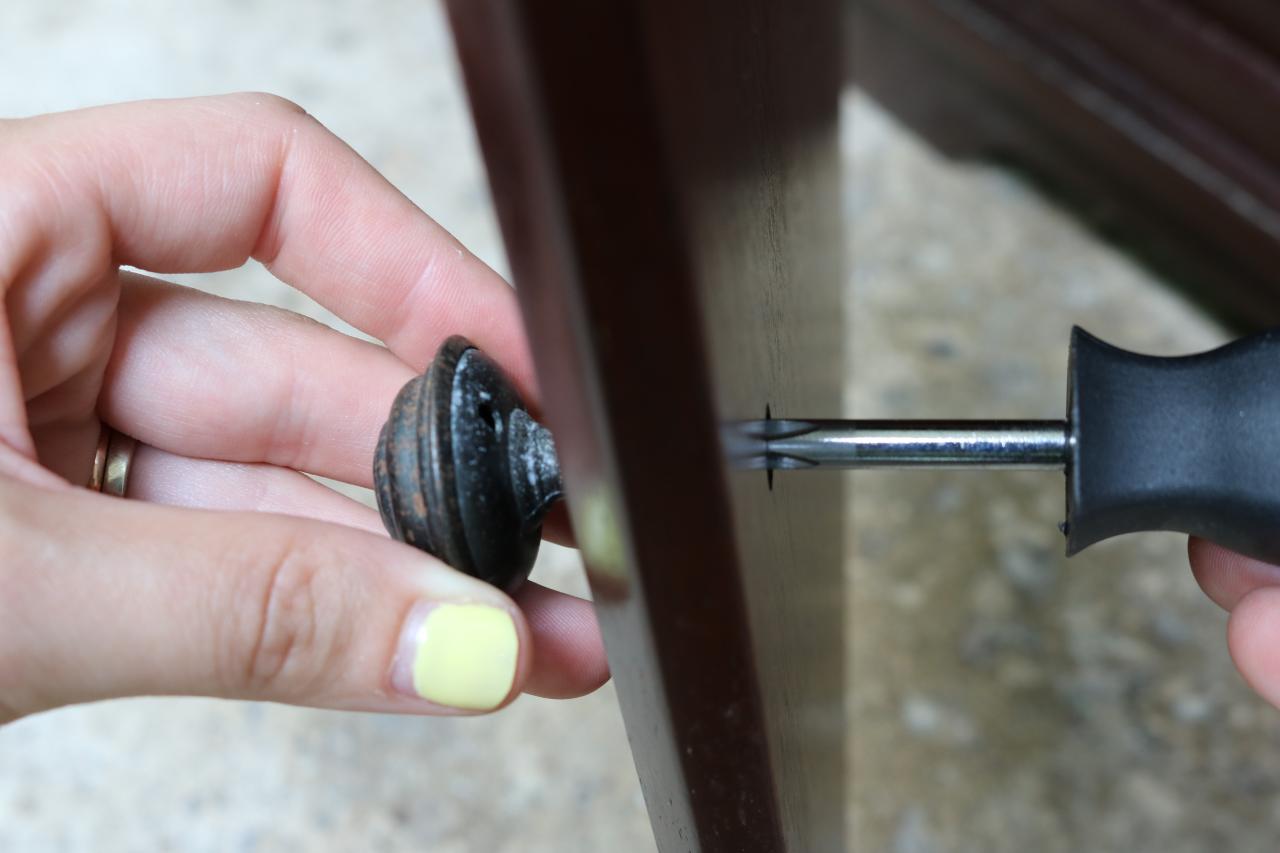
Step 7. Remove Doors and Hardware
Remove all of the hinges, hardware, doors, screws and drawers from your cabinets. Use masking tape to label each door with a number and its corresponding location as you remove them so you'll remember which one goes where. Do not mix them up or the hinges may not line up properly when you reinstall. If you are painting only the drawer fronts, you won’t have to remove the attached slides. If you do need to remove the slides, mark them and their locations as well. Place the hardware and screws in plastic bags inside the cabinets where they will be easy to locate when you're ready to reassemble everything.
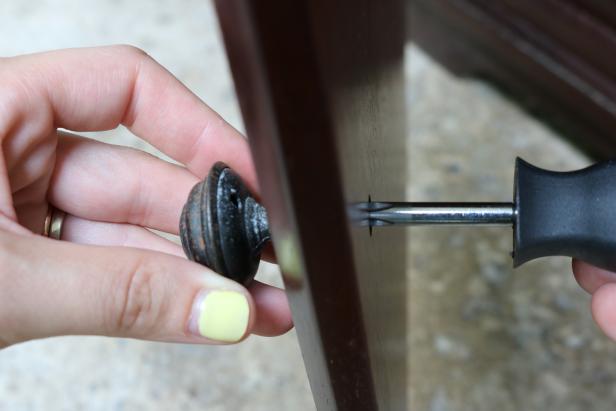
Place removed kitchen cabinet hardware and scews in a plastic bag so they won't be lost during your painting project.
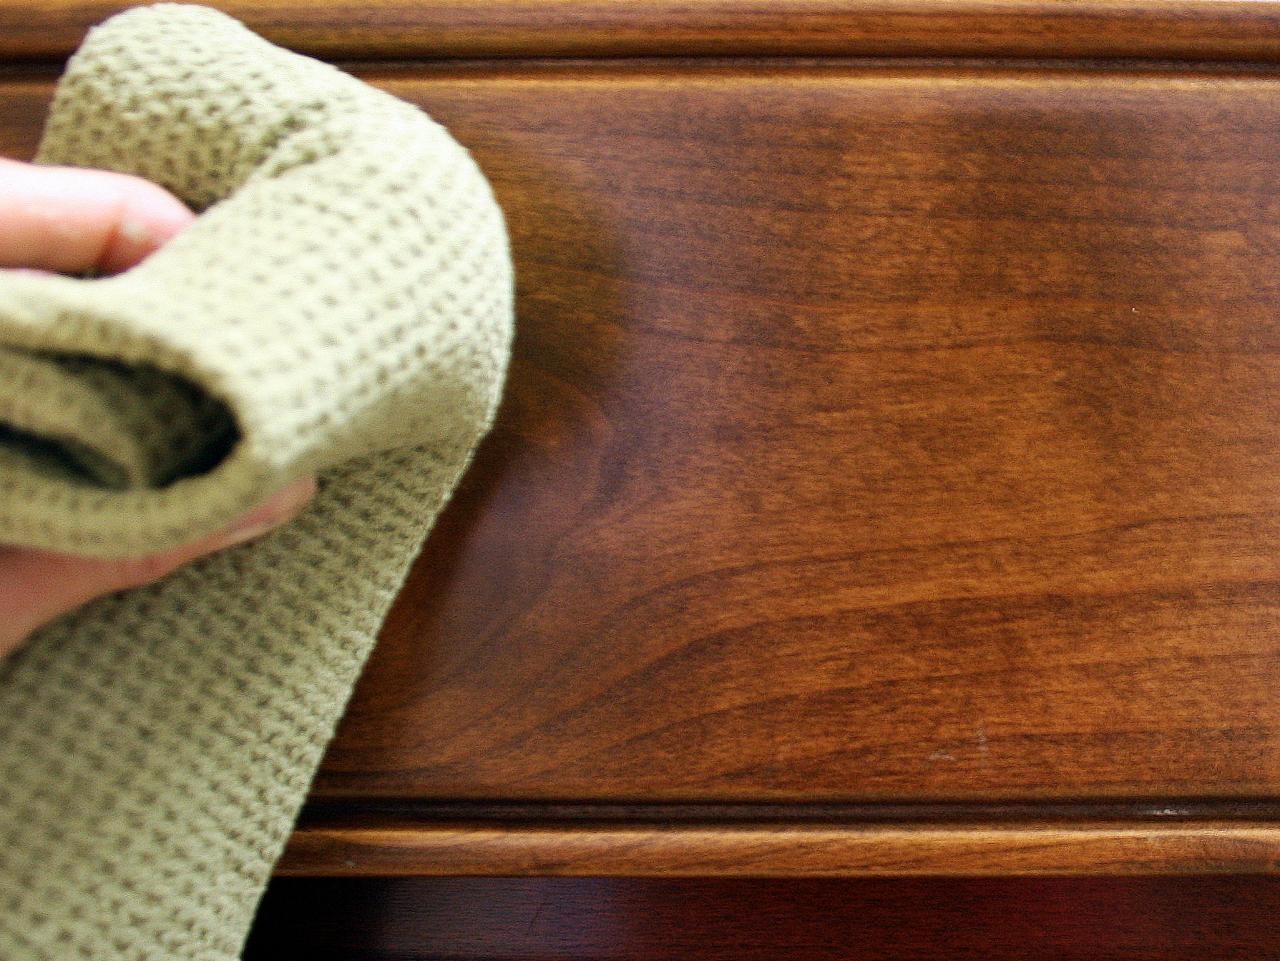
Step 8. Clean Surfaces
Kitchens are work areas, so grease, steam and food splatters are common. You'll want to prep all of the doors and drawers properly to ensure your paint will stick. Start this process by scrubbing your cabinets to get rid of any grease or residue. Clean all of the surfaces to be repainted with a solution made from one part trisodium phosphate and four parts water. Rinse, but do not soak the cabinets. Allow them to dry thoroughly before applying paint.

Prep your kitchen cabinets by cleaning the surfaces, which could bear the residue of grease, steam and food splatters.
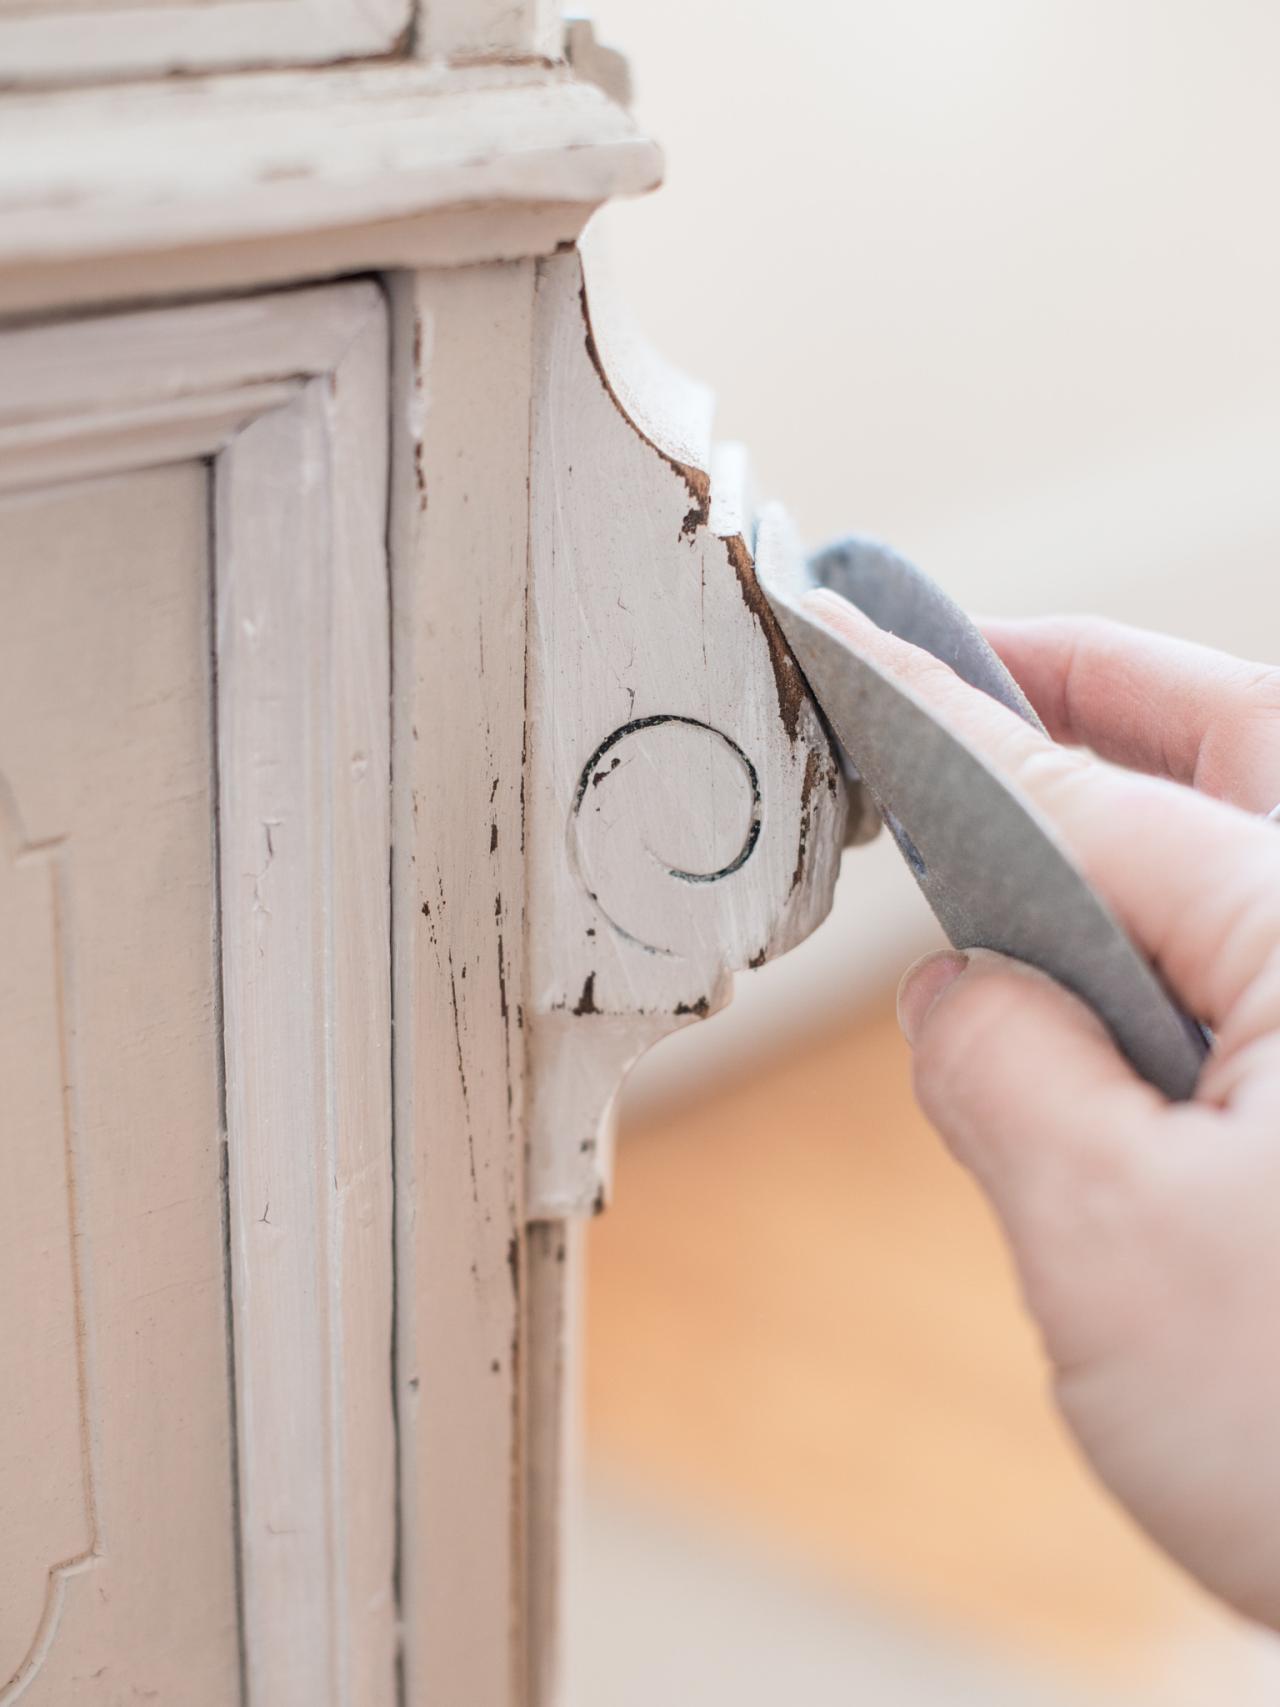
Step 9. Sand
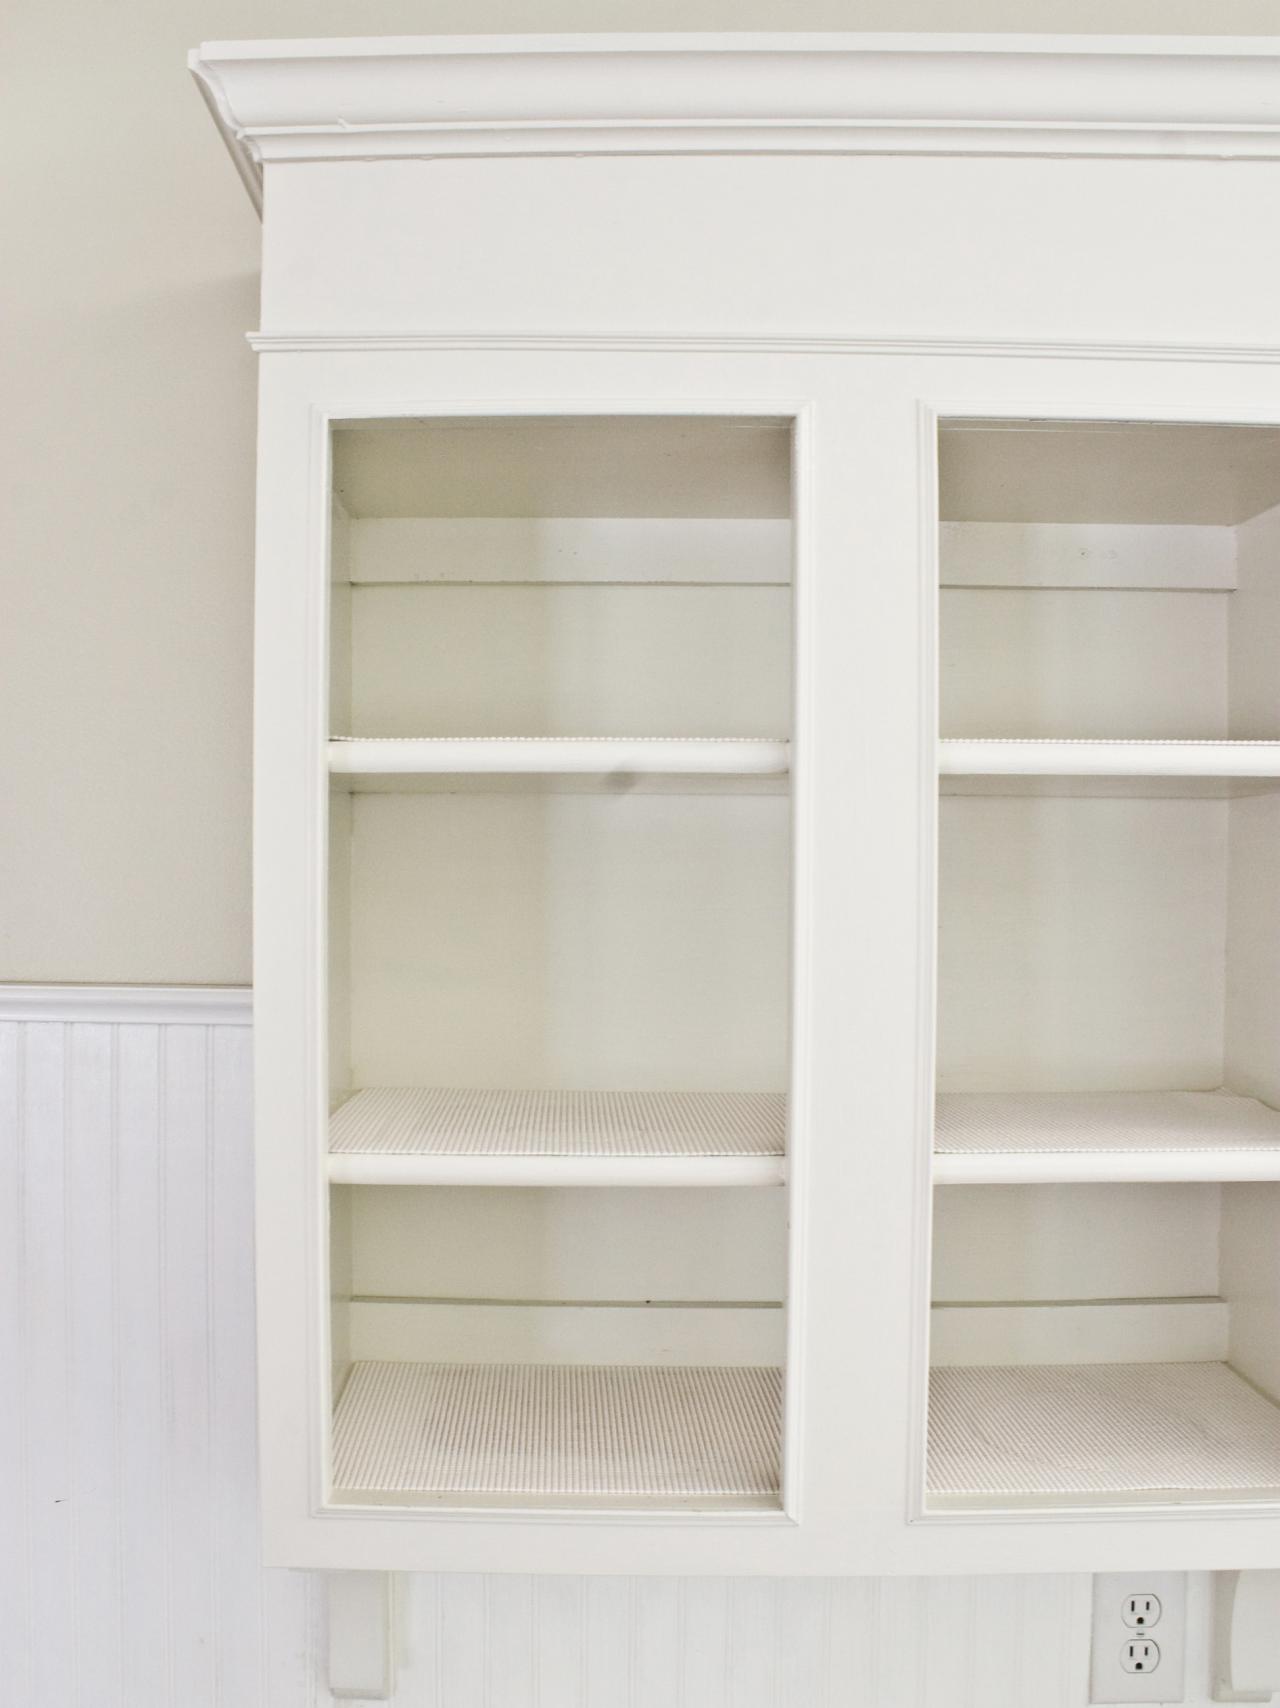
If you're planning to use new hardware, cover the current holes with wood filler. Lightly sand the doors on all sides and faces. Use a wood sanding block to prevent rounding over the wood edges. If your repainting project is just a facelift for the cabinets, you don’t need to sand and paint the inside of the cabinets. Mask off the interiors with painter's tape for a clean finish and sand only the front surfaces and visible edges of the cabinet face frames.
When sanding, there is no need to remove all of the old paint if it is sound and well-adhered; just roughen the surface to provide the new paint with a firm, clean base for better adhesion. Pay particular attention to especially worn areas of old finish, which typically get the most use. Also, be sure to sand over shiny areas to deglaze any remaining previous finish. Stubborn finishes may require treatment with denatured alcohol and fine steel wool.
If the old paint is flaking off in places, it indicates the finish did not adhere well to the wood surface. This is typically due to moisture or greasy residue getting under the paint layer or into the wood itself, which can be expected in kitchens. Sand these areas to bare wood and spot-prime with a stain-killing primer/sealer before repainting. Wherever you sand down to bare wood, try to blend or "feather" the edges where the old paint meets the wood so the new paint will lay flat, and the paint edges will not be visible or "telegraph" through the new finish.
Thoroughly vacuum the sanding dust from all surfaces. If you have a pneumatic air compressor, use high-pressure air to blow the dust out of crevices or molding details. Wipe down the areas to be painted with a tack cloth to pick up any remaining sanding residue.

Knocking Down the Edges
When sanding kitchen cabinets, there is no need to remove all of the old paint if it is sound and well-adhered.

Photo by: Marian Parsons
Marian Parsons
When sanding kitchen cabinets, there is no need to remove all of the old paint if it is sound and well-adhered.
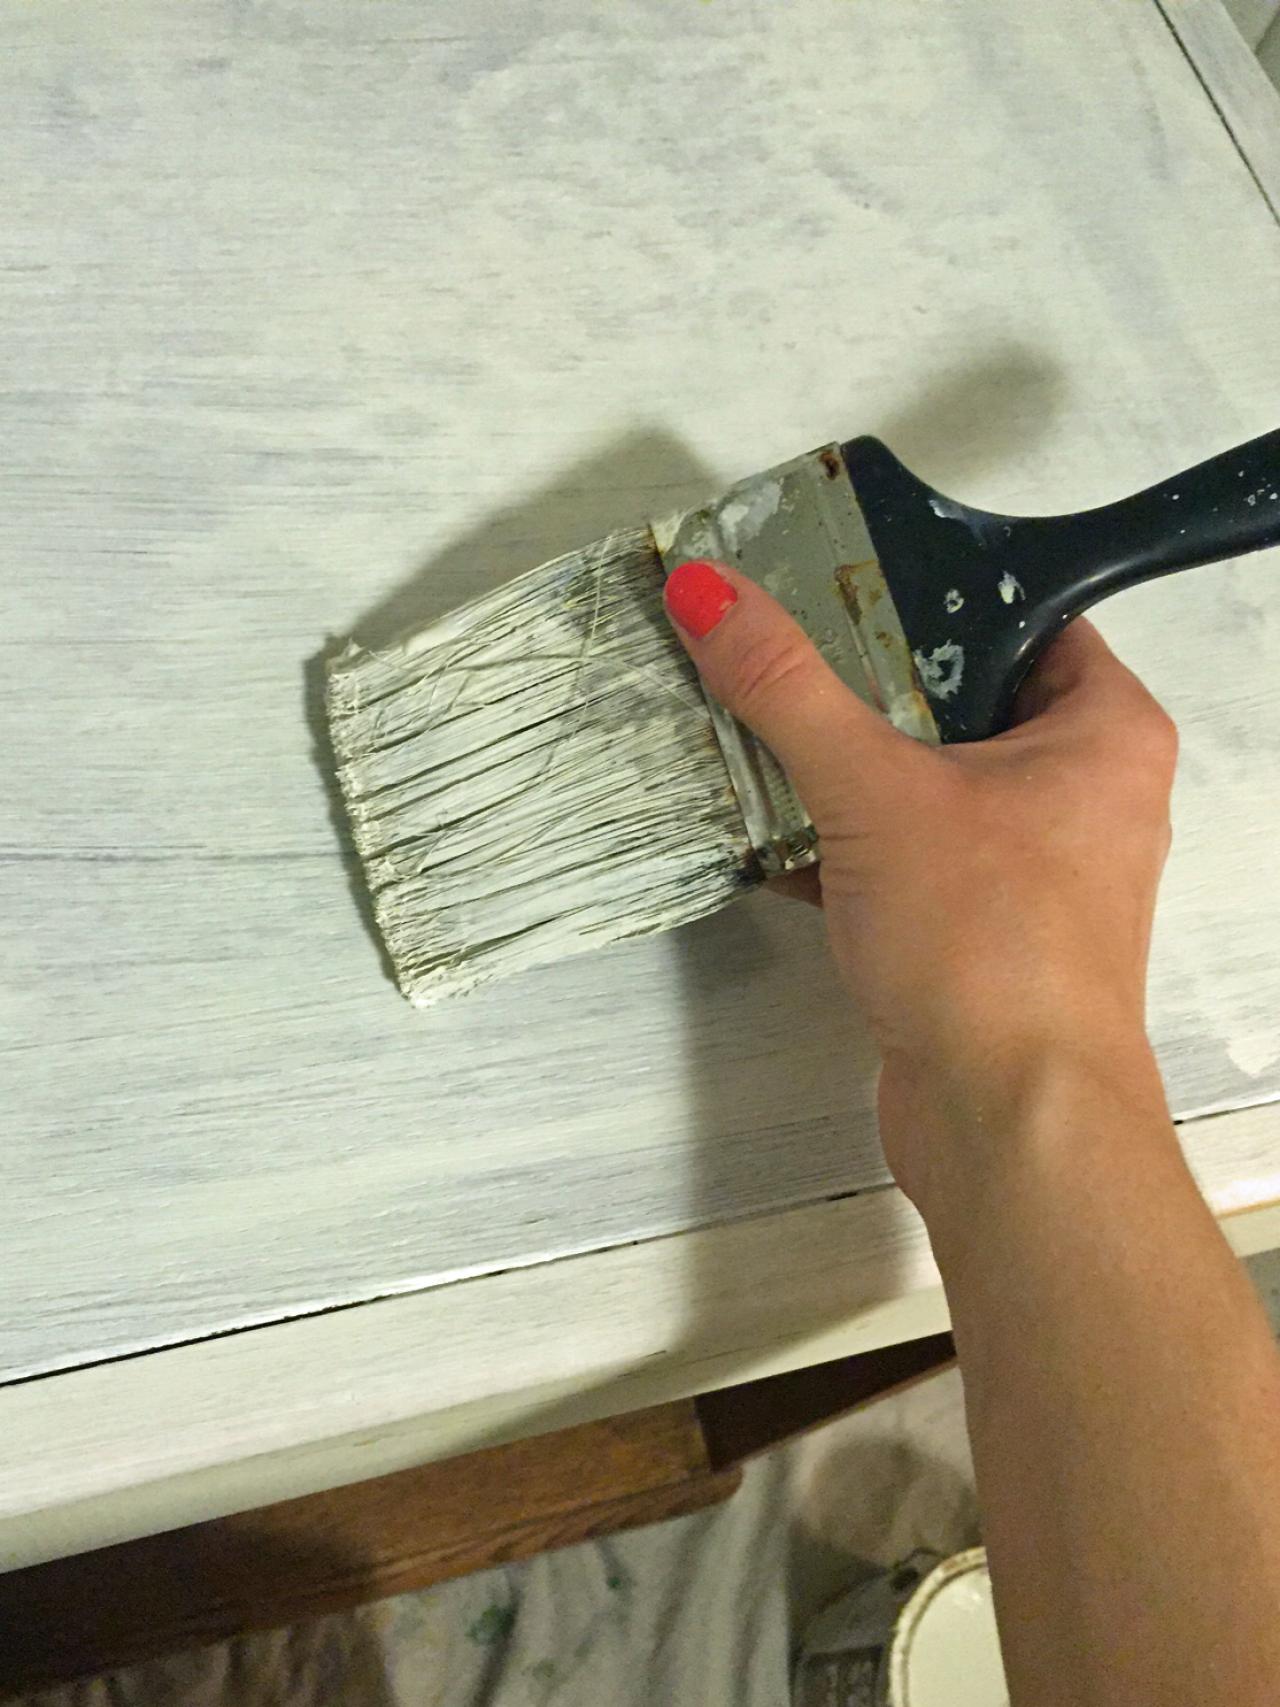
Step 10. Apply Primer-Sealer
Apply an even coat of primer-sealer to all surfaces to ensure a well-bonded finish coat. Primer-sealers also reduce the need to sand and deglaze old finishes before repainting. Another advantage to a primer-sealer is that they provide a good base for semigloss and water-based paint. High-gloss enamel paint was once the preferred finish for kitchen cabinets because it resists stains and water and is easily cleaned, but today’s water-based finishes are easier to work with and provide an equally durable finish.
An even coat of primer-sealer on your kicthen cabinets ensures a well-bonded finish coat.
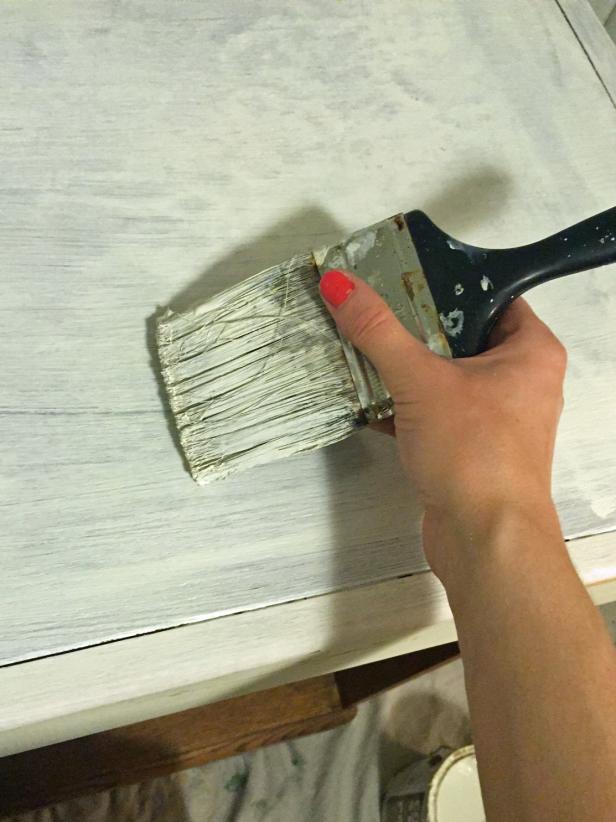
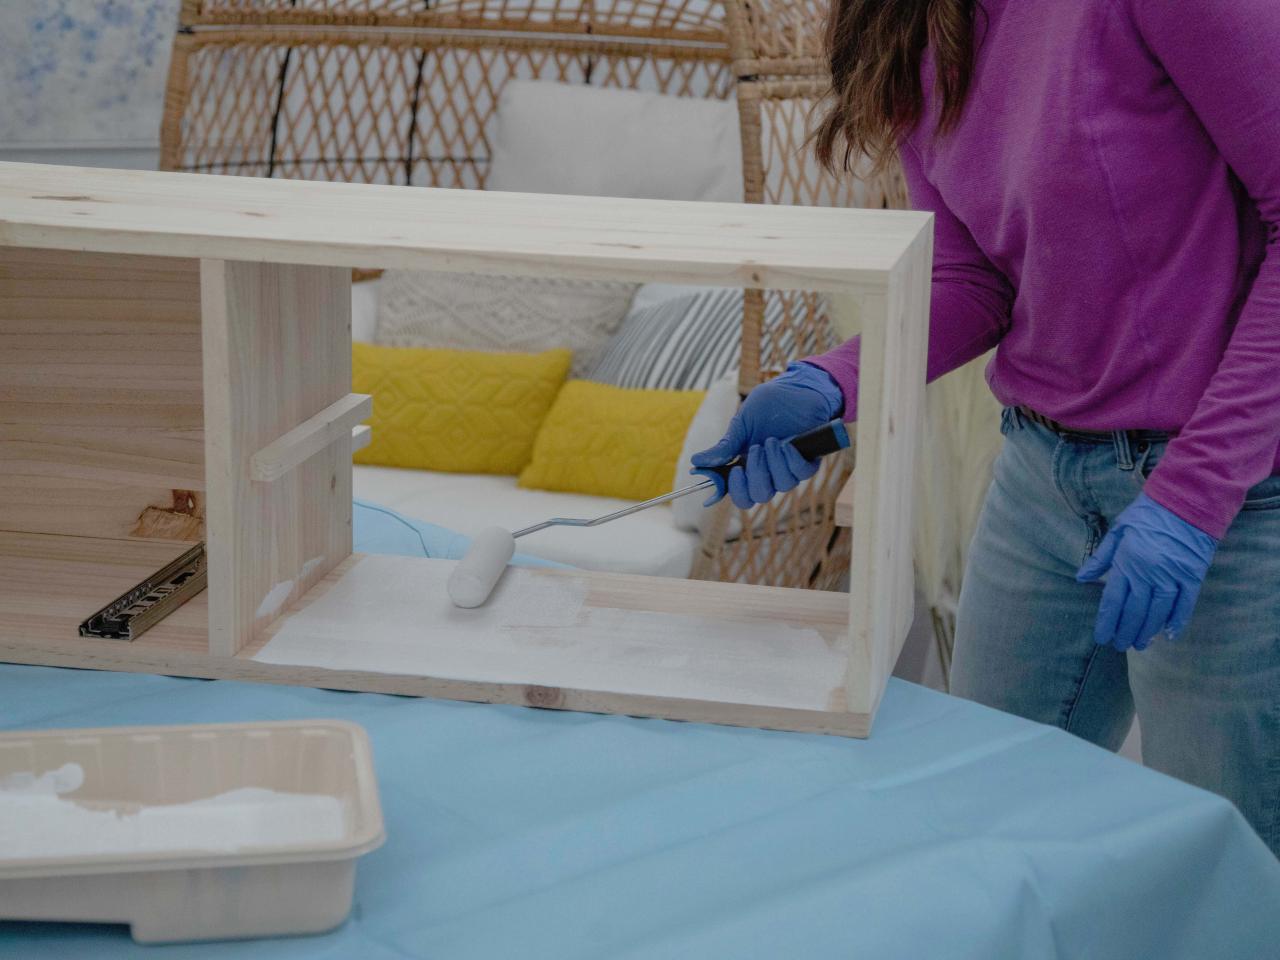
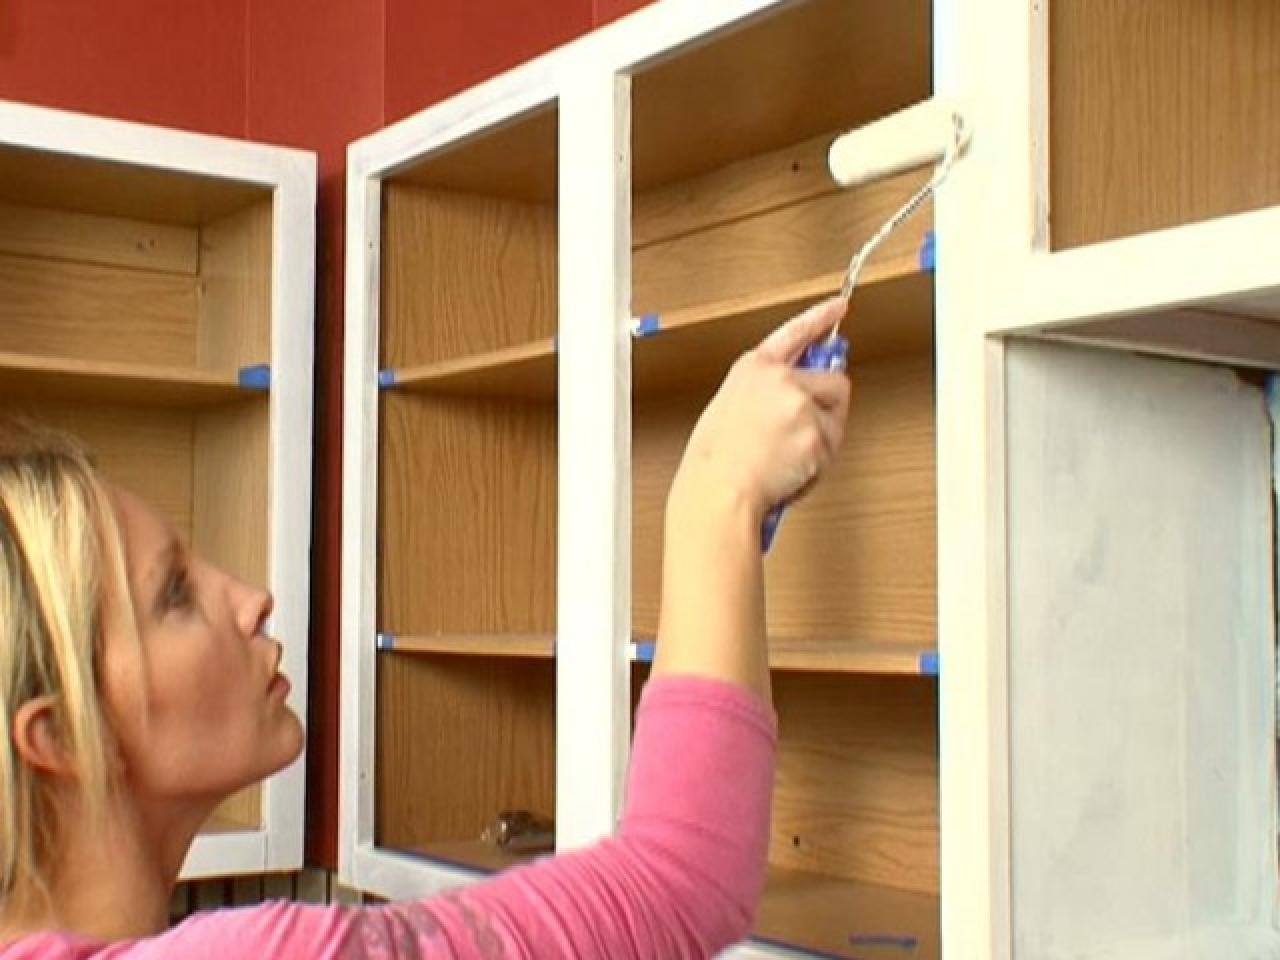
Step 11. Apply the Paint
Start by painting the inside edges and openings of the face frames, then the outer cabinet sides and finally the face frame fronts. This allows you to work quickly in the less critical areas, and enables you to see and correct any drips or smudges on the most visible areas.
Next, paint the cabinet doors and drawer fronts, along with any separate wood pieces or moldings. If these parts have raised or routed features, be sure to flow the paint into crevices and corners, but don’t allow it to accumulate in these spots.
Always apply paint in thin, light coats being sure to cover all areas. Thin coats leave fewer visible brushstrokes and dry more quickly. Don’t lay the finish on thickly and don’t overwork the brush — too many brush strokes will create air bubbles in the finish, leaving bumps and pits when it dries.
Allow the paint to dry for at least four hours between coats. When dry, resand all surfaces lightly to prepare them for the second coat, wipe away all sanding dust with a tack cloth, then repaint. Two coats of quality paint are usually sufficient, but you may want to add a third coat since kitchen cabinets take lots of punishment from cooking heat and day-to-day use. Additionally, wood surfaces need as much protection as possible.

Always apply paint in thin, light coats being sure to cover all areas.
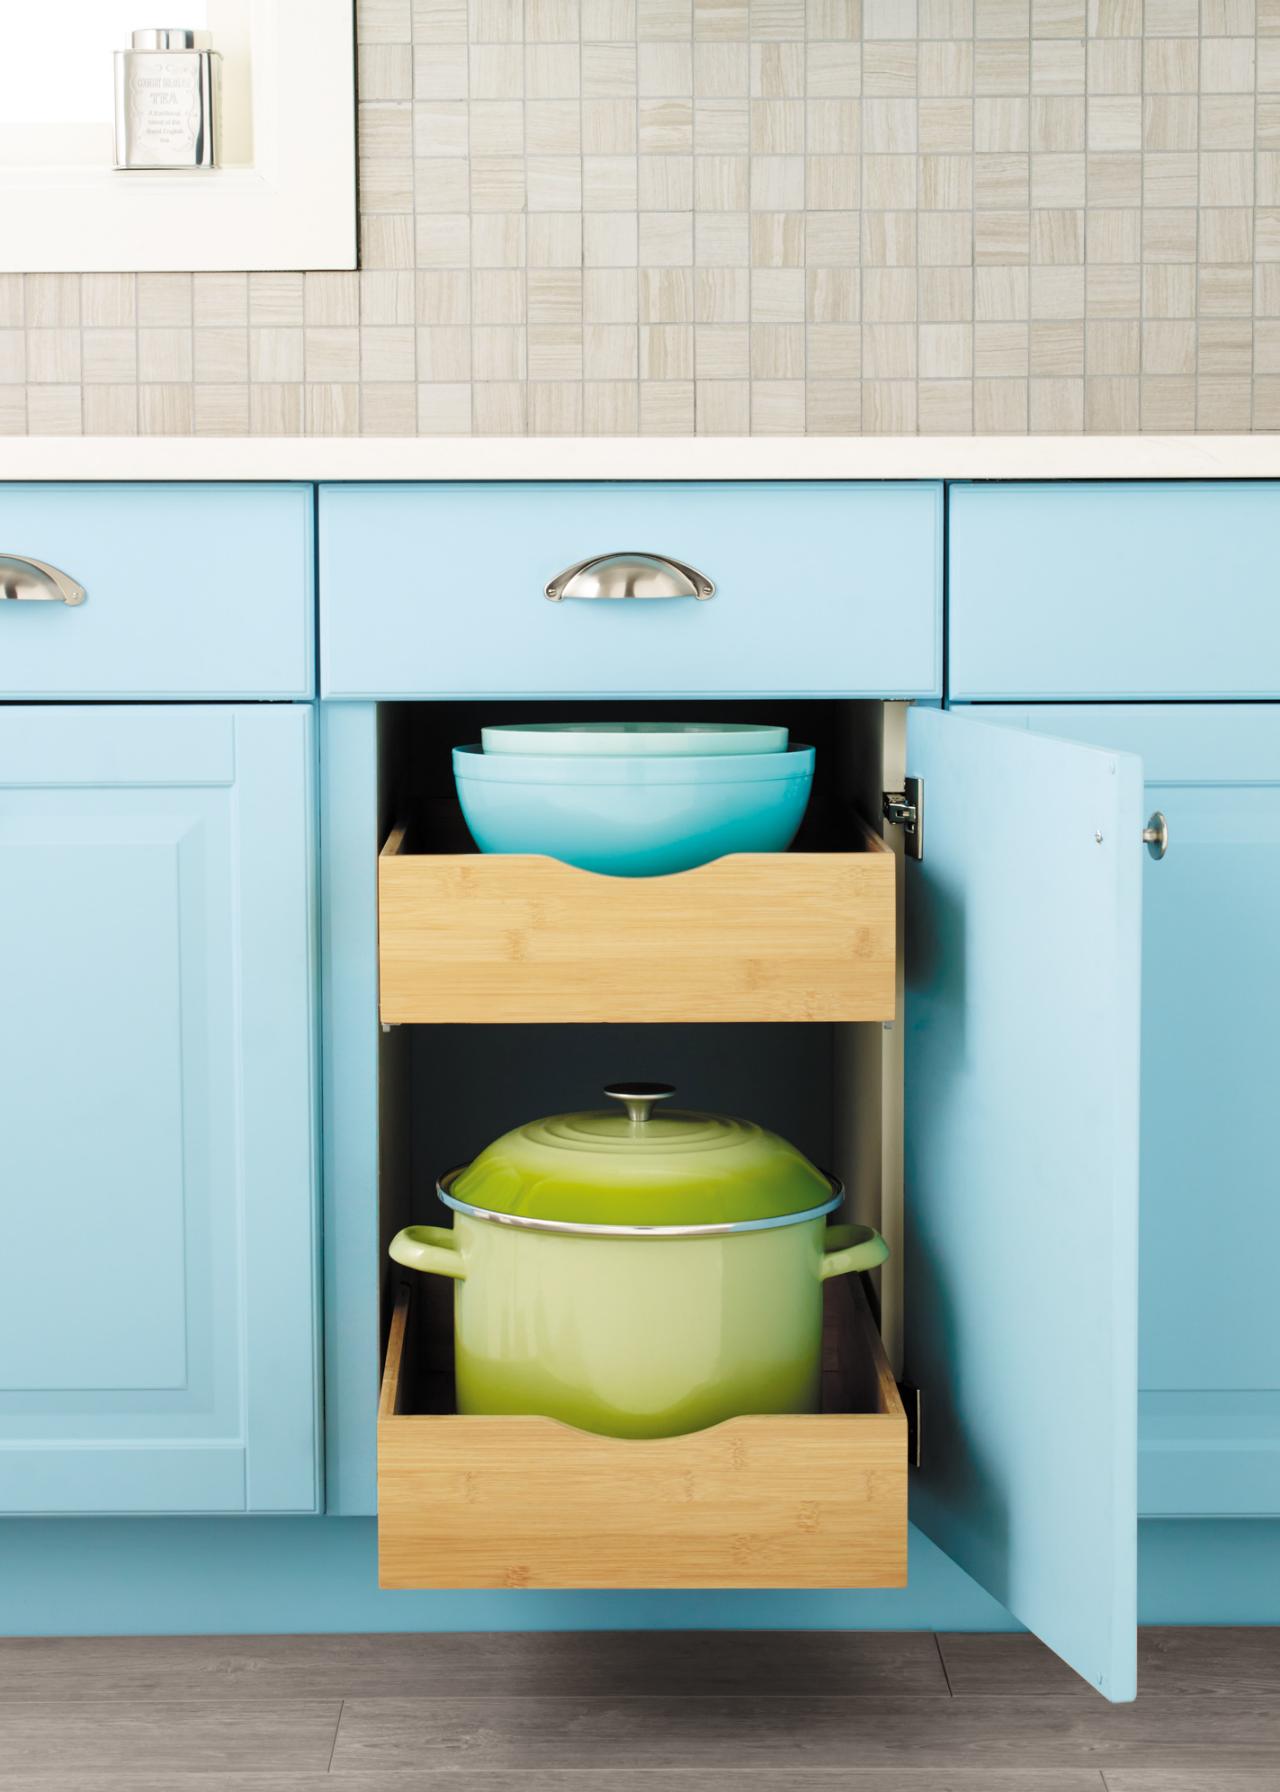
Step 12. Put It All Back Together
Once your cabinets have dried, hang the shelves in their original locations according to how you have numbered the cabinets. To really enhance and change up the look of your cabinets, try incorporating new hardware.

More Tips on Painting Kitchen Cabinets


