


Give Plain Nightstands Rustic Charm With Milk Paint

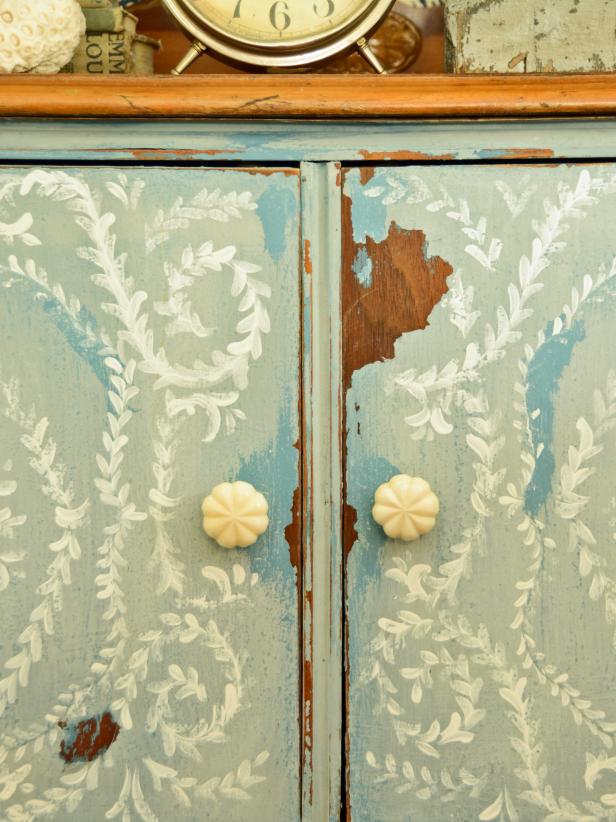
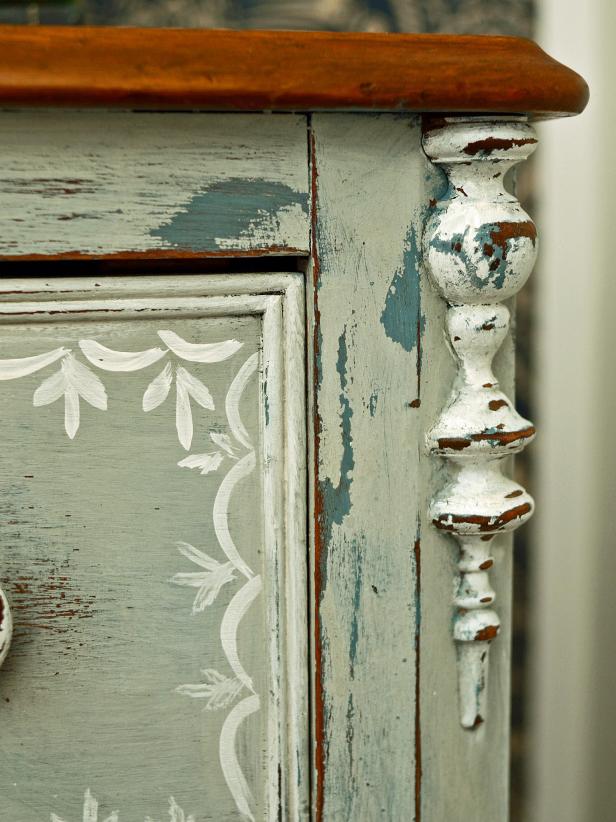
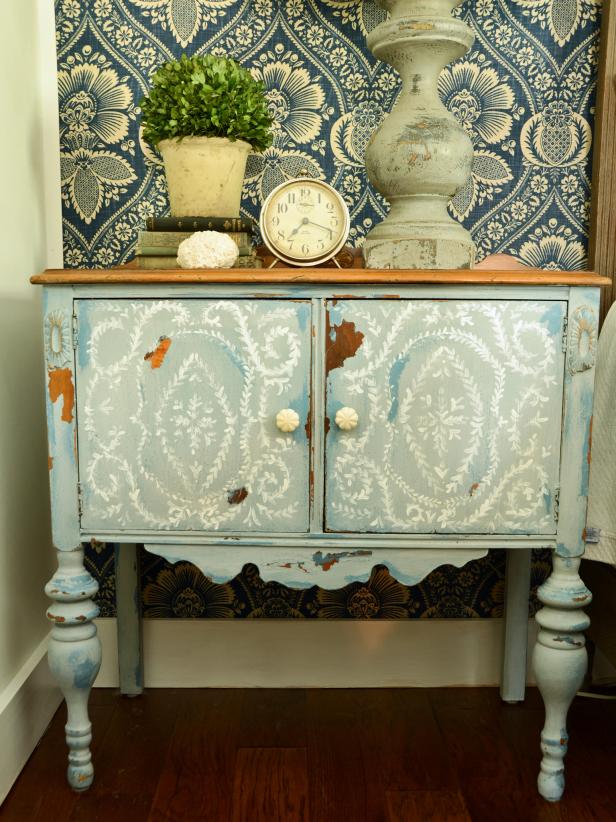
Shabby Chic Rustic Painted Nightstand

Materials Needed:
- pair of nightstands
- screwdriver
- 3 quarts of milk paint (one each: medium blue, light blue/gray and white)
- milk-paint bonder or bonding agent
- three plastic cups or containers
- stir stick (or fork/whisk)
- petroleum jelly
- clean cotton rags
- 2 1/2" angled sash brush
- wax brush (optional)
- medium- and fine-grit sanding sponges
- clear soft furniture wax
- 1/2" filbert artist's brush (optional)
- white flat acrylic craft paint (optional)
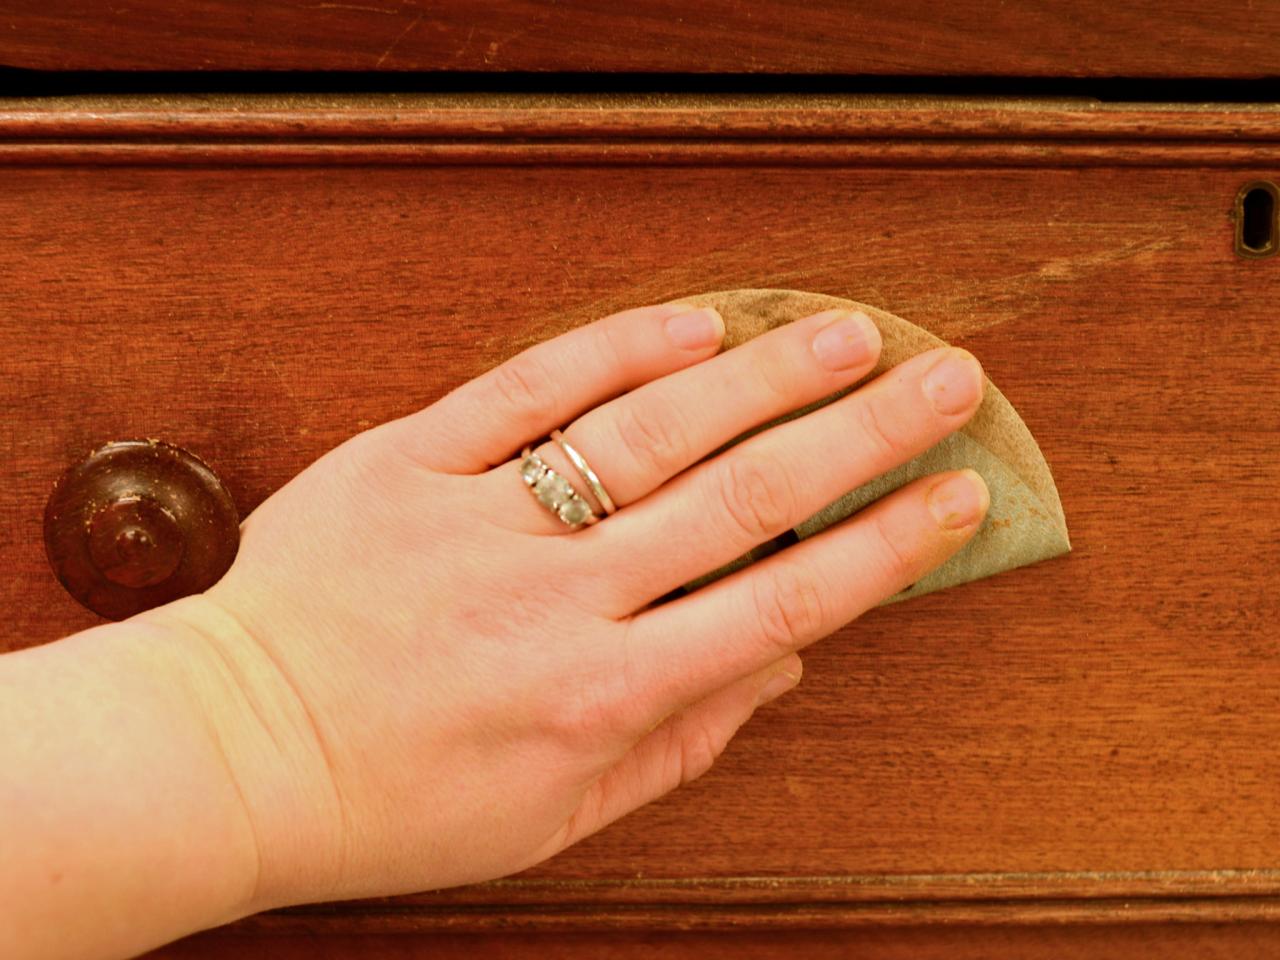
Prep Nightstands for Painting
Lightly sand surface of nightstands with a medium-grit sanding sponge or sandpaper to give the surface "tooth" (Image 1). Wipe sanded surfaces with a clean cotton cloth to remove dust. Remove hardware with a screwdriver (Image 2). If a stained wood finished top is desired, remove existing finish by sanding or stripping, then apply stain in desired color.


Sanding Nightstand
Removing Knob
Mix and Apply First Paint Coat
Since traditional milk paint comes in powdered form, it needs to be mixed with water. Pour about a cup of medium-blue milk paint powder into plastic container. Add warm water slowly, stirring with a wooden stir stick (Image 1). Continue adding water until desired consistency is achieved — the mixture should be thinner than modern paints, but not runny. Add more powder if paint is too thin. It's normal for milk paint to be slightly lumpy. To ensure good adhesion, add bonding agent directly to milk paint, following manufacturer's directions. Note: If nightstands are raw wood, bonding agent isn't necessary. Apply first coat of milk paint to nightstands using 2 1/2" angled sash brush (Image 2). Mix more paint if necessary. Tip: To get milk paint creamy and smooth, use an immersion blender or milk frother.

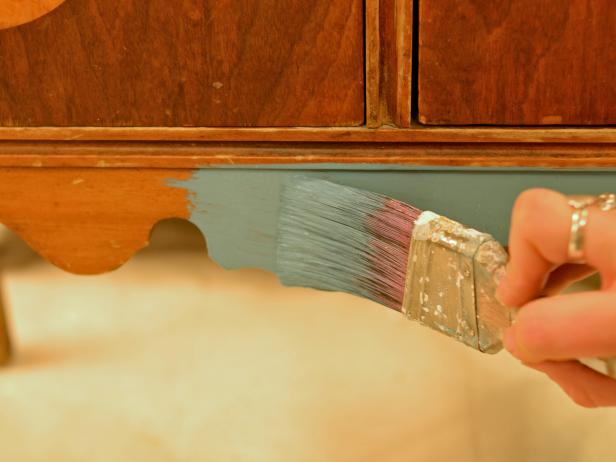
Mixing Paint
Painting Nightstand
Apply Resist
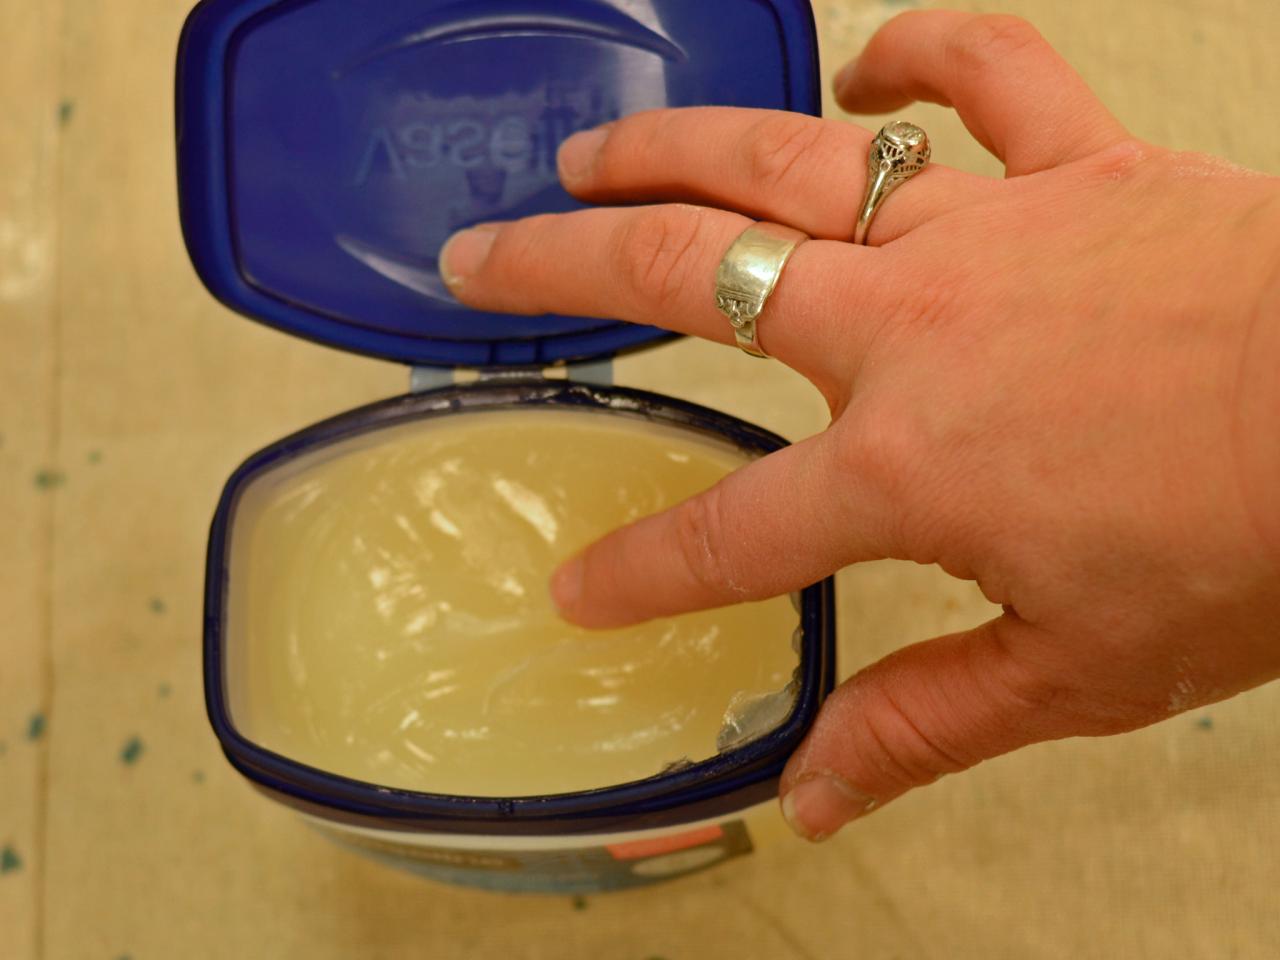
Once the first coat of paint has fully dried, use your fingertip to apply petroleum jelly in random places on nightstands (Image 1 and 2). This will act as a resist for the second coat of paint. Put petroleum jelly specifically on places where natural wear of paint may occur like around keyholes, knobs, raised trim and edges.

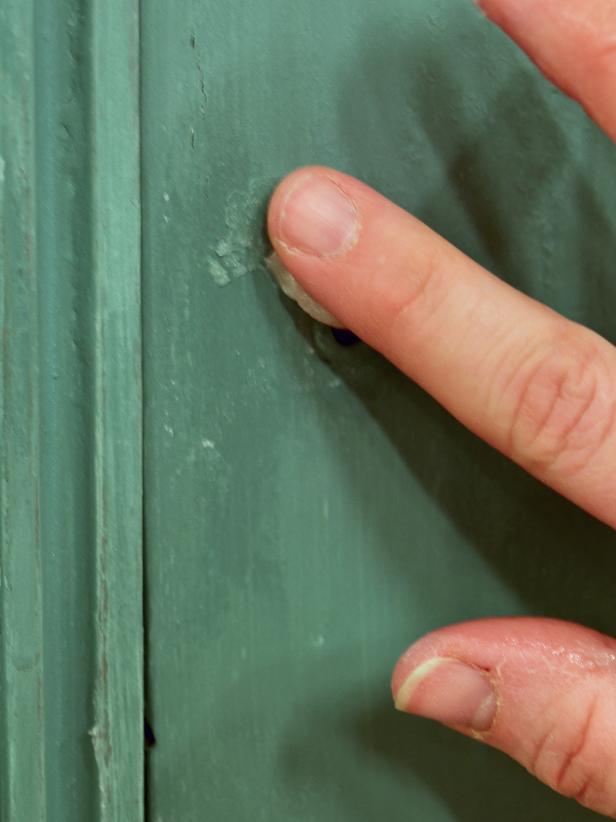
Petroleum Jelly
Fingers Applying Petroleum Jelly to Nightstand
Apply Second and Third Coats of Paint
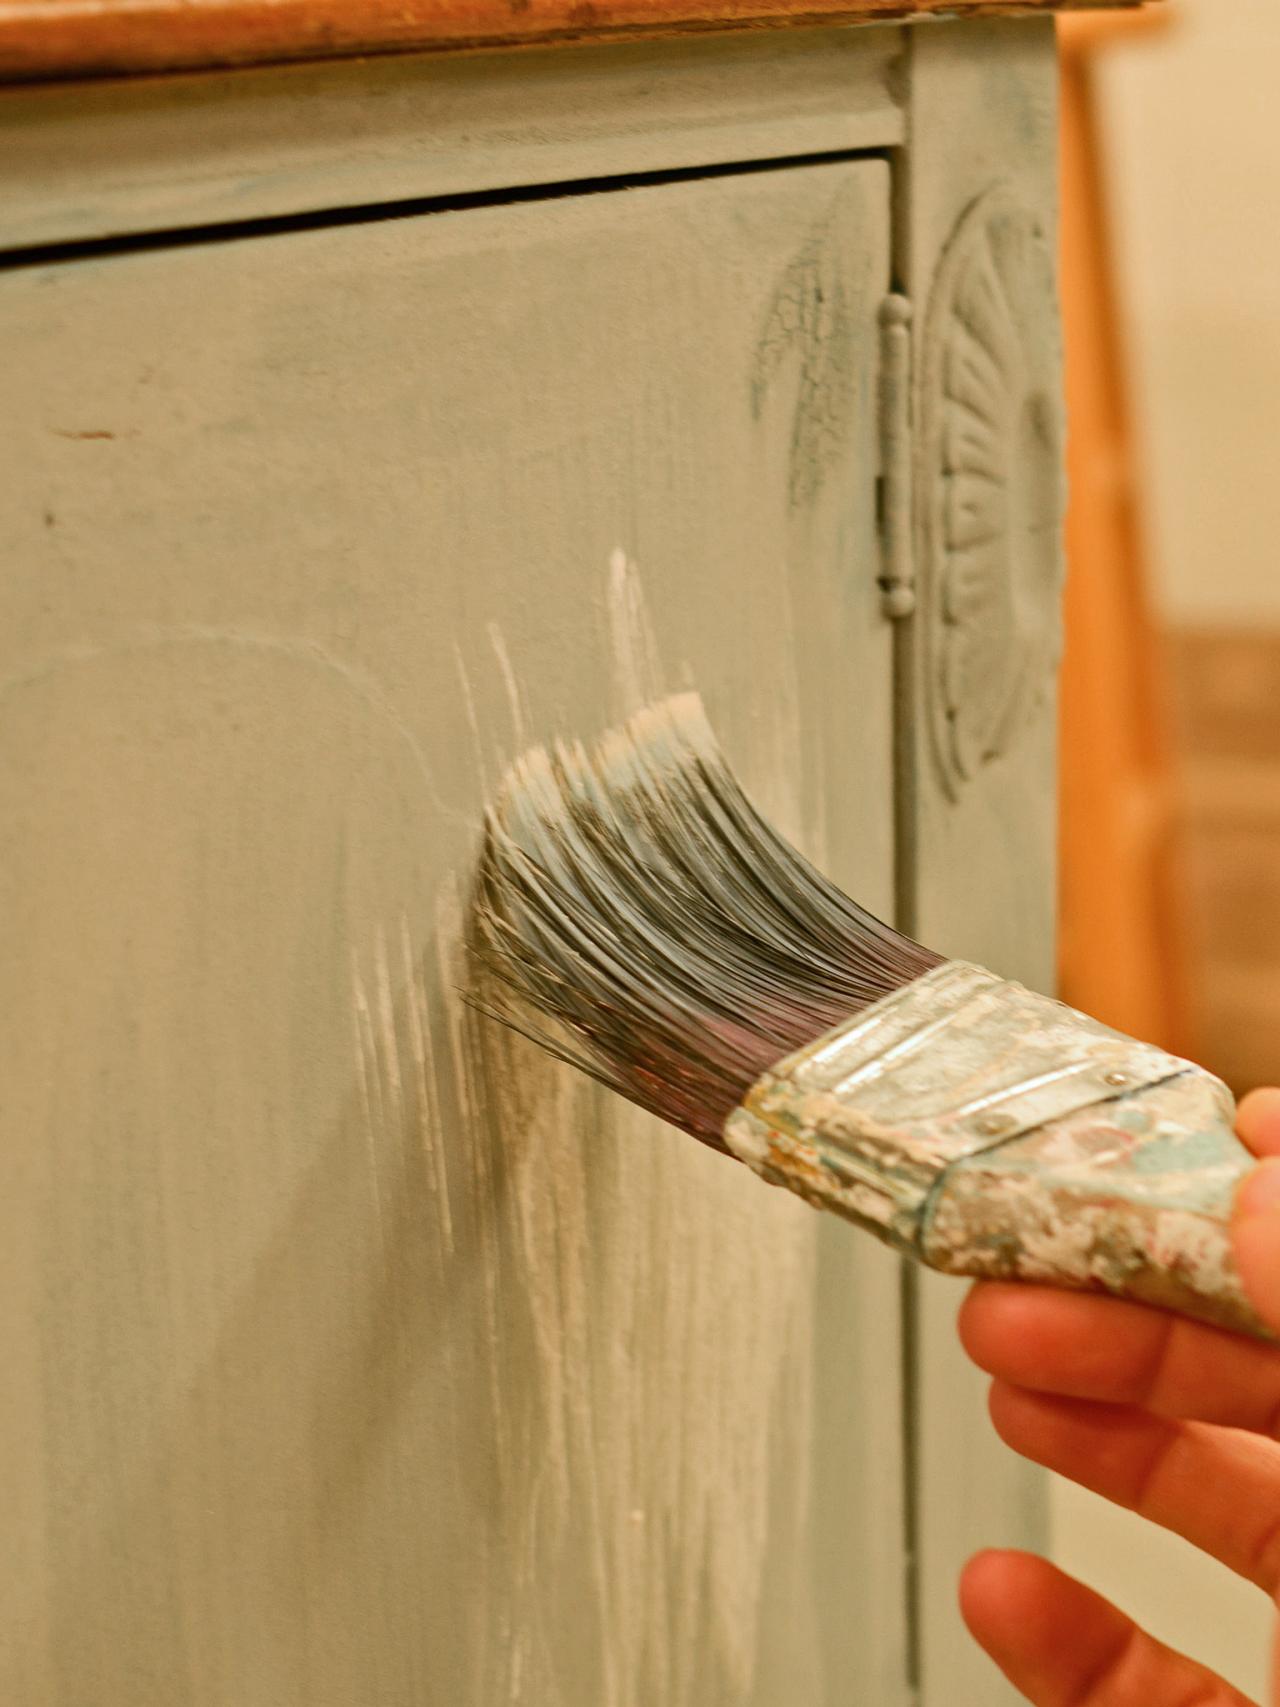
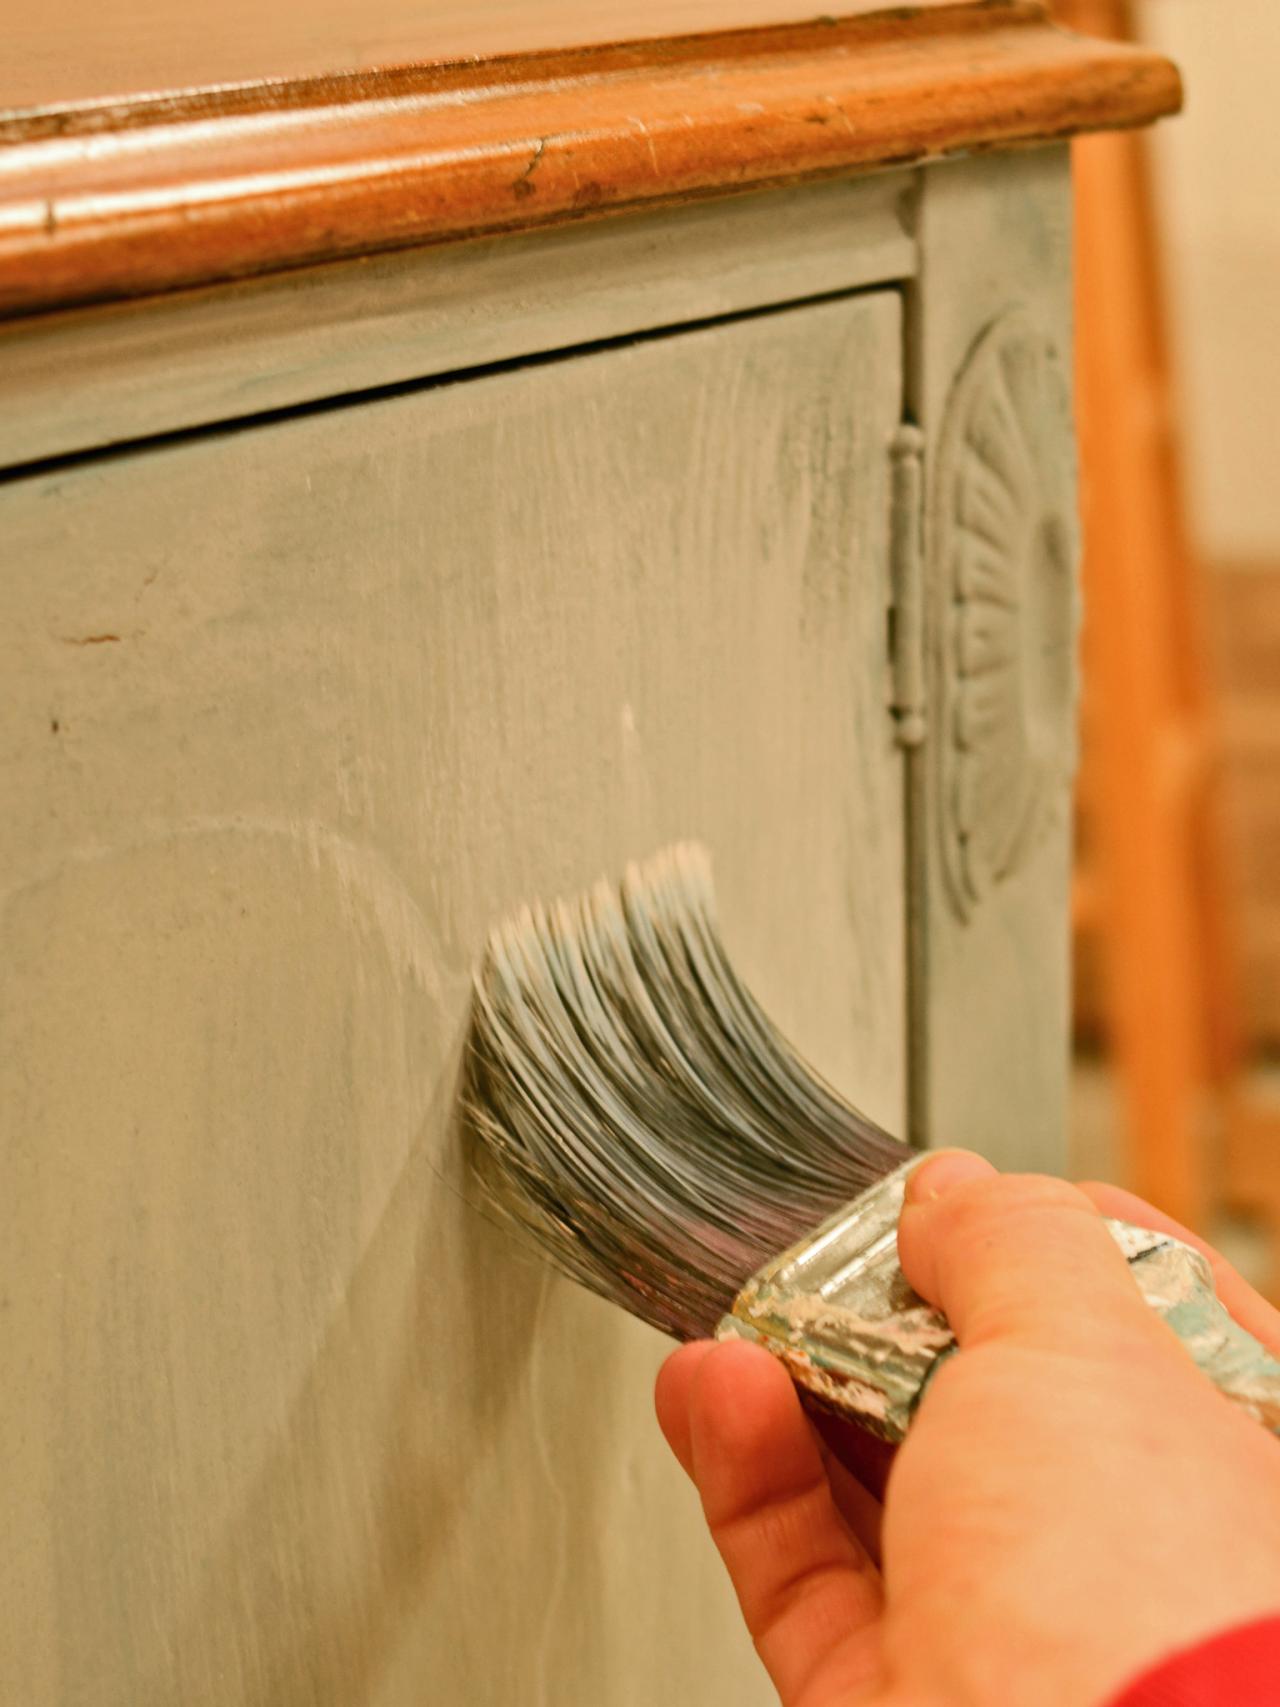
Mix light blue/gray color in same manner as Step 2, omitting bonding agent. Apply with a 2 1/2" angled sash brush and allow ample dry time (Image 1). Once second coat has fully dried, mix white milk paint (without bonding agent), making it slightly more watery than previous coats (Image 2). Brush on a light "wash" of paint by brushing white onto a small area and working it into the painted surface with brush or rag (Image 3).
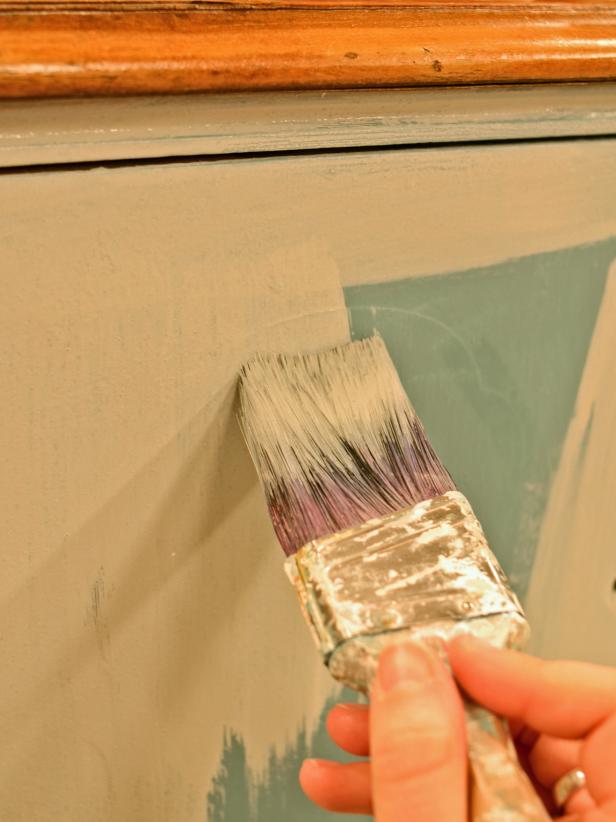


Painting Nightstand
Painting Nightstand
Painting Nightstand
Add Decorative Details (Optional)
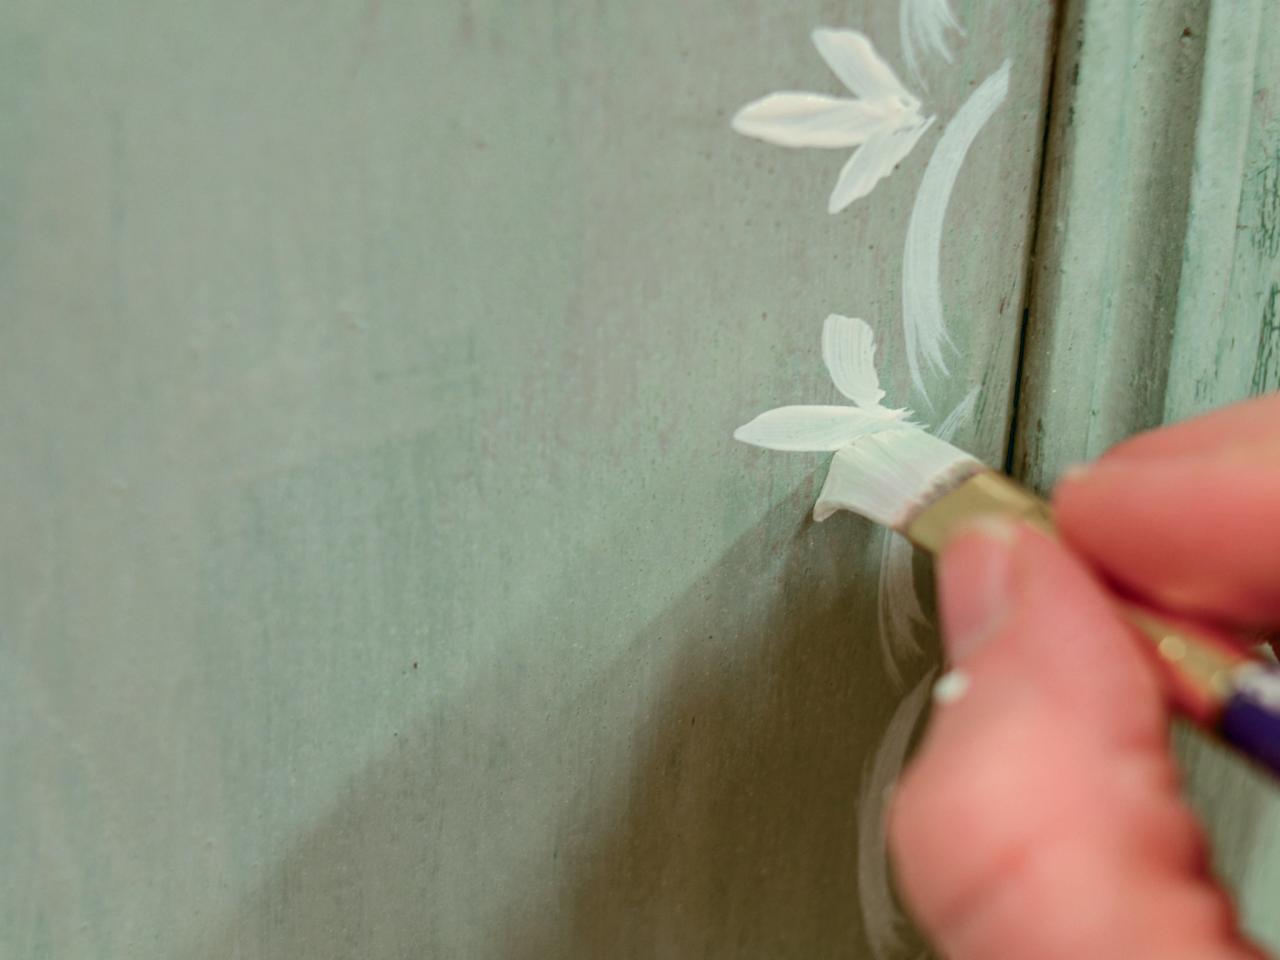
If a hand-painted detail is desired, use a 1/2" filbert artist's brush and white flat acrylic craft paint to add a simple border or more intricate design. First, sketch the design with chalk or use transfer paper or a stencil instead of painting the design freehand, if desired. Areas where petroleum jelly was applied will crackle; paint over these areas gently. Tip: Instead of decorative flourishes, add faded stripes or hand lettering to personalize the nightstands.
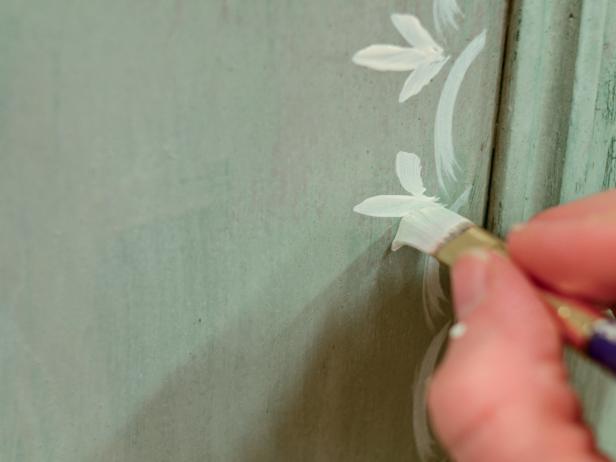
Adding Decorative Painted Details
Shabby Chic Rustic Painted Nightstand
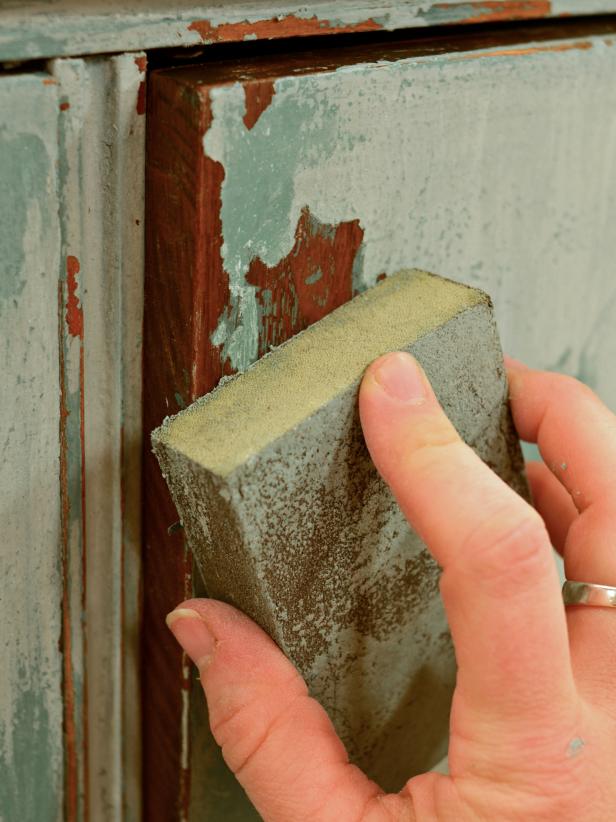
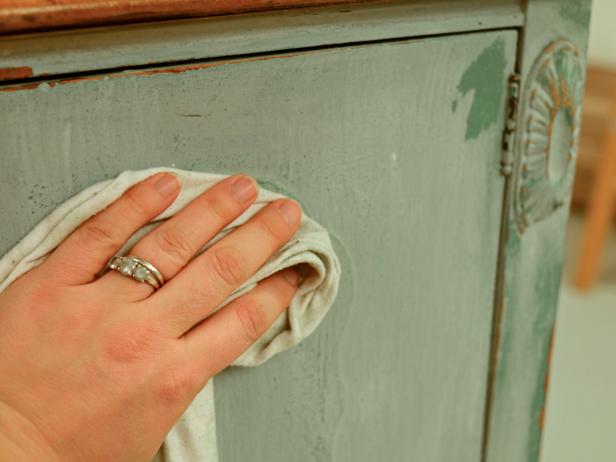
Distress Paint
Once decorative painting/stenciled design has completely dried, wipe areas where petroleum jelly was applied with a cotton cloth (Image 1). The paint will easily wipe away, revealing the first coat of paint. Next, sand raised trimwork, edges of drawers, doors and legs with medium-grit and/or fine-grit sanding sponge until desired distressed look is achieved (Image 2). Sand to first coat of paint or down to the wood in some areas (Image 3). Tip: The amount of distressing depends on personal taste. Step back from the nightstands after some sanding to see if desired look has been achieved; if not, continue sanding.
Distressing Nightstand
Distressing Nightstand
Shabby Chic Rustic Painted Nightstand
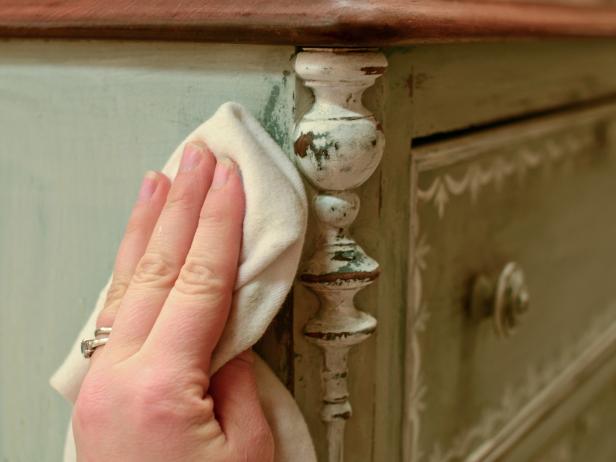
Apply Wax Finish and Buff
First, wipe painted surface with a cloth to remove all dust created when distressing then apply a thin coat of soft furniture wax with a wax brush, bushy paintbrush or cotton cloth (Image 1). Work wax into the painted finish like you would a lotion into your skin. If the nightstand's top was stained, apply wax to the top as well. Allow wax to dry for the appropriate amount of time according to manufacturer's instructions, then buff with a soft cloth (Image 2). For additional shine, apply a second coat of wax and buff again.
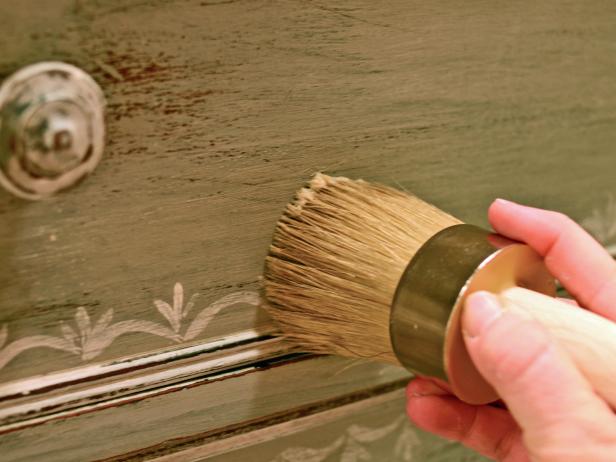
Waxing Nightstand
Waxing Nightstand
Shabby Chic Rustic Painted Nightstand


