


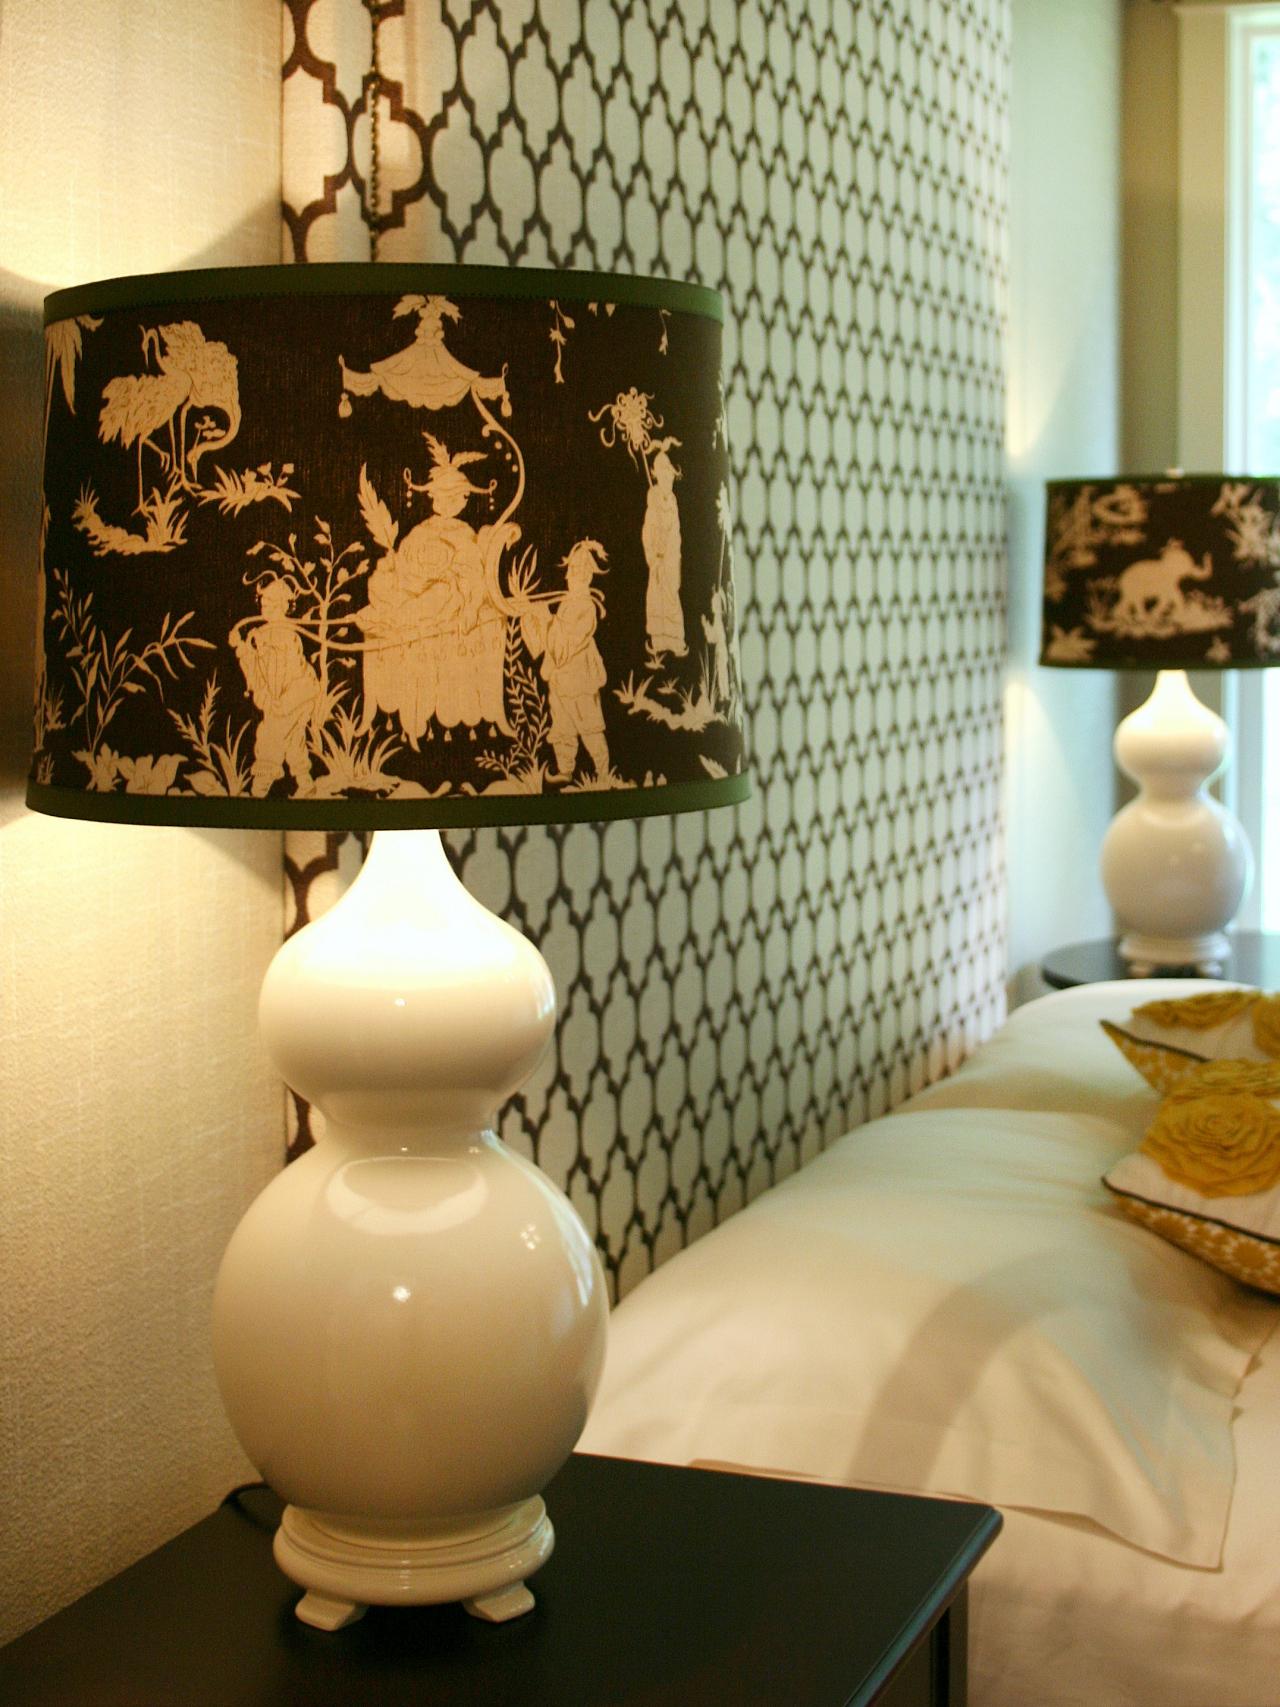
Custom Fabric-Covered Lampshade

Materials Needed:
- lampshade
- 3/4 yard of fabric per shade
- 3 yards of ribbon trim per shade
- fabric glue
- temporary fabric pen
- clean-release tape
- small paintbrush
- scissors
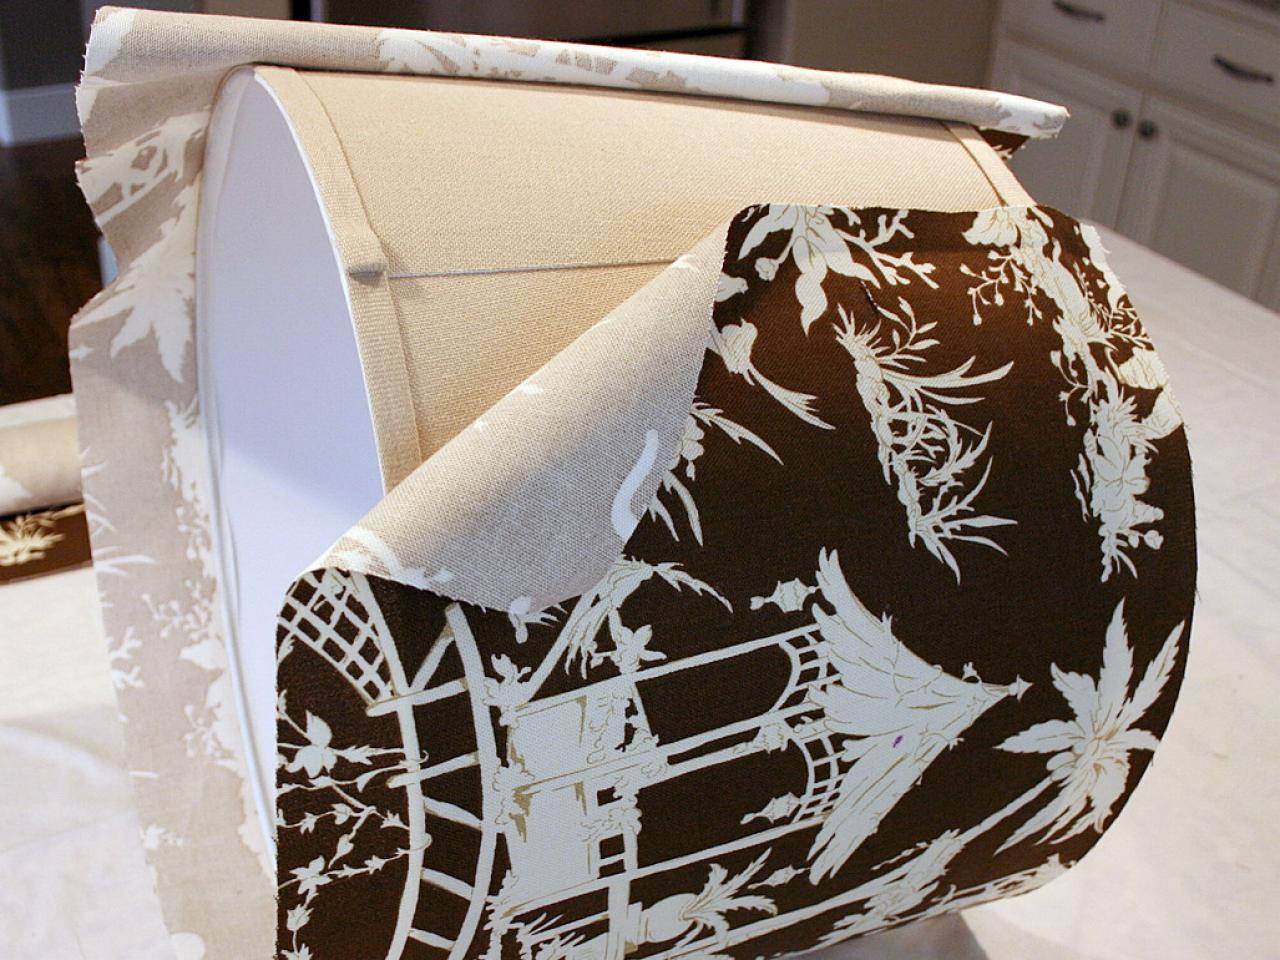
Cut Fabric
Place lampshade on front side of fabric. Roll shade along fabric, cutting two inches above and below edges of shade.

Place Fabric Around Shade
Wrap fabric around shade and trim off excess fabric, leaving two inches for overlap.

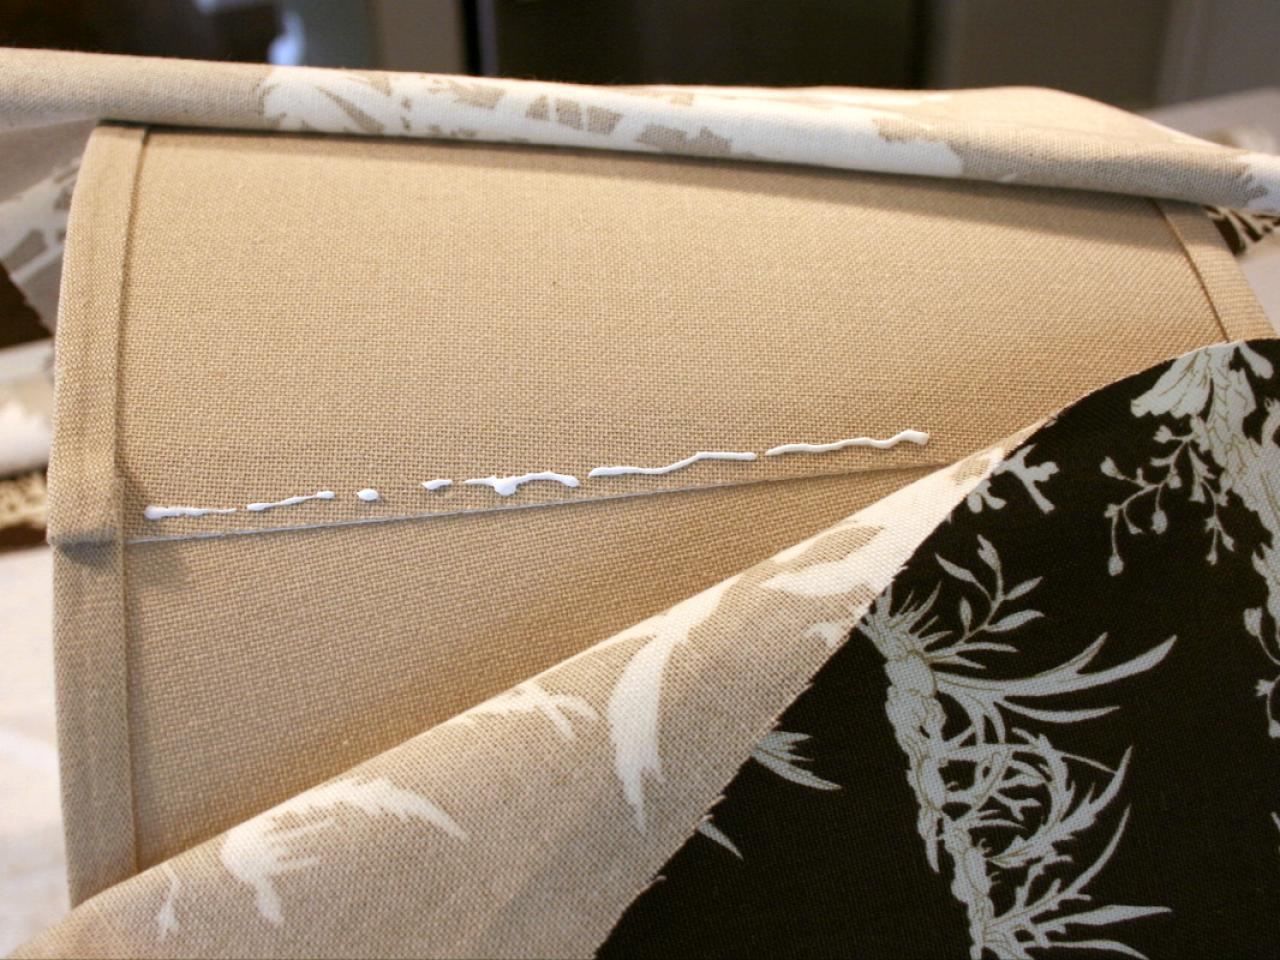
Glue Fabric to Shade
Run a line of fabric glue along the shade's existing seam and press one end onto glue. Secure end with clean-release tape and allow glue to fully dry for 1/2 hour. Tip: Place new fabric's seam over existing seam for a clean finished product.

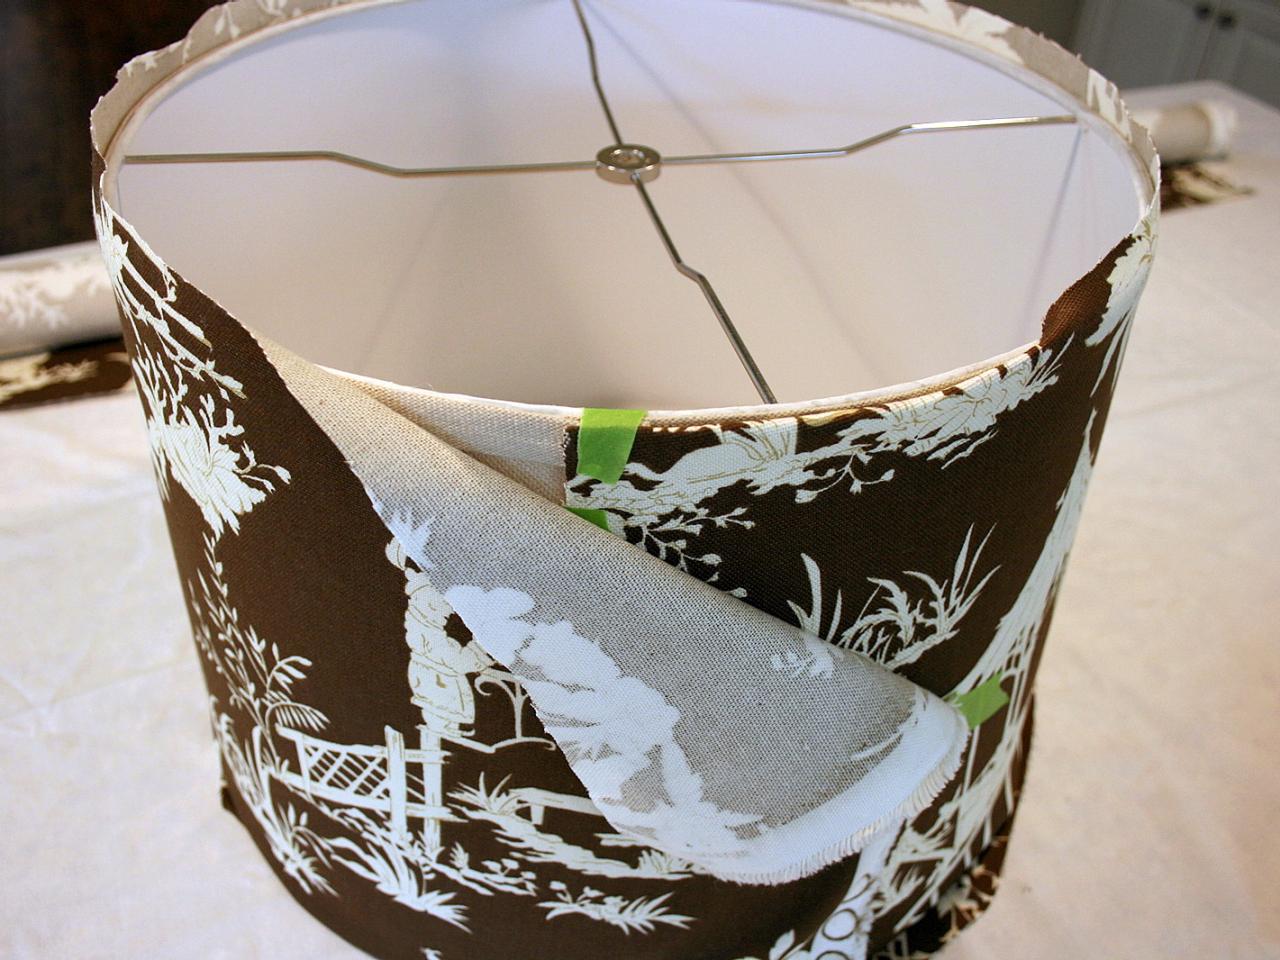
Wrap Fabric Around Shade
Holding the loose end, wrap fabric snugly around shade, overlapping the glued end. Temporarily secure excess fabric with clean-release tape to prevent fabric shifting.

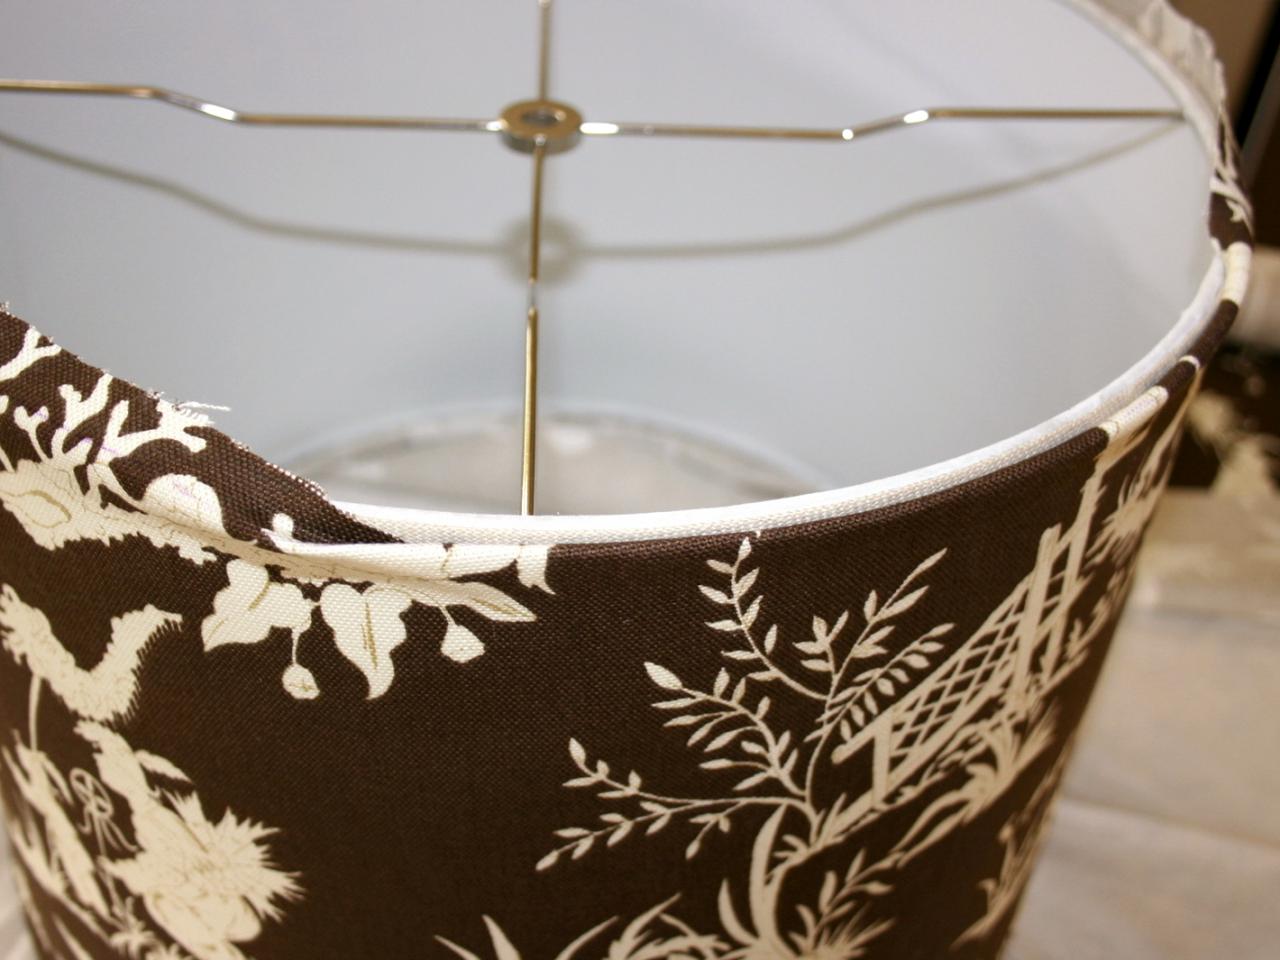
Mark the Fold Line
Fold excess fabric towards inside of shade and mark top edge with a temporary fabric pen. It's best to work on one end of the shade at a time; start with the top side.

Cut Excess Fabric
Remove excess fabric by cutting roughly 1/2-inch beyond the line drawn with fabric pen.

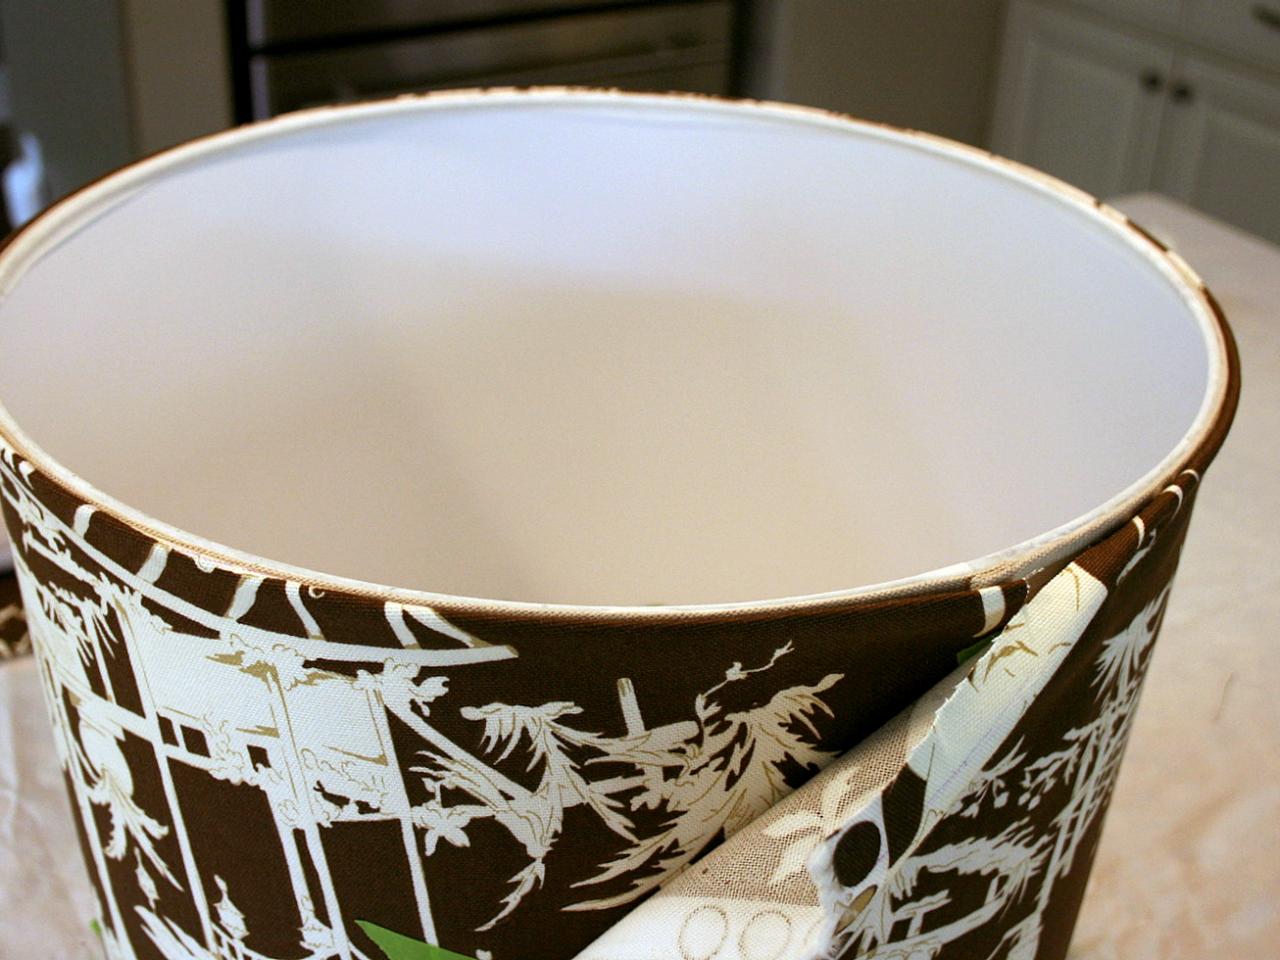
Tuck Cut Fabric Edges
Create a clean edge by folding cut fabric under 1/2-inch and inserting between fabric and shade. Check finished seam as you go to ensure that the amount folded under is even, creating a consistent edge.

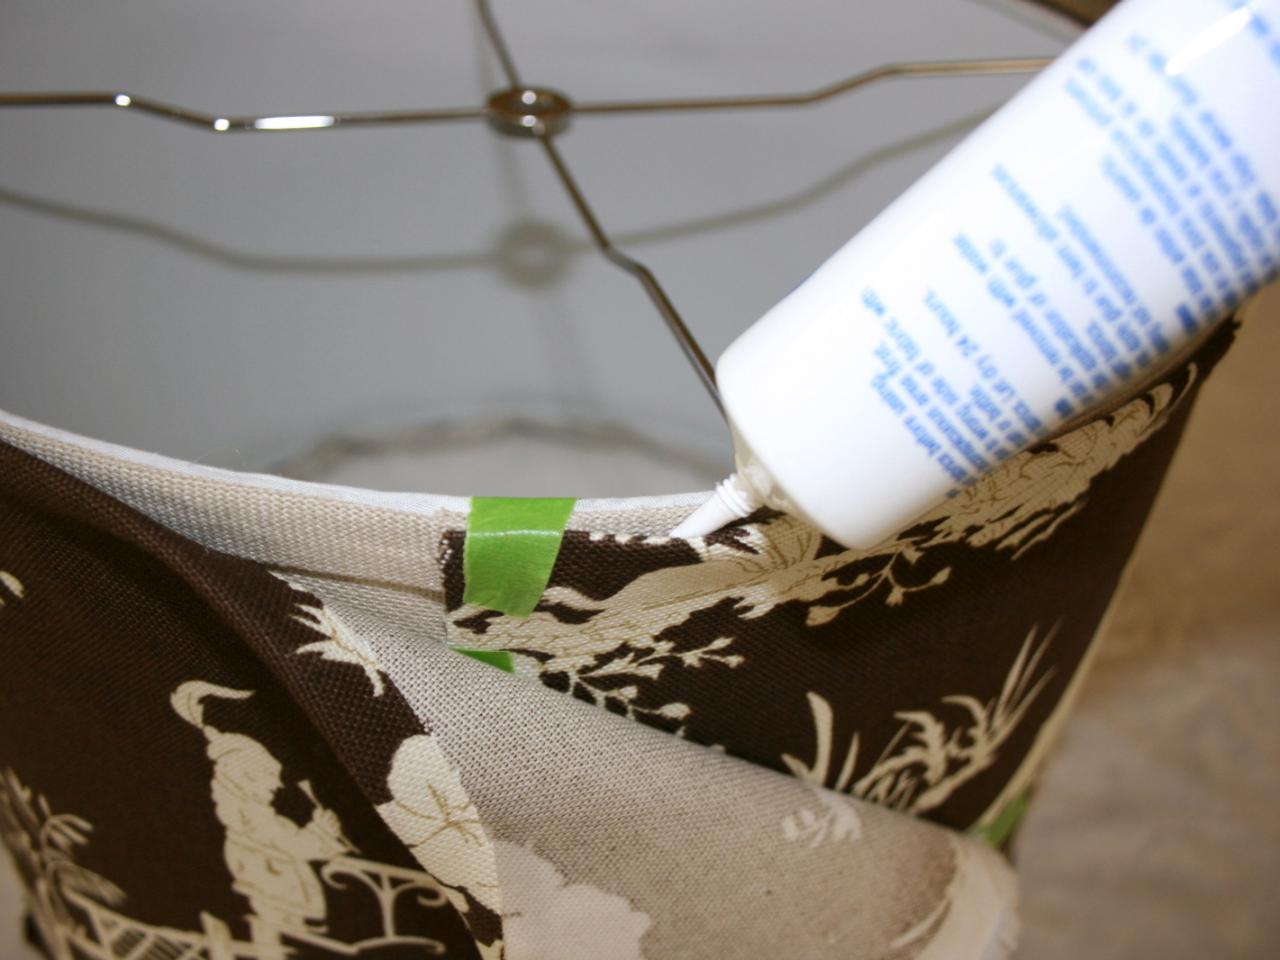
Glue Edges
Run a thin bead of fabric glue between folded fabric and shade. Firmly press fabric into place.

Finish Shade Bottom
Turn shade over and repeat steps five through eight on bottom side of shade.

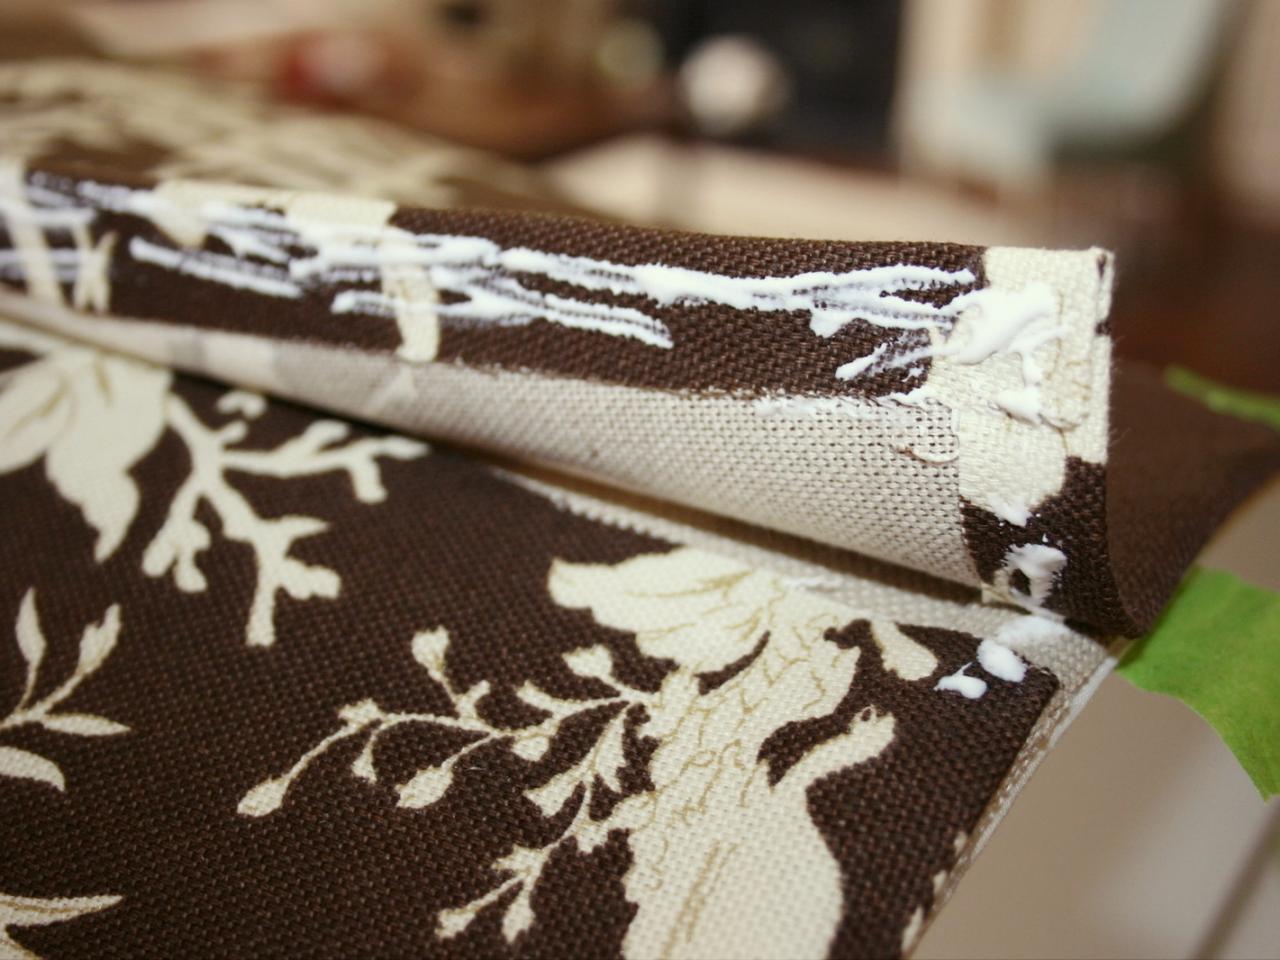
Create a Finished Side Seam
Remove tape holding excess fabric in place. Turn cut end under 1/2–inch to create a finished edge and secure with glue. Apply glue to underside of finished edge and firmly press onto shade.

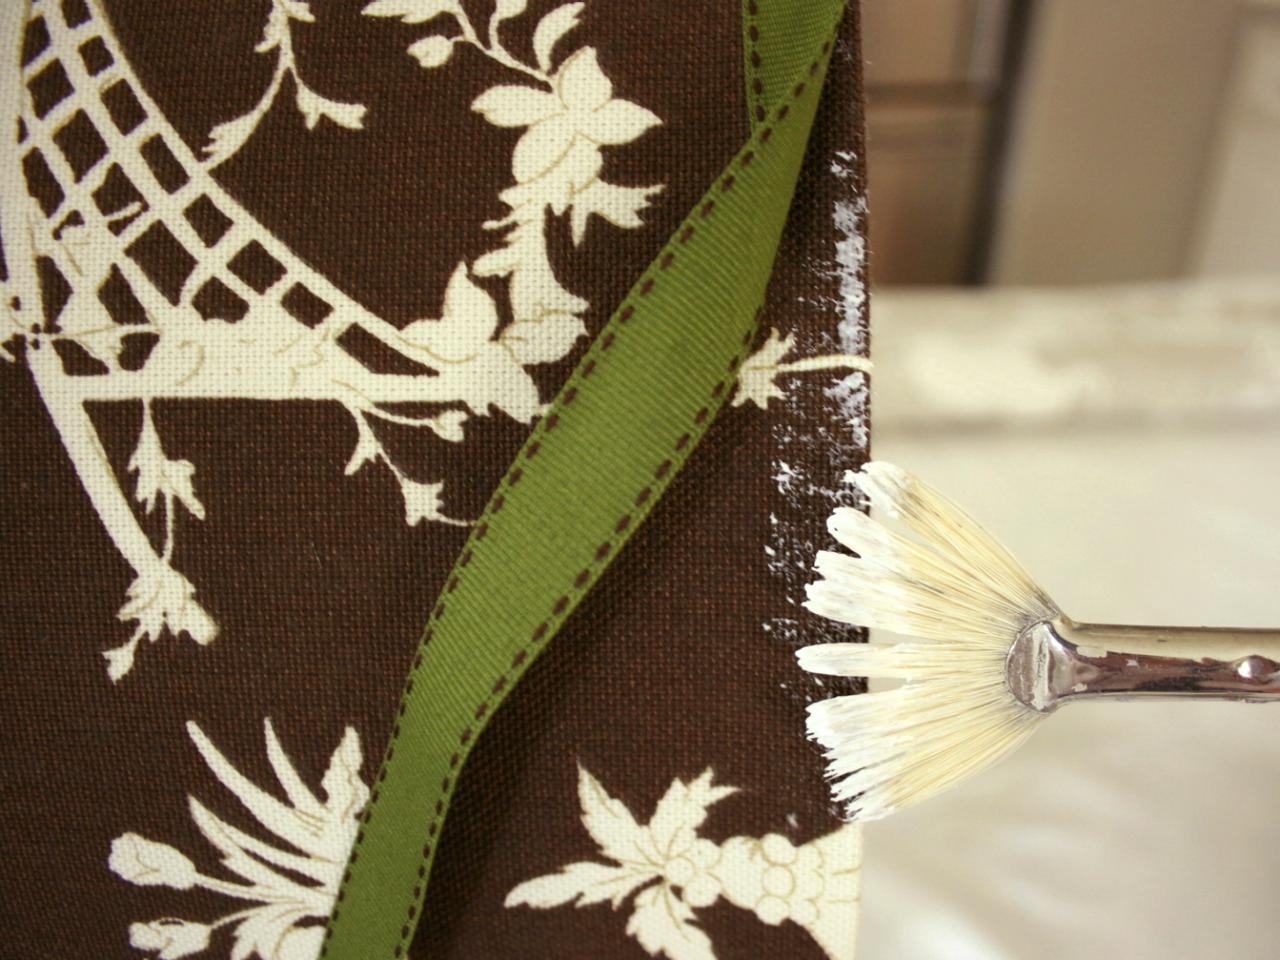
Embellish With Ribbon
Beginning at side seam and working in small sections, brush fabric glue onto shade's top and bottom edges. Cover glue with ribbon working your way around shade back to seam. Turn under ribbon ends to create a finished edge and glue onto shade.


