


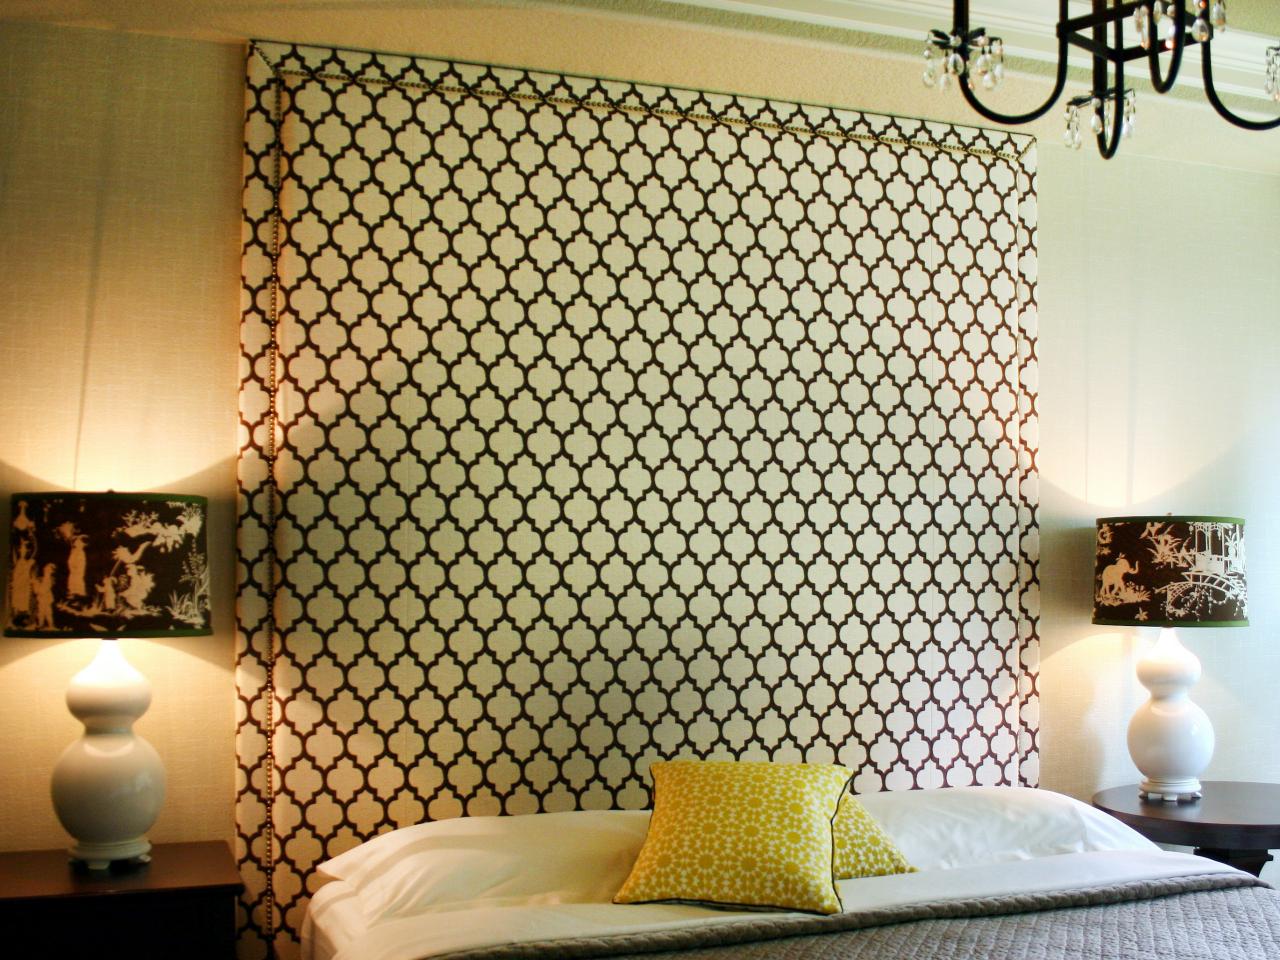
Upholstered Headboard With Nail Head Trim

Materials Needed:
- 6 yards 54" wide fabric
- 6 yards 90" wide batting
- (4) 24" x 84" sheets 2" high density foam
- 3 sheets 1/2" plywood
- (4) 1x4 boards
- (2) 2x4 boards
- nail head trim (approximately 800 nails)
- (50) 1-1/4" screws
- screwdriver
- staple gun and upholstery staples
- sewing machine
- thread
- iron
- fabric scissors
- fabric glue
- temporary fabric pen
- construction glue
- tape measure
- hammer
- blanket
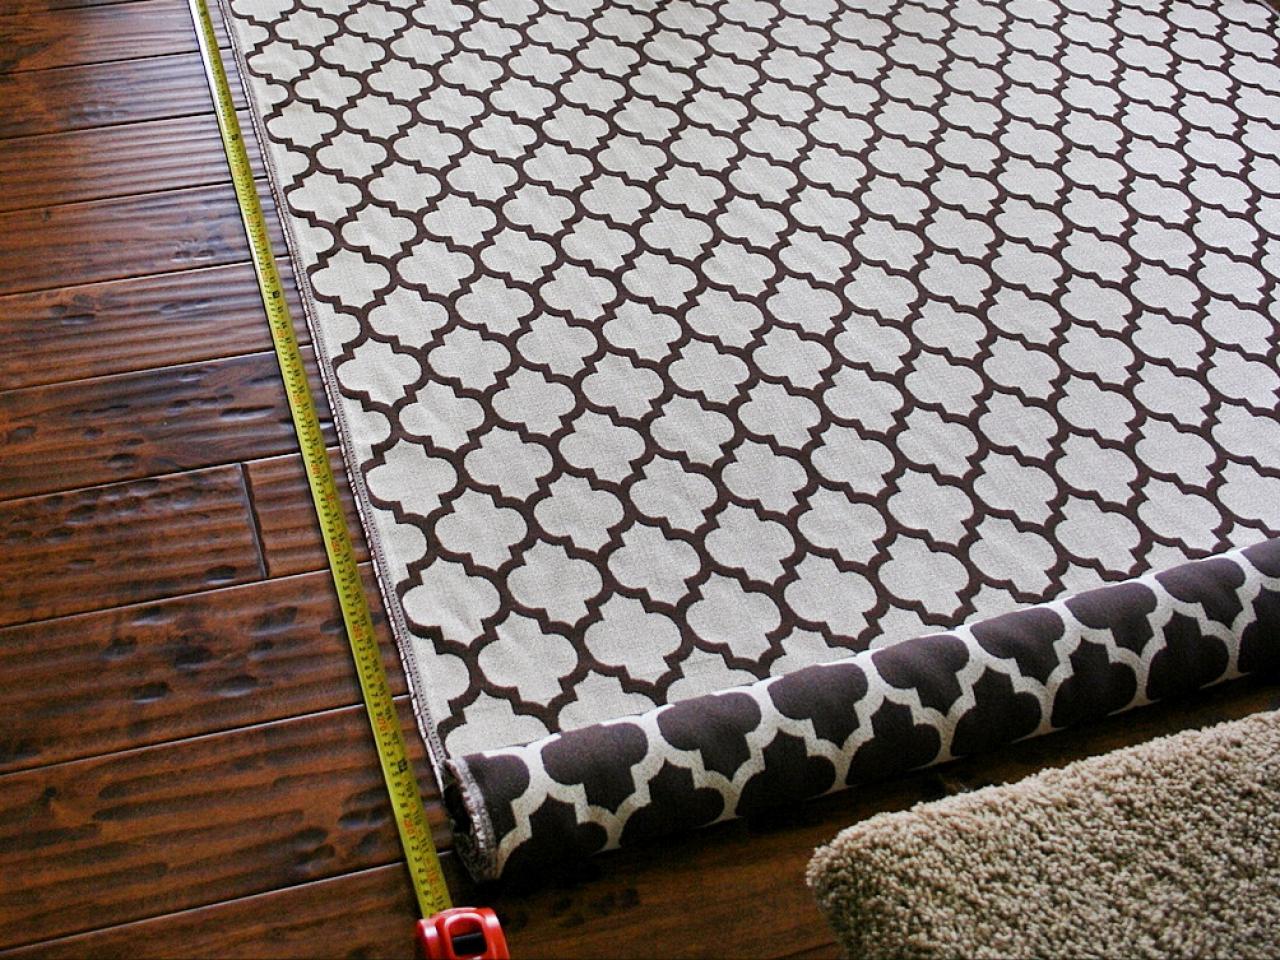
Determine Headboard Size and Cut Fabric
Measure from top edge of baseboard to ceiling to determine headboard height. Add 12 inches to this measurement to determine length to cut fabric panels. Cut two equal lengths from fabric.

Sew Fabric Together
Stack fabric panels with right sides together and pin side seams, making sure to align pattern if using a printed fabric. Sew down entire edge of fabric on both sides, creating a long sleeve.

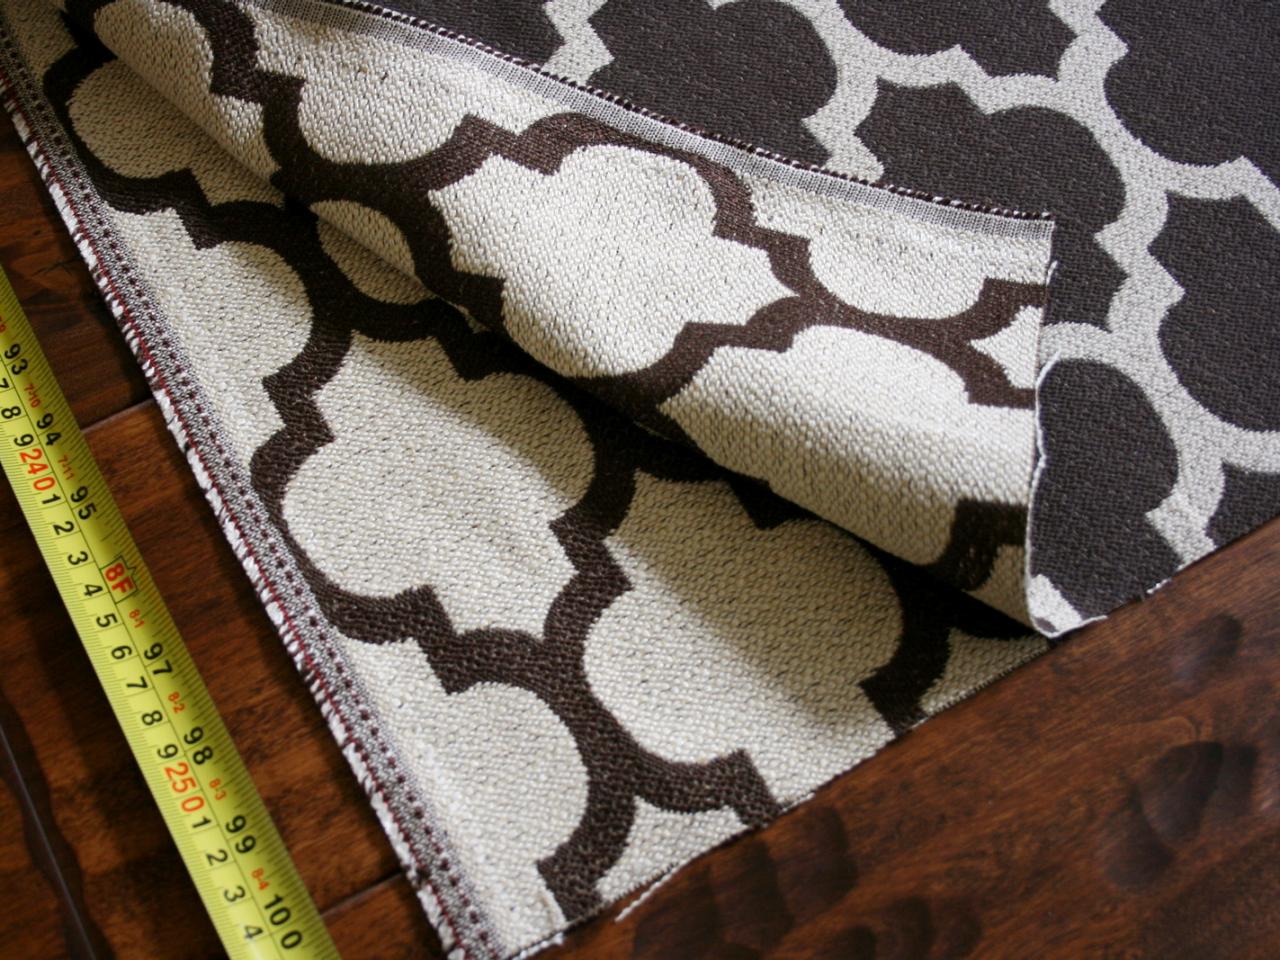
Cut Side Panels and Iron
Measure and mark center of one length of fabric, then cut, creating two side panels. Iron seams open on backside of fabric.

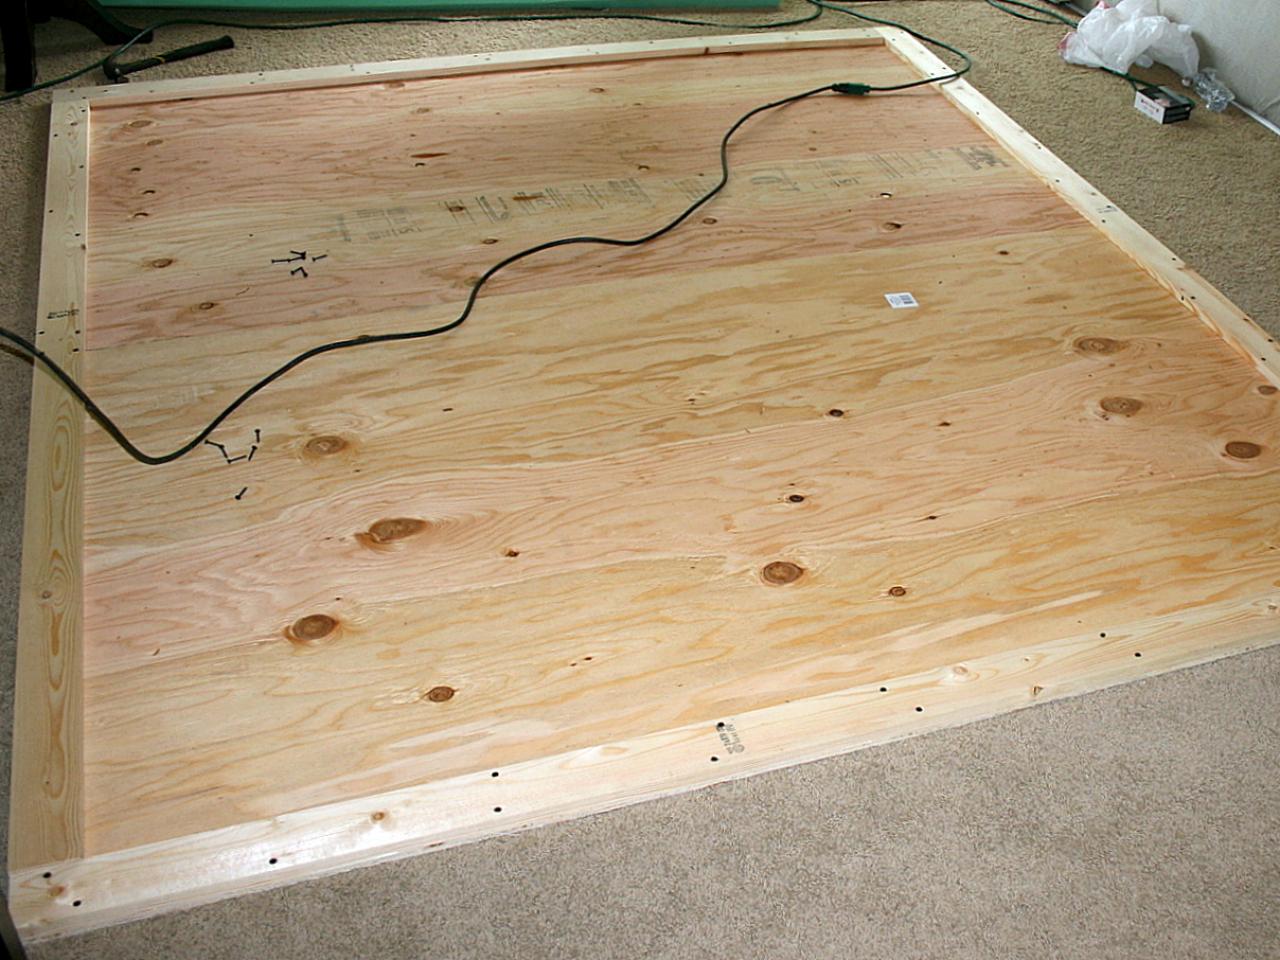
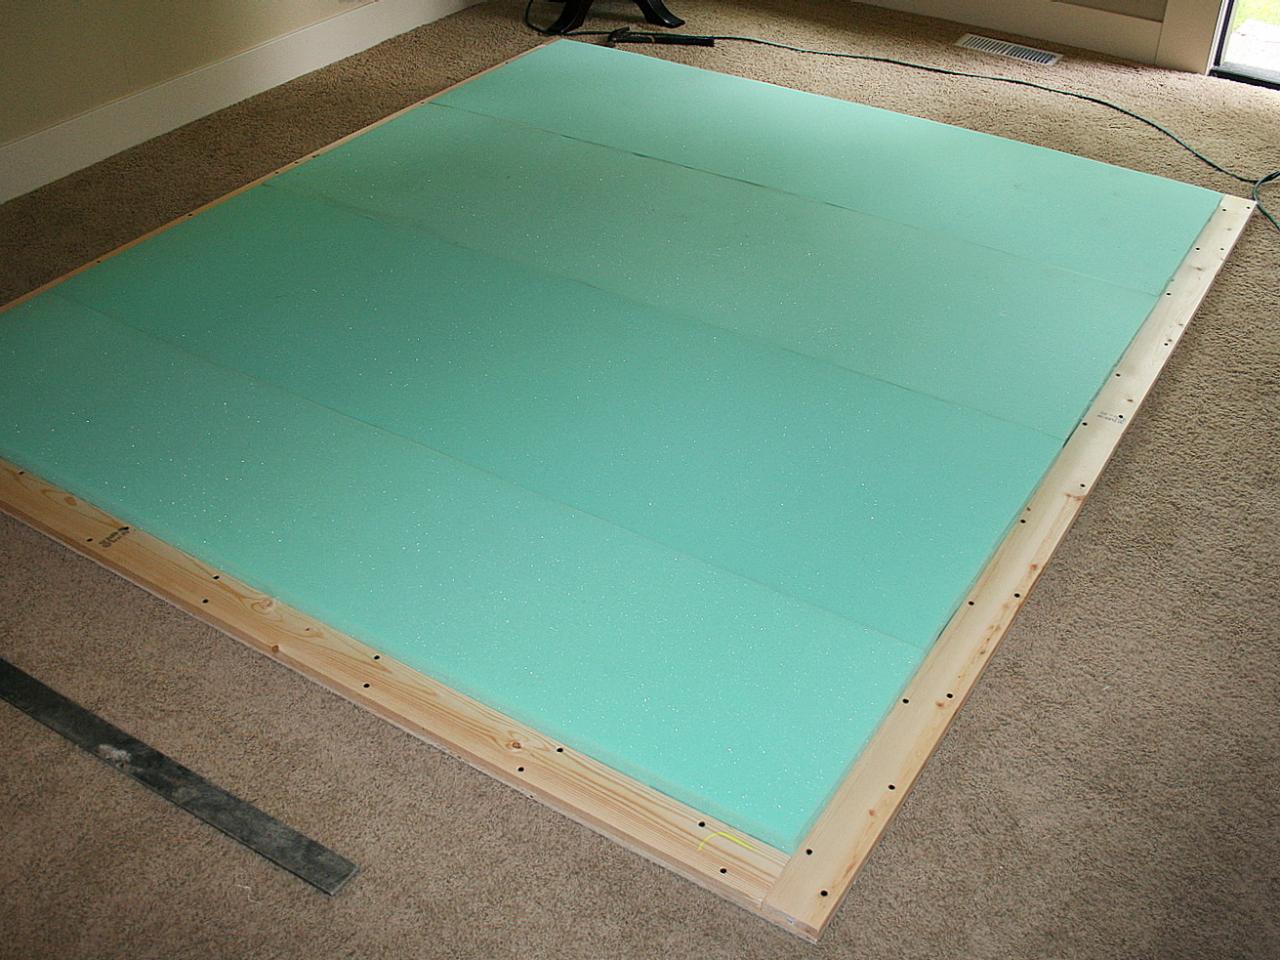
Construct Headboard Frame
Using headboard dimensions, cut plywood and 1x4 boards to size. Position plywood to create headboard size then attach four 1x4 boards along plywood edges with screws to create outer frame.

Line Frame With Foam
Trim four sheets of foam to fit snugly within headboard frame.

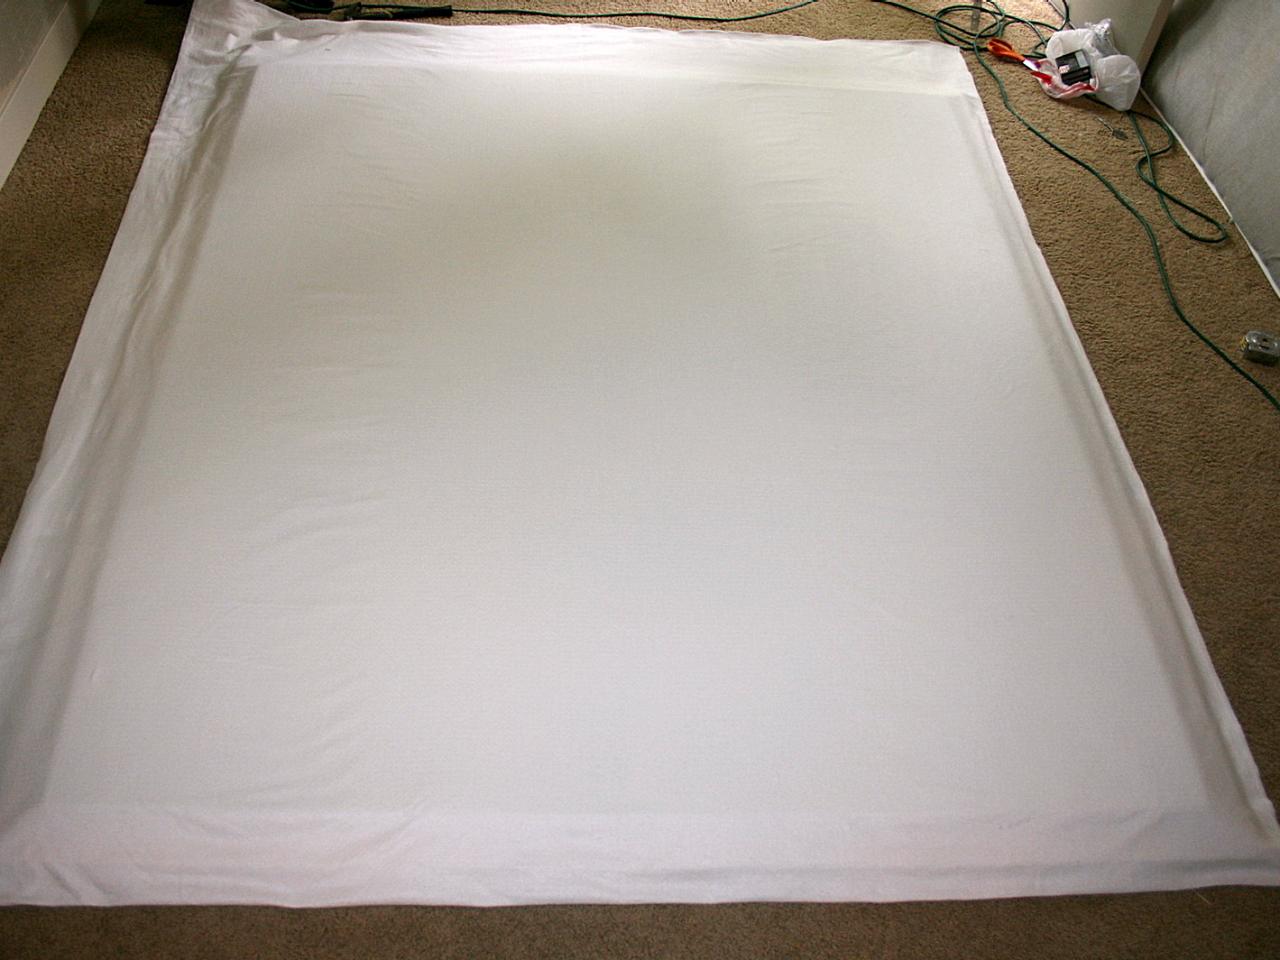
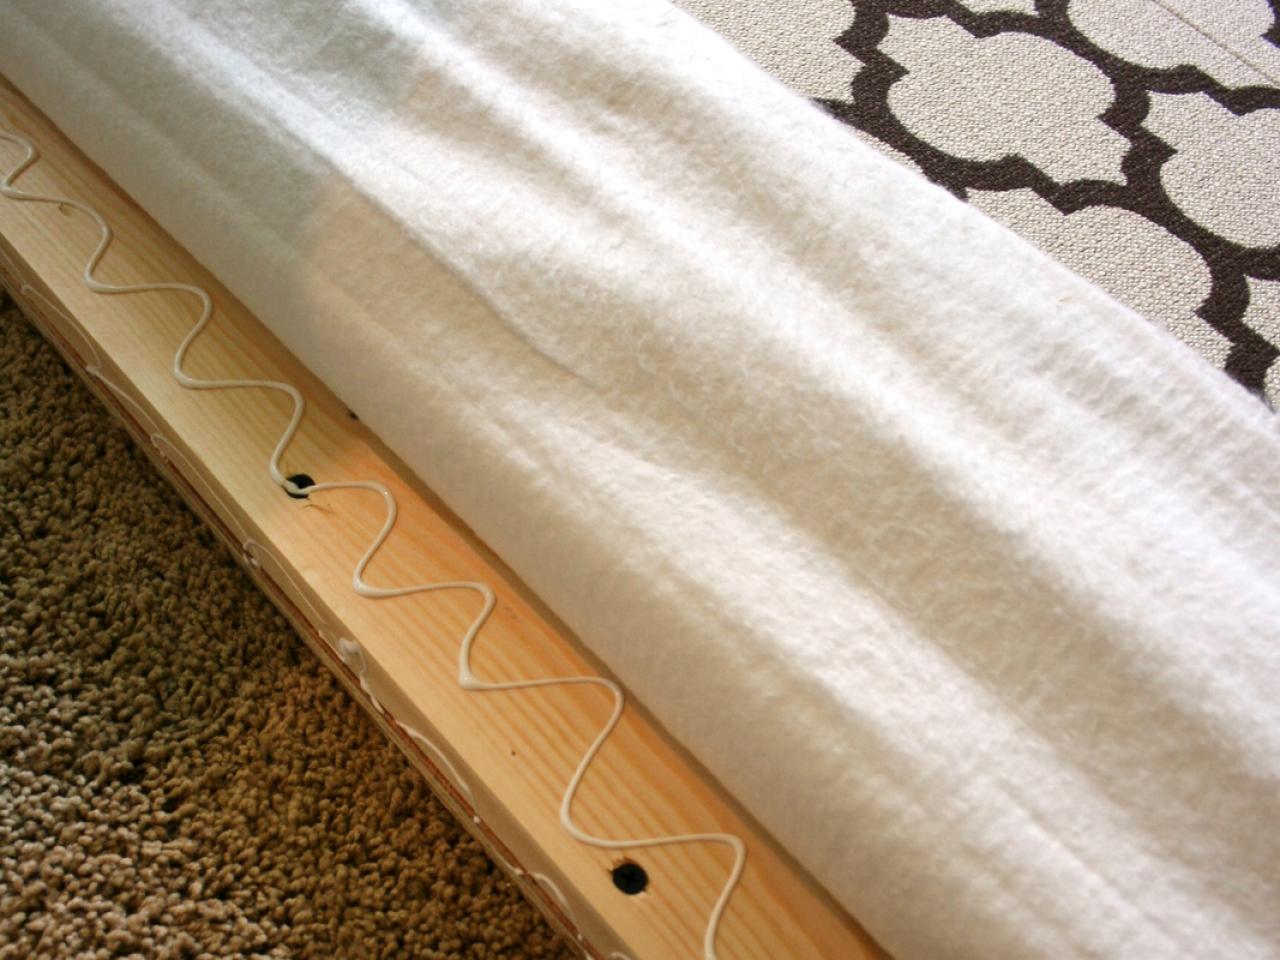
Cover Foam With Batting
Spread two layers of batting over foam and frame leaving at least two inches excess on all sides.

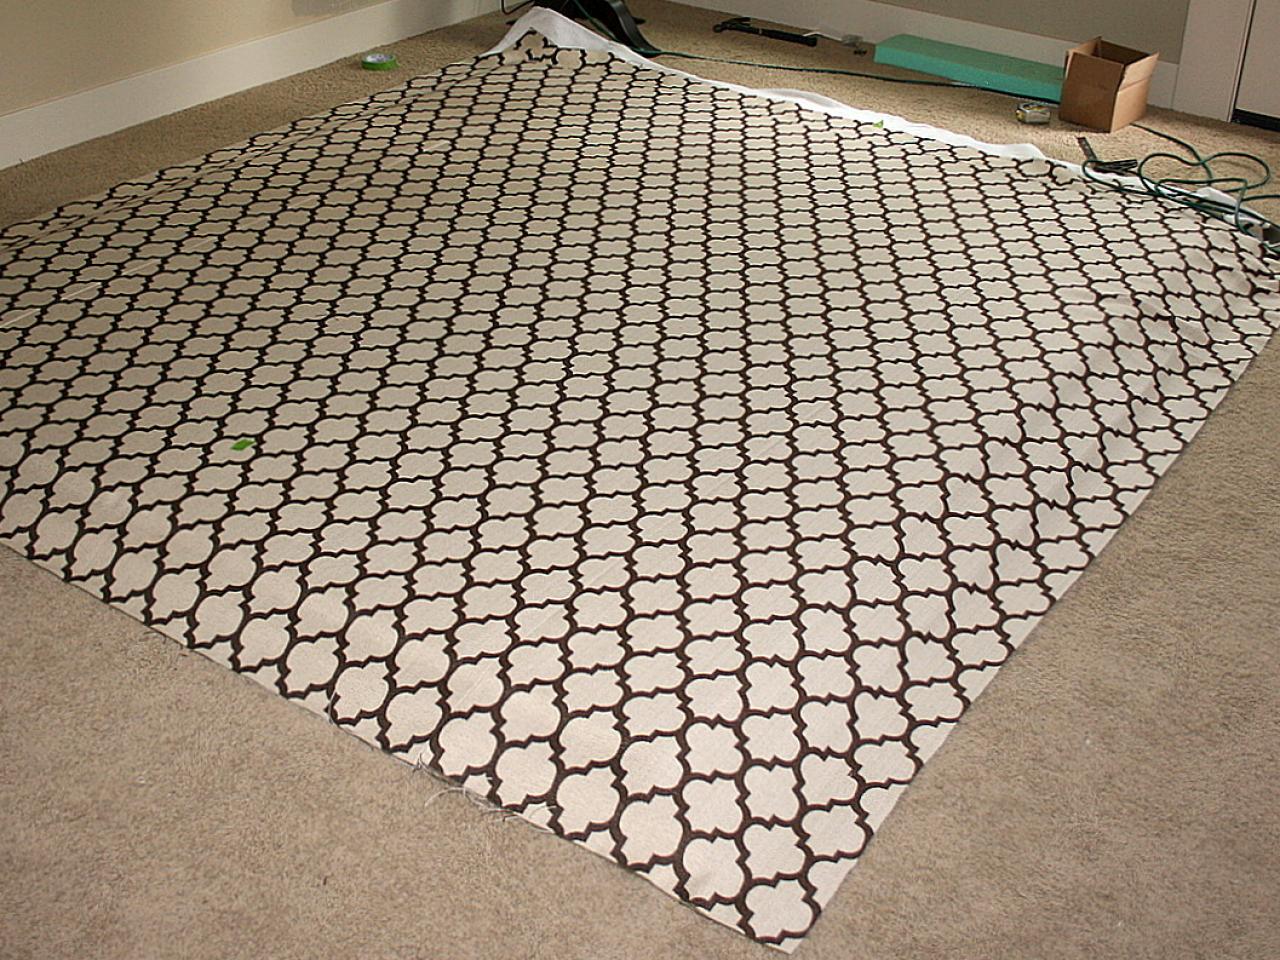
Cover Batting With Fabric
Center fabric panel over batting and frame with at least four inches excess extending beyond all sides. Adjust fabric placement to ensure pattern is equal on left and right sides of frame.

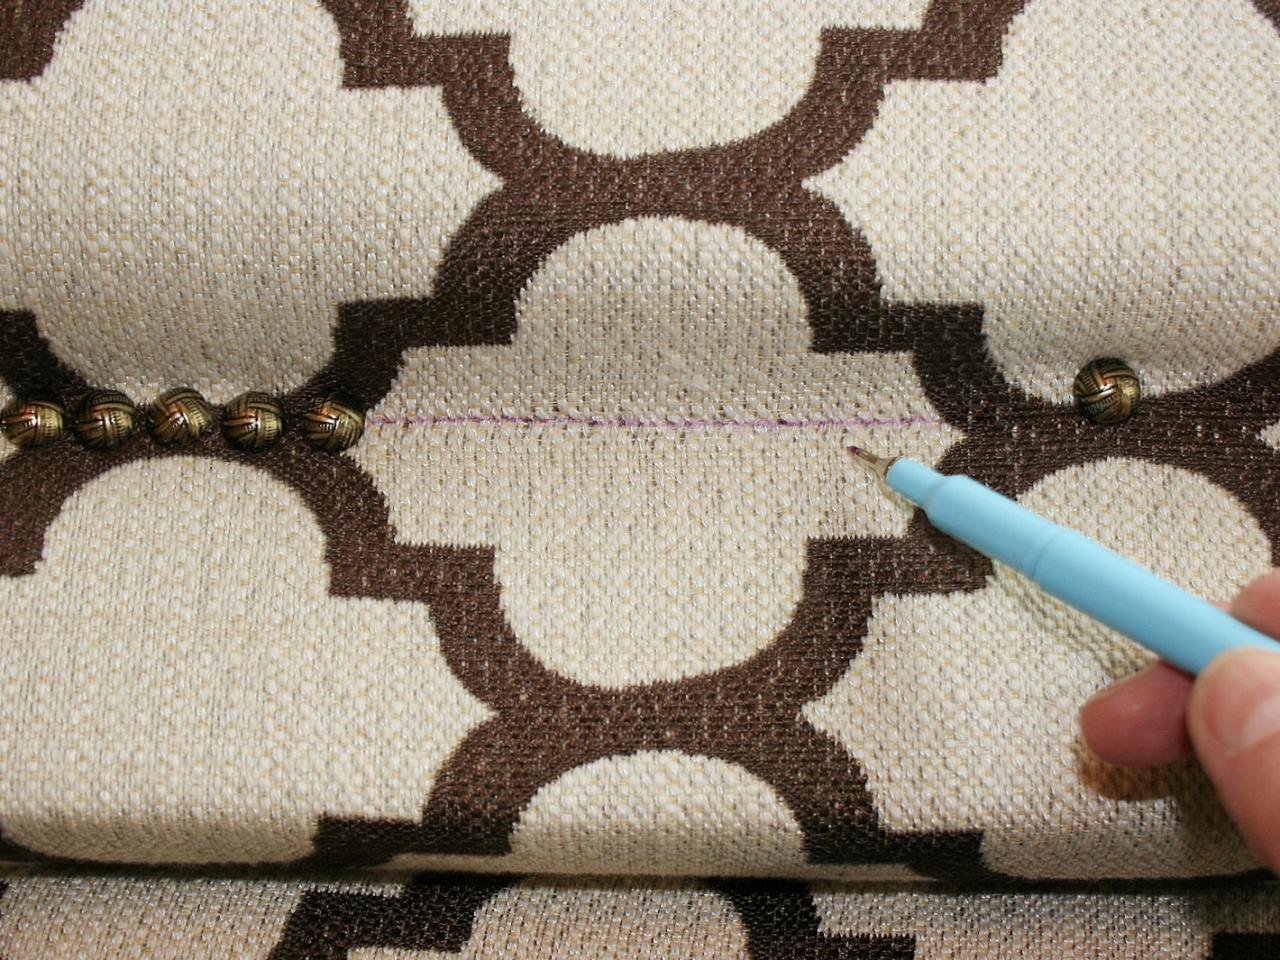
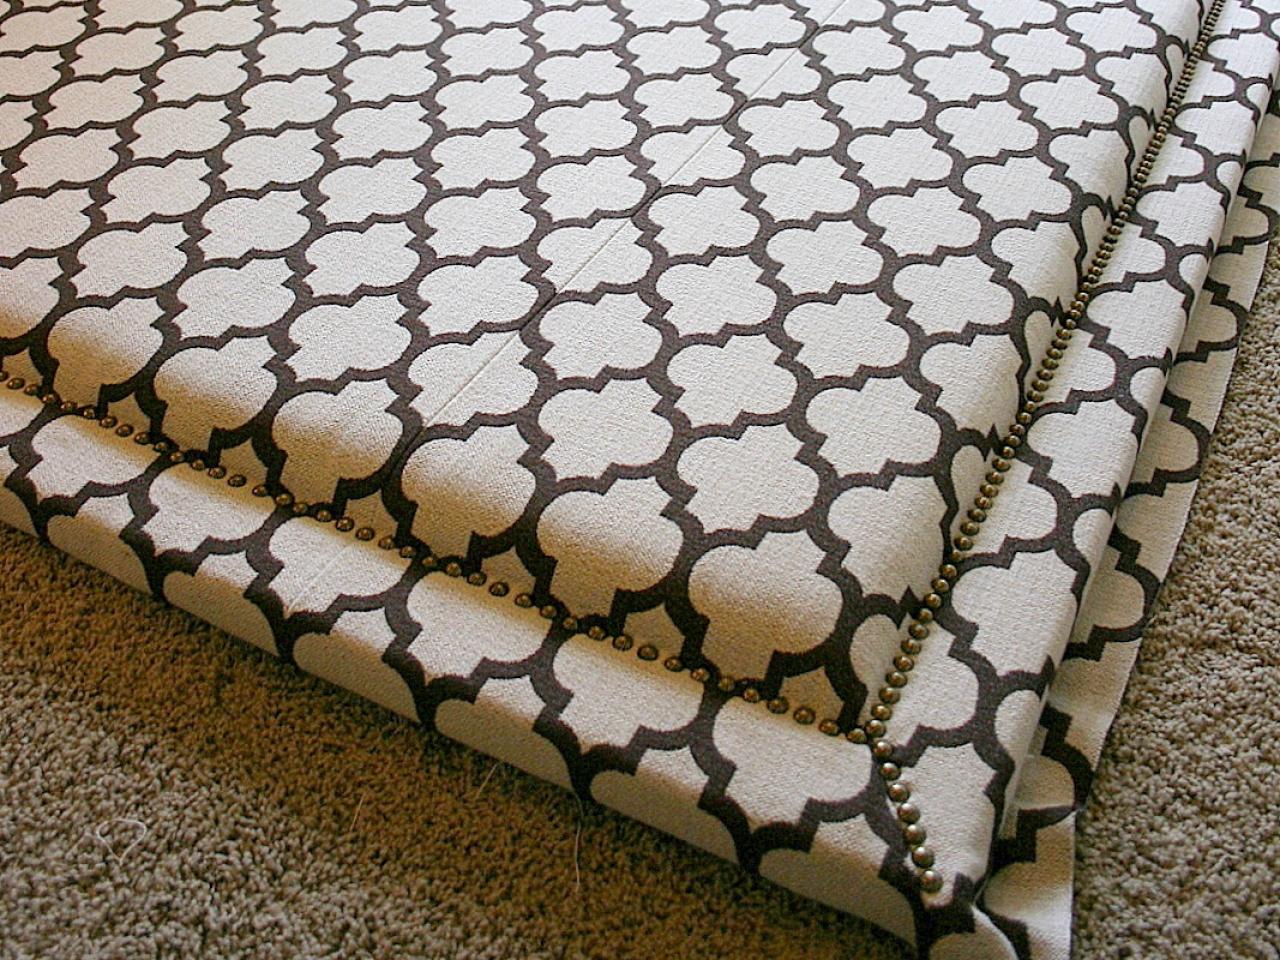
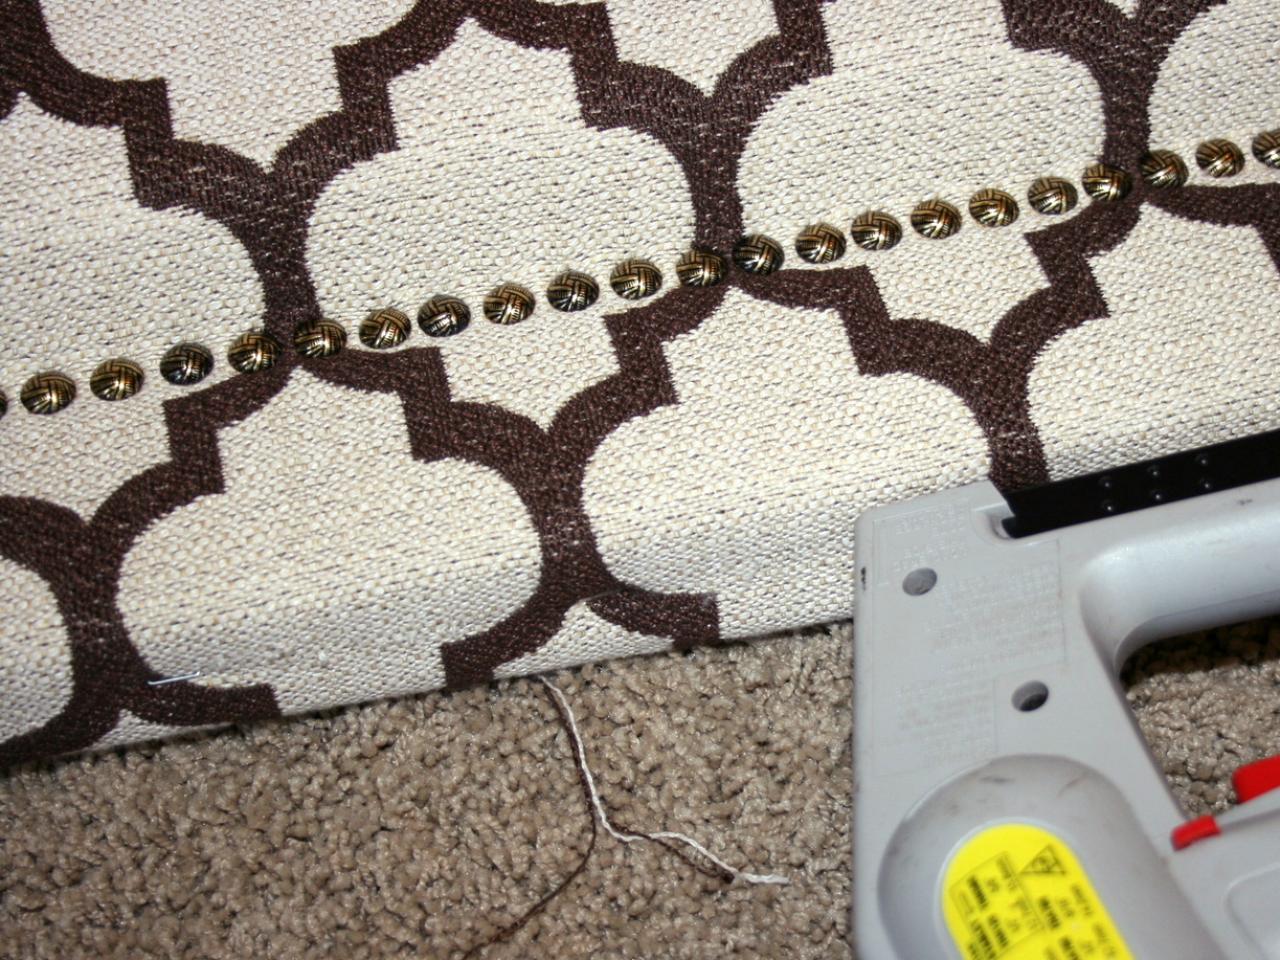
Tuck Edges and Secure With Nail Head Trim
Tuck fabric and batting firmly under headboard frame along all sides to hold in place. Secure fabric to headboard by hammering nail head trim through fabric into frame every six inches. As you hammer, make sure to keep fabric taut. To create a placement guide for the nail heads, draw a straight line with fabric marker. Continue adding nail heads until border around entire frame is created.

Glue Fabric to Frame
Pull excess fabric out from under frame. Apply fabric glue along top and side edges of wood frame. Press fabric firmly onto glue and tuck under frame. Allow to dry for at least one hour.

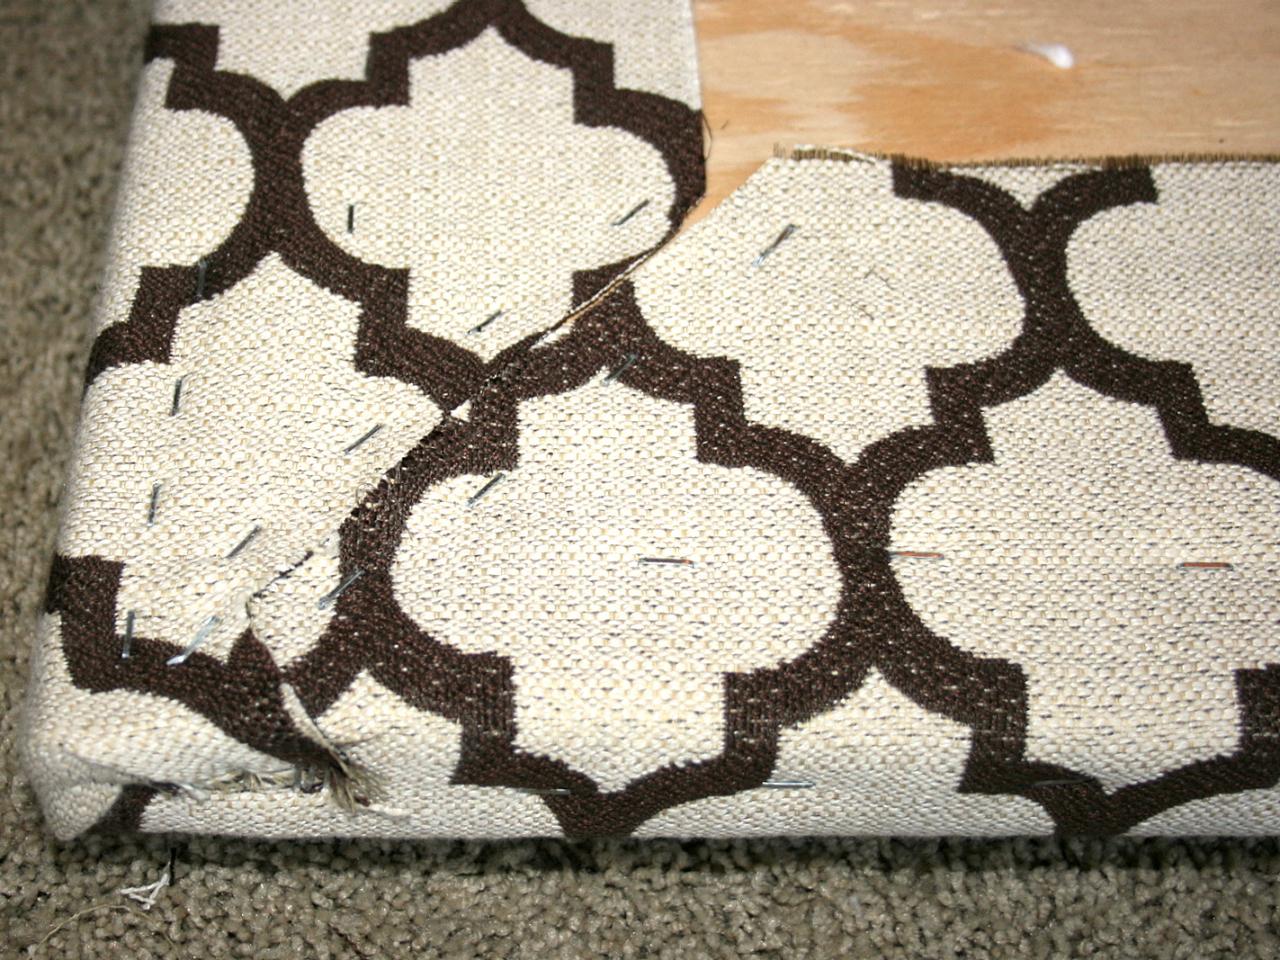
Create Finished Corners
Fold under excess fabric at each corner to create a clean corner. Hammer nail head trim along top of fold to secure.

Staple Fabric to Frame
Staple fabric to top and bottom edges of headboard. Note: Do not staple side edges which will be visible after installation.

Turn Frame Over and Attach Fabric to Back
Flip frame over then trim off excess fabric and batting from edges and corners. Fold fabric over back of frame and securely staple.

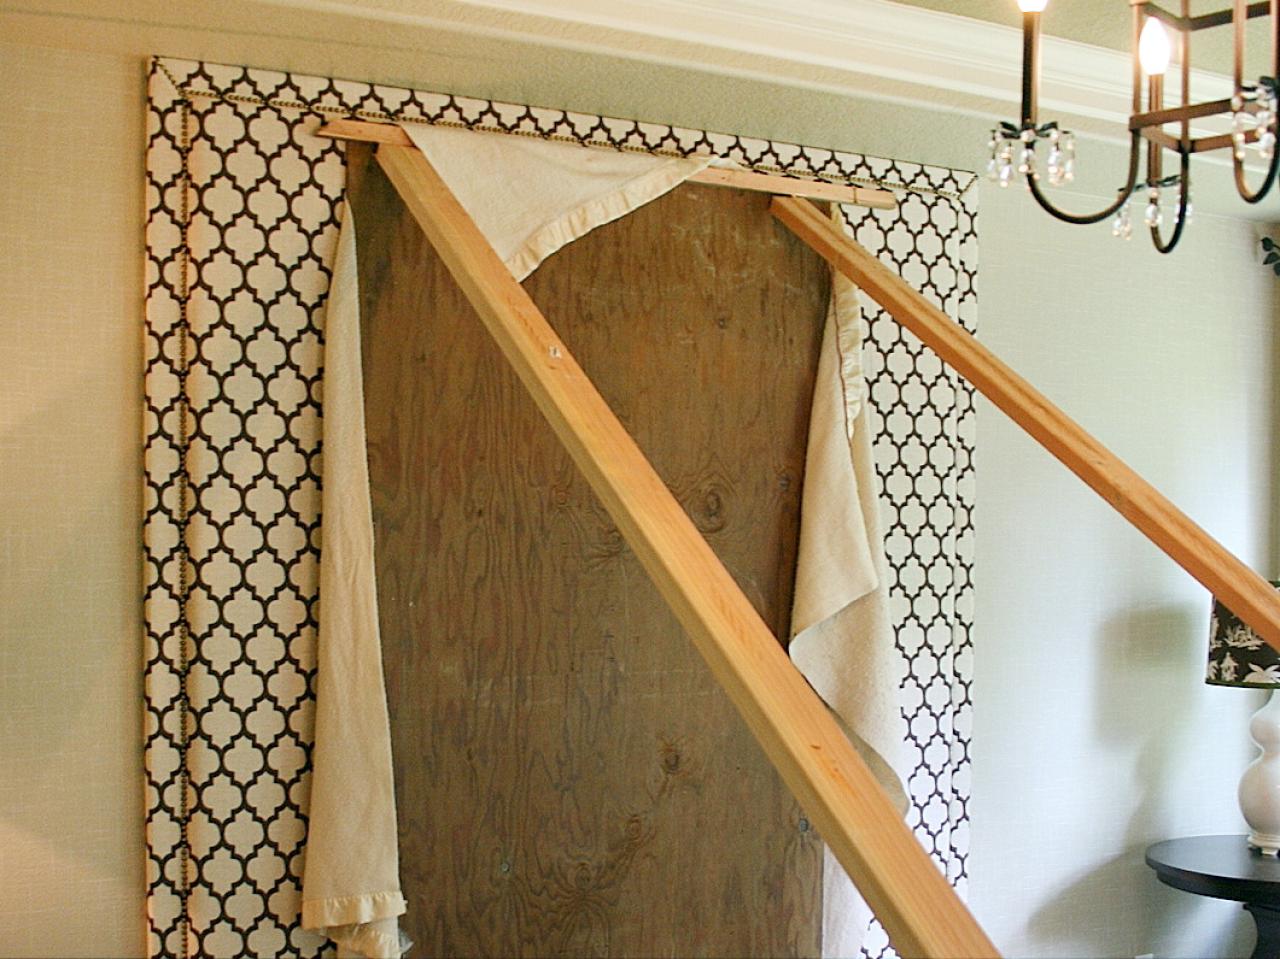
Attach to Wall
Apply heavy-duty construction adhesive to back of headboard frame. Position headboard against wall and press in place. Firmly brace headboard against wall using two 2x4 boards and a sheet of plywood. Let glue set 48 hours before replacing bed.


